
Introduction
Thank you for choosing the HARDELL Digital Vernier Caliper 150 mm. This precision measuring instrument is designed for accurate internal, external, step, and depth measurements. Featuring a rechargeable battery, large LCD display, and instant unit conversion, it is suitable for various applications from DIY projects to professional workshops. This manual provides essential information for safe operation, setup, maintenance, and troubleshooting.

Image: The HARDELL Digital Vernier Caliper in use, demonstrating its precise measurement capabilities with a clear LCD display.
Safety Information
Please read and follow all safety operation procedures during use. Proper disposal of battery products is essential and must be done in accordance with local regulations.
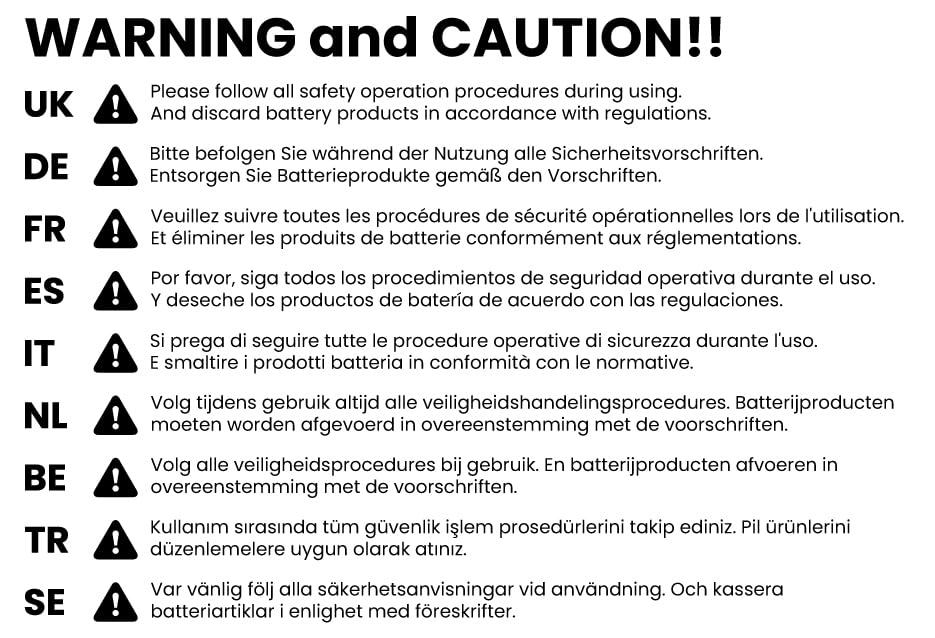
Image: Important safety and caution information regarding product usage and battery disposal, presented in multiple languages.
General Safety Guidelines:
- Always handle the caliper with care to avoid damage to the measuring surfaces.
- Keep the caliper clean and free from dust, dirt, and moisture.
- Do not expose the caliper to extreme temperatures or direct sunlight.
- Avoid dropping or subjecting the caliper to strong impacts.
- Ensure the battery is charged correctly and dispose of old batteries responsibly.
Product Overview and Components
Familiarize yourself with the different parts of your HARDELL Digital Vernier Caliper for optimal use.

Image: Detailed diagram illustrating the key components of the digital vernier caliper, including jaws, display, and control buttons.
Key Components:
- Outside Measuring Jaws: Used for external dimension measurements.
- Inside Measuring Jaws: Used for internal dimension measurements.
- Depth Probe: Used for depth measurements.
- Locking Screw: Secures the slider in position for stable readings.
- TYPE-C Port: For charging the internal battery.
- Thumb Wheel: Allows for fine adjustment of the slider.
- ZERO Button: Resets the display to zero at any point.
- ON/OFF Button: Powers the caliper on or off.
- mm/in/F Button: Switches between millimeters, inches, and fractions.
- Large LCD Display: Shows measurement readings clearly.
- Ruler: The main scale for reference.
Setup
1. Initial Charging:
Before first use, ensure the caliper is fully charged. Connect the provided Type-C charging cable to the TYPE-C Port on the caliper and to a suitable USB power source. A full charge takes approximately 20 minutes and provides power for 3-4 months of operation.

Image: The digital caliper connected via a Type-C cable for charging, highlighting its rechargeable feature.
2. Power On:
Press the ON/OFF button to turn on the caliper. The LCD display will illuminate.
3. Zeroing the Caliper:
Close the measuring jaws completely and press the ZERO button. The display should show "0.00". This ensures accurate measurements from your starting point.
Operating Instructions
Clear LCD Display and Ergonomic Design:
The HARDELL Digital Vernier Caliper features a large LCD display for easy reading of measurements, even in varying light conditions. Its ergonomic design, including a smooth thumb wheel, ensures comfortable and precise operation during extended use.

Image: A close-up view highlighting the large, easy-to-read LCD display and the ergonomically designed thumb wheel for smooth operation.
1. Unit Conversion:
Press the mm/in/F button to switch between measurement units: millimeters (mm), inches (in), and fractions (F). The selected unit will be displayed on the LCD.

Image: Demonstration of the caliper's ability to display measurements in millimeters, inches, and fractions with a single button press.
2. Measurement Methods:
The caliper supports four primary measurement methods:
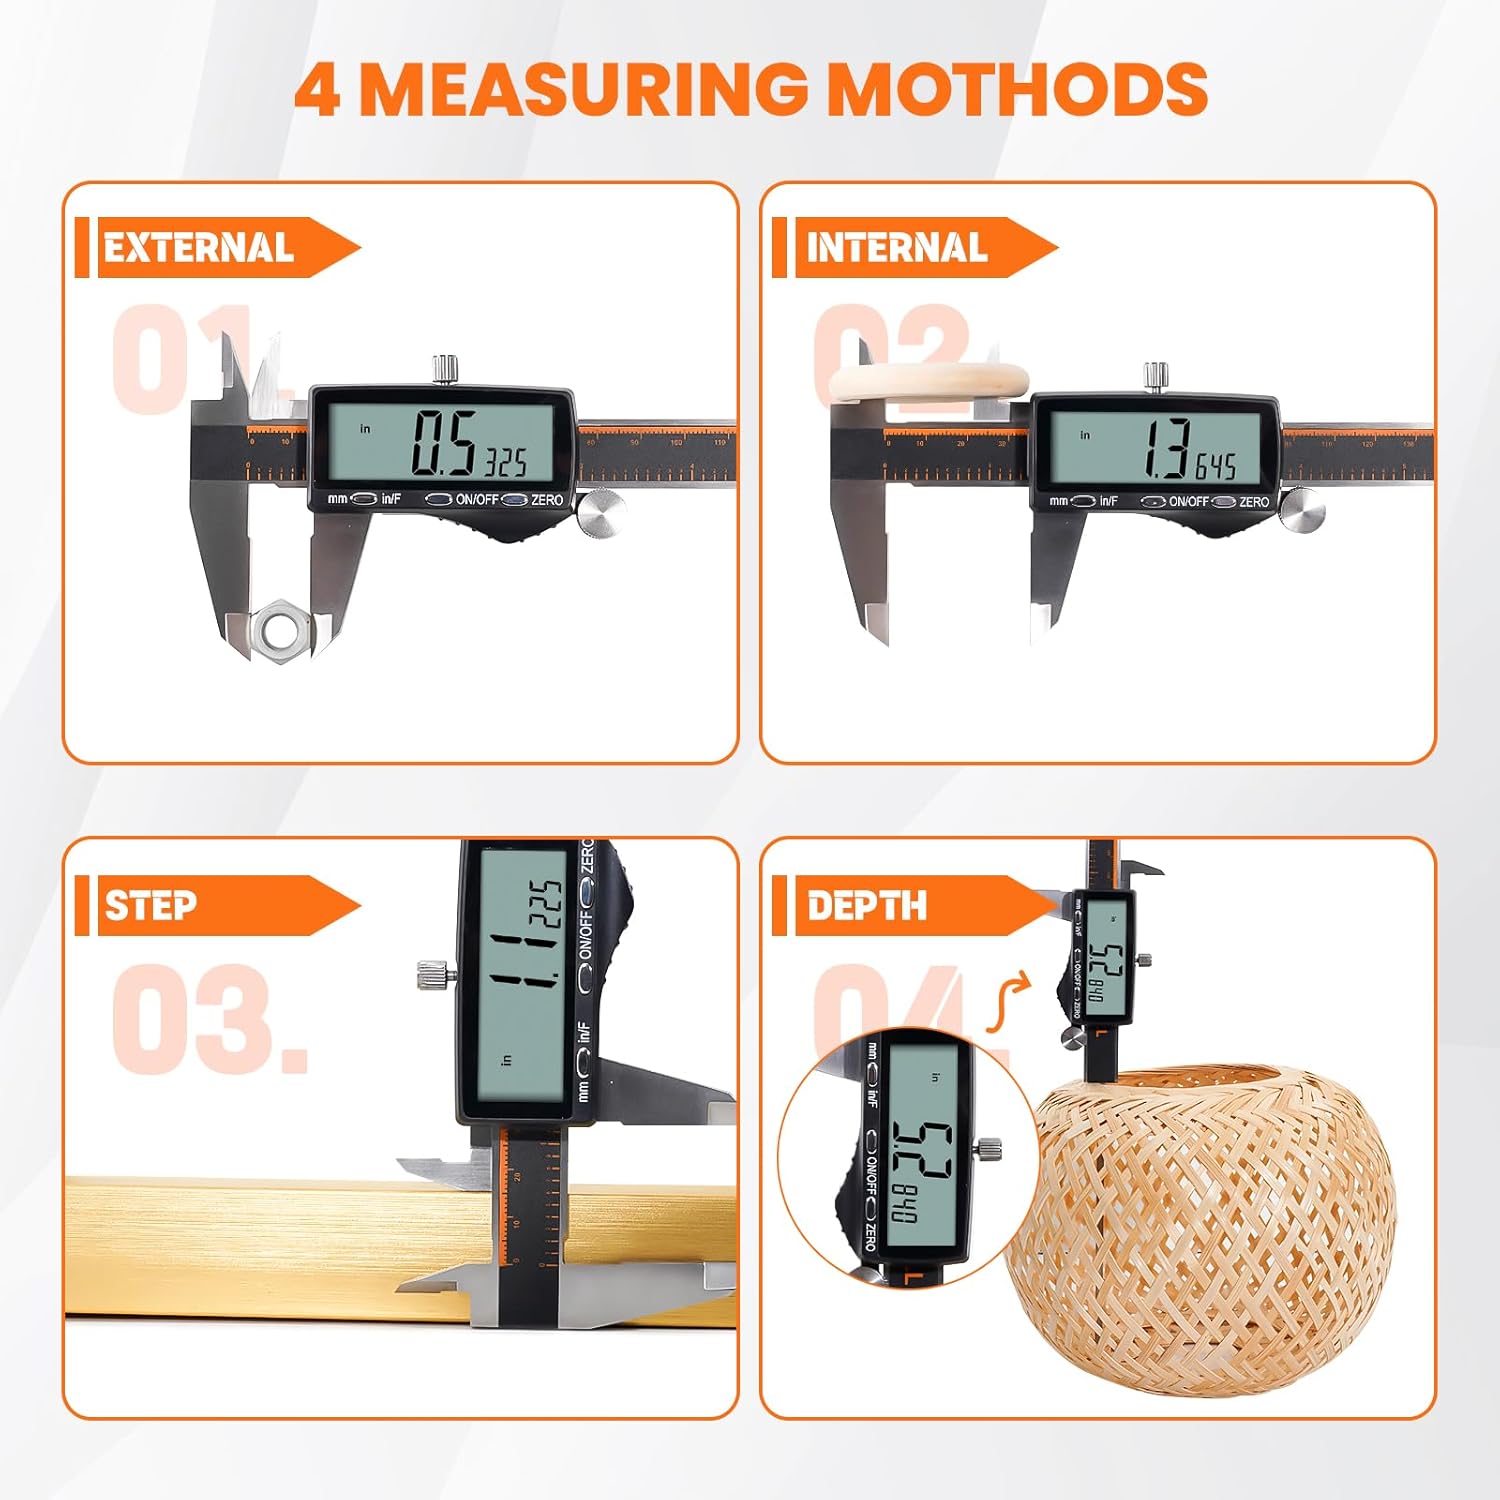
Image: Visual guide to the four measurement methods: external, internal, step, and depth, illustrating how to use the caliper for each.
- External Measurement: Use the outside measuring jaws to measure the external dimensions of an object. Open the jaws, place the object between them, and close until snug. Read the value on the LCD.
- Internal Measurement: Use the inside measuring jaws to measure the internal dimensions of an object. Insert the jaws into the opening and expand until they touch the inner surfaces. Read the value on the LCD.
- Step Measurement: Use the step measuring face (the end of the fixed jaw) to measure the height of a step or shoulder. Place the fixed jaw on the higher surface and extend the slider until the end of the moving jaw rests on the lower surface. Read the value.
- Depth Measurement: Use the depth probe to measure the depth of a hole or recess. Place the end of the main beam on the top surface and extend the depth probe into the hole until it touches the bottom. Read the value.
3. Locking Measurement:
Once a measurement is taken, you can tighten the Locking Screw to hold the slider in place, allowing you to read the value comfortably or transfer the measurement.
4. Automatic Shut-Off:
The caliper features an automatic shut-off function after 5 minutes of inactivity to conserve battery life.
Maintenance
- Cleaning: Wipe the caliper surfaces with a clean, dry, soft cloth after each use. Avoid using solvents or abrasive cleaners, as they can damage the display or measuring surfaces.
- Storage: Store the caliper in its protective case in a dry, clean environment away from direct sunlight and extreme temperatures.
- Battery Care: Recharge the caliper when the battery indicator is low. Avoid fully discharging the battery frequently to prolong its lifespan.
- Calibration: While the caliper is factory calibrated, regular zeroing before each use ensures consistent accuracy. If you suspect significant inaccuracy, professional calibration may be required.
Troubleshooting
| Problem | Possible Cause | Solution |
|---|---|---|
| Display does not turn on. | Low battery or completely discharged. | Charge the caliper using the Type-C cable. |
| Inaccurate readings. | Jaws not properly closed before zeroing; dirt on measuring surfaces. | Clean measuring surfaces and re-zero the caliper with jaws fully closed. |
| Display shows "E" or error message. | Internal error or sensor issue. | Turn off the caliper, wait a few seconds, then turn it back on. If the error persists, contact customer support. |
| Slider movement is stiff. | Dirt or debris on the beam; locking screw too tight. | Clean the beam thoroughly. Loosen the locking screw. |
Specifications
| Feature | Detail |
|---|---|
| Brand | HARDELL |
| Model Number | 6 Inch-Rechargeable |
| Measurement Range | 0-150 mm (0-6 inches) |
| Accuracy | ±0.02 mm (0-150 mm) |
| Resolution | 0.01mm / 0.0005" / 1/128" |
| Display | Large LCD |
| Units | mm, inch, fraction |
| Battery Type | Rechargeable (Type-C) |
| Charging Time | Approx. 20 minutes for full charge |
| Operating Time | 3-4 months per charge |
| Automatic Shut-off | After 5 minutes of inactivity |
| Material | Stainless Steel |
| Item Weight | 340 g |
| Package Dimensions | 25.7 x 9.8 x 2.9 cm |
Warranty and Support
For warranty information and customer support, please refer to the documentation provided with your purchase or contact the seller directly. Keep your purchase receipt as proof of purchase.