1. Introduction
This manual provides essential instructions for the safe and efficient installation, operation, and maintenance of your FGXBBRY S6-EH1P6K-L-PLUS Hybrid Inverter. Please read this manual thoroughly before installation and operation to ensure proper use and to prevent potential hazards. Keep this manual for future reference.
2. Safety Instructions
Important Safety Information:
- Installation must be performed by qualified personnel in accordance with local electrical codes and regulations.
- Do not attempt to open, disassemble, or repair the inverter yourself. Refer all servicing to authorized service personnel.
- Ensure the inverter is disconnected from all power sources (PV array, battery, grid) before performing any maintenance or wiring.
- Avoid contact with live terminals. High voltage is present inside the inverter when operating.
- Do not install the inverter in areas with flammable or explosive materials.
- Ensure proper ventilation around the inverter to prevent overheating.
- Use appropriate personal protective equipment (PPE) during installation and maintenance.
3. Product Overview
3.1 Key Features
- Efficient Conversion: Advanced circuit design for high-efficiency DC to AC power conversion, ensuring stable and reliable power supply.
- Comprehensive Protection: Equipped with intelligent protection mechanisms including overload, overheating, short circuit, overvoltage, and undervoltage safeguards.
- User-Friendly Design: Lightweight, portable, and easy to install with simple one-click operation.
- Durable Construction: High-quality components and strict quality testing ensure a long service life.
- Energy Efficient: Features low standby power consumption to reduce operating costs and promote environmental protection.
3.2 Components
The FGXBBRY S6-EH1P6K-L-PLUS Hybrid Inverter features a robust design with a clear display interface and essential connection points. Refer to the image below for a visual representation of the unit.
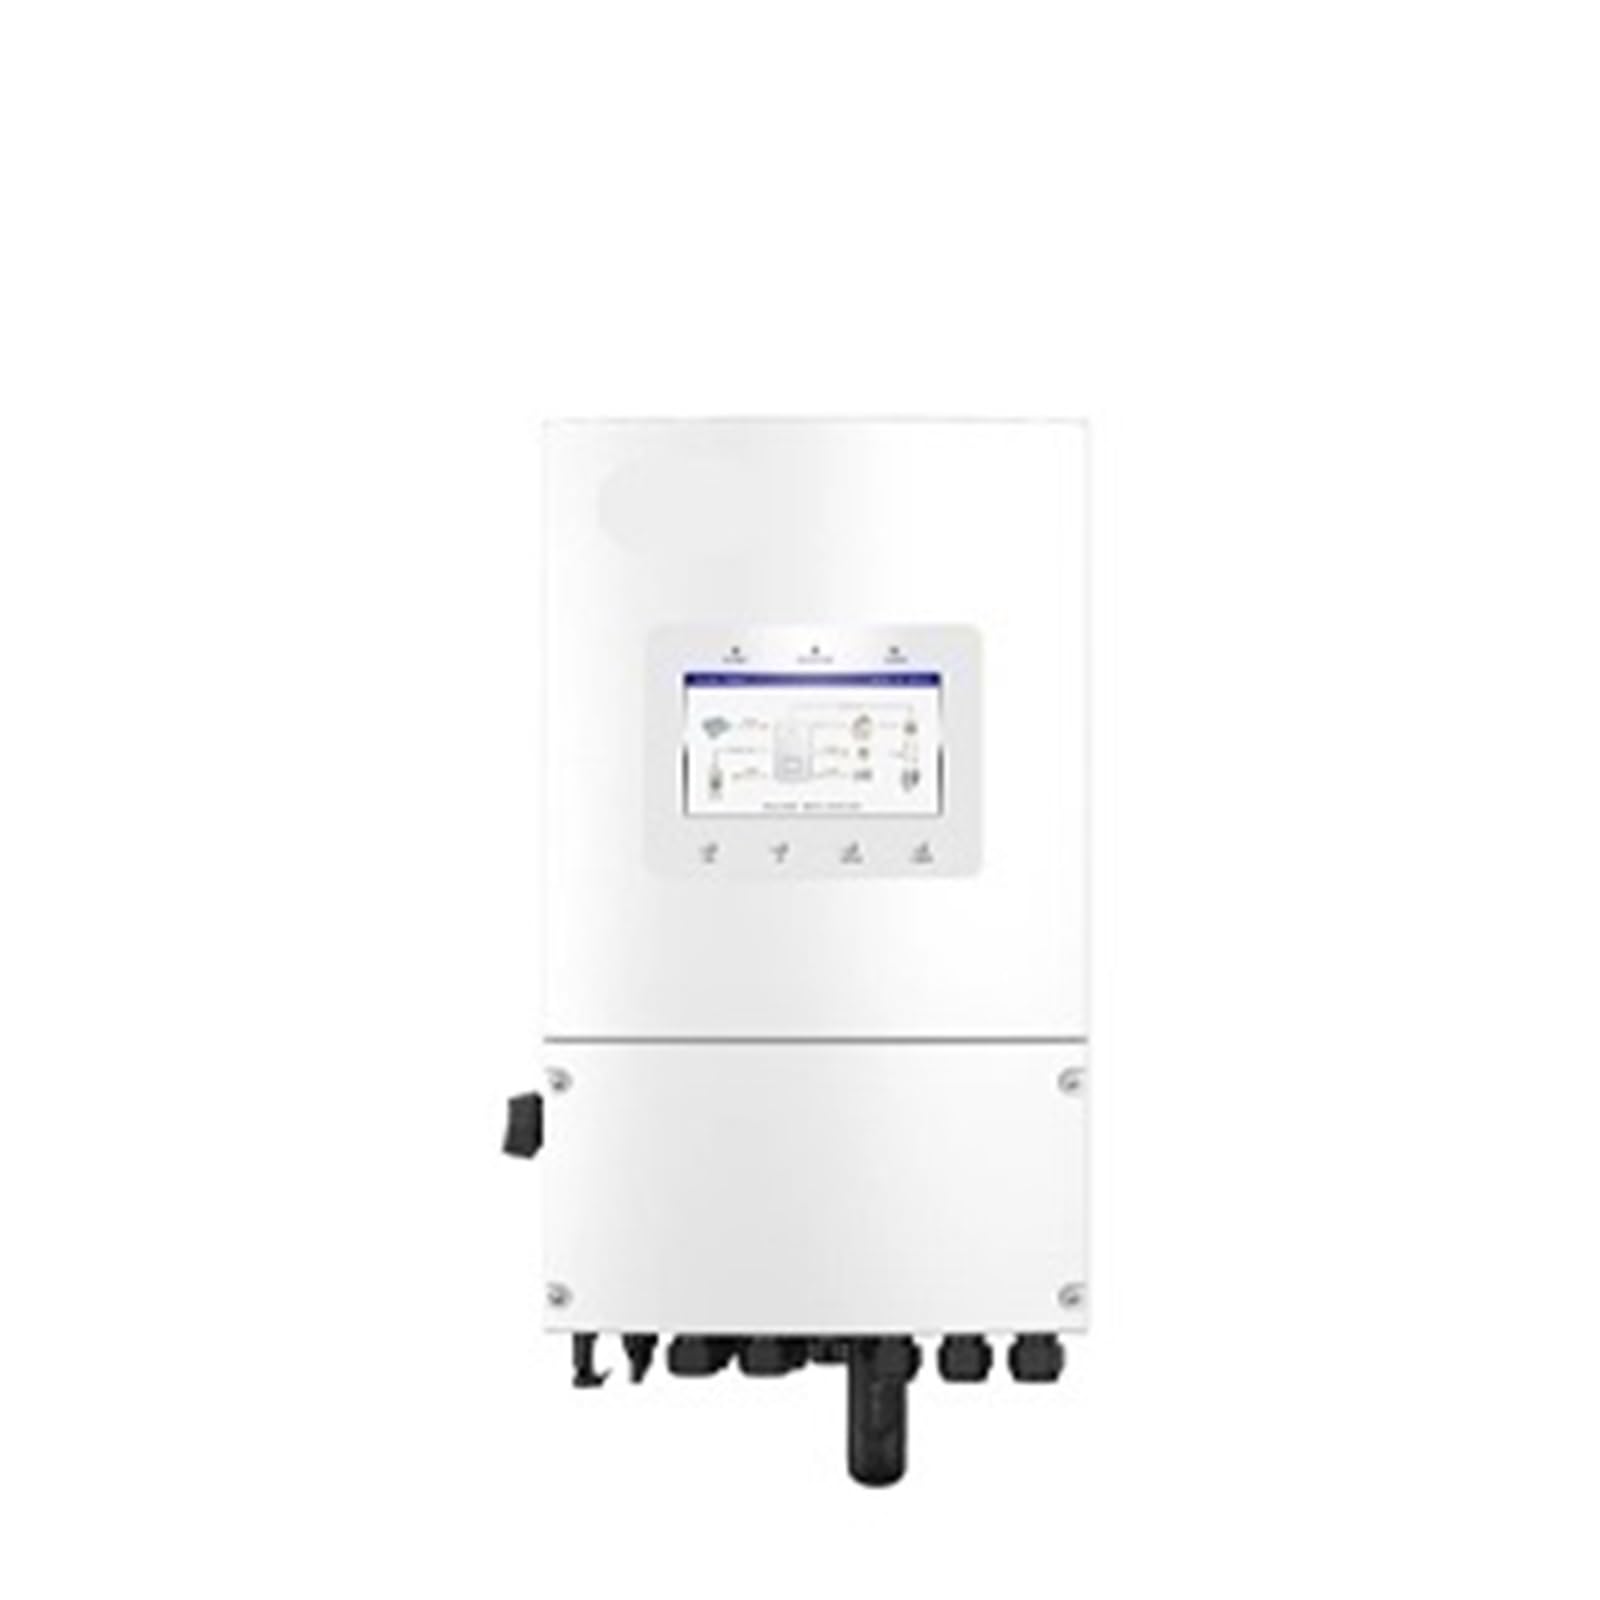
Figure 1: Front view of the FGXBBRY S6-EH1P6K-L-PLUS Hybrid Inverter. The unit is white, featuring a central display screen that shows system status and diagrams. Below the main body, various connection ports are visible.
Key components include:
- Display Screen: Provides real-time operational data, system status, and error messages.
- Control Buttons: For navigating menus and adjusting settings on the display.
- DC Input Terminals: For connecting the solar PV array and battery bank.
- AC Output Terminals: For connecting to the household electrical load.
- Grid Connection Port: For connecting to the utility grid.
- Communication Ports: For monitoring and remote control (e.g., Wi-Fi, RS485).
4. Setup and Installation
Warning: Installation of this hybrid inverter involves high voltage and requires specialized knowledge. It must be performed by a certified electrician or qualified installer to ensure safety and compliance with all applicable electrical codes.
4.1 Site Selection
- Choose a cool, dry, and well-ventilated location, away from direct sunlight and rain. The inverter has an IP66 rating, but protection from direct elements is recommended for longevity.
- Ensure sufficient clearance around the inverter for heat dissipation (at least 20 cm on all sides).
- Mount on a sturdy, non-flammable surface capable of supporting the inverter's weight.
4.2 Mounting the Inverter
- Mark the drilling points on the wall using the mounting bracket as a template.
- Drill holes and insert appropriate wall plugs.
- Secure the mounting bracket to the wall.
- Carefully lift the inverter and hang it onto the mounting bracket.
- Secure the inverter to the bracket using the provided screws.
4.3 Electrical Connections
All wiring must comply with local electrical standards. Ensure all circuit breakers are OFF before making any connections.
- Grounding: Connect the inverter to a reliable ground point.
- PV Input: Connect the positive and negative cables from the solar array to the designated PV input terminals. Verify polarity.
- Battery Connection: Connect the battery bank to the DC battery terminals, observing correct polarity. The inverter supports 48VDC battery systems.
- AC Grid Connection: Connect the utility grid supply to the AC grid input terminals.
- AC Load Connection: Connect the household loads to the AC output terminals.
- Communication Cables: Connect any necessary communication cables (e.g., for monitoring, smart meter) as per the detailed wiring diagram in the full installation guide.
5. Operating Instructions
5.1 Powering On the Inverter
- Ensure all electrical connections are secure and correct.
- Turn on the DC circuit breaker for the battery bank.
- Turn on the DC circuit breaker for the PV array.
- Turn on the AC circuit breaker for the grid connection.
- Turn on the AC circuit breaker for the load output.
- The inverter will perform a self-test and then begin operation. The display will show the current operating status.
5.2 Display and Navigation
The integrated display provides real-time information about the system's performance. Use the control buttons located below the screen to navigate through menus and view various parameters such as:
- PV input voltage and current
- Battery state of charge (SOC) and voltage
- AC output voltage, current, and frequency
- Grid status
- Energy production and consumption
- Error codes and warnings
5.3 Powering Off the Inverter
- Turn off the AC circuit breaker for the load output.
- Turn off the AC circuit breaker for the grid connection.
- Turn off the DC circuit breaker for the PV array.
- Turn off the DC circuit breaker for the battery bank.
- Wait for the inverter's display to turn off completely before proceeding with any maintenance.
6. Maintenance
Regular maintenance ensures the longevity and optimal performance of your inverter. Always power off the inverter completely before performing any maintenance tasks.
- Visual Inspection (Monthly): Check for any visible damage, loose connections, or signs of corrosion on the inverter casing and cables.
- Cleaning (Quarterly): Gently clean the inverter's exterior with a soft, dry cloth. Ensure ventilation openings are free from dust and debris. Do not use liquid cleaners directly on the unit.
- Connection Check (Annually): Have a qualified technician inspect all electrical connections for tightness and integrity.
- Performance Monitoring: Regularly check the inverter's performance data via the display or monitoring system to identify any anomalies.
7. Troubleshooting
This section provides solutions for common issues. If the problem persists, contact technical support.
| Problem | Possible Cause | Solution |
|---|---|---|
| Inverter not powering on | No DC input from PV or battery; AC breakers off; internal fault. | Check all DC and AC breakers. Verify PV and battery connections. If problem persists, contact support. |
| Low power output | Insufficient PV input; shading on PV panels; battery issues; grid instability. | Check PV array for shading or dirt. Monitor battery voltage. Check grid connection. |
| Error code on display | Specific system fault (e.g., overvoltage, overcurrent, temperature). | Refer to the full user manual for a list of error codes and their specific remedies. Follow instructions or contact support. |
| No grid connection | Grid outage; AC breaker tripped; communication issue. | Check utility grid status. Verify AC grid breaker. Ensure communication cables are secure. |
8. Specifications
The following are key technical specifications for the FGXBBRY S6-EH1P6K-L-PLUS Hybrid Inverter:
- Model: S6-EH1P6K-L-PLUS
- Output Power: 6KW (This model variant)
- Output Type: Single Phase
- Output Frequency: 50 Hz / 60 Hz
- Nominal AC Voltage: 220-240V
- Battery Voltage: 48VDC
- Ingress Protection (IP) Rating: IP66
- Certifications: CE, FCC, RoHS
- Item Weight: Approximately 14.1 ounces (400 Grams)
- Manufacturer: FGXBBRY
Note: Detailed electrical parameters and performance curves are available in the complete technical datasheet.
9. Warranty and Support
For warranty information, please refer to the warranty card included with your product or contact your point of purchase. For technical support, service, or inquiries regarding your FGXBBRY S6-EH1P6K-L-PLUS Hybrid Inverter, please contact the manufacturer or authorized service center.
Ensure you have your product model number (S6-EH1P6K-L-PLUS) and serial number ready when contacting support.


