
1. Introduction
The OffiGo Electric Standing Desk is designed to enhance your workspace with its versatile features and ergonomic design. This desk offers electric height adjustment, three integrated wooden drawers for storage, a full-sized monitor shelf, built-in power outlets with USB ports, and customizable LED lighting. This manual provides detailed instructions for assembly, operation, maintenance, and troubleshooting to ensure optimal use of your new standing desk.

Figure 1.1: OffiGo Electric Standing Desk with monitors and accessories.
2. Safety Information
Please read all safety instructions carefully before assembly and use. Retain this manual for future reference.
- Weight Capacity: Do not exceed the maximum weight capacity of 154 lbs (70 kg) on the desktop.
- Electrical Safety: Ensure the power cord is properly connected to a grounded outlet. Do not operate the desk with a damaged cord or plug. Keep liquids away from electrical components.
- Movement Clearance: Ensure there are no obstructions above or below the desk during height adjustment to prevent damage or injury.
- Children and Pets: Keep children and pets away from the desk during operation.
- Assembly: Assembly requires two people. Follow all assembly instructions precisely.
- Maintenance: Do not attempt to disassemble or repair the motor or electrical components yourself. Contact qualified service personnel if needed.
3. Package Contents
Verify that all components are present before beginning assembly. If any parts are missing or damaged, contact customer support.
- Desktop (2 pieces)
- Desk Legs (2)
- Crossbar/Frame components
- 3 Wooden Drawers
- Monitor Shelf
- Control Panel with LED display
- Power Adapter and Cables
- Assembly Hardware (screws, tools)
- Instruction Manual
4. Setup and Assembly
Assembly typically takes approximately one hour with two people. Follow the detailed instructions provided in the included assembly guide. Ensure all parts are correctly aligned and tightened.
- Unpack Components: Carefully remove all parts from the packaging and lay them out on a clean, soft surface to prevent scratches.
- Assemble Desk Frame: Attach the desk legs to the crossbar components using the provided hardware. Ensure all connections are secure.
- Attach Desktop: Secure the two desktop pieces to the assembled frame.
- Install Drawers: Insert the three wooden drawers into their designated slots.
- Mount Monitor Shelf: Attach the full-sized monitor shelf to the top of the desk.
- Connect Electrical Components: Connect the control panel, motor, and power outlets to the main power unit. Route cables neatly using the cable management tray.
- Power On: Plug the power adapter into a grounded electrical outlet.

Figure 4.1: Desk dimensions and components overview.

Figure 4.2: Detail of the three wooden drawers.
5. Operating Instructions
5.1. Height Adjustment
The desk features an electric lifting mechanism with a control panel for easy height adjustment.
- Up/Down Adjustment: Use the ^ (Up) and v (Down) buttons on the control panel to manually adjust the desk height. The height range is 29.9 inches to 46.1 inches.
- Memory Presets: The desk has three programmable memory buttons (1, 2, 3) to save your preferred sitting and standing heights. To set a preset:
- Adjust the desk to your desired height using the Up/Down buttons.
- Press the S (Set) button.
- Immediately press one of the memory buttons (1, 2, or 3) to save the current height.
- Recalling Presets: Press the corresponding memory button (1, 2, or 3) to automatically move the desk to the saved height.
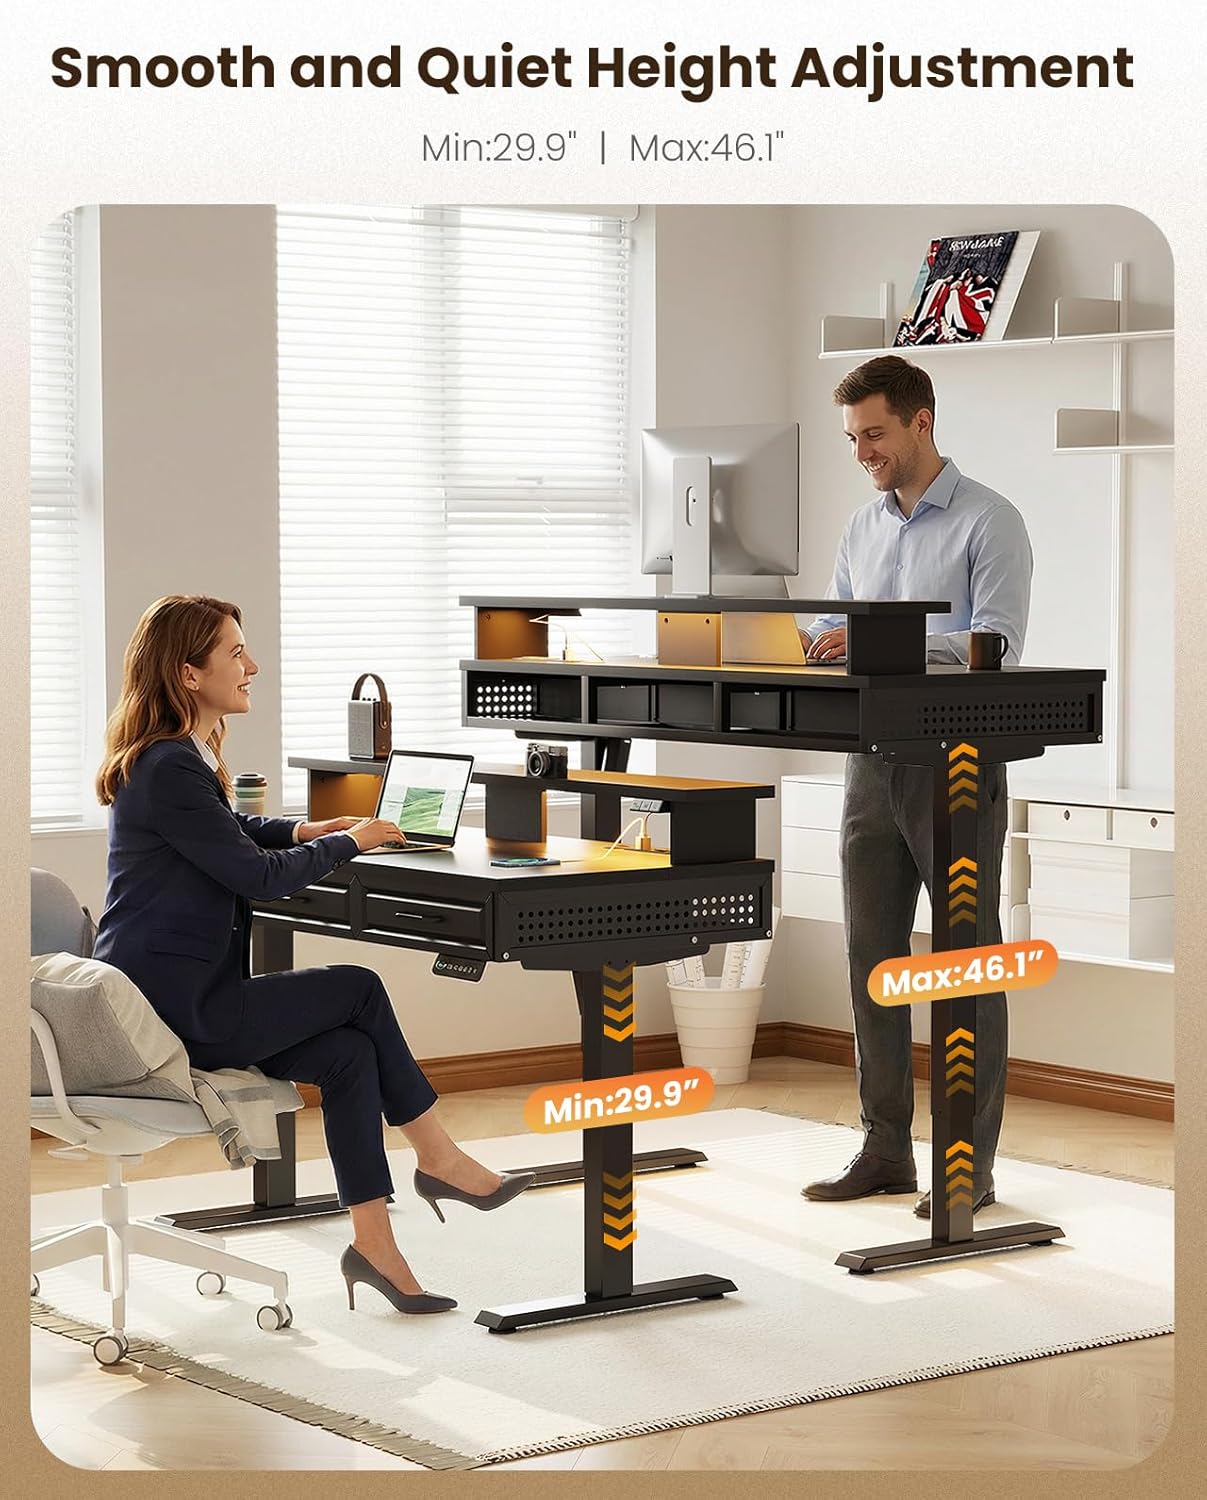
Figure 5.1: Demonstrating electric height adjustment.
5.2. LED Lights
The integrated LED lights offer 20 dynamic lighting modes to customize your workspace ambiance.
- Power On/Off: Use the dedicated ON/OFF button on the LED control panel.
- Change Modes/Colors: Use the 'M' (Mode) or 'C' (Color) buttons to cycle through the available lighting modes and colors.
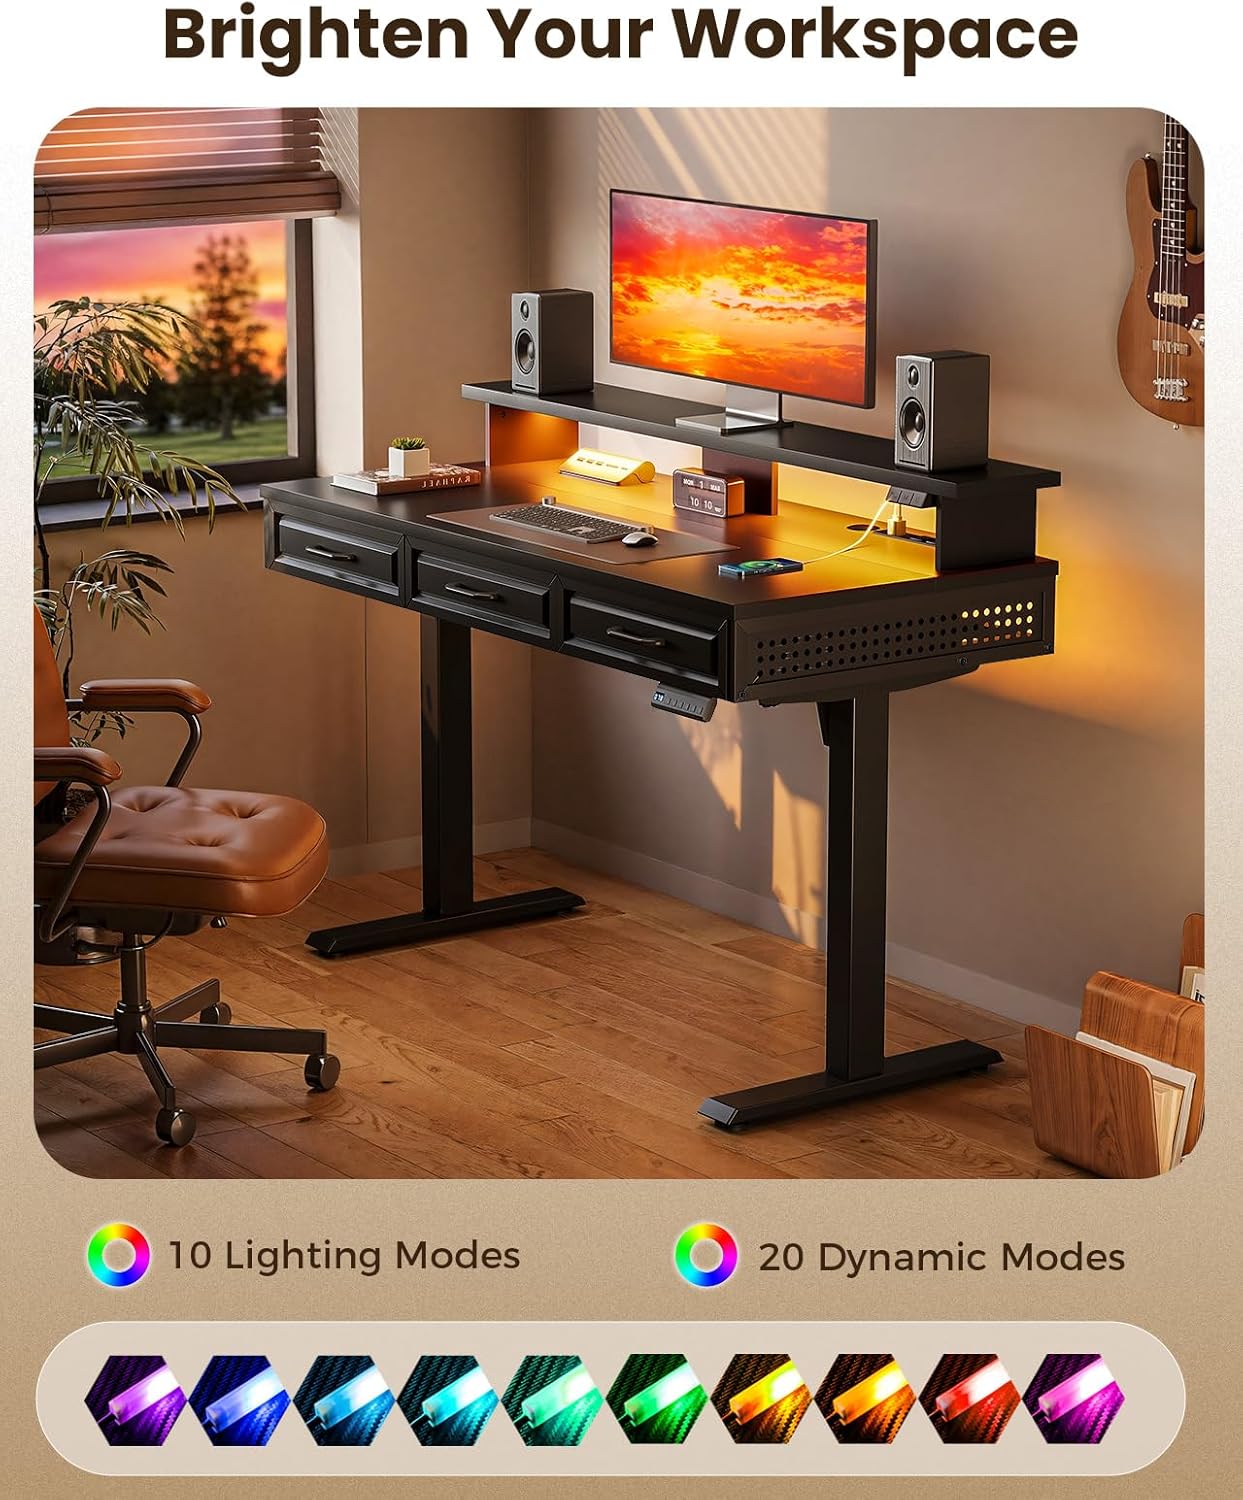
Figure 5.2: LED lights illuminating the workspace.
5.3. Built-in Charging Station
The desk includes a built-in power strip with 3 AC outlets and 2 USB ports for convenient device charging.
- AC Outlets: Plug in your devices directly into the 3 AC outlets.
- USB Ports: Use the 2 USB ports (5V/2A) to charge compatible USB-powered devices.

Figure 5.3: Integrated charging station with AC and USB ports.
5.4. Wooden Drawers
The three wooden drawers provide ample storage for office supplies, keeping your desktop tidy.
- Opening/Closing: Gently pull the handles to open the drawers. Push them back in until they are fully closed.
5.5. Monitor Stand
The full-sized monitor shelf is designed to elevate your monitors to an ergonomic viewing height, reducing neck and back strain.

Figure 5.4: Ergonomic benefits of the monitor stand.
6. Maintenance
- Cleaning: Wipe the desk surfaces with a soft, damp cloth. Avoid harsh chemicals or abrasive cleaners.
- Cable Management: Periodically check and organize cables to prevent tangles and ensure smooth operation during height adjustments.
- Fasteners: Occasionally check all screws and fasteners to ensure they remain tight.
- Motor Care: Keep the motor area free from dust and debris.
7. Troubleshooting
If you encounter any issues with your OffiGo Electric Standing Desk, refer to the common problems and solutions below. For further assistance, please contact customer support.
7.1. Common Lifting Problems
The following video provides guidance on resolving common lifting issues such as uneven table legs or problems with the hexagonal rod insertion.
Video 7.1: Troubleshooting common lifting problems for the OffiGo Electric Standing Desk. This video demonstrates how to address issues like one table leg being higher than the other, or a hexagonal rod not being fully inserted into the motor, ensuring smooth and synchronized height adjustment.
Summary of Troubleshooting Steps from Video:
- Reset Desk: Lower the desk to its lowest height by holding down the 'v' (Down) button until 'RES' appears on the control panel. This resets the system.
- Uneven Legs (Right Higher than Left):
- Loosen the nut on the hexagonal rods.
- Insert the long hexagonal rod into the table leg fully.
- Connect the two hexagonal rods and tighten the nut.
- Uneven Legs (Left Higher than Right):
- Loosen the nut on the hexagonal rod and push the short hexagonal rod into the motor fully (gently shake if difficult).
- Connect two hexagonal rods and tighten the nut.
- Short Hexagonal Rod Not Fully Inserted into Motor:
- Remove the screws from the motor.
- Push the hex rod into the motor fully (you may need to rotate the motor slightly to align).
- Insert the hexagonal rod into the table leg.
- Install the screws on the motor and secure the motor to the table leg.
- Reconnect the two hexagonal rods and tighten the nut.
8. Specifications
| Brand | OffiGo |
| Model | B0F9441VRQ |
| Desk Design | Standing Desk |
| Product Dimensions | 21.3"D x 47.2"W x 34.6"H |
| Color | Black |
| Top Material Type | Engineered Wood |
| Base Material | Alloy Steel |
| Special Features | Adjustable Height, Built-In USB Outlet, Electric, Ergonomic, Monitor Stand |
| Maximum Weight Recommendation | 154 Pounds |
| Number of Drawers | 3 |
| Minimum Height | 29.9 Inches |
| Lifting Mechanism | Electric |
| Number of Height Positions | 3 (Memory Presets) |
9. Warranty & Support
For warranty information or technical support, please refer to the documentation included with your purchase or visit the official OffiGo website. Keep your purchase receipt as proof of purchase for any warranty claims.