
1. Introduction
Thank you for purchasing the Datewink 120W DJ Moving Head 6-Arm Stage Light. This versatile lighting fixture is designed to create dynamic and engaging visual effects for various events, including parties, discos, clubs, weddings, and bars. It features multiple control options and a range of lighting effects to suit both professional lighting designers and beginners. Please read this manual thoroughly before operation to ensure safe and optimal performance.
2. Safety Information
WARNING: To prevent fire and electric shock, do not expose this fixture to rain or moisture.
- Always ensure the unit is connected to the proper voltage and that the line voltage is not higher than that stated on the fixture.
- Do not operate the unit if the power cord is damaged.
- Always disconnect from the main power supply before servicing or replacing a fuse.
- Never look directly into the light source.
- Ensure the unit is installed in a location with adequate ventilation.
- Do not block ventilation openings.
- Keep flammable materials away from the fixture.
- Mount the unit in a secure location using appropriate hardware.
- This fixture is for indoor use only.
3. Package Contents
Verify that all components listed below are included in your package:
- Moving Head Light x1
- Power Cord x1
- Hook Accessory x1
- Instruction Manual x1
- Remote Control x1

Image: Overview of the Datewink 120W DJ Moving Head Light and its included accessories.
4. Product Features
The Datewink 120W DJ Moving Head Light offers a comprehensive set of features for dynamic stage lighting:
- Multi-Effect Lighting: Combines beam, spotlight, wash, and mirror ball effects.
- Dynamic Movement: Features 180° tilt and 540° horizontal rotation for broad coverage.
- Color Mixing: Supports infinite color mixing beams with vivid red/green lights and customizable spot patterns.
- Strobe Effects: Includes intense white/gold strobes.
- Multiple Control Options: DMX 512, Automatic, Sound-activated, Master-slave, and Remote control.
- Built-in Programs: Over 20 pre-programmed effects for instant atmospheric scenes.
- User-Friendly Interface: Equipped with a 4-digit digital display and control buttons for easy navigation.
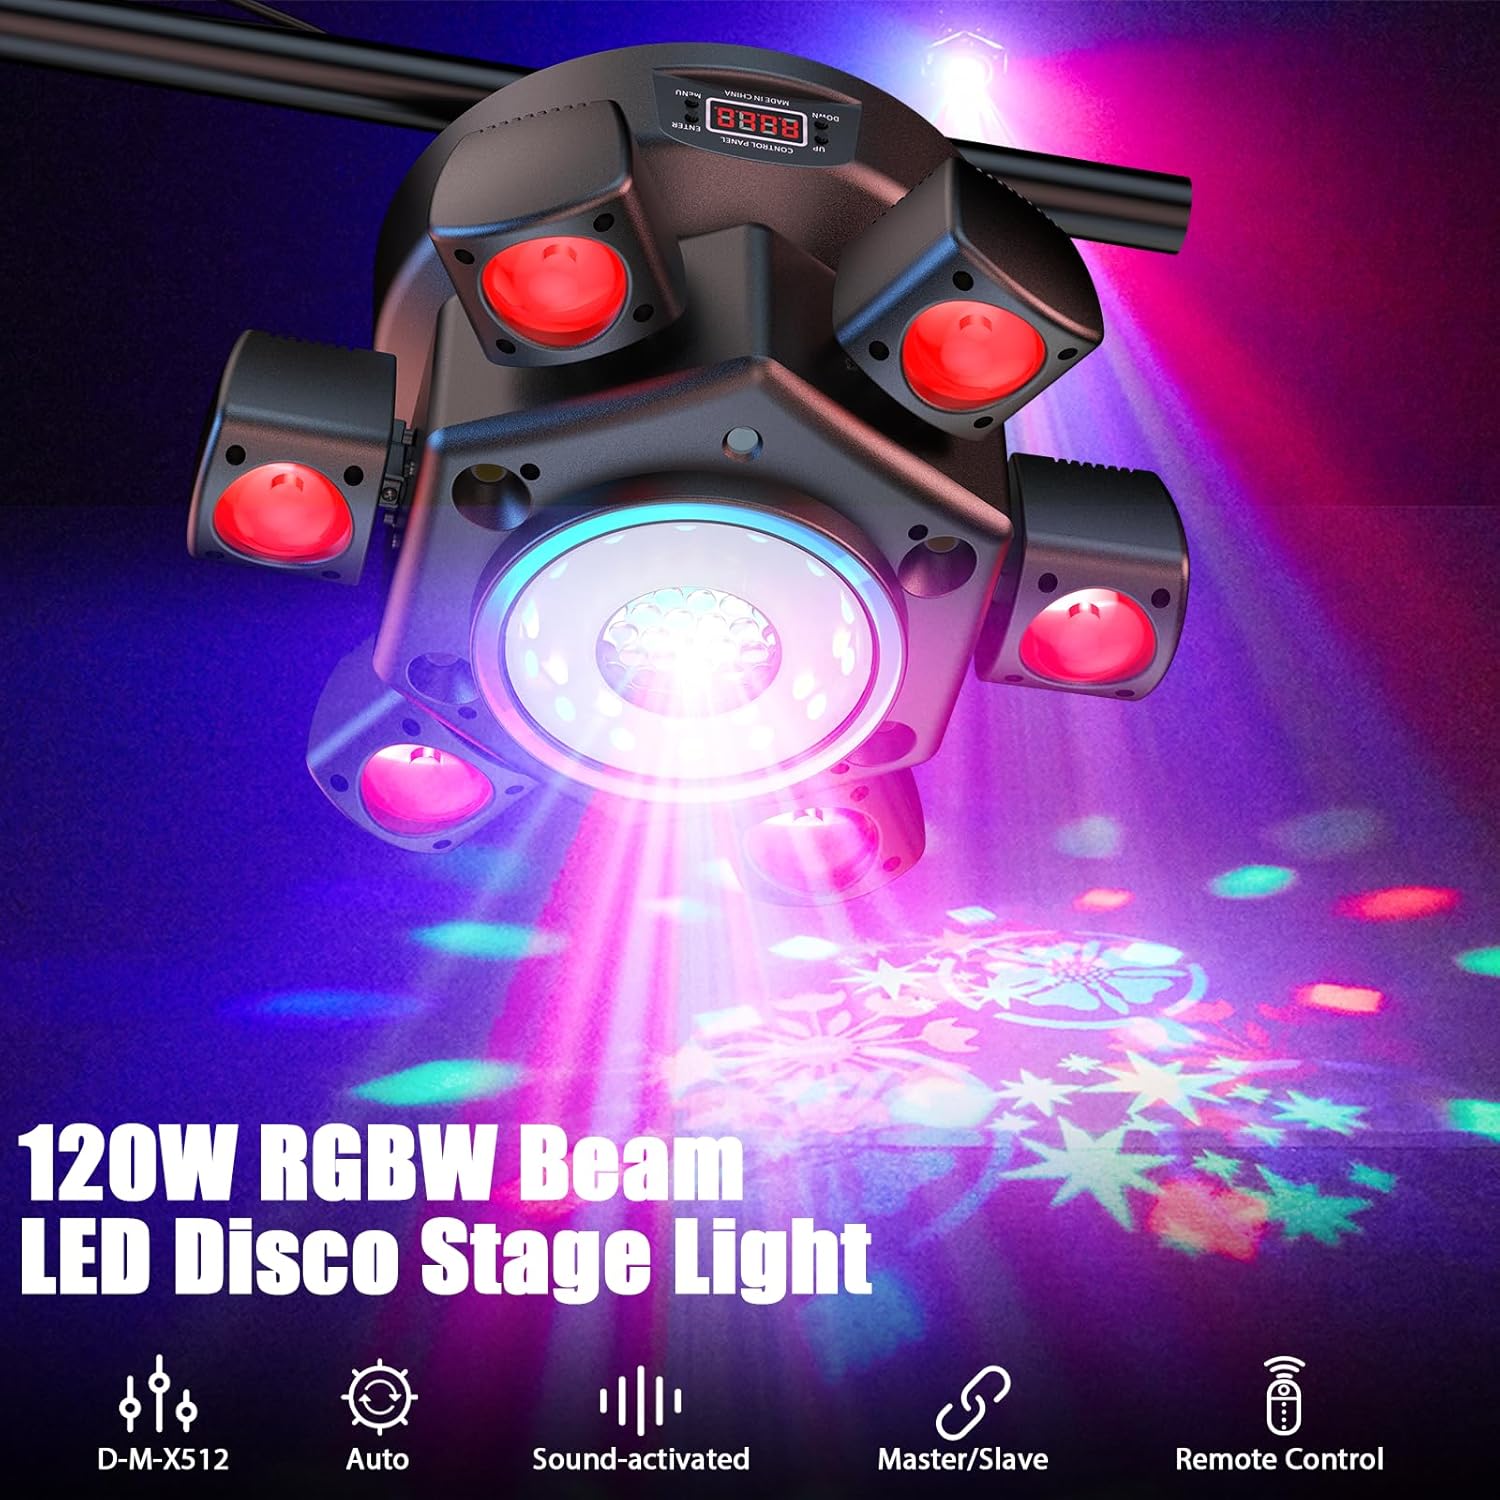
Image: Front view of the Datewink 120W DJ Moving Head Light highlighting its control options.
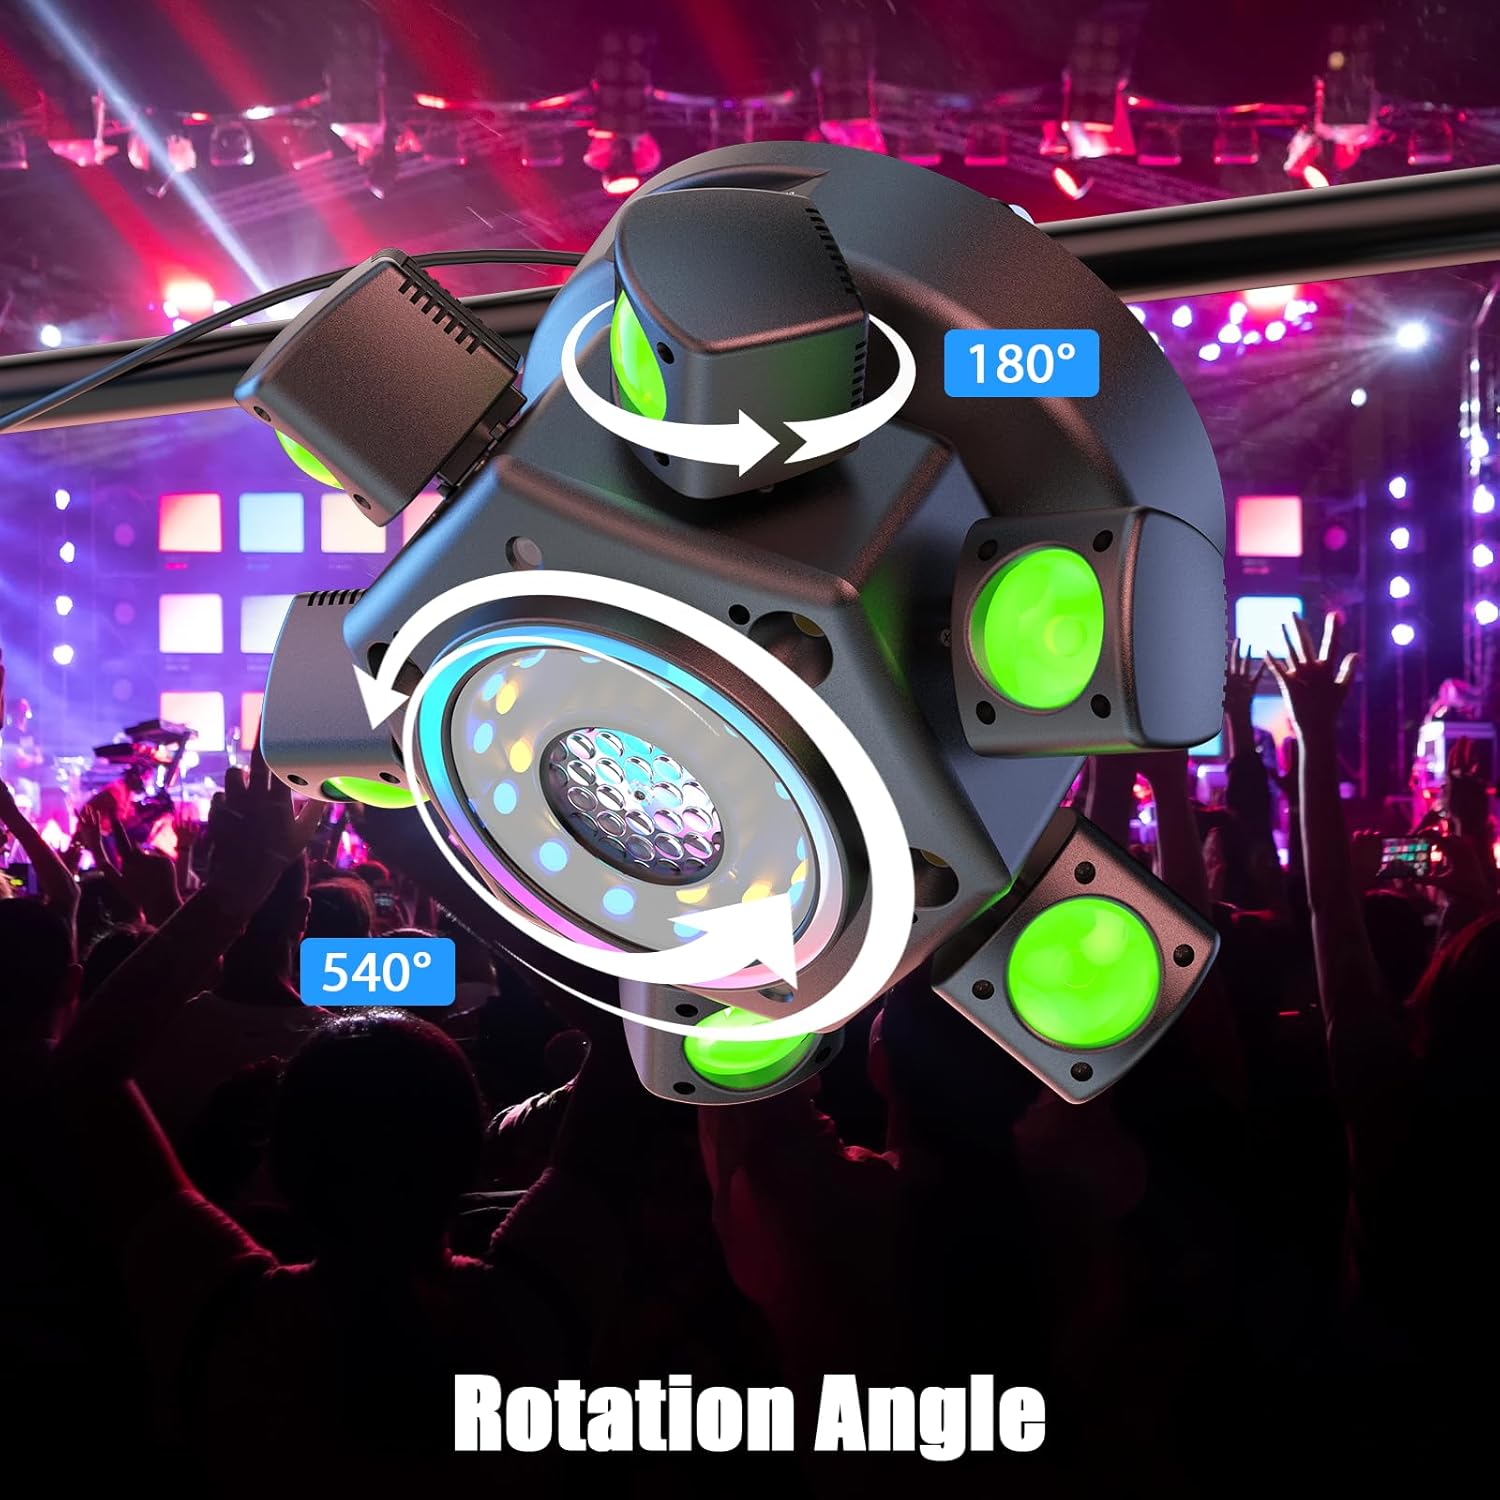
Image: Diagram showing the rotation angles of the moving head light.

Image: Visual representation of various lighting effects produced by the unit.
5. Setup
5.1 Mounting
The Datewink Moving Head Light can be mounted in various positions (e.g., truss, ceiling, or placed on a flat surface). Ensure the mounting surface or structure can support the weight of the fixture. Use the provided hook accessory for secure overhead mounting. Always use a safety cable when mounting overhead.
5.2 Power Connection
Connect the provided power cord to the power input on the rear of the fixture and then to a suitable power outlet (AC100-240V/50Hz).
5.3 DMX Connection (Optional)
For DMX control, connect a DMX cable from your DMX controller to the DMX IN port on the fixture. If linking multiple units, connect the DMX OUT of the first fixture to the DMX IN of the next, and so on.
Image: Detailed view of the control panel and connection ports.
6. Operating Modes
The fixture supports several operating modes, selectable via the control panel or remote control.
6.1 Control Panel Operation
Use the UP, DOWN, ENTER, and MENU buttons on the control panel to navigate settings and select modes. The 4-digit digital display shows the current mode or setting.
6.2 Automatic Mode
In Automatic mode, the light cycles through its pre-programmed effects and patterns. This mode is ideal for quick setup and continuous dynamic lighting without external control.
6.3 Sound-Activated Mode
The Sound-Activated mode allows the light to react to music or ambient sound. The internal microphone detects sound, and the light effects synchronize with the beat.
6.4 Master-Slave Mode
Connect multiple fixtures using DMX cables. Set one unit as the "Master" and others as "Slave" units. The slave units will mirror the master's effects, creating a synchronized light show.
6.5 DMX 512 Control
For advanced control, use a DMX 512 controller. The fixture utilizes 26 DMX channels, allowing precise control over individual light elements, movement, colors, and effects. Refer to the DMX channel chart (typically found in a separate DMX manual or appendix) for detailed channel functions.
6.6 Remote Control
The included remote control provides convenient wireless operation for basic functions such as turning the light on/off, selecting auto modes, sound-activated modes, adjusting motor speed, and voice sensitivity.

Image: Functions of the included remote control.
7. Maintenance
Regular maintenance ensures the longevity and optimal performance of your fixture.
- Cleaning: Periodically clean the lenses and housing with a soft, lint-free cloth. Do not use abrasive cleaners.
- Inspection: Regularly check power cords, DMX cables, and mounting hardware for any signs of wear or damage. Replace damaged components immediately.
- Storage: When not in use, store the fixture in a cool, dry place, away from direct sunlight and extreme temperatures.
8. Troubleshooting
| Problem | Possible Cause | Solution |
|---|---|---|
| No power | Power cord not connected, faulty outlet, blown fuse. | Check power connections, try a different outlet, replace fuse if necessary. |
| No light output | Fixture in standby, incorrect mode selected, DMX signal issue. | Ensure fixture is on, select an active mode (Auto, Sound, DMX), check DMX connections and address. |
| Fixture not responding to DMX | Incorrect DMX address, faulty DMX cable, DMX termination issue. | Verify DMX address, test DMX cables, use a DMX terminator on the last fixture in the chain. |
| Movement or effects are erratic | Interference, loose connection, internal fault. | Ensure stable power, check connections, reset the unit. If problem persists, contact support. |
9. Specifications
| Parameter | Value |
|---|---|
| Input Voltage | AC100-240V/50Hz |
| Light Source Type | Light Emitting Diode (LED) |
| Light Source Wattage | 120 Watts |
| Average LED Life | 10,000 hours |
| Dimming Curve | 0-100% Linear Dimming |
| Strobe Rate | 0-20Hz |
| X-Axis Rotation | 540° |
| Y-Axis Tilt | 180° |
| Control Protocol | Standard DMX512 Protocol |
| Control Channels | 26 CH |
| Data Connection | 3-pin XLR In/Out |
| Display | 4-Digit Digital Display |
| Protection Level | IP20 |
| Working Environment | -20°C to 40°C |
| Material | Aluminum Alloy Structure/Plastic Shell |
| Product Dimensions (L x W x H) | 30.6cm x 30.6cm x 17.5cm (12.05"L x 12.05"W x 6.89"H) |
| Net Weight | 2kg / 4.41lb |

Image: Dimensions and weight of the moving head light.
10. Official Product Videos
10.1 120W DJ Light Moving Head 6 Arms Overview
Video: This video provides a comprehensive overview of the Datewink 120W DJ Moving Head 6-Arm Stage Light, demonstrating its various lighting effects, movement capabilities, and control options. It highlights the product's features and how it can enhance different event atmospheres.
11. Warranty and Support
For warranty information or technical support, please refer to the contact details provided with your purchase or visit the official Datewink website. Keep your proof of purchase for any warranty claims.


