
1. Introduction
This manual provides essential information for the safe and efficient operation, installation, and maintenance of your new AEG LR7FD114B front-load washing machine. Please read it thoroughly before using the appliance and keep it for future reference.
The AEG LR7FD114B is an 11 kg capacity washing machine from the Serie 7000, designed for optimal fabric care and energy efficiency. Key features include:
- 11 kg Load Capacity: Ideal for large family laundry needs.
- Front-Load Design: Convenient loading and unloading of garments.
- ProSteam Function: Integrated steam function for refreshing clothes and reducing wrinkles.
- CareDrum XL: Specially designed drum for gentle fabric care during washing.
- Efficient and Quiet Motor: Reliable inverter motor ensures silent operation and lasting performance.
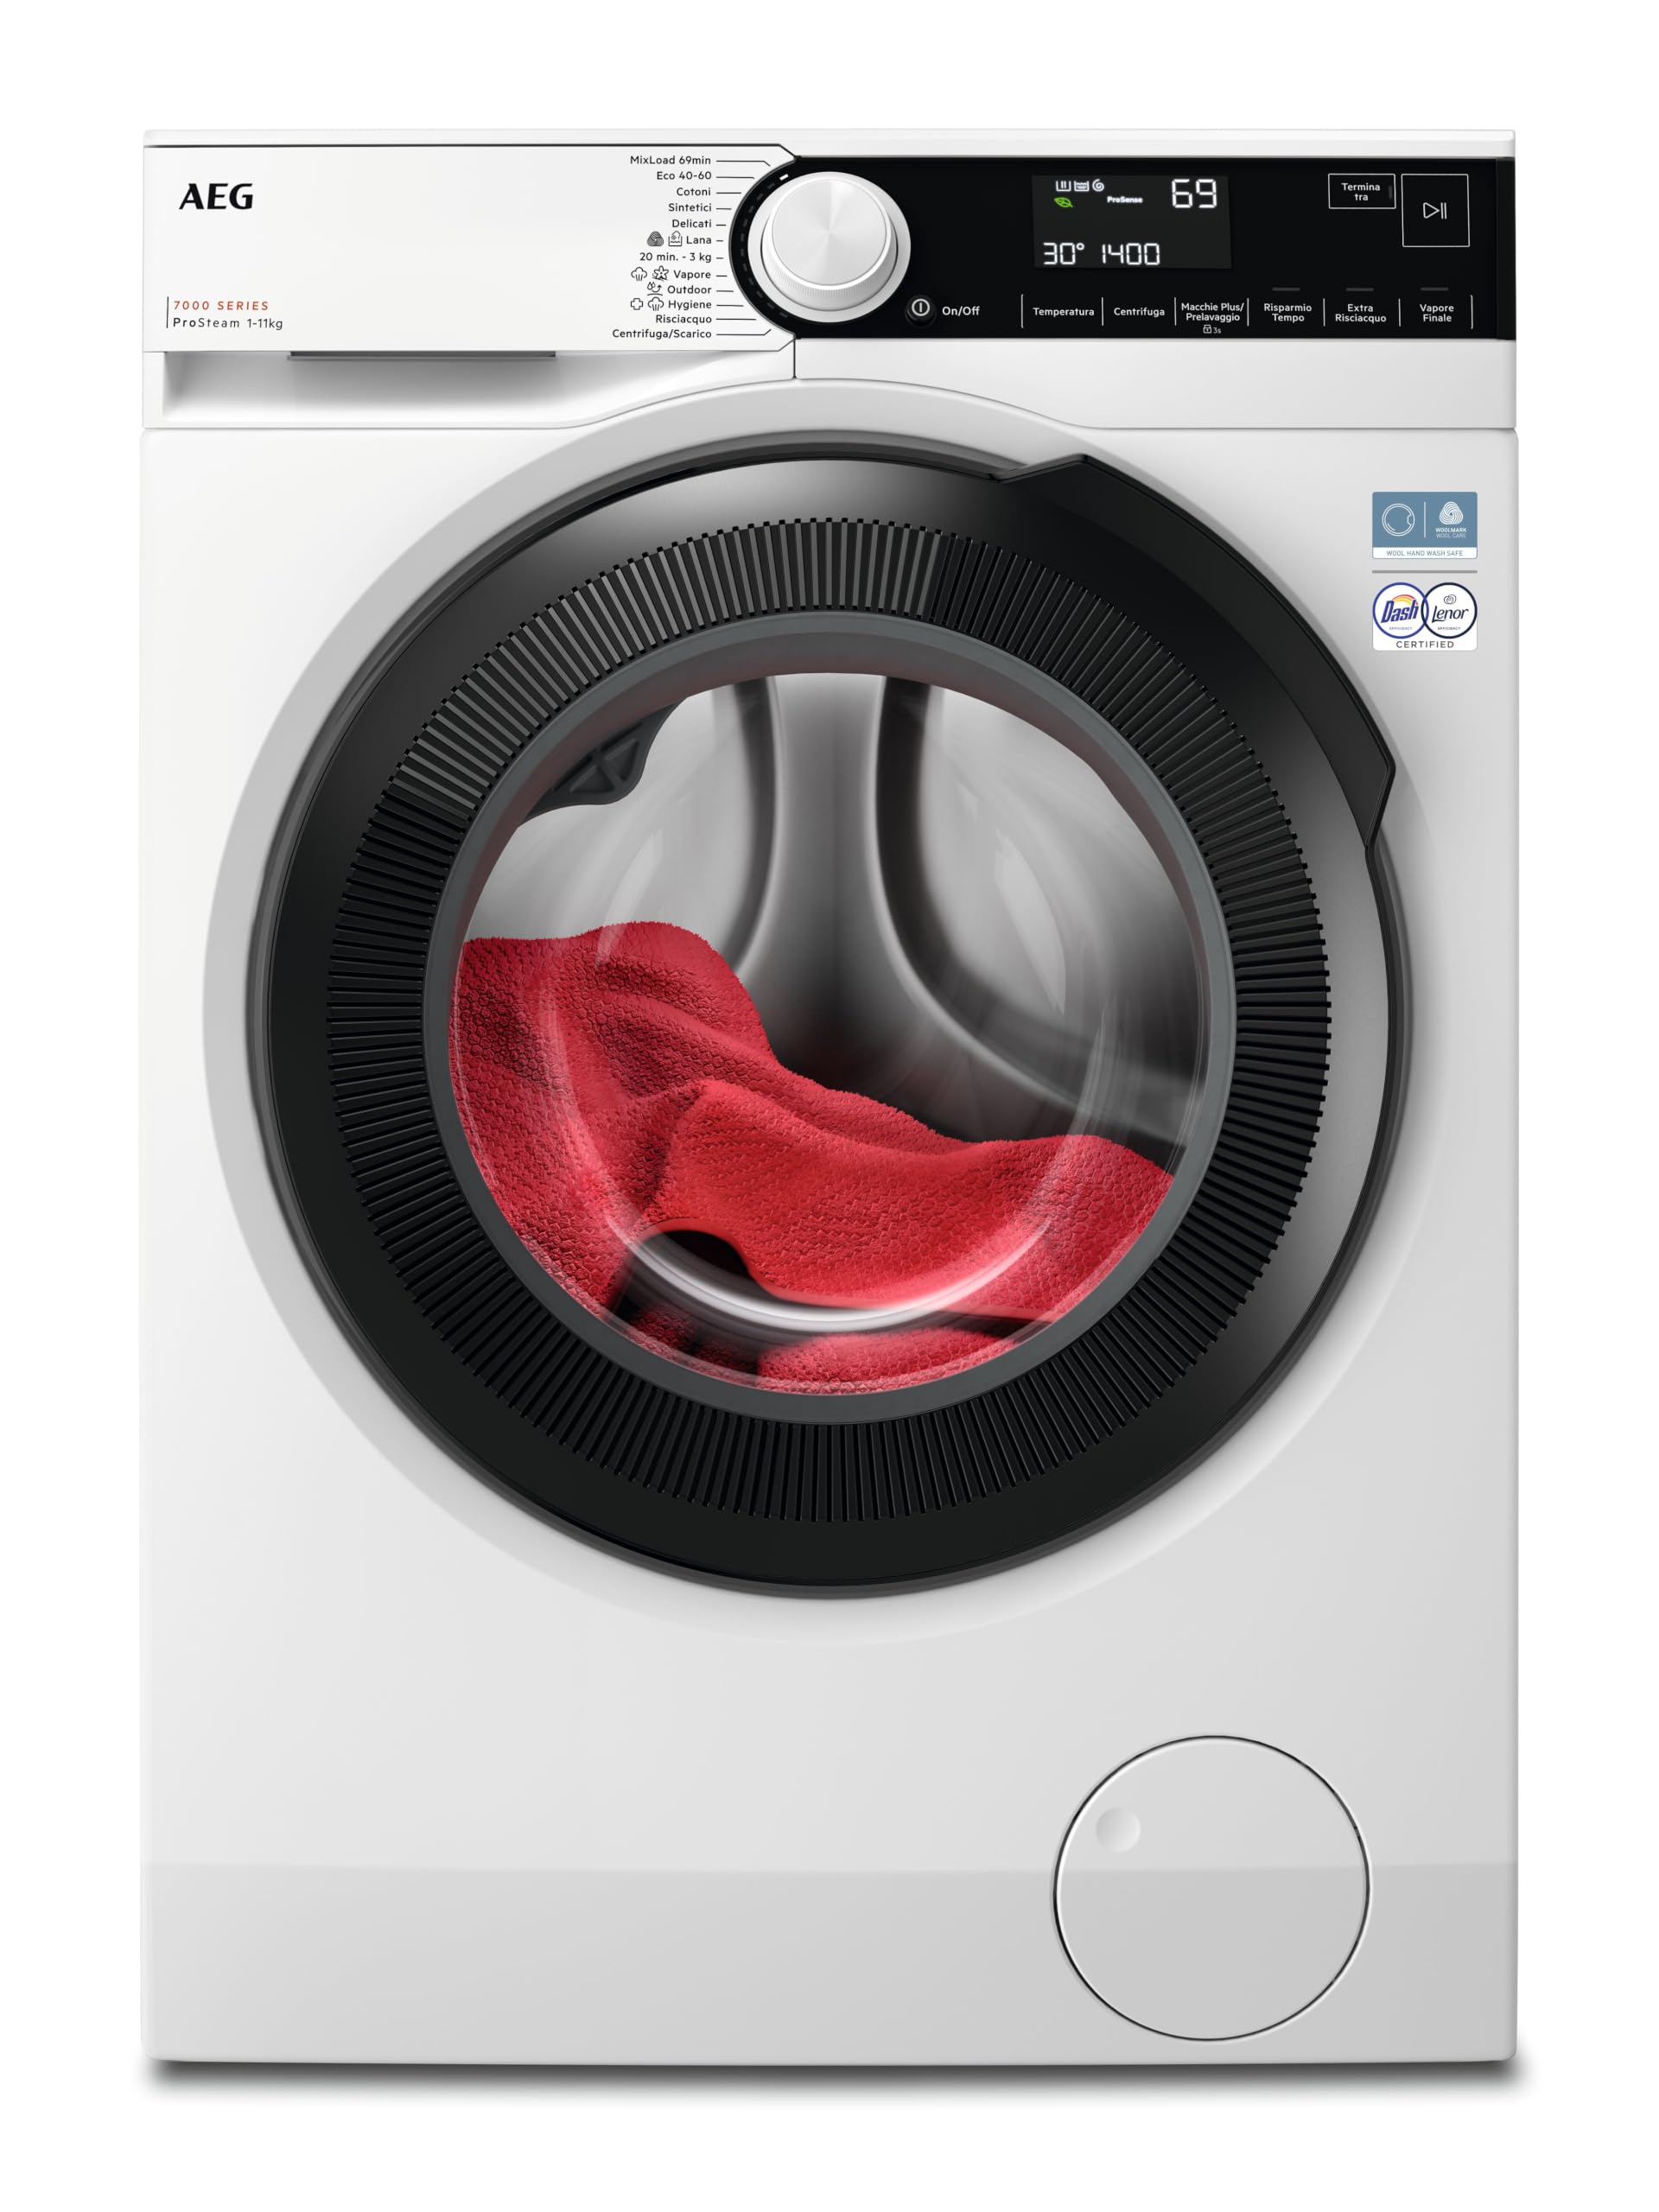
Image 1.1: Overview of the AEG LR7FD114B Front-Load Washing Machine.
2. Setup and Installation
2.1 Unpacking
Carefully remove all packaging materials. Ensure no parts are left inside the drum. Keep packaging materials away from children.
2.2 Removing Transport Bolts
Before use, it is crucial to remove the transport bolts located at the rear of the machine. Failure to do so will cause severe vibration and damage during operation.
- Locate the transport bolts on the back panel.
- Use the provided wrench (or an appropriate tool) to loosen and remove all bolts.
- Insert the plastic caps (supplied with the machine) into the holes.
2.3 Positioning and Leveling
Place the washing machine on a firm, level floor. Adjust the feet to ensure the appliance is perfectly level and stable. This prevents excessive noise and vibration.
2.4 Water and Electrical Connections
- Connect the water inlet hose to a cold water tap with a 3/4" thread. Ensure connections are tight to prevent leaks.
- Position the drain hose into a standpipe or over the edge of a sink, ensuring it is securely fixed and not kinked.
- Plug the power cord into a grounded electrical outlet. Ensure the voltage matches the specifications of the appliance (230 Volts).
3. Operating Instructions
3.1 Loading Laundry
Open the door and load laundry into the drum. Do not overload the machine; refer to program guidelines for maximum load capacity. Close the door firmly.
3.2 Adding Detergent and Additives
Pull out the detergent drawer. Add appropriate amounts of detergent, fabric softener, and any other additives to the designated compartments. Close the drawer.
3.3 Program Selection
Turn the program selector knob or use the touch controls to choose the desired wash program. The machine offers various programs tailored for different fabric types and soil levels.
- MixLoad 69min Program: This program provides a perfect balance of time, energy efficiency, and garment care, cleaning at 30°C in just 69 minutes for optimal everyday results.
- Hygiene Program: Designed to remove over 99.99% of viruses and bacteria, ensuring a thorough and hygienic wash.
- ProSteam Function (Steam Refresh): Use this function to refresh fabrics and eliminate odors from worn garments without needing a full wash cycle, reducing wrinkles.
- PreciseWash Technology: This technology customizes the wash cycle based on the load, optimizing water, energy, and time consumption for personalized fabric care.
- 20-minute Quick Program: The fastest way to wash a 3 kg load in just 20 minutes.

Image 3.1: Illustration of the Steam Refresh program, showing how it reduces wrinkles.

Image 3.2: The MixLoad 69min program for efficient everyday laundry.

Image 3.3: PreciseWash Technology optimizes resources for each load.

Image 3.4: The Hygiene program, approved by Swissatest, removes viruses and bacteria.
3.4 Adjusting Settings
Depending on the selected program, you can adjust temperature, spin speed (up to 1351 RPM), and other options using the touch controls. The delayed start feature allows you to set the machine to start at a later time.
3.5 Starting the Wash Cycle
Press the Start/Pause button to begin the wash cycle. The display will show the remaining time.
3.6 End of Cycle
Once the cycle is complete, the machine will signal with an audible alert and/or a message on the display. Open the door and remove the laundry promptly.
4. Maintenance
4.1 Cleaning the Detergent Drawer
Regularly clean the detergent drawer to prevent residue buildup. Pull out the drawer, rinse it under running water, and use a brush if necessary to remove stubborn deposits. Reinsert the drawer.
4.2 Cleaning the Drum and Door Seal
Wipe the inside of the drum and the rubber door seal after each wash to remove any moisture or lint. Periodically run a maintenance wash cycle (e.g., a hot wash with no laundry and a descaling agent) to keep the drum clean and fresh.

Image 4.1: The CareDrum XL interior, designed for gentle fabric treatment.
4.3 Cleaning the Drain Filter
The drain filter should be cleaned regularly to prevent blockages. Refer to the diagram in the full manual for the exact location and procedure. Always drain residual water before removing the filter.
4.4 Exterior Cleaning
Wipe the exterior surfaces of the washing machine with a soft, damp cloth. Avoid abrasive cleaners or solvents.
5. Troubleshooting
If you encounter any issues with your washing machine, consult the following common troubleshooting tips before contacting service.
| Problem | Possible Cause | Solution |
|---|---|---|
| Machine does not start | Power cord not plugged in; door not closed properly; program not selected; Start/Pause button not pressed. | Check power supply; ensure door is latched; select a program; press Start/Pause. |
| No water filling | Water tap closed; water inlet hose kinked; water pressure too low. | Open water tap; straighten hose; check household water pressure. |
| Excessive vibration/noise | Transport bolts not removed; machine not level; uneven load. | Remove transport bolts; adjust leveling feet; redistribute laundry in the drum. |
| Water not draining | Drain hose kinked or blocked; drain filter clogged. | Check and clear drain hose; clean drain filter. |
| Detergent residue on clothes | Too much detergent; detergent not dissolving properly; detergent drawer clogged. | Reduce detergent amount; use liquid detergent; clean detergent drawer. |
For more detailed troubleshooting or error codes, please refer to the complete user manual available for download on the AEG website.
6. Specifications
| Feature | Detail |
|---|---|
| Brand | AEG |
| Model Name | LR7FD114B |
| Capacity | 11 kg |
| Product Dimensions (DxWxH) | 63.6P x 59.7l x 84.7H cm (63.6 x 59.7 x 84.7 cm) |
| Item Weight | 84.5 Kilograms |
| Maximum Spin Speed | 1351 Revolutions per minute |
| Voltage | 230 Volts |
| Noise Level | 72 Decibels |
| Control Type | Touch |
| Installation Type | Countertop (Freestanding) |
| Drum Material | Stainless Steel |
| Special Features | Delayed Start, ProSteam Function, CareDrum XL |

Image 6.1: The efficient and quiet Inverter Motor.
7. Warranty and Support
7.1 Product Warranty
This AEG LR7FD114B washing machine comes with a 2-year manufacturer's warranty. Please retain your proof of purchase for any warranty claims. The warranty covers manufacturing defects and malfunctions under normal use conditions.
7.2 Customer Support
For technical assistance, spare parts, or to schedule a service appointment, please contact AEG customer support. You can find contact information on the official AEG website or in the full user manual.
Online Resources:
- Official AEG Website: www.aeg.com
- Product Support Page: www.aeg.com/support (Example link, actual URL may vary)
- Download Full Manual (PDF): Download PDF Manual


