1. Introduction
Thank you for choosing the SPYMINNPOO S966 Electric Bike LCD Display. This device serves as a comprehensive cycling computer for electric bikes, providing essential ride data, smart meter functions, and secure NFC-based power control. This manual provides detailed instructions for installation, operation, and maintenance to ensure optimal performance and longevity of your display.
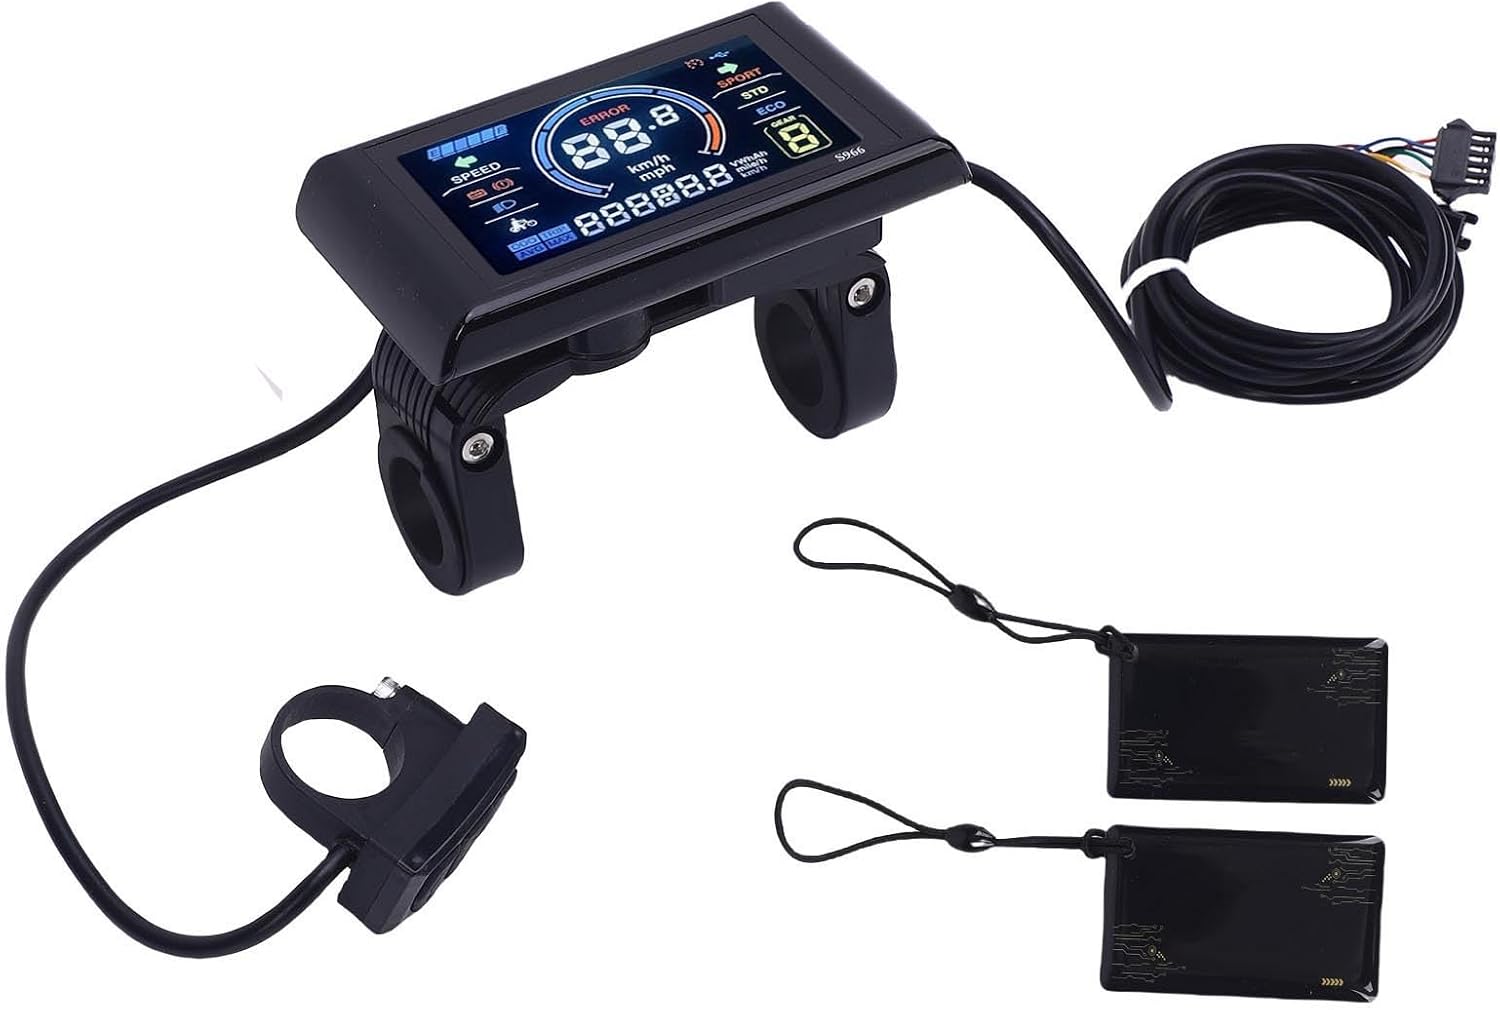
Image 1.1: Overview of the SPYMINNPOO S966 Electric Bike LCD Display package contents. Shown are the main display unit, a separate control button unit, the connecting wiring harness, and two NFC cards.
2. Package Contents
Please verify that all items are present in your package:
- 1 x SPYMINNPOO S966 Electric Bike LCD Display Unit
- 1 x Control Button Unit (integrated with wiring)
- 1 x Wiring Harness (pre-attached to display and control unit)
- 2 x NFC Cards
- 1 x User Manual (this document)
3. Specifications
| Feature | Specification |
|---|---|
| Model Name | S966 |
| Voltage Compatibility | DC24V, DC36V, DC48V |
| Material | ABS |
| Display Type | LCD, Color Display |
| Item Weight | 275 Grams |
| Connectivity | NFC |
| Mounting Type | Handlebar Mount |
| Human Interface Input | Buttons |
| Waterproofing | Designed for wet conditions |

Image 3.1: The S966 display unit with key dimensions indicated: 100mm (3.93in) length, 61.5mm (2.42in) height, and 22.2mm (0.87in) handlebar clamp diameter.
4. Safety Information
Please read and understand all safety instructions before installing and operating the display. Failure to do so may result in damage to the product or personal injury.
- Professional Installation Recommended: If you are unsure about the installation process, seek assistance from a qualified bicycle technician.
- Power Off Before Connection: Always ensure the e-bike's power is turned off before connecting or disconnecting any components.
- Correct Voltage: Verify that your e-bike's battery voltage (24V, 36V, or 48V) matches the display's compatibility.
- Secure Mounting: Ensure the display and control unit are securely mounted to the handlebar and do not obstruct steering or braking.
- Wiring Integrity: Check all wiring connections for proper seating and ensure no wires are pinched or exposed.
- Water Resistance: While the display is designed to be waterproof, avoid submerging it in water or using high-pressure washers directly on the unit.
5. Setup
5.1. Installation
- Choose Mounting Location: Select a suitable position on your e-bike's handlebar for the display unit and the control button unit. Ensure they are easily accessible and do not interfere with other controls.
- Mount the Display: Loosen the screws on the display's handlebar clamp. Position the display on the handlebar and tighten the screws until it is secure. Do not overtighten.
- Mount the Control Unit: Similarly, mount the control button unit on the handlebar in a comfortable position for your thumb.

Image 5.1: The S966 display and control unit installed on an electric bicycle handlebar, with the bike parked in the background.
5.2. Wiring Connections
The S966 display connects to your e-bike's controller via a multi-pin SM connector. It is crucial that your controller supports the same communication protocol as the S966 display.
- Identify Controller Port: Locate the corresponding display port on your e-bike's controller.
- Connect Wiring Harness: Carefully align the pins of the display's wiring harness connector with the controller's port. Push firmly until the connector is fully seated and secured.
- Cable Management: Route the cables neatly along the bike frame, securing them with cable ties to prevent snagging or damage.
6. Operating Instructions
6.1. Power On/Off with NFC Card
The S966 display utilizes NFC technology for secure power activation. To turn the display on or off:
- To Power On: Hold one of the provided NFC cards near the designated NFC sensing area on the display. The display will power on, and you may hear a 'click' sound indicating successful card sensing.
- To Power Off: Repeat the process by holding the NFC card near the sensing area. The display will power off.
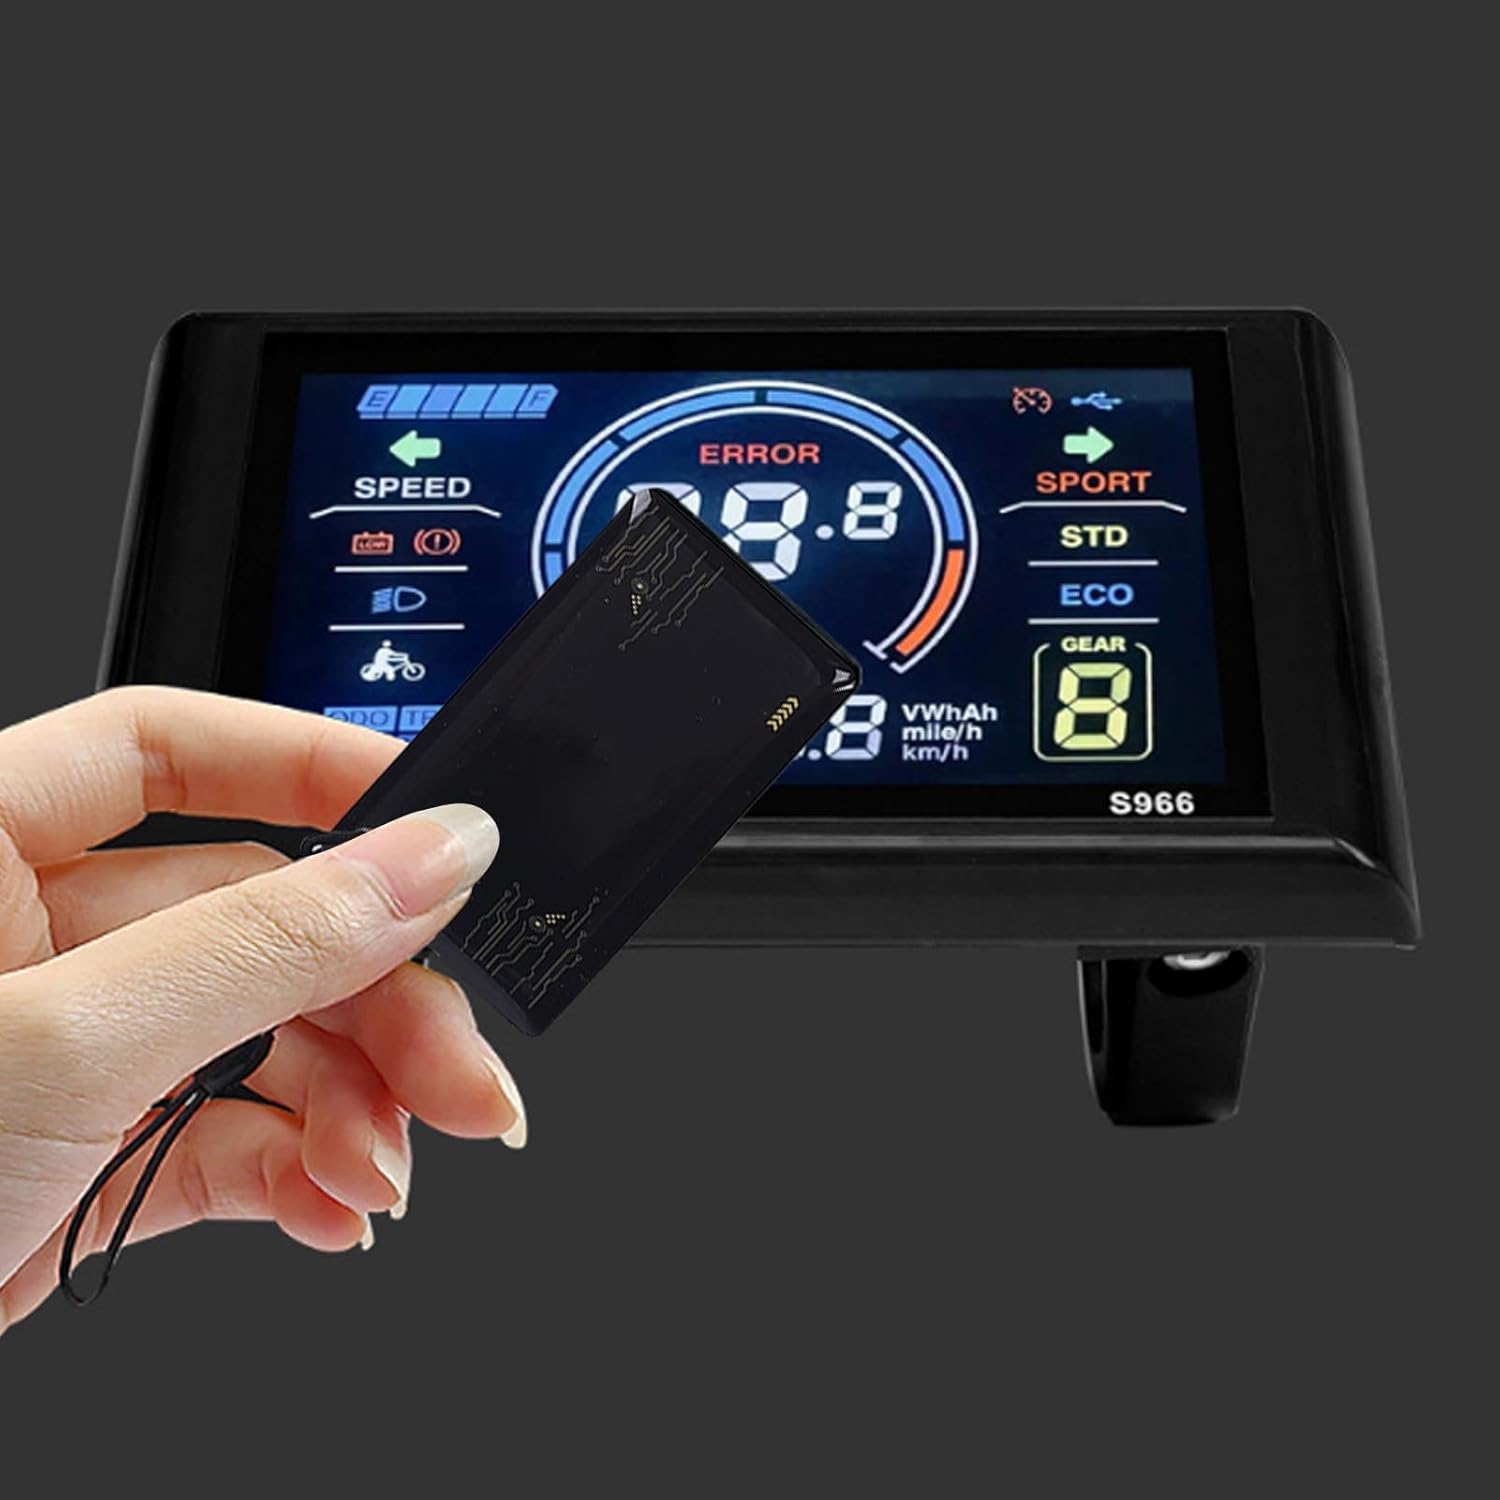
Image 6.1: A hand demonstrating the use of an NFC card to interact with the S966 display, likely for power activation.
6.2. Display Overview
The high-resolution LCD screen provides clear and comprehensive information at a glance.

Image 6.2: A detailed view of the S966 display screen, showing various indicators such as speed, battery level, error messages, and riding modes.
Key indicators typically include:
- Speed: Current riding speed (km/h or mph).
- Battery Level: Graphical representation of remaining battery charge.
- Error Indicator: Displays error codes if a system fault occurs.
- Assistance Level/Gear: Current pedal assist level (e.g., ECO, STD, SPORT, or numerical gear).
- Odometer (ODO): Total distance traveled.
- Trip Distance (TRIP): Distance traveled during the current ride.
- Average Speed (AVG): Average speed of the current ride.
- Maximum Speed (MAX): Maximum speed achieved during the current ride.
- Headlight Indicator: Shows if the e-bike's headlights are on.
6.3. Button Functions
The separate control unit typically features three buttons for navigating the display and adjusting settings:

Image 6.3: The S966 display connected to its wired control unit, which features three buttons for operation.
- Up Button (▲): Typically used to increase pedal assist level, scroll up through menus, or increase values in settings.
- Down Button (▼): Typically used to decrease pedal assist level, scroll down through menus, or decrease values in settings.
- Mode/Menu Button (M): Used to cycle through display information (e.g., ODO, TRIP, AVG, MAX), enter/exit settings menus, or confirm selections. A long press often activates specific functions or enters the settings menu.
6.4. Parameter Settings
To access and adjust various parameters (e.g., wheel size, speed unit, backlight brightness), typically:
- Enter Settings: With the display on, press and hold the 'M' button for a few seconds until the settings menu appears.
- Navigate: Use the Up (▲) and Down (▼) buttons to scroll through the available settings options.
- Select/Adjust: Press the 'M' button briefly to select a setting. Use the Up (▲) and Down (▼) buttons to adjust the value.
- Confirm/Exit: Press the 'M' button again to confirm the adjustment. To exit the settings menu, typically a long press of the 'M' button or navigating to an 'Exit' option is required.
7. Maintenance
Proper maintenance ensures the longevity and reliability of your S966 display.
- Cleaning: Wipe the display screen and body with a soft, damp cloth. Avoid using abrasive cleaners, solvents, or harsh chemicals, as these can damage the screen or casing.
- Water Exposure: Although designed to be waterproof, prolonged exposure to heavy rain or direct high-pressure water jets should be avoided. Ensure the connector is dry before powering on after wet conditions.
- Storage: When not in use for extended periods, store the e-bike and display in a dry, cool place away from direct sunlight.
- Cable Inspection: Periodically check all cables and connectors for signs of wear, fraying, or damage. Ensure connections remain secure.
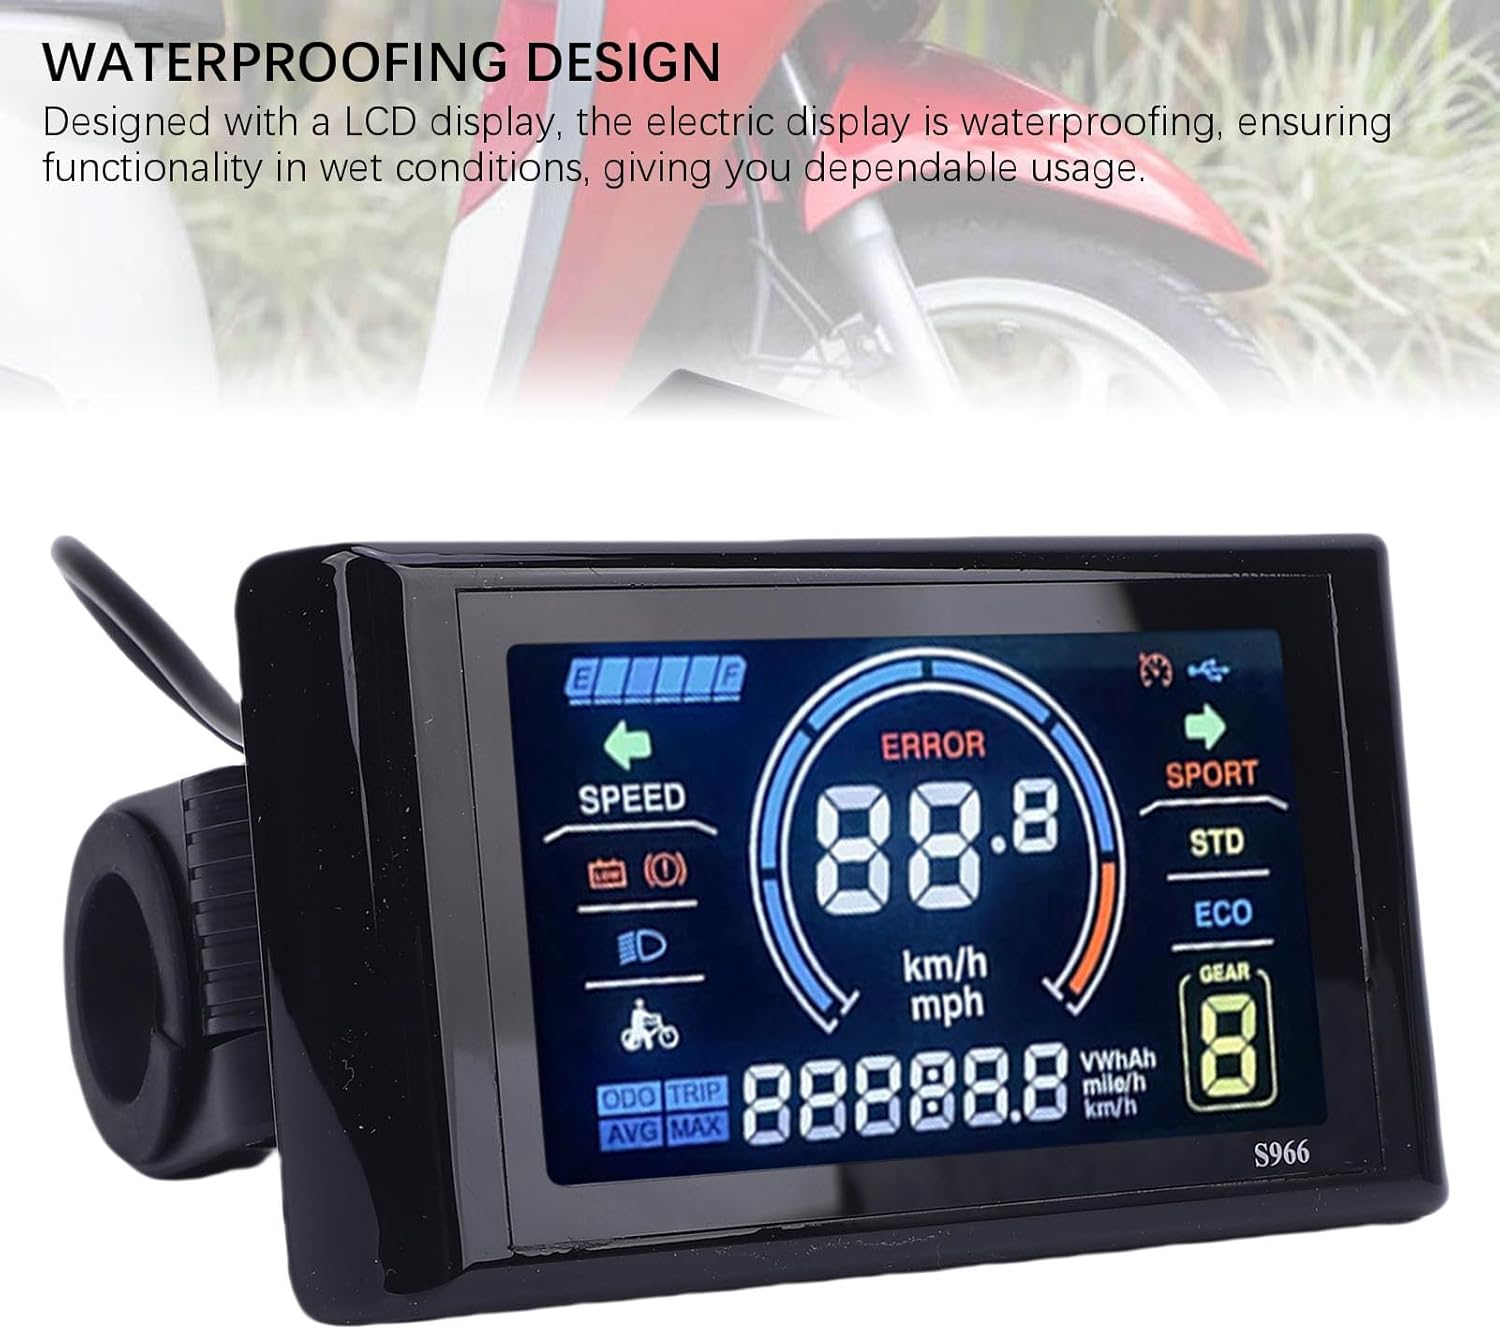
Image 7.1: The S966 display unit, highlighting its waterproof design, suitable for use in various weather conditions.
8. Troubleshooting
If you encounter issues with your S966 display, refer to the following common problems and solutions:
| Problem | Possible Cause | Solution |
|---|---|---|
| Display does not power on | NFC card not detected, loose connection, no power from controller | Ensure NFC card is correctly presented. Check all wiring connections to the controller. Verify e-bike battery is charged and powered on. |
| Error Code 10 displayed | Communication error between display and controller | This error typically indicates a communication issue. First, power off the e-bike and display, then check all wiring connections between the display and the controller for looseness or damage. Ensure the controller is compatible with the display's communication protocol. If the issue persists, contact customer support. |
| Inaccurate speed/distance readings | Incorrect wheel size setting, faulty speed sensor | Access the settings menu to verify and adjust the wheel size parameter. Check the speed sensor for proper installation and function. |
| Buttons are unresponsive | Loose connection, internal fault | Check the connection of the control button unit. If the issue persists, contact customer support. |
9. Warranty and Support
The SPYMINNPOO S966 Electric Bike LCD Display comes with a manufacturer's warranty of 90 days from the date of purchase. This warranty covers defects in materials and workmanship under normal use.
For warranty claims, technical support, or any questions not covered in this manual, please contact your retailer or the SPYMINNPOO customer service department. Please have your purchase receipt and product model information ready when contacting support.

