Introduction
This user manual provides essential information for the proper installation, use, and maintenance of your UCVJXDEM Dust Bag Replacement for self-emptying vacuum cleaners. These bags are designed for efficient dust collection, ensuring a hygienic and clean environment.
Safety Information
- Always ensure the vacuum cleaner is unplugged before attempting to install or replace the dust bag.
- Keep dust bags out of reach of children and pets.
- Do not attempt to wash or reuse disposable dust bags.
- Dispose of used dust bags according to local waste disposal regulations.
- If the dust bag is damaged, replace it immediately to prevent dust leakage and maintain vacuum performance.
Package Contents
Your package includes the following items:
- 2 or 6 x UCVJXDEM Dust Bags (depending on the pack purchased)

Image: Two UCVJXDEM replacement dust bags, showing their blue fabric and white cardboard collar with a black rubber seal.
Product Overview
The UCVJXDEM dust bag is designed for self-emptying vacuum systems, featuring a multi-layered filtration material and a secure sealing mechanism.

Image: A single UCVJXDEM replacement dust bag, highlighting its compact, folded design and the circular opening for vacuum connection.
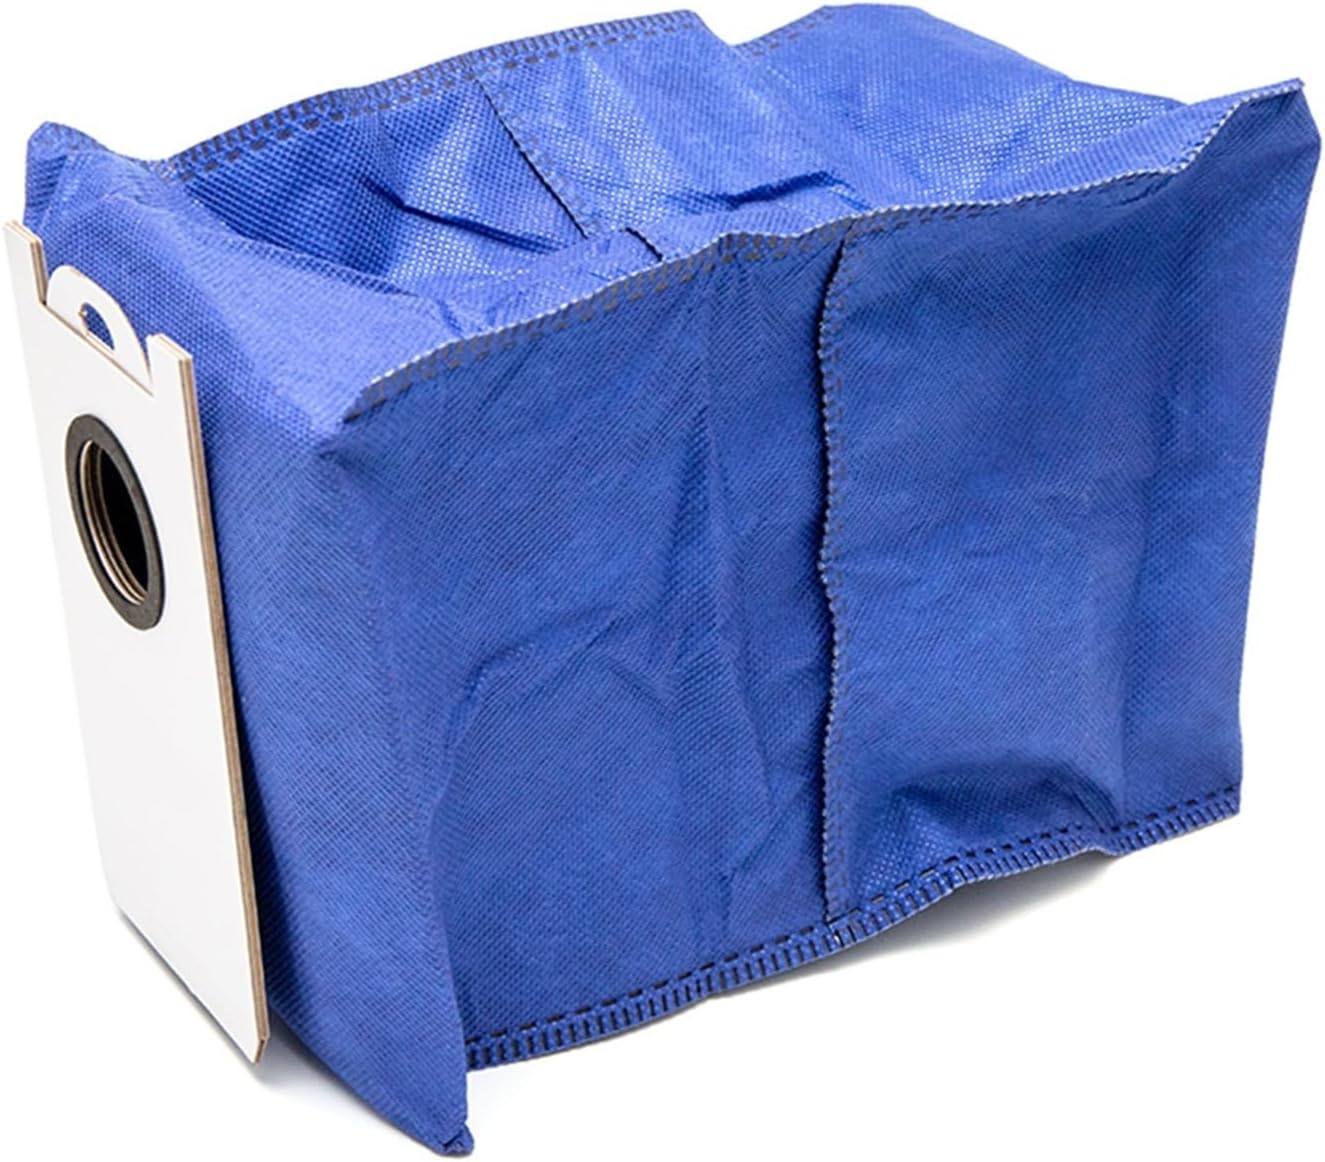
Image: Side view of a UCVJXDEM dust bag, showing the stitched seams and the durable fabric material.
Setup and Installation
Follow these steps to properly install the dust bag into your compatible self-emptying vacuum cleaner:
- Power Off and Unplug: Before beginning, ensure your vacuum cleaner's self-emptying station is turned off and unplugged from the power outlet to prevent accidental operation.
- Locate Dust Bin/Compartment: Open the dust bin or dust bag compartment on your self-emptying vacuum station. Refer to your vacuum cleaner's specific manual if you are unsure of its location.
- Remove Old Bag (if applicable): If there is an old dust bag, carefully remove it. Most self-emptying bags have a self-sealing mechanism that closes the opening upon removal to prevent dust from escaping. Dispose of the old bag hygienically.
- Insert New Bag: Take a new UCVJXDEM dust bag. Align the cardboard collar of the new bag with the slot or guides inside the dust bag compartment. Gently push the bag into place until it clicks or sits securely. Ensure the opening of the bag is fully engaged with the vacuum's suction port.
- Close Compartment: Close the dust bin or dust bag compartment door firmly. Ensure it is fully latched to maintain proper suction and prevent dust leakage.
- Power On: Plug your vacuum cleaner's self-emptying station back into the power outlet and turn it on. The system is now ready for operation.

Image: Two UCVJXDEM dust bags, clearly labeled as a "2 PACK", illustrating the product quantity.
Operating
Once the dust bag is correctly installed, the self-emptying vacuum cleaner will automatically transfer collected debris from the robot vacuum's dustbin into the larger capacity dust bag within the charging station. No direct operation of the dust bag itself is required.
- Automatic Emptying: The vacuum cleaner will automatically empty its internal dustbin into the installed dust bag when it docks at the self-emptying station.
- Capacity: The large capacity design of these bags reduces the frequency of bag replacement.
Maintenance
Regular maintenance ensures optimal performance and hygiene:
- Replacement Frequency: Replace the dust bag when your vacuum cleaner's indicator light signals that the bag is full, or when you notice a decrease in emptying efficiency. The frequency depends on usage and the amount of debris collected. For average household use, replacement every 4-8 weeks is common.
- Hygienic Disposal: The leak-proof seal design ensures that dust does not leak out during removal, making disposal hygienic and convenient.
- Inspection: Periodically check the dust bag compartment for any dust buildup or obstructions, and clean as necessary.
Troubleshooting
If you encounter issues with your dust bag replacement, consider the following:
- Vacuum Not Emptying:
- Ensure the dust bag is correctly installed and fully seated in its compartment.
- Check if the dust bag is full and requires replacement.
- Verify that the vacuum cleaner's self-emptying station is powered on and functioning correctly.
- Dust Leakage:
- Confirm the dust bag compartment door is securely closed.
- Inspect the dust bag for any tears or damage. Replace if damaged.
- Ensure the bag's cardboard collar is properly aligned and sealed against the vacuum's port.
- Reduced Suction/Performance:
- A full dust bag can restrict airflow; replace it.
- Check for any blockages in the vacuum's emptying duct or the self-emptying station's intake.
Specifications
| Feature | Detail |
|---|---|
| Brand Name | UCVJXDEM |
| Model Info | wymlsh |
| Item Weight | 1.76 ounces (50 Grams) |
| Package Dimensions | 0.39 x 0.39 x 0.39 inches (approximate, likely shipping dimensions) |
| Item Model Number | wymlsh |
| Part Number | wymlsh |
| Color | Blue (2 PACK / 6 PACK options) |
| Number of Items | 1 (referring to the package unit) |
| Compatibility | Compatible For BObsweep, Dustin, Orb-i, Ultra-Vision (and similar self-emptying vacuum systems) |

Image: A UCVJXDEM dust bag with key dimensions (e.g., 170mm height, 160mm width, 230mm depth when expanded, 42mm opening diameter) indicated, providing a visual reference for size.

Image: Multiple UCVJXDEM dust bags arranged to show the available 2-pack and 6-pack options, with a close-up of the bag's material and sealing mechanism.
Warranty and Support
For any questions, concerns, or support regarding your UCVJXDEM Dust Bag Replacement, please contact the seller or refer to the support information provided with your vacuum cleaner's self-emptying station. As a consumable item, specific warranty terms may vary.
Manufacturer: UCVJXDEM
Date First Available: May 18, 2025