
1. Introduction
Thank you for choosing the Gilmour Dual Outlet Water Timer. This programmable automatic watering system is designed to simplify your garden irrigation, ensuring your plants receive the right amount of water at optimal times. Featuring an easy-to-read LCD screen, rain delay function, and battery operation, this timer offers convenience and efficiency for your watering needs. Please read this manual thoroughly before installation and operation to ensure proper use and longevity of your device.
2. Safety Information
- Do not immerse the timer in water.
- Use only with clean, fresh water. Do not use with chemicals or other liquids.
- Install the timer vertically to prevent water from entering the battery compartment.
- Remove batteries during freezing weather or when the timer will not be used for an extended period.
- Keep out of reach of children.
3. Product Overview
The Gilmour Dual Outlet Water Timer provides automated control over two independent watering zones. Its intuitive design includes a large LCD screen and clearly marked buttons for easy programming.
Key Features:
- Digital LCD Screen: Displays time, weekdays, battery levels, and setup information for easy programming.
- Dual Zones: Two independent outlets, each programmable for specific watering schedules.
- Flexible Programming: Each zone can run from 1 to 360 minutes and supports up to three independent schedules (A, B, C).
- Watering Frequencies: Set watering by Week mode, Interval Day mode, or Parity Day Mode.
- Rain Delay: Pause watering for 1 to 15 days to conserve water during rainy periods.
- Flow Meter Alarm: Alerts users to potential water leakage.
- Battery Operated: Requires batteries (not included) with an on-screen indicator for low battery alerts.
- Swivel Connect: Ensures a fast, leak-free connection to your faucet.

Image: Front view of the Gilmour Dual Outlet Water Timer, highlighting the large LCD screen and various control buttons including Manual Function, Decrease, Eco Mode, L/R (Left/Right zone selection), OK, Main Menu, and Rain Delay/Increase.
4. Setup
4.1. Battery Installation
- Locate the battery compartment on the back of the timer.
- Open the battery cover.
- Insert two AA alkaline batteries (not included), ensuring correct polarity (+/-).
- Close the battery cover securely. The LCD screen should power on.
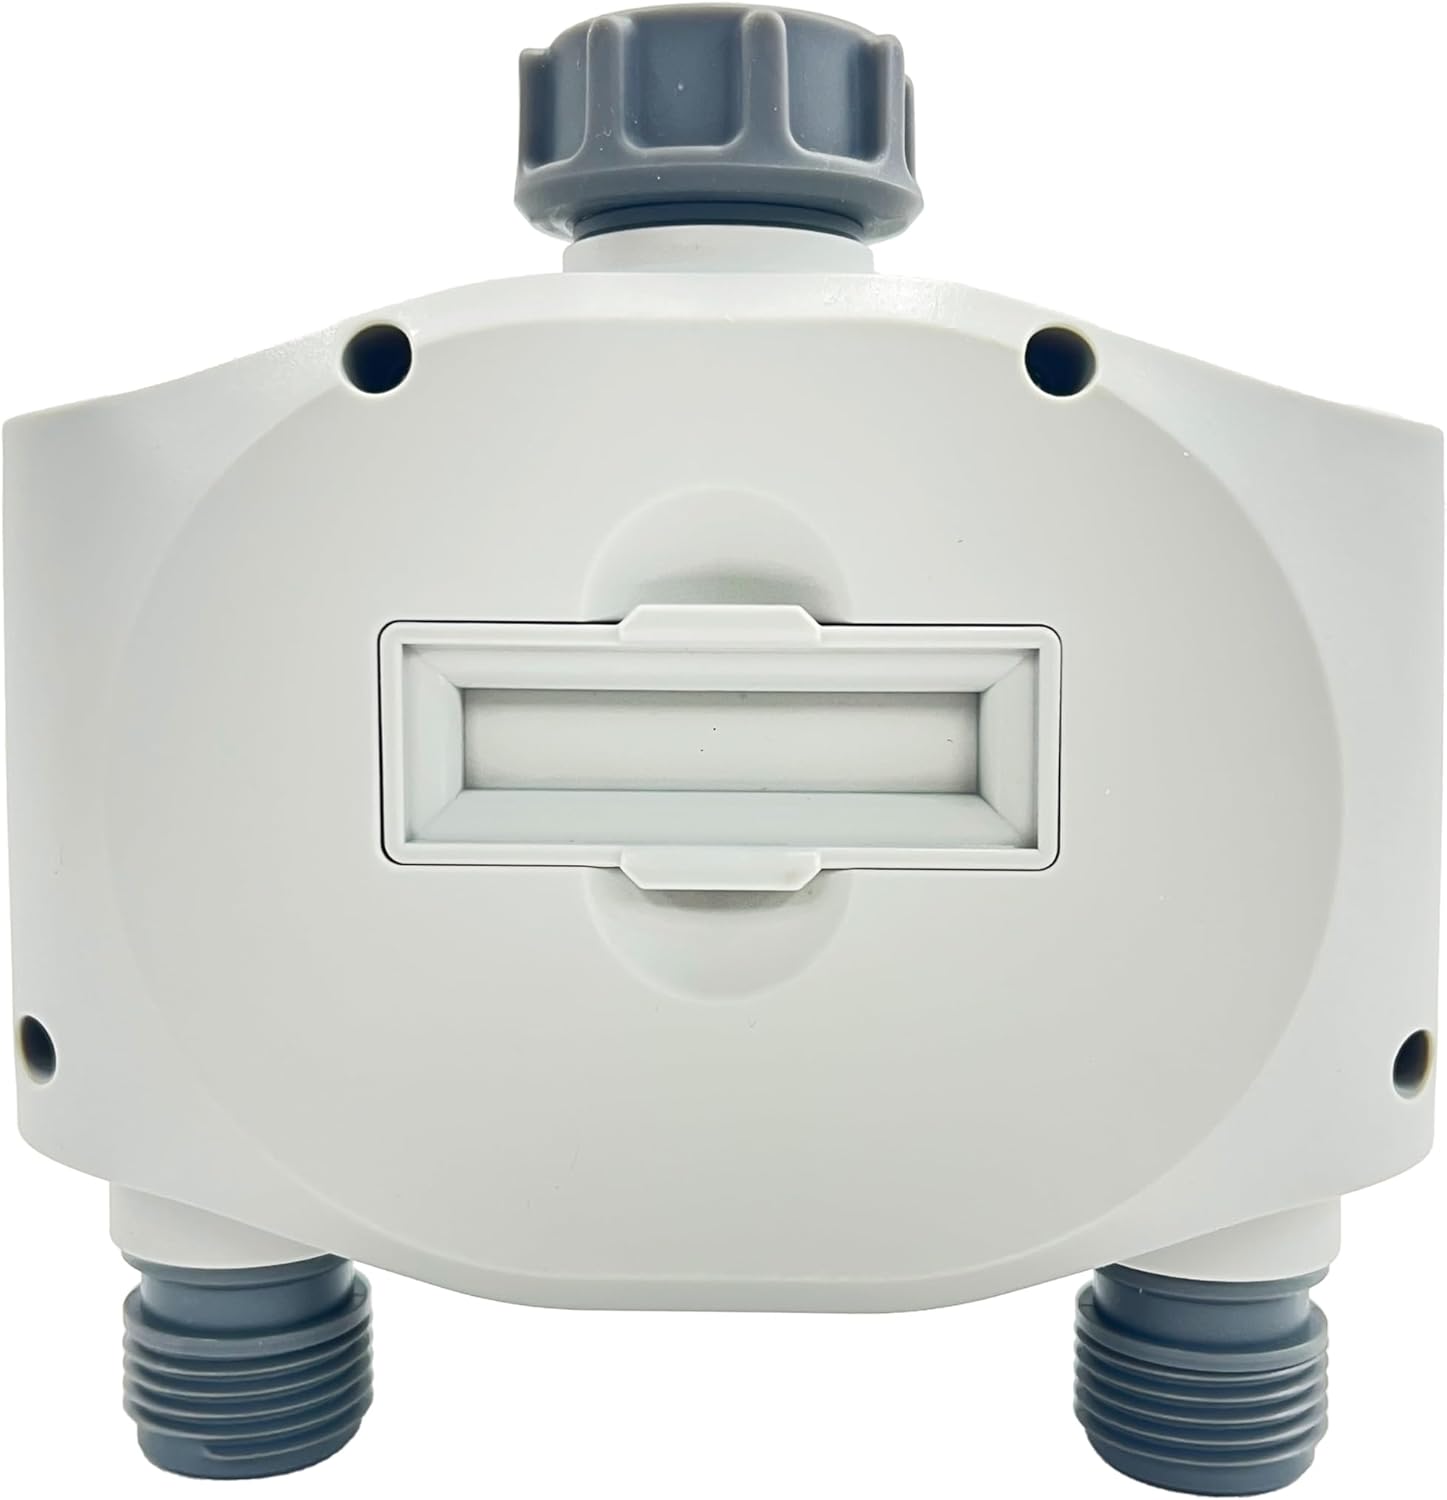
Image: Rear view of the Gilmour Dual Outlet Water Timer, showing the location of the battery compartment cover.
4.2. Connecting the Timer
- Thread the timer onto your outdoor faucet. Ensure the connection is hand-tight to prevent leaks. The swivel connector allows for easy installation without twisting the timer body.
- Connect your garden hoses to the two outlets at the bottom of the timer.
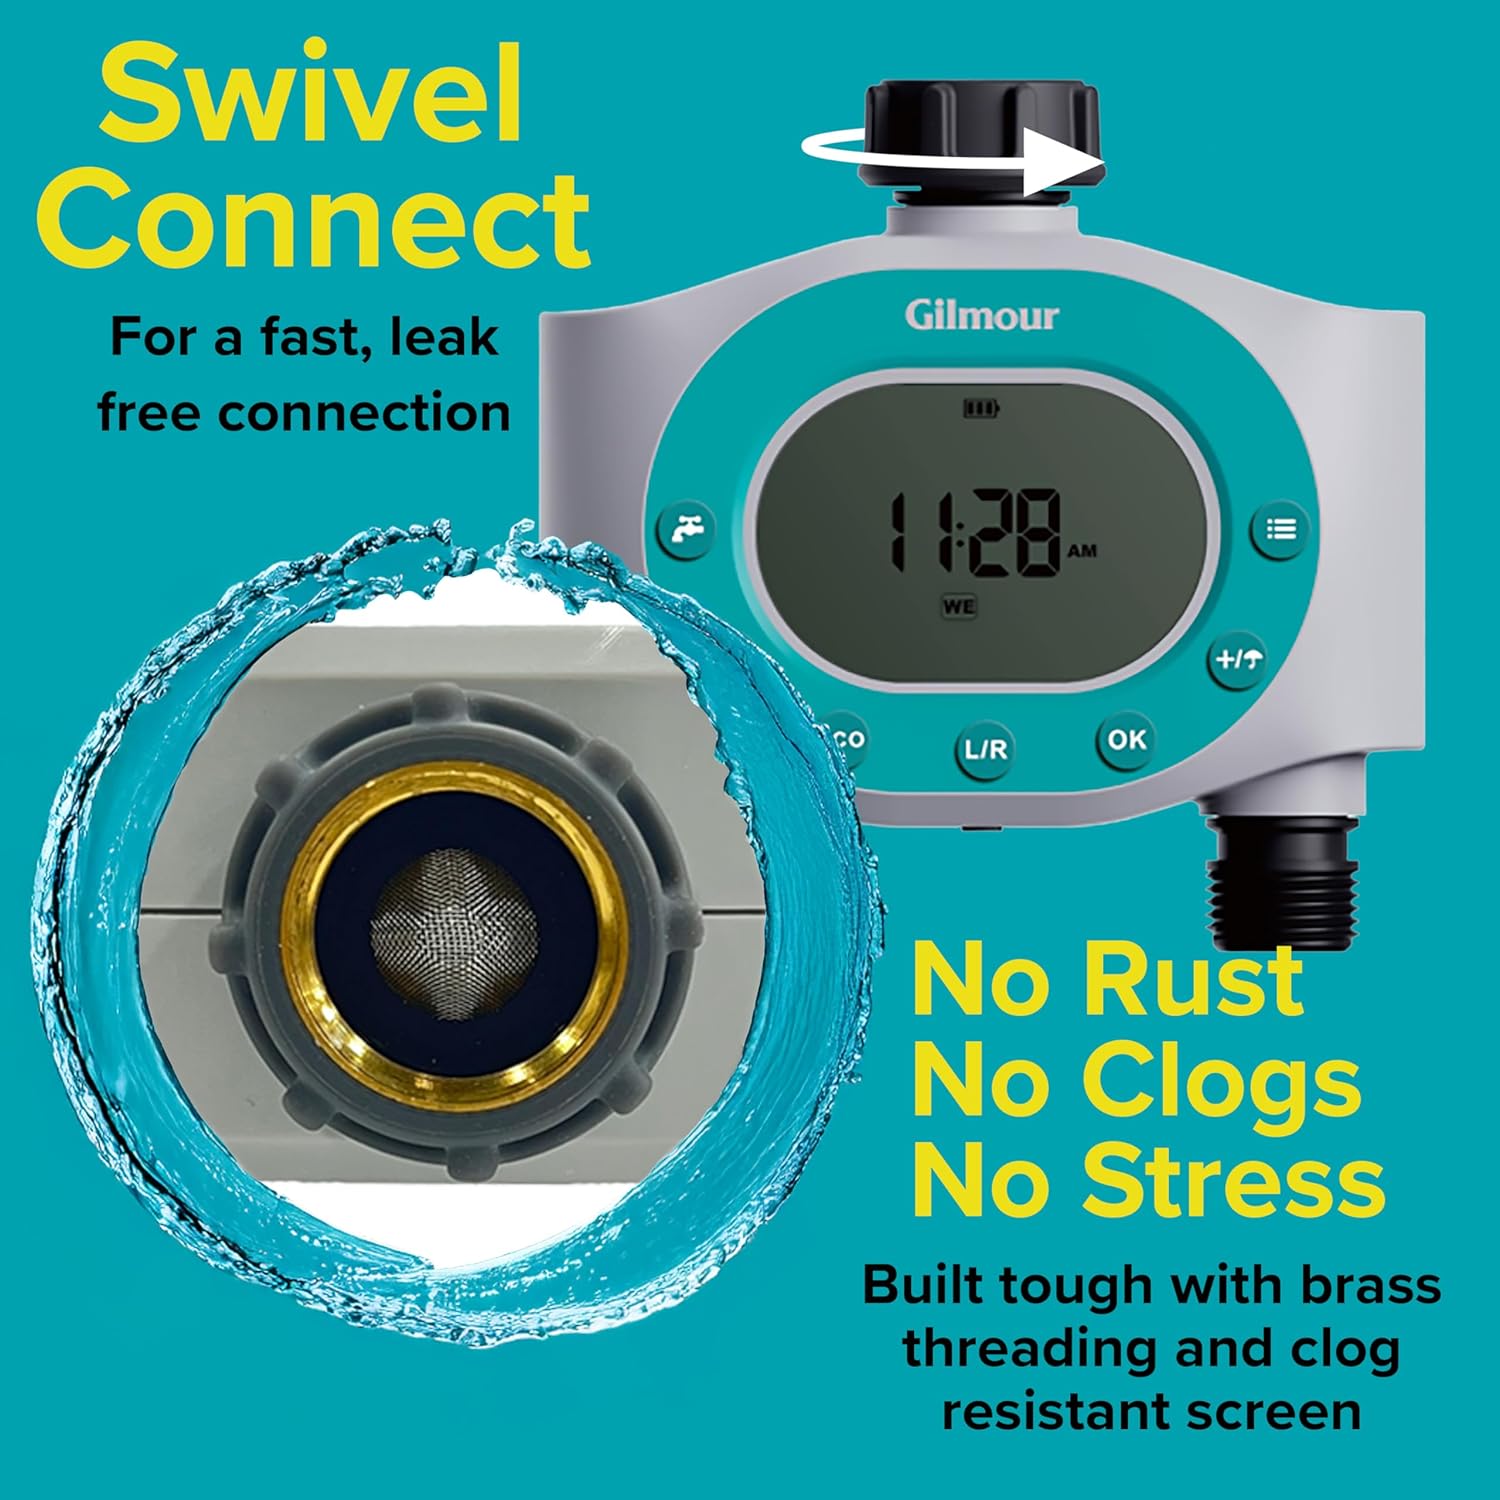
Image: Detailed view of the timer's swivel connect mechanism, designed for a leak-free connection to a faucet.

Image: The Gilmour Dual Outlet Water Timer installed on an outdoor faucet, with two green garden hoses connected to its outlets.
4.3. Setting the Current Time
- Press the Main Menu button (three horizontal lines icon).
- Use the +/- buttons to adjust the hour, then press OK to confirm.
- Repeat for minutes and AM/PM.
- Use the +/- buttons to select the current day of the week, then press OK.
5. Operating Instructions
5.1. Programming Watering Schedules
The timer features two independent zones (Left and Right), each capable of running up to three distinct schedules (A, B, C).
- Press the L/R button to select the zone you wish to program (Left or Right).
- Press the Main Menu button.
- Navigate through the programming options using the Main Menu button.
- Set Start Time: Use +/- to adjust the start time for Schedule A, then press OK. Repeat for Schedules B and C if desired.
- Set Run Time: Use +/- to set the duration (1 to 360 minutes) for Schedule A, then press OK. Repeat for Schedules B and C.
- Set Frequency: Choose from the following options using +/- and confirm with OK:
- Week Mode: Select specific days of the week for watering.
- Interval Day Mode: Water every X days (e.g., every 2 days).
- Parity Day Mode: Water on odd or even days.
- After setting the frequency for Schedule A, you can proceed to set Schedules B and C for the same zone, or press L/R to switch to the other zone and repeat the process.
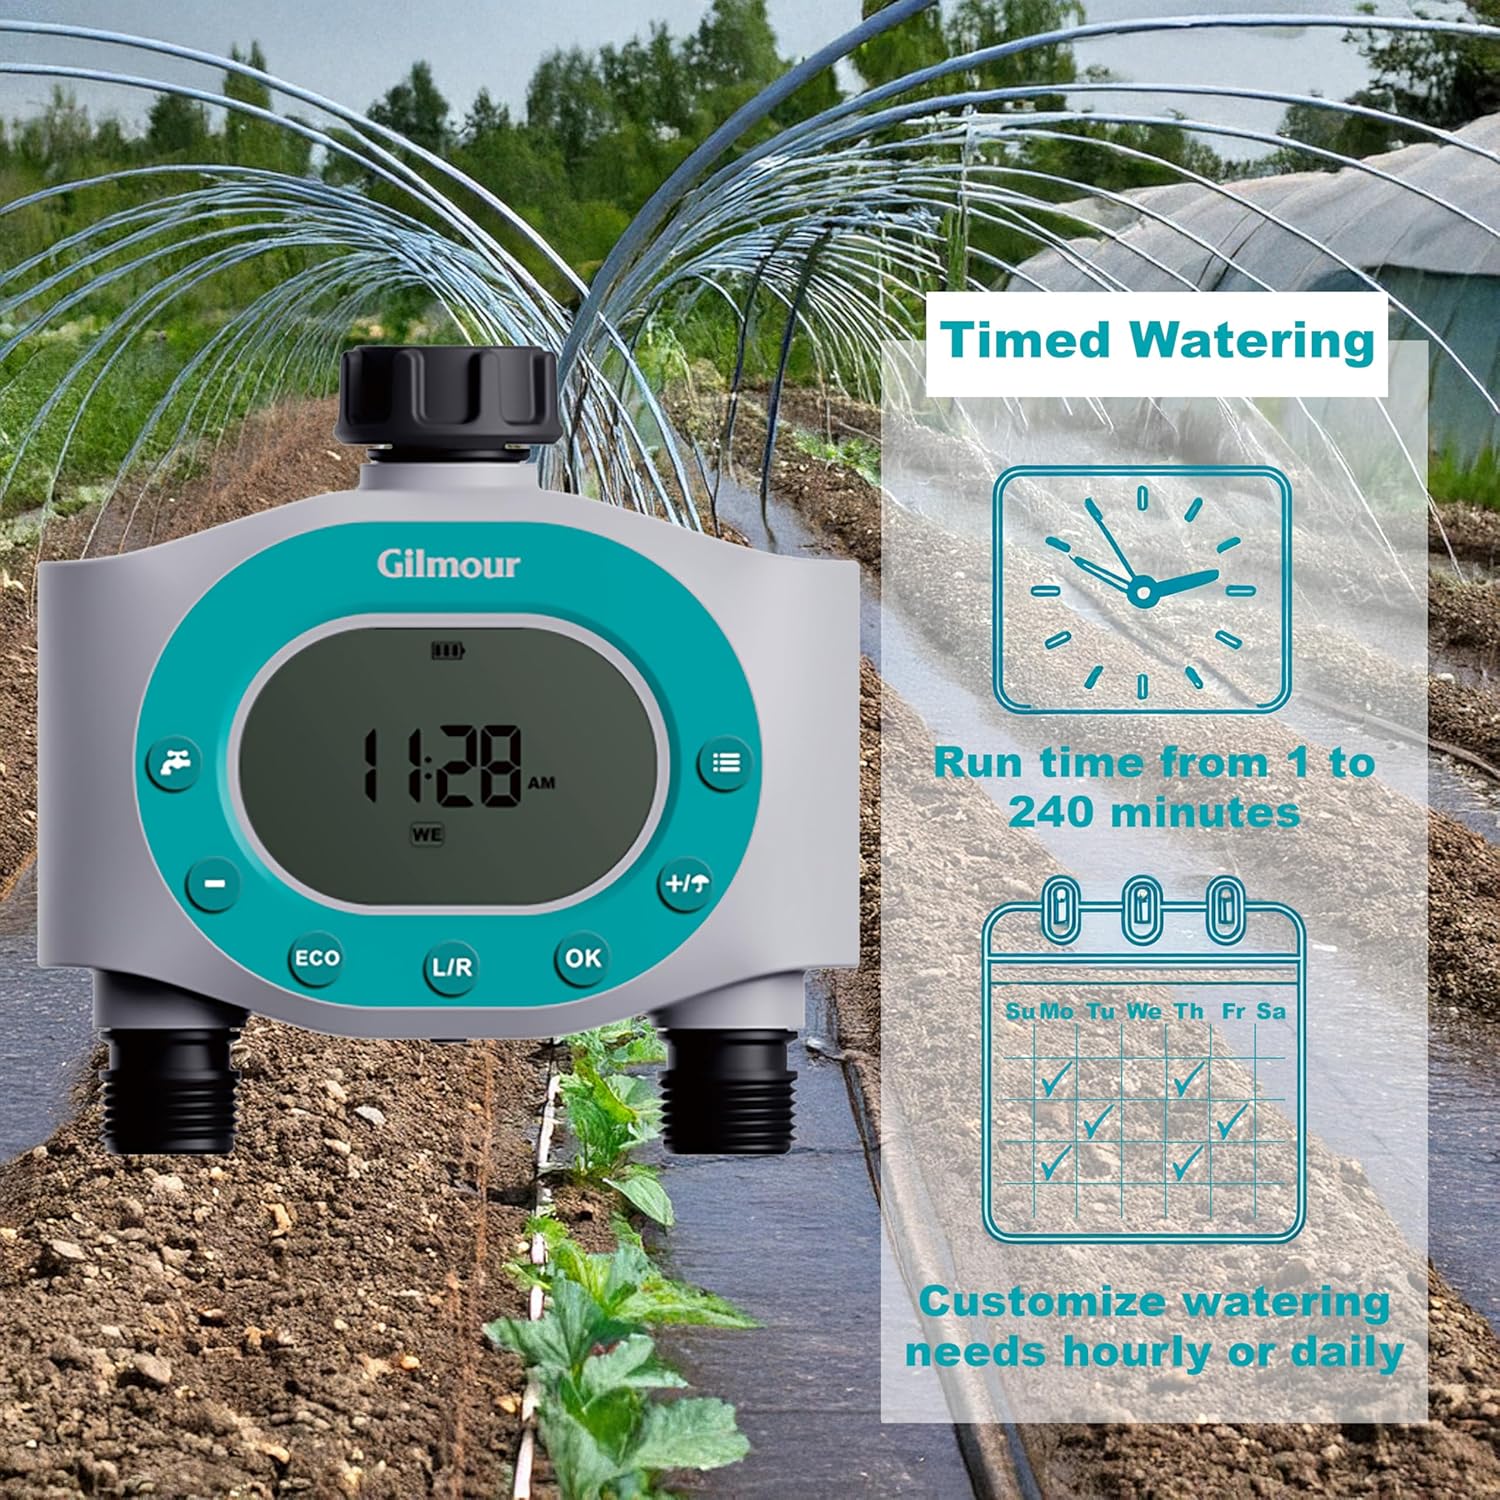
Image: The Gilmour Dual Outlet Water Timer showing the LCD screen with a time of 11:28 AM and a calendar icon indicating customizable watering needs hourly or daily, with run times from 1 to 240 minutes.
5.2. Rain Delay Function
The rain delay feature allows you to temporarily pause your watering schedule to avoid overwatering during periods of rain.
- Press the Rain Delay / +/- button.
- Use the +/- buttons to select the desired delay duration (1 to 15 days).
- Press OK to activate the rain delay. The timer will resume its programmed schedule automatically after the selected delay period.
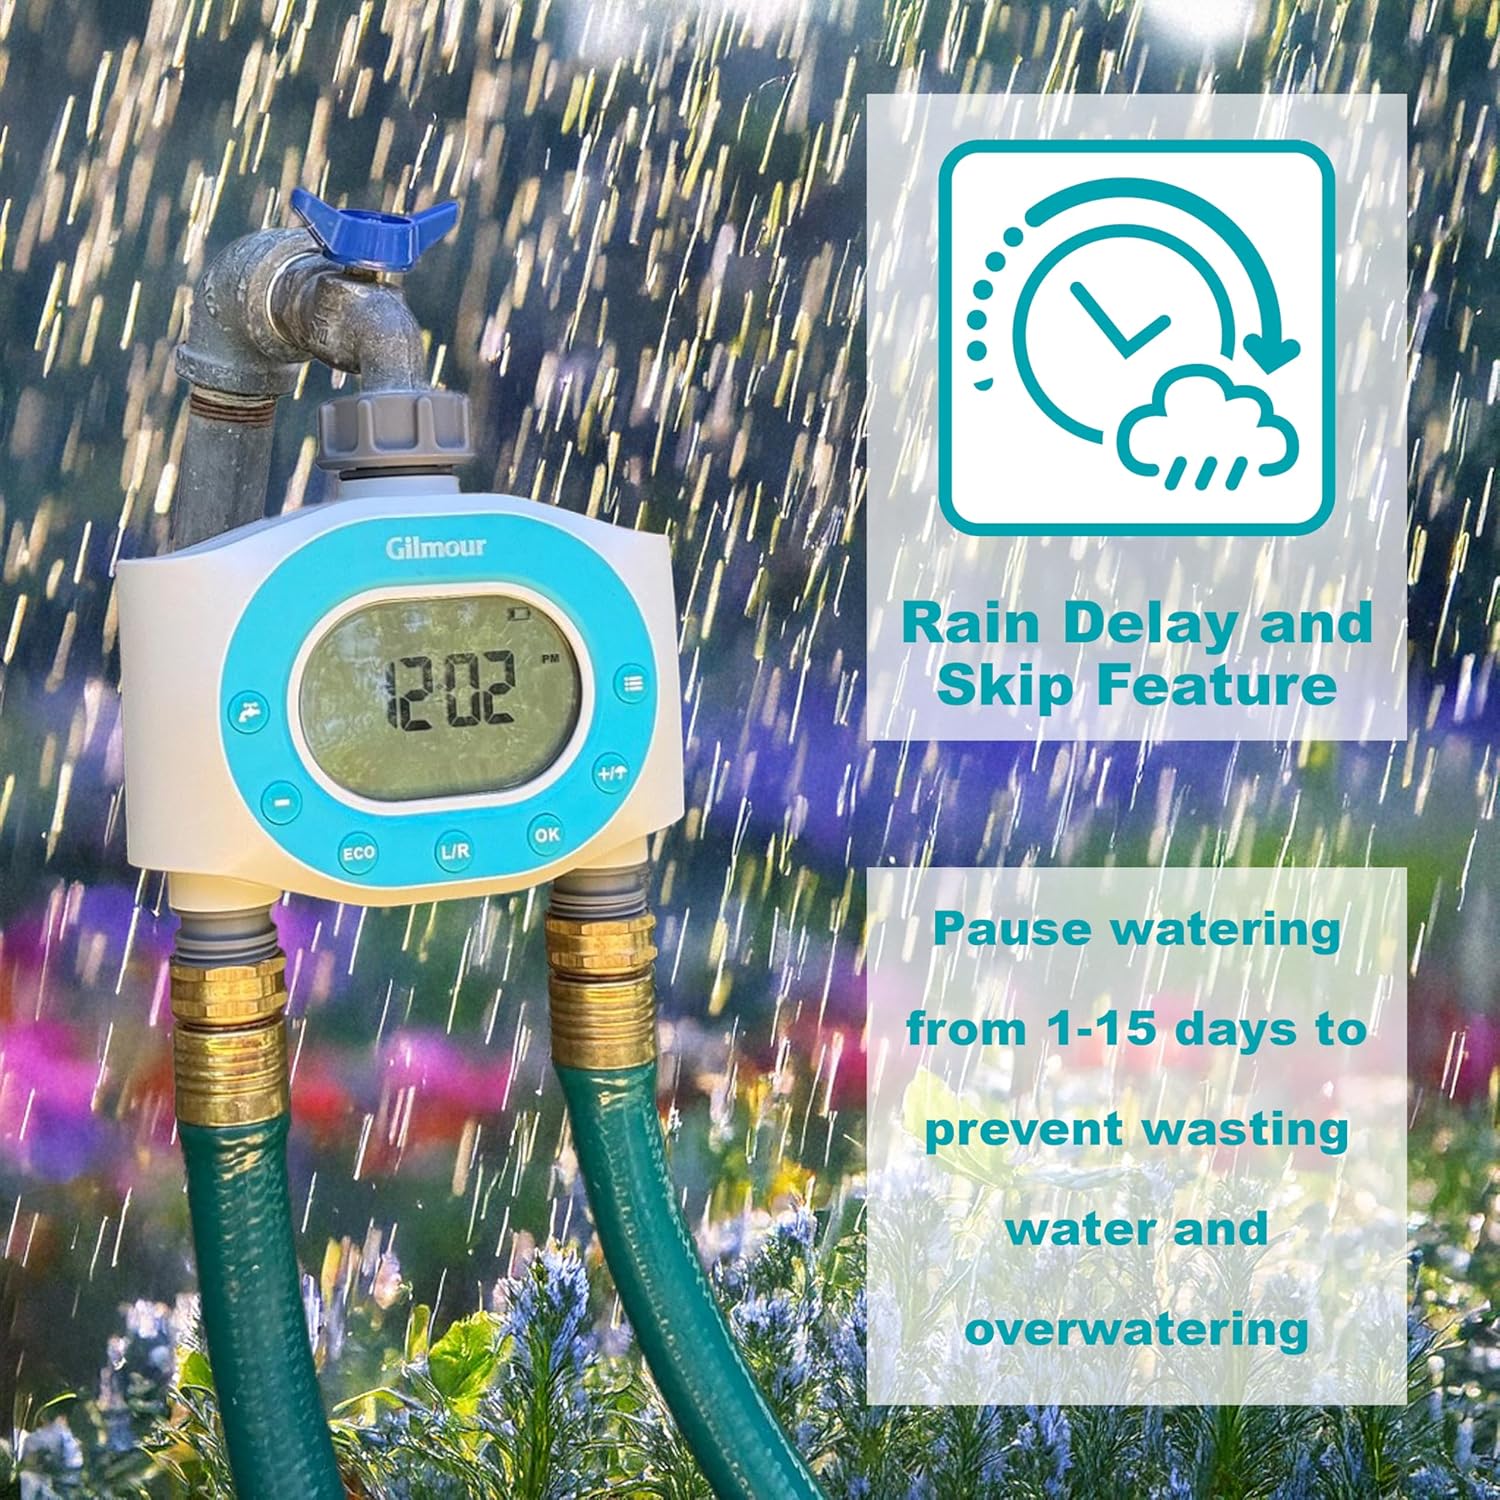
Image: The Gilmour Dual Outlet Water Timer connected to a faucet, with a graphic illustrating the rain delay and skip feature, allowing users to pause watering for 1-15 days.
5.3. Manual Watering
To water outside of your programmed schedules, use the manual function.
- Press the Manual Function button (faucet icon).
- Use the +/- buttons to set the desired watering duration (1 to 240 minutes).
- Press OK to start manual watering. The timer will automatically shut off after the set duration.
5.4. Eco Mode
The Eco Mode feature allows you to divide the total watering time into multiple shorter intervals with pause periods in between, which can help with water absorption and reduce runoff.
- While setting the run time for a schedule, press the ECO button.
- Use the +/- buttons to set the duration of each watering interval and the pause time between intervals.
- Press OK to confirm.
5.5. Flow Meter Alarm
The timer is equipped with a flow meter alarm to detect potential water leakage. If a continuous flow is detected outside of programmed watering times, an alarm may sound or an indicator may appear on the screen. Check all connections and hoses for leaks if this occurs.
6. Maintenance
6.1. Battery Replacement
When the battery indicator on the LCD screen shows low power, replace the batteries promptly to ensure continuous operation. Follow the battery installation steps in Section 4.1.
6.2. Cleaning
Periodically check the inlet filter screen for debris. If clogged, remove the timer from the faucet, carefully remove the filter, rinse it under running water, and reinsert it. Do not use abrasive cleaners on the timer body or screen.
6.3. Winterization
Before the first frost, disconnect the timer from the faucet and hoses. Remove the batteries. Store the timer indoors in a dry, frost-free location to prevent damage from freezing water.
7. Troubleshooting
| Problem | Possible Cause | Solution |
|---|---|---|
| Timer not turning on / LCD blank | Dead or incorrectly installed batteries. | Replace batteries with new AA alkaline batteries, ensuring correct polarity. |
| No water flow | Faucet is off; low water pressure; clogged filter; rain delay active; incorrect programming. | Ensure faucet is fully open. Check water pressure. Clean inlet filter. Check if rain delay is active. Verify programming settings. |
| Water leakage from connections | Loose connection; worn washer; damaged threads. | Tighten connections. Check and replace rubber washers if worn. Ensure threads are not cross-threaded. |
| Timer not watering at scheduled times | Incorrect time/day setting; rain delay active; programming error; low battery. | Verify current time and day. Check for active rain delay. Review all schedule settings for accuracy. Replace batteries. |
| Difficulty programming | Unfamiliarity with interface. | Refer to Section 5.1 for detailed programming steps. Practice setting a simple schedule first. |
8. Specifications
- Model Number: 857006-1001
- Material: Plastic
- Color: Gray
- Product Dimensions: 2.2"D x 7.1"W x 6.5"H
- Number of Settings: 6 (3 schedules per zone)
- Power Source: 2 x AA Alkaline Batteries (not included)
- Watering Duration: 1 to 360 minutes per schedule
- Rain Delay: 1 to 15 days
9. Warranty and Support
Gilmour products are manufactured to high-quality standards. For warranty information, product support, or to purchase replacement parts, please visit the official Gilmour website or contact their customer service department. Keep your purchase receipt as proof of purchase.