
1. Introduction
This manual provides detailed instructions for the setup, installation, operation, and maintenance of your FAMVIVA 2K Solar PTZ Wireless Outdoor Security Camera (Model PT808). This camera is designed for outdoor home security, featuring solar power, 2K resolution, 360-degree pan/tilt/zoom (PTZ) capabilities, color night vision, IP67 waterproofing, PIR motion detection, and two-way audio communication. Please read this manual thoroughly before use to ensure proper functionality and safety.
2. Package Contents
Please verify that all items listed below are included in your package. If any items are missing or damaged, please contact customer support.
- FAMVIVA 2K Solar PTZ Wireless Outdoor Security Camera
- Solar Panel with integrated cable
- Camera Mounting Bracket
- Solar Panel Mounting Bracket
- USB Charging Cable
- Power Adapter
- Screws and Wall Anchors
- Quick Installation Guide

Video: Unboxing and initial overview of the camera and its accessories. This video demonstrates the contents of the package, including the camera, solar panel, mounting hardware, and cables.
3. Product Overview
The FAMVIVA PT808 camera features a robust design for outdoor use. Key components include:
- Camera Lens: Captures 2K Full HD video.
- PIR Motion Sensor: Detects human movement to trigger alerts.
- Infrared LEDs: For black and white night vision.
- Spotlights: For color night vision and deterrence.
- Microphone: For audio input during two-way talk.
- Speaker: For audio output during two-way talk and alarms.
- Antennas: For stable 2.4GHz Wi-Fi connection.
- Power Switch (ON/OFF): To power the camera on or off.
- USB-C Port: For charging and connecting the solar panel.
- Reset Button: To reset the camera to factory settings.
- Micro SD Card Slot: For local video storage.
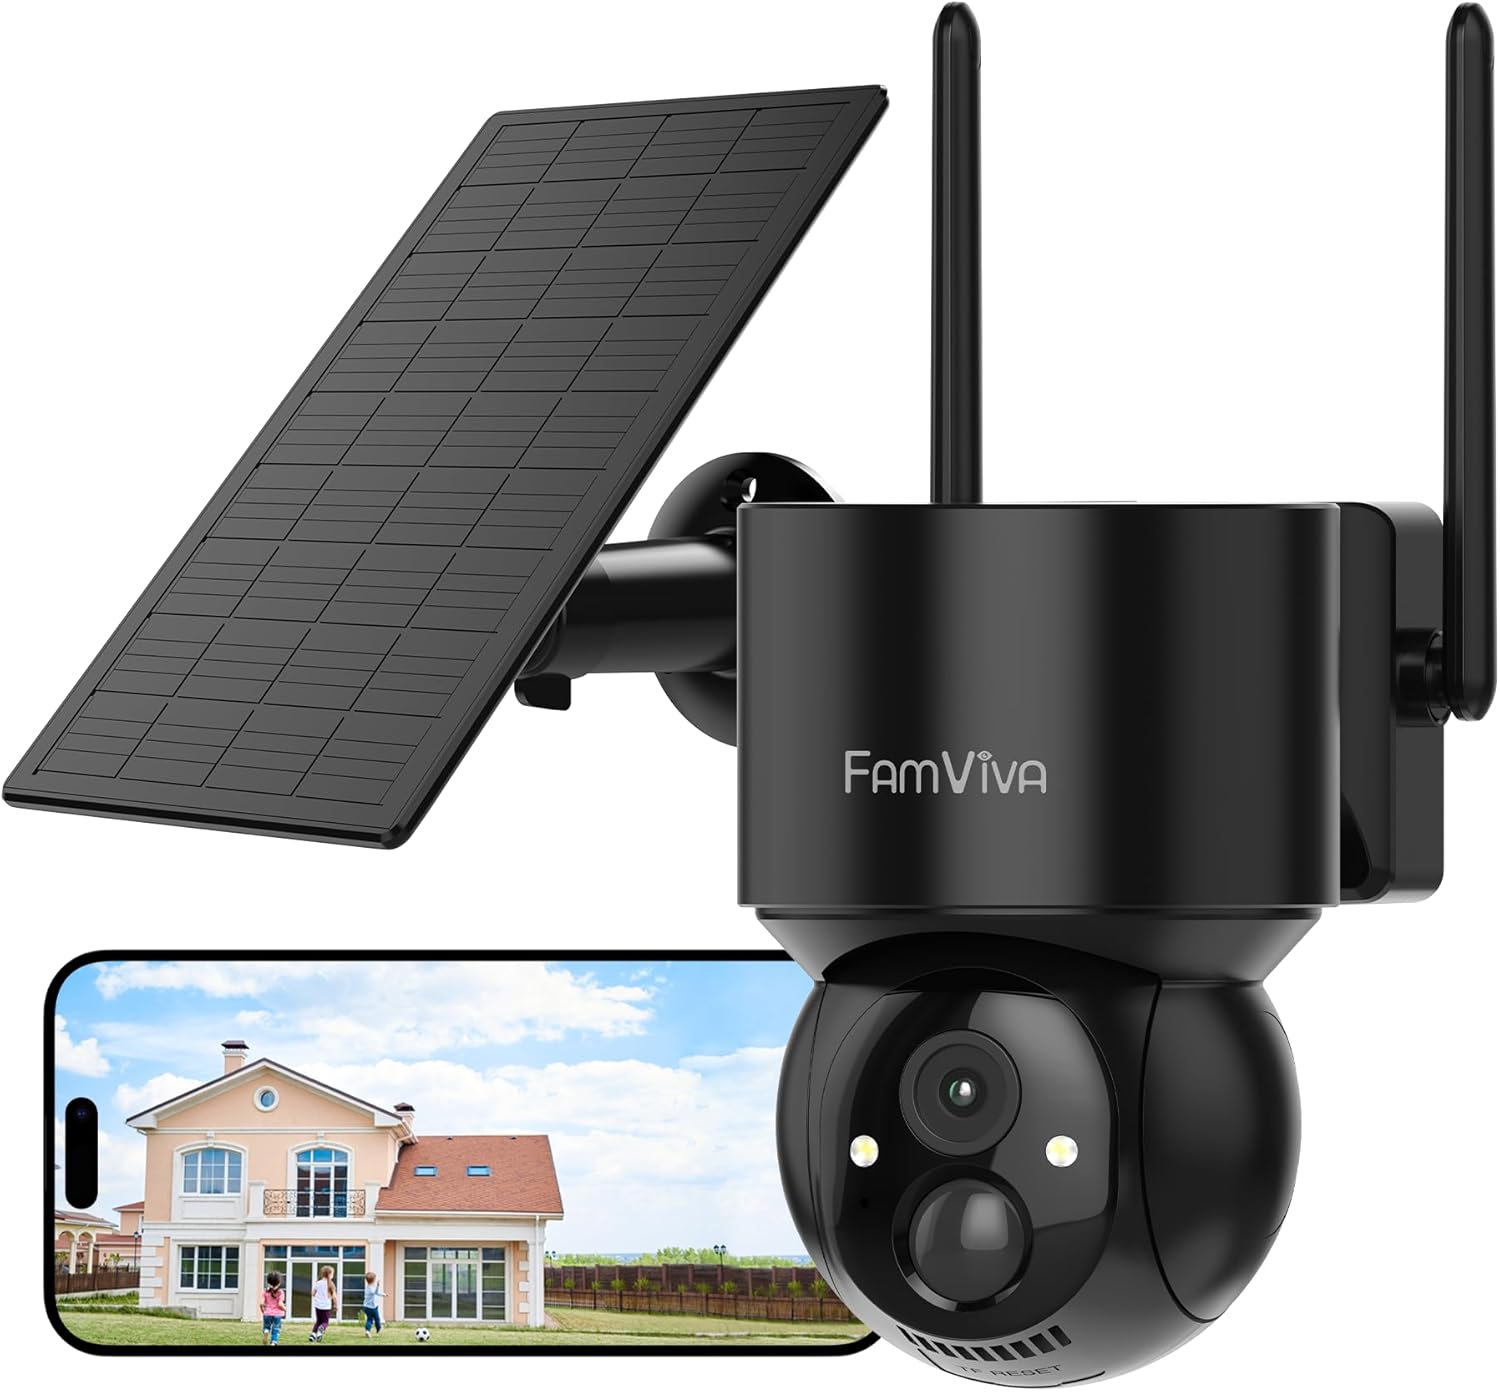
Image: A detailed view of the camera's front, highlighting the main lens, PIR sensor, and LED lights for night vision and illumination.
4. Setup and Installation
4.1 App Download
To operate your FAMVIVA security camera, you need to download the 'Septekon' app on your smartphone. Scan the QR code below or search for 'Septekon' in your device's app store (App Store for iOS, Google Play for Android).
Video: This segment demonstrates how to download the 'Septekon' app and connect your phone to a 2.4GHz Wi-Fi network, which is essential for camera setup.
4.2 Initial Camera Setup
- Power On: Locate the ON/OFF switch on the camera (usually under a protective cover). Slide the switch to the 'ON' position.
- Indicator Light: After powering on, wait a few seconds for the indicator light to flash alternately between red and blue. This indicates the camera is ready for pairing.
- Reset (if needed): If the indicator light does not flash as described, or if you need to reset the camera, press and hold the 'RESET' button for 5 seconds until you hear a 'Di Di' sound. The camera will then enter network pairing mode.
Video: This segment illustrates how to power on the camera, observe the indicator light status, and perform a reset if necessary to initiate the pairing process.
4.3 Network Connection
The camera supports 2.4GHz Wi-Fi only. Ensure your phone is connected to a 2.4GHz Wi-Fi network (5GHz networks are not supported).
- Add Device: Open the 'Septekon' app and tap 'Add device'.
- Select Camera Model: Find 'FamViva' in the brand list and select 'T4' (PT808).
- Choose Setup Mode: You can connect via Bluetooth (recommended) or QR code.
- Bluetooth Connection (Recommended): Follow the in-app instructions to pair via Bluetooth. Ensure your phone's Bluetooth is enabled.
- QR Code Connection (Alternative): If Bluetooth fails, select 'Wi-Fi connection by QR code'. Enter your 2.4GHz Wi-Fi password. The app will generate a QR code. Hold your phone 4-12 inches in front of the camera lens, ensuring the QR code is clearly visible to the camera. The camera will emit a 'QR code successful' sound upon successful scan.
- Confirmation: Once connected, the camera's blue indicator light will change from flashing to steadily on, and the app will confirm successful pairing.
Video: This video demonstrates both Bluetooth and QR code pairing methods for connecting the camera to your Wi-Fi network using the 'Septekon' app.
4.4 Physical Installation
The camera and solar panel come with separate mounting brackets for flexible installation.
- Detach Camera Base: Gently remove the camera from its base by sliding it upwards.
- Mount Camera Base: Use the provided template sticker to mark drilling points on your desired installation surface. Secure the camera mounting bracket to the wall using the screws and wall anchors.
- Attach Camera: Align the camera with the mounted base from top to bottom and press until it clicks securely into place.
- Mount Solar Panel: Fix the solar panel mounting bracket to a location with ample sunlight using the remaining screws and wall anchors.
- Connect Solar Panel: Screw the universal joint of the solar panel into the back of the solar panel. Attach the solar panel to its mounted bracket. Adjust the solar panel to the optimal angle for full sun exposure, then tighten the locking screw cap.
- Connect Power: After the camera has successfully connected to the network, insert the solar panel's power cable into the camera's USB-C port.
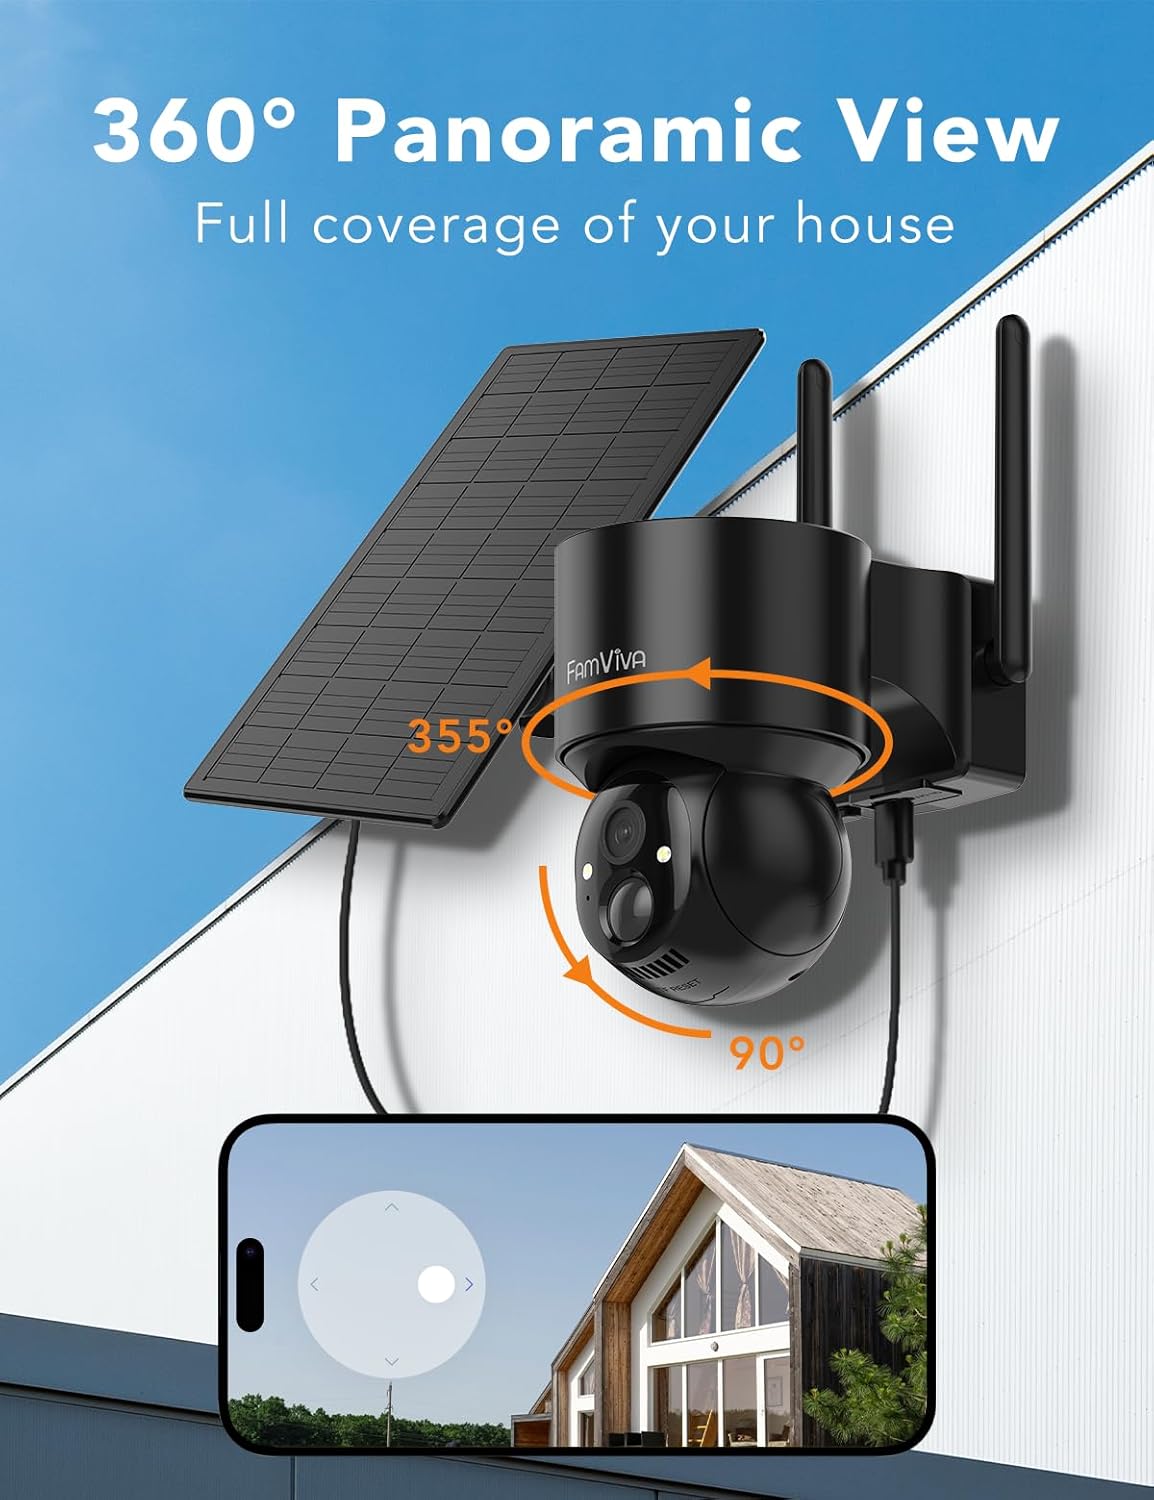
Image: The camera and solar panel mounted, illustrating the 360-degree panoramic view capability.
Video: This segment provides a visual guide on how to physically install the camera and the solar panel, including detaching the base, mounting, and connecting the solar panel.
5. Operating Instructions
5.1 Live View and PTZ Control
Access the live video feed through the 'Septekon' app. Use the on-screen controls to pan (355° horizontal) and tilt (90° vertical) the camera for a full 360-degree view of your surroundings.
5.2 Motion Detection and Alerts
The camera features PIR motion detection for accurate human detection. When motion is detected:
- You will receive instant alerts on your smartphone.
- The camera will record video and audio.
- An alarm may be triggered.
- The built-in spotlight can activate to deter intruders.
Customize motion detection sensitivity and alert settings within the app.
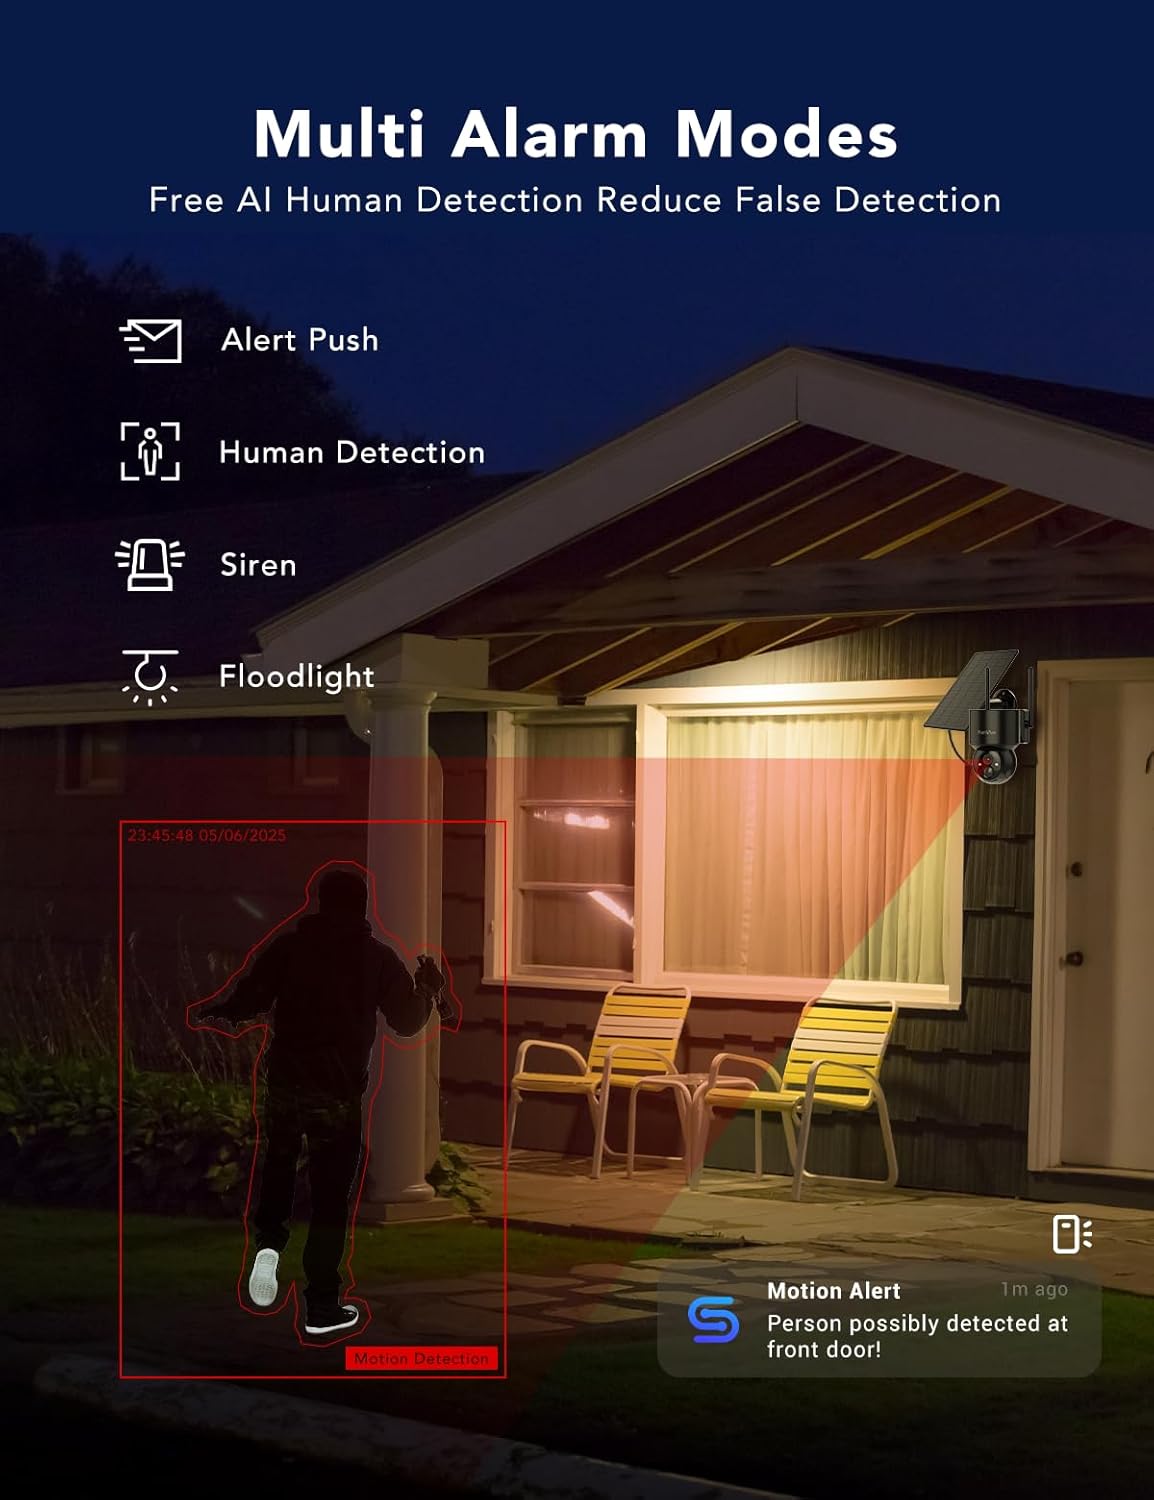
Image: Illustration of the camera's multi-alarm modes, including instant alerts, human detection, siren, and floodlight activation.
5.3 Two-Way Audio
Engage in real-time two-way audio communication through the camera. Use the microphone and speaker functions in the app to speak to visitors or deter unwanted guests.
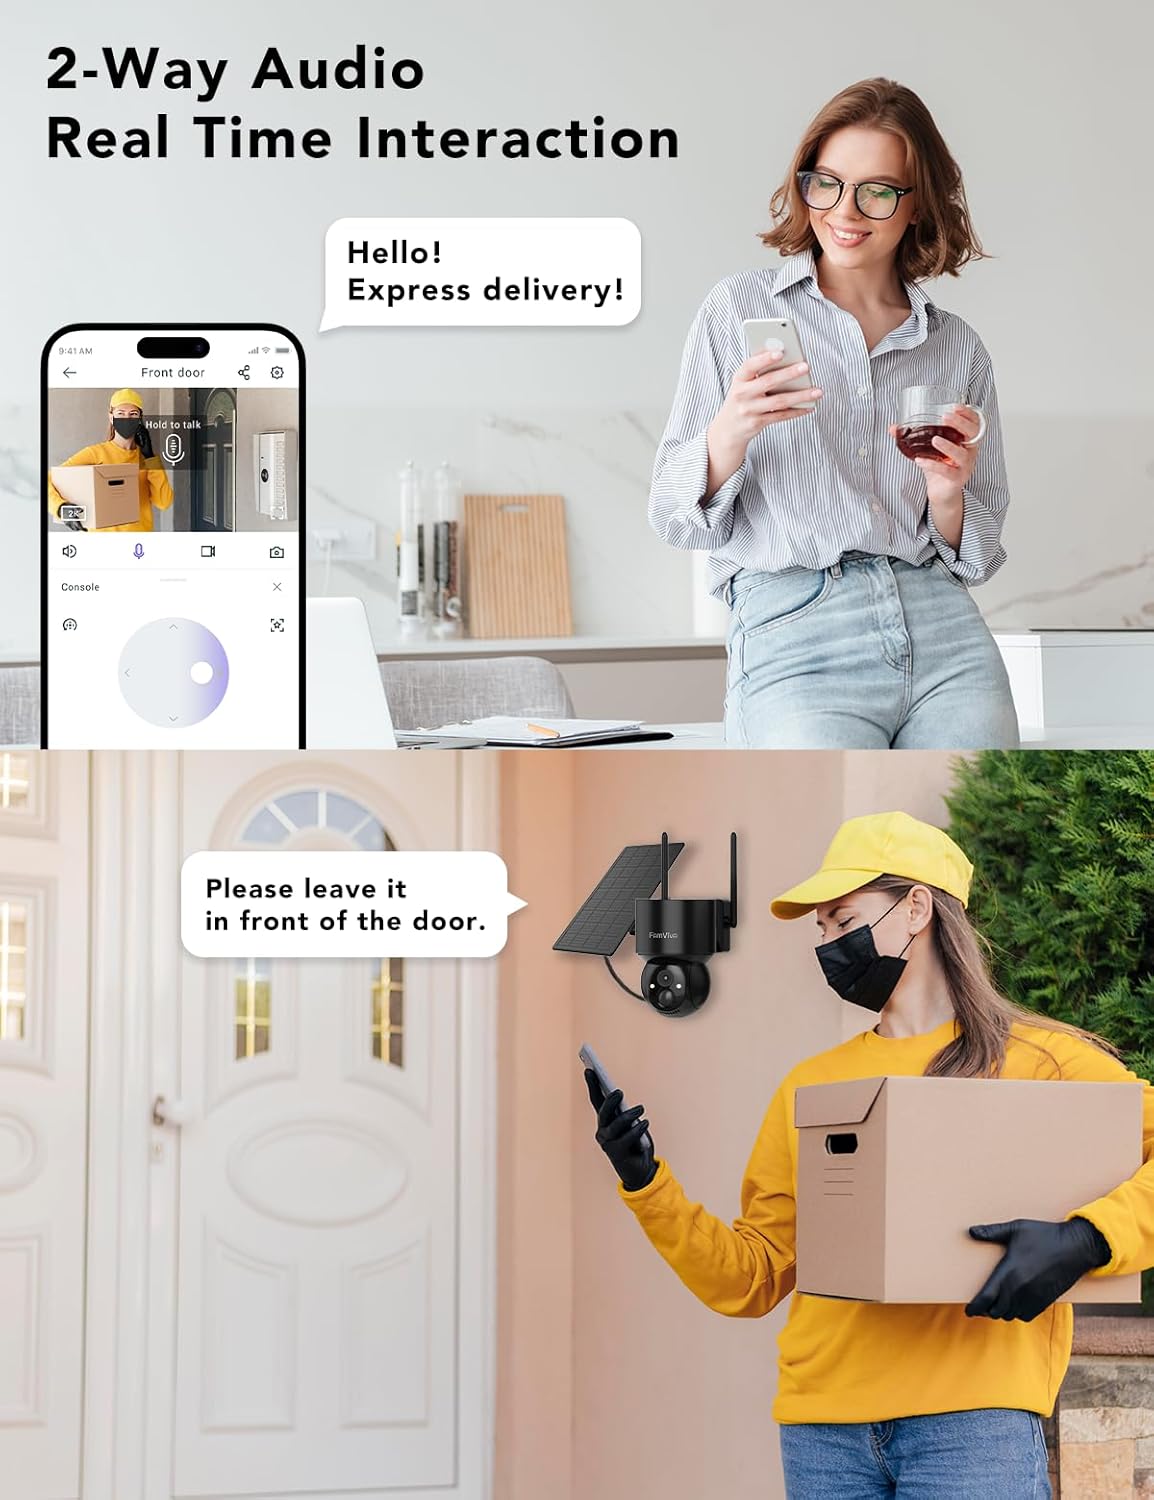
Image: A visual representation of the two-way audio feature, showing a user interacting with someone at their door via the camera.
5.4 Night Vision
The camera provides 2K Full HD resolution for clear visibility day and night. It features advanced color night vision, which captures vivid and accurate colors in low-light conditions when the spotlight feature is manually activated. Without the spotlight, it provides standard black and white infrared night vision.
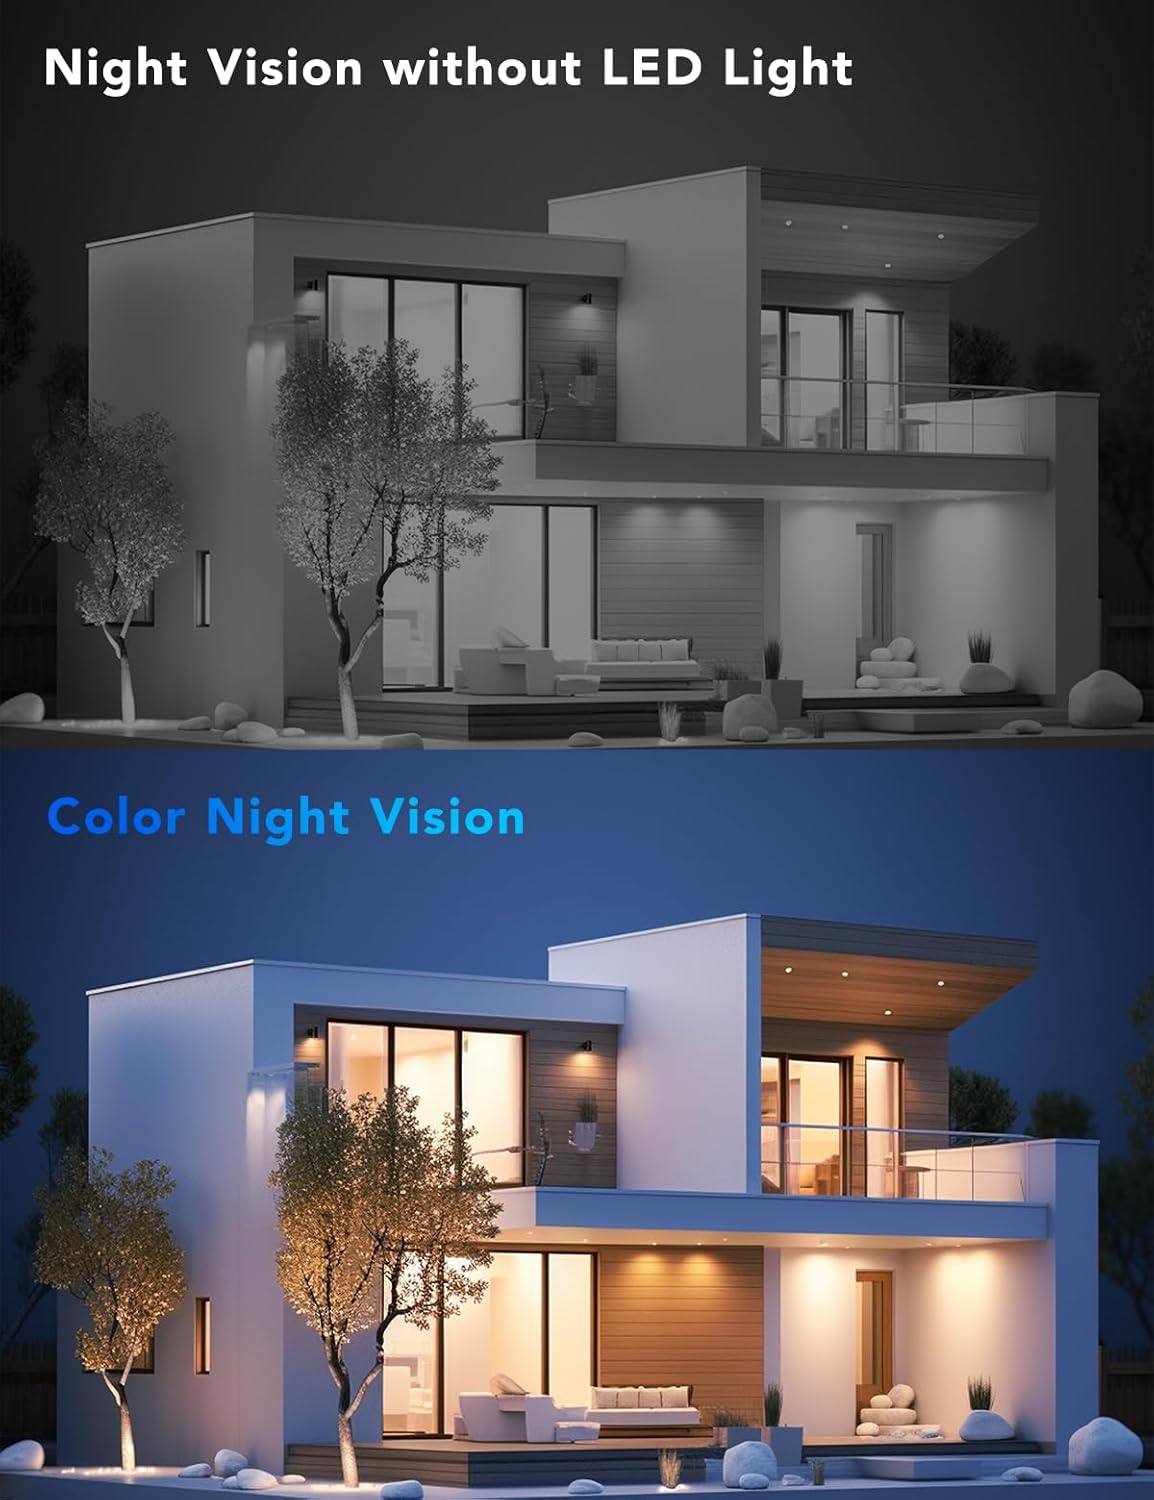
Image: A side-by-side comparison illustrating the difference between standard night vision and enhanced color night vision.
5.5 Storage Options
The camera offers two storage options for event recordings:
- Cloud Storage: Securely store your recordings in the cloud (subscription may be required).
- Micro SD Card Storage: Insert a Micro SD card (not included) into the designated slot for local storage.
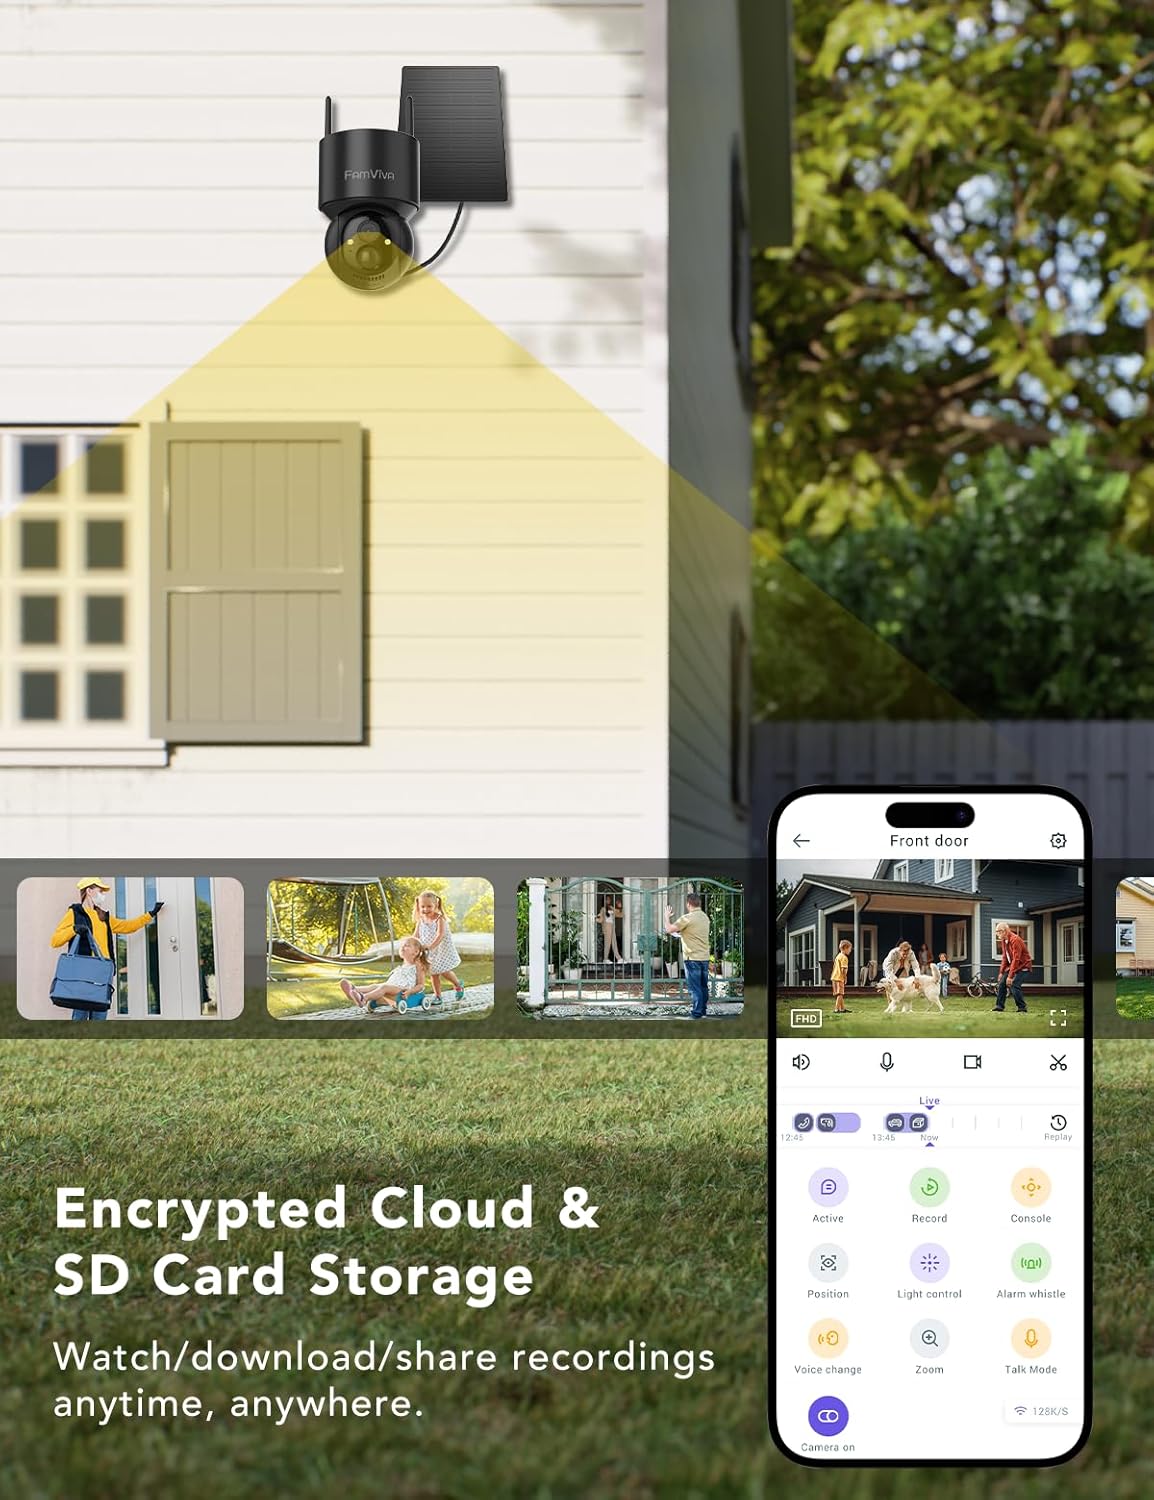
Image: Visual representation of the encrypted cloud and SD card storage options available for the camera.
6. Maintenance
- Cleaning: Regularly clean the camera lens and solar panel with a soft, damp cloth to ensure optimal performance and charging efficiency. Avoid abrasive cleaners.
- Battery: The integrated backup battery is charged by the solar panel. Ensure the solar panel receives adequate direct sunlight for continuous power. During prolonged periods of low sunlight, the camera may require manual charging via the USB-C port.
- Firmware Updates: Check the 'Septekon' app regularly for firmware updates to ensure your camera has the latest features and security enhancements.
7. Troubleshooting
- Camera Not Powering On: Ensure the ON/OFF switch is in the 'ON' position. Check if the battery is charged; connect to the power adapter if necessary.
- Cannot Connect to Wi-Fi:
- Confirm your Wi-Fi network is 2.4GHz (5GHz is not supported).
- Ensure the Wi-Fi password is entered correctly.
- Move the camera closer to your Wi-Fi router to improve signal strength.
- Perform a camera reset (refer to section 4.2).
- Frequent Disconnections: Check your Wi-Fi signal strength in the app. Consider relocating the camera or router, or using a Wi-Fi extender.
- False Motion Alerts: Adjust the motion detection sensitivity settings in the app. Ensure the camera is not pointed at areas with constant, non-threatening movement (e.g., tree branches swaying).
- No Color Night Vision: Ensure the spotlight feature is manually activated in the app for color night vision.
- Poor Video Quality: Check your internet connection speed. Ensure the camera lens is clean and free from obstructions.
8. Specifications
| Feature | Specification |
|---|---|
| Model Name | PT808 |
| Connectivity Technology | Wireless (2.4GHz Wi-Fi) |
| Power Source | Solar Powered, Battery Powered |
| Video Capture Resolution | 2K (1920p) |
| Special Features | 2-Way Audio, HD Resolution, Motion Sensor, Night Vision (Color & IR) |
| Pan/Tilt Range | 355° Horizontal, 90° Vertical |
| Water Resistance Level | IP67 Waterproof |
| Storage Options | Cloud Storage, Micro SD Card |
| Compatible Devices | Smartphone (iOS, Android), Amazon Alexa |
| Item Dimensions | 7.5 x 6 x 5 inches |
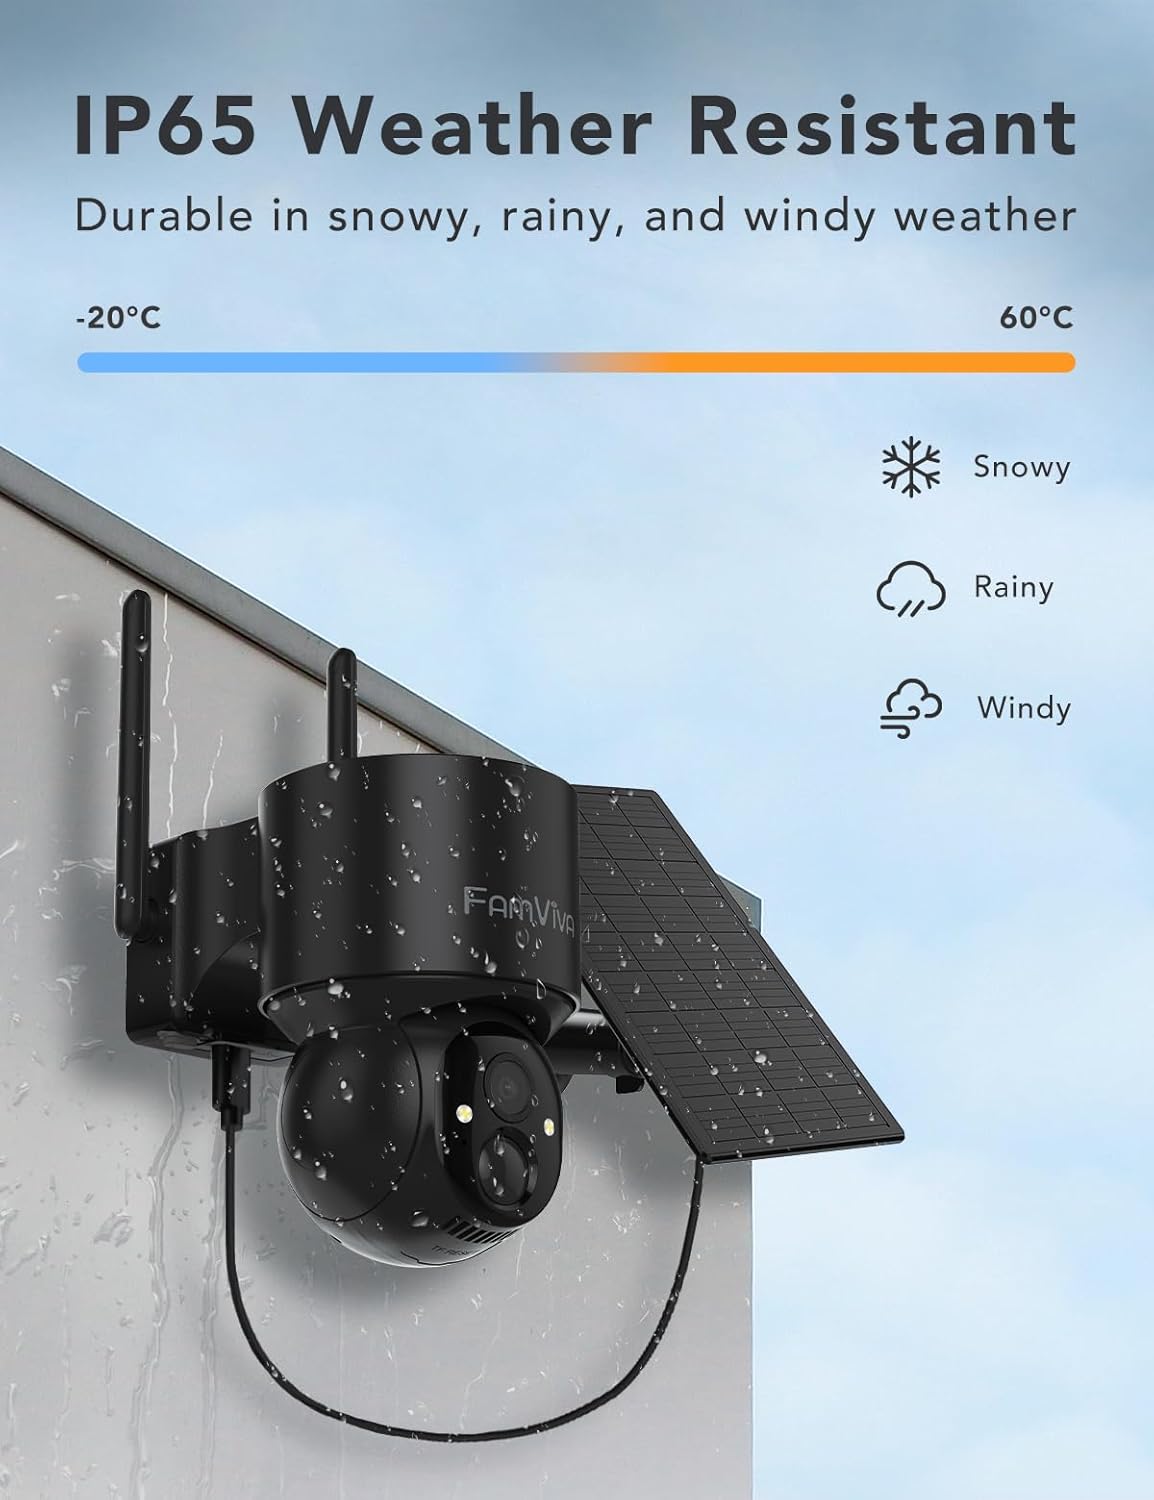
Image: The camera is designed to be IP67 waterproof, ensuring durability in various weather conditions.
9. Warranty and Support
Your FAMVIVA 2K Solar PTZ Wireless Outdoor Security Camera comes with a standard manufacturer's warranty. Please refer to the product packaging or contact customer support for specific warranty details.
For technical assistance or support, please contact us via email:
- US Support: support_us@famviva.com
- CA Support: support_ca@famviva.com
- UK Support: support_uk@famviva.com