1. Introduction
Thank you for choosing the EUHOMY Ice Cube Maker Machine. This manual provides essential information for the safe and efficient operation, maintenance, and troubleshooting of your new appliance. Please read this manual thoroughly before first use and retain it for future reference.
This countertop ice maker is designed to produce crystal clear ice cubes quickly and conveniently, suitable for various settings such as homes, kitchens, offices, and bars.
2. Safety Instructions
To reduce the risk of fire, electric shock, or injury when using your ice maker, follow these basic precautions:
- Read all instructions before use.
- Connect to properly grounded outlets only.
- Do not immerse cord, plug, or ice maker in water or other liquids.
- Unplug from outlet when not in use and before cleaning.
- Do not operate any appliance with a damaged cord or plug, or after the appliance malfunctions or has been damaged in any manner.
- Do not use outdoors.
- Do not let cord hang over edge of table or counter or touch hot surfaces.
- Do not place on or near a hot gas or electric burner, or in a heated oven.
- Use only potable water.
- Do not use for other than intended use.
- Supervise children when the appliance is in use.
- Do not clean your ice maker with flammable fluids. The fumes can create a fire hazard or explosion.
- Do not tip over the ice maker.
3. Product Overview
The EUHOMY Ice Cube Maker Machine is designed for efficiency and convenience. Below are its main components and features.
3.1 Components
- Main Ice Maker Unit
- External Water Tank (1.5L capacity)
- Ice Basket (1.8lbs capacity)
- Ice Scoop
- Instruction Manual (this document)
3.2 Key Features
- Fast Ice Production: Produces 16 crystal clear ice cubes in approximately 13 minutes.
- High Daily Output: Capable of producing up to 34 lbs of ice per day.
- Dual Water Supply: Features both an internal reservoir (0.5L) and an external water tank (1.5L) for a total capacity of 2L, minimizing refills.
- Adjustable Ice Thickness: Customize ice cube thickness (Thin, Medium, Thick) by adjusting ice-making time.
- Smart Operation Panel: User-friendly LCD display with indicators for ice full, water shortage, ice-making status, and auto-cleaning.
- Auto-Cleaning Function: One-touch self-cleaning mode for convenient maintenance.
- 24-Hour Timer: Allows for scheduled ice production, enabling you to have ice ready when needed.
- Quiet Operation: Operates at less than 42dB, ensuring a comfortable environment.

Figure 1: Front view of the EUHOMY Ice Cube Maker Machine with an external water tank and a glass of iced beverage.

Figure 2: The ice maker with its lid open, revealing the ice basket filled with ice cubes and an ice scoop. Highlights its higher daily output capacity.
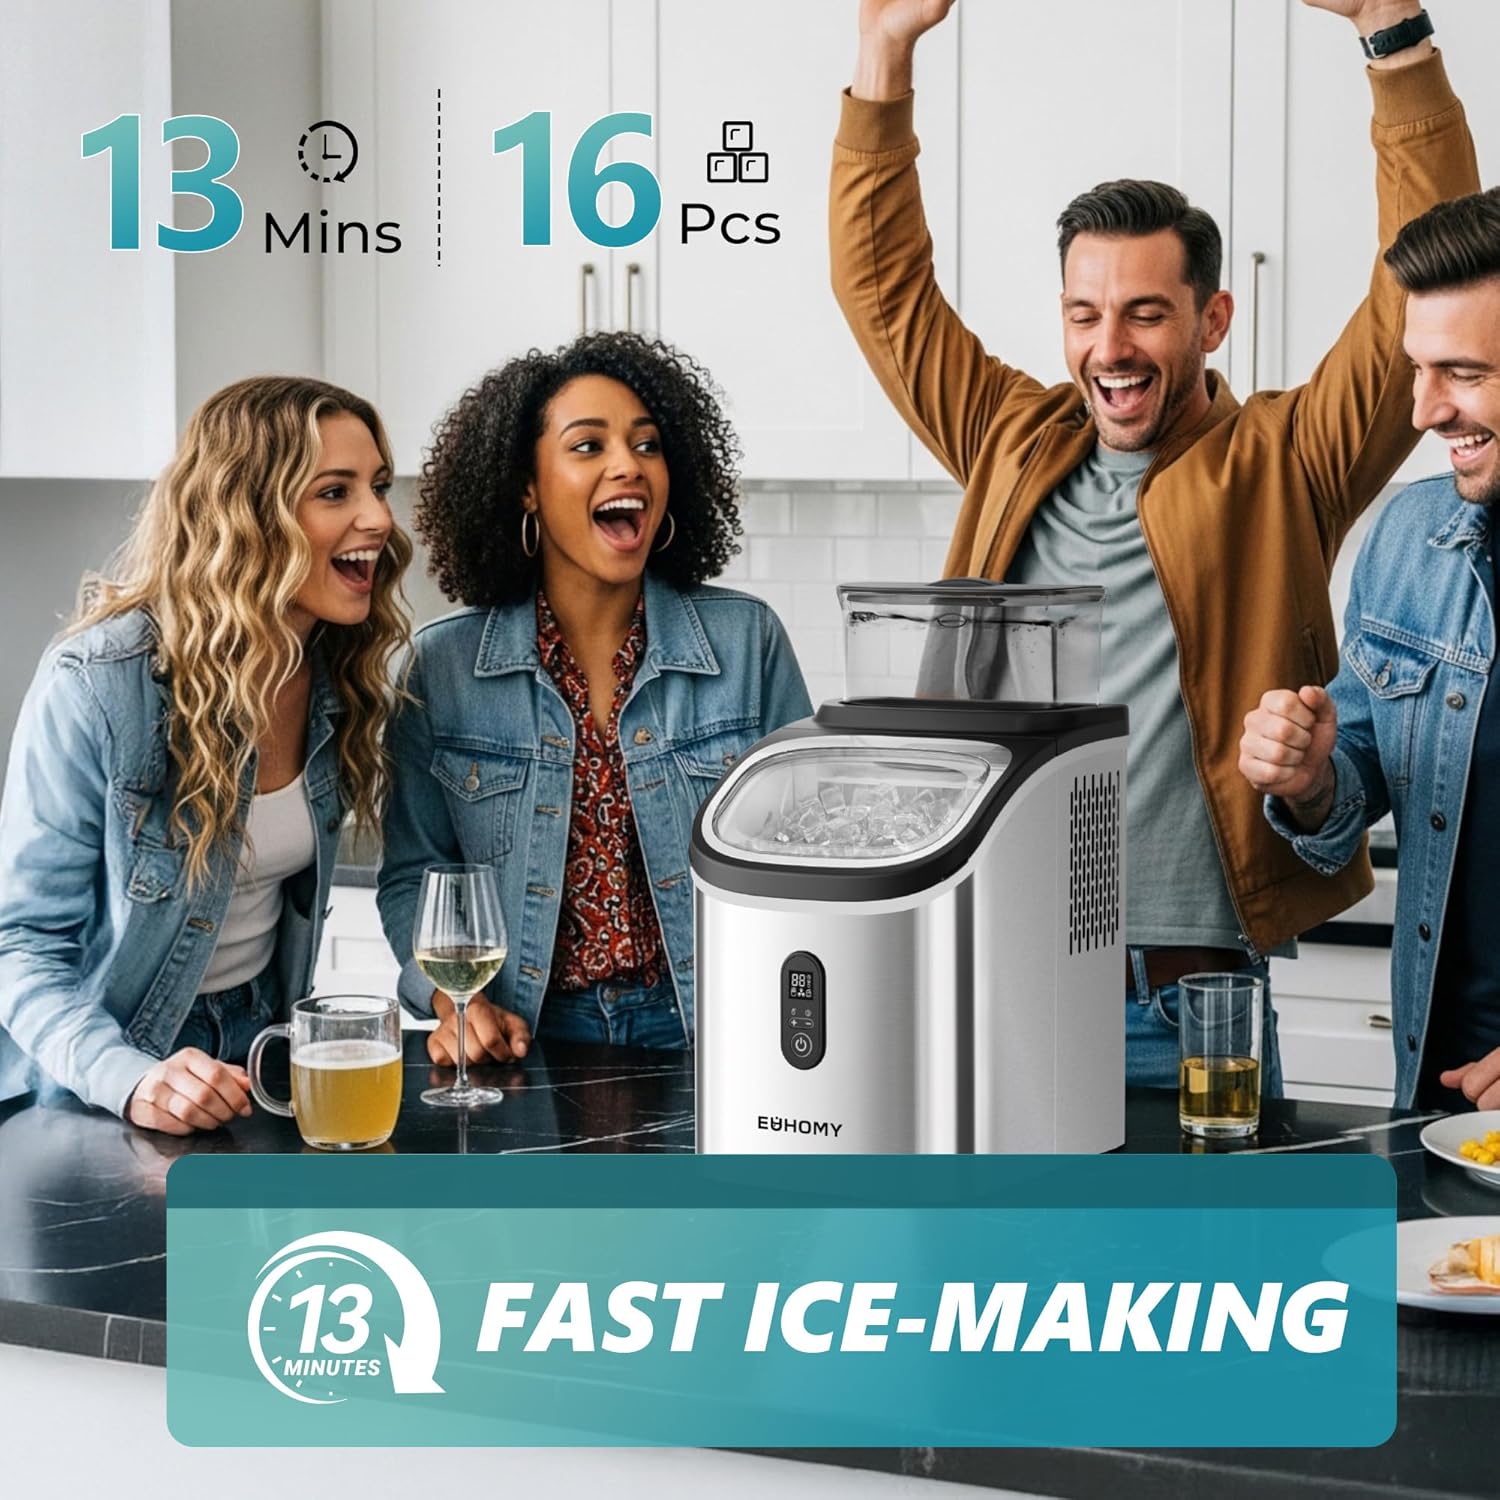
Figure 3: Illustrates the fast ice-making capability, showing a group of people enjoying beverages with ice produced by the machine.

Figure 4: Visual representation of the two water adding methods: directly into the built-in reservoir or via the external 1.5L water tank.
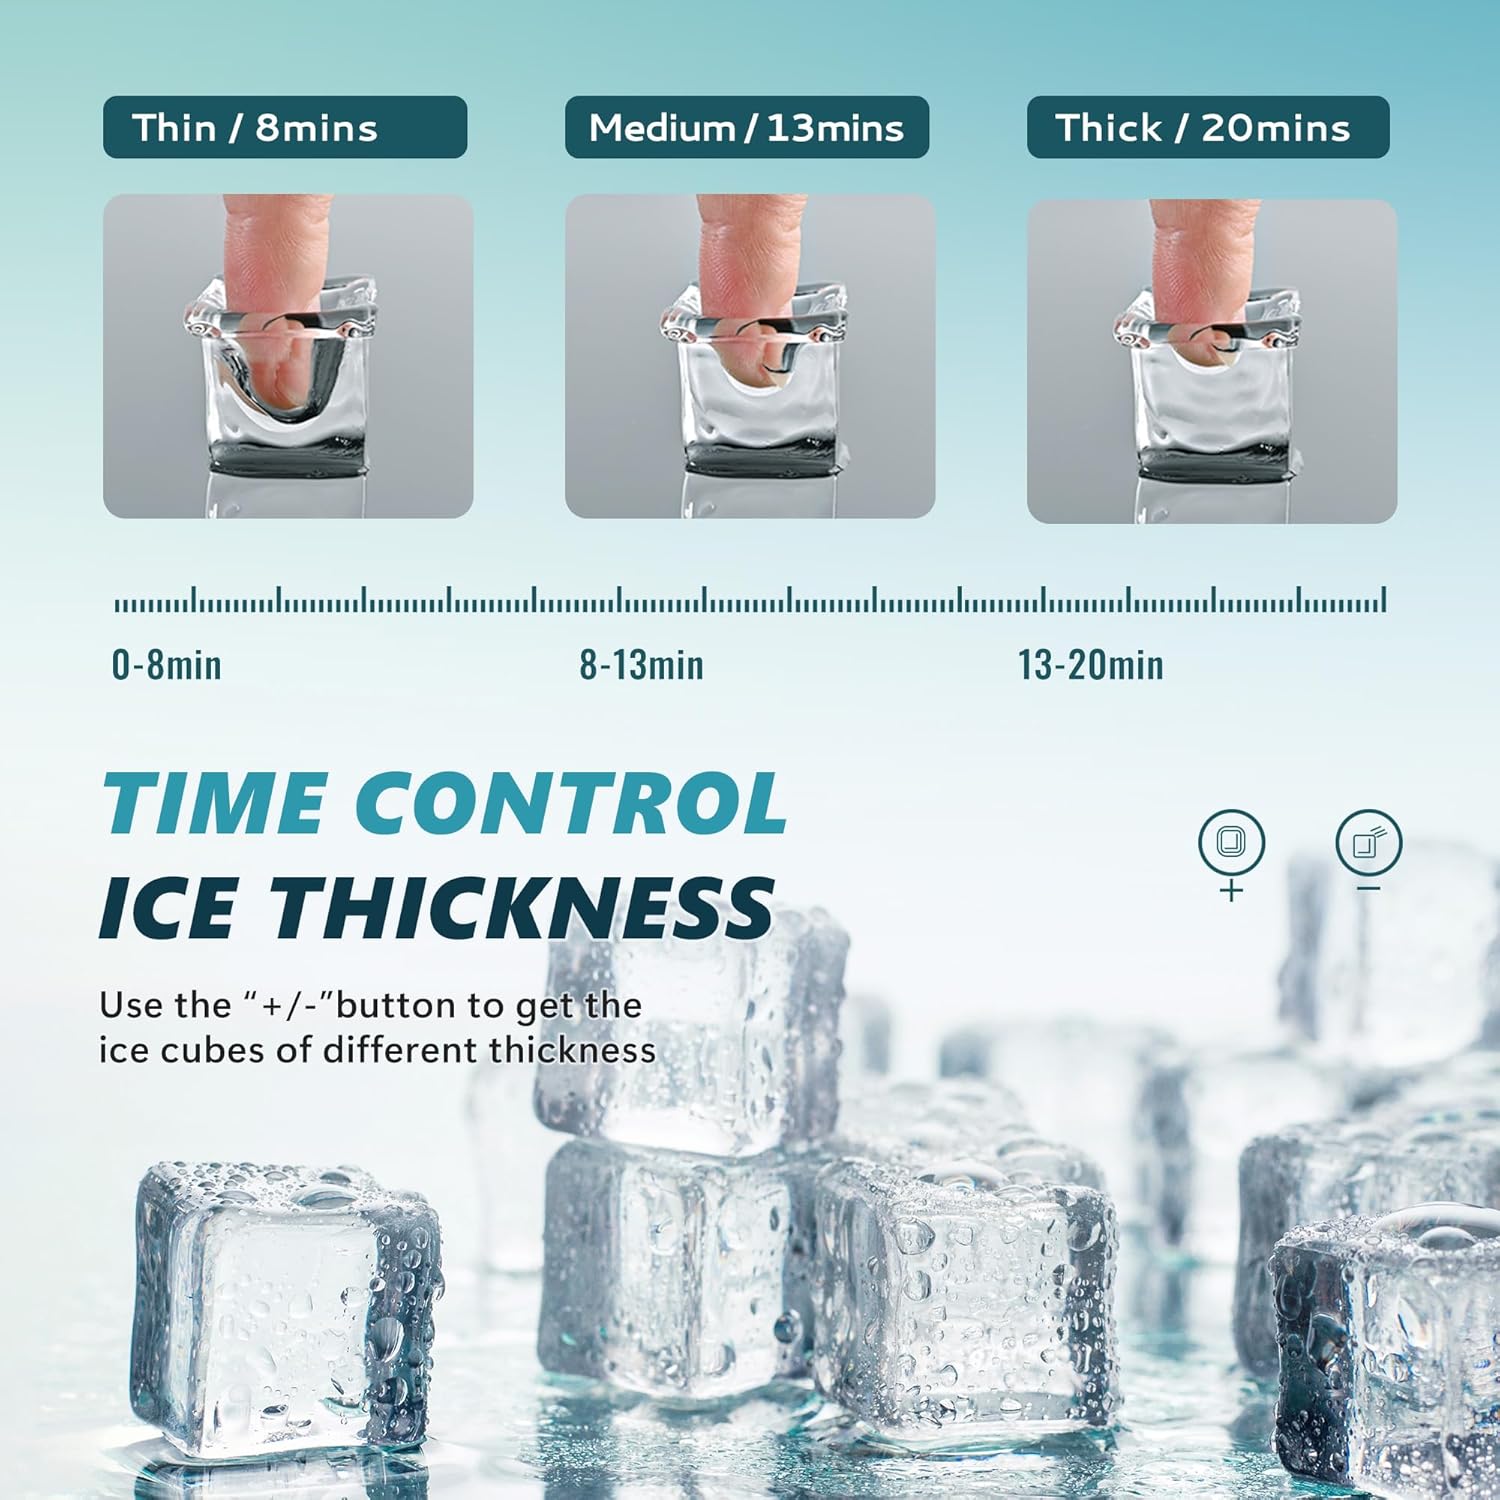
Figure 5: Explains how to control ice thickness (Thin, Medium, Thick) using the control panel, with examples of ice cubes for different uses.

Figure 6: Depicts the automatic self-cleaning function, activated by holding the '+' button for 3 seconds for a 20-minute cycle.
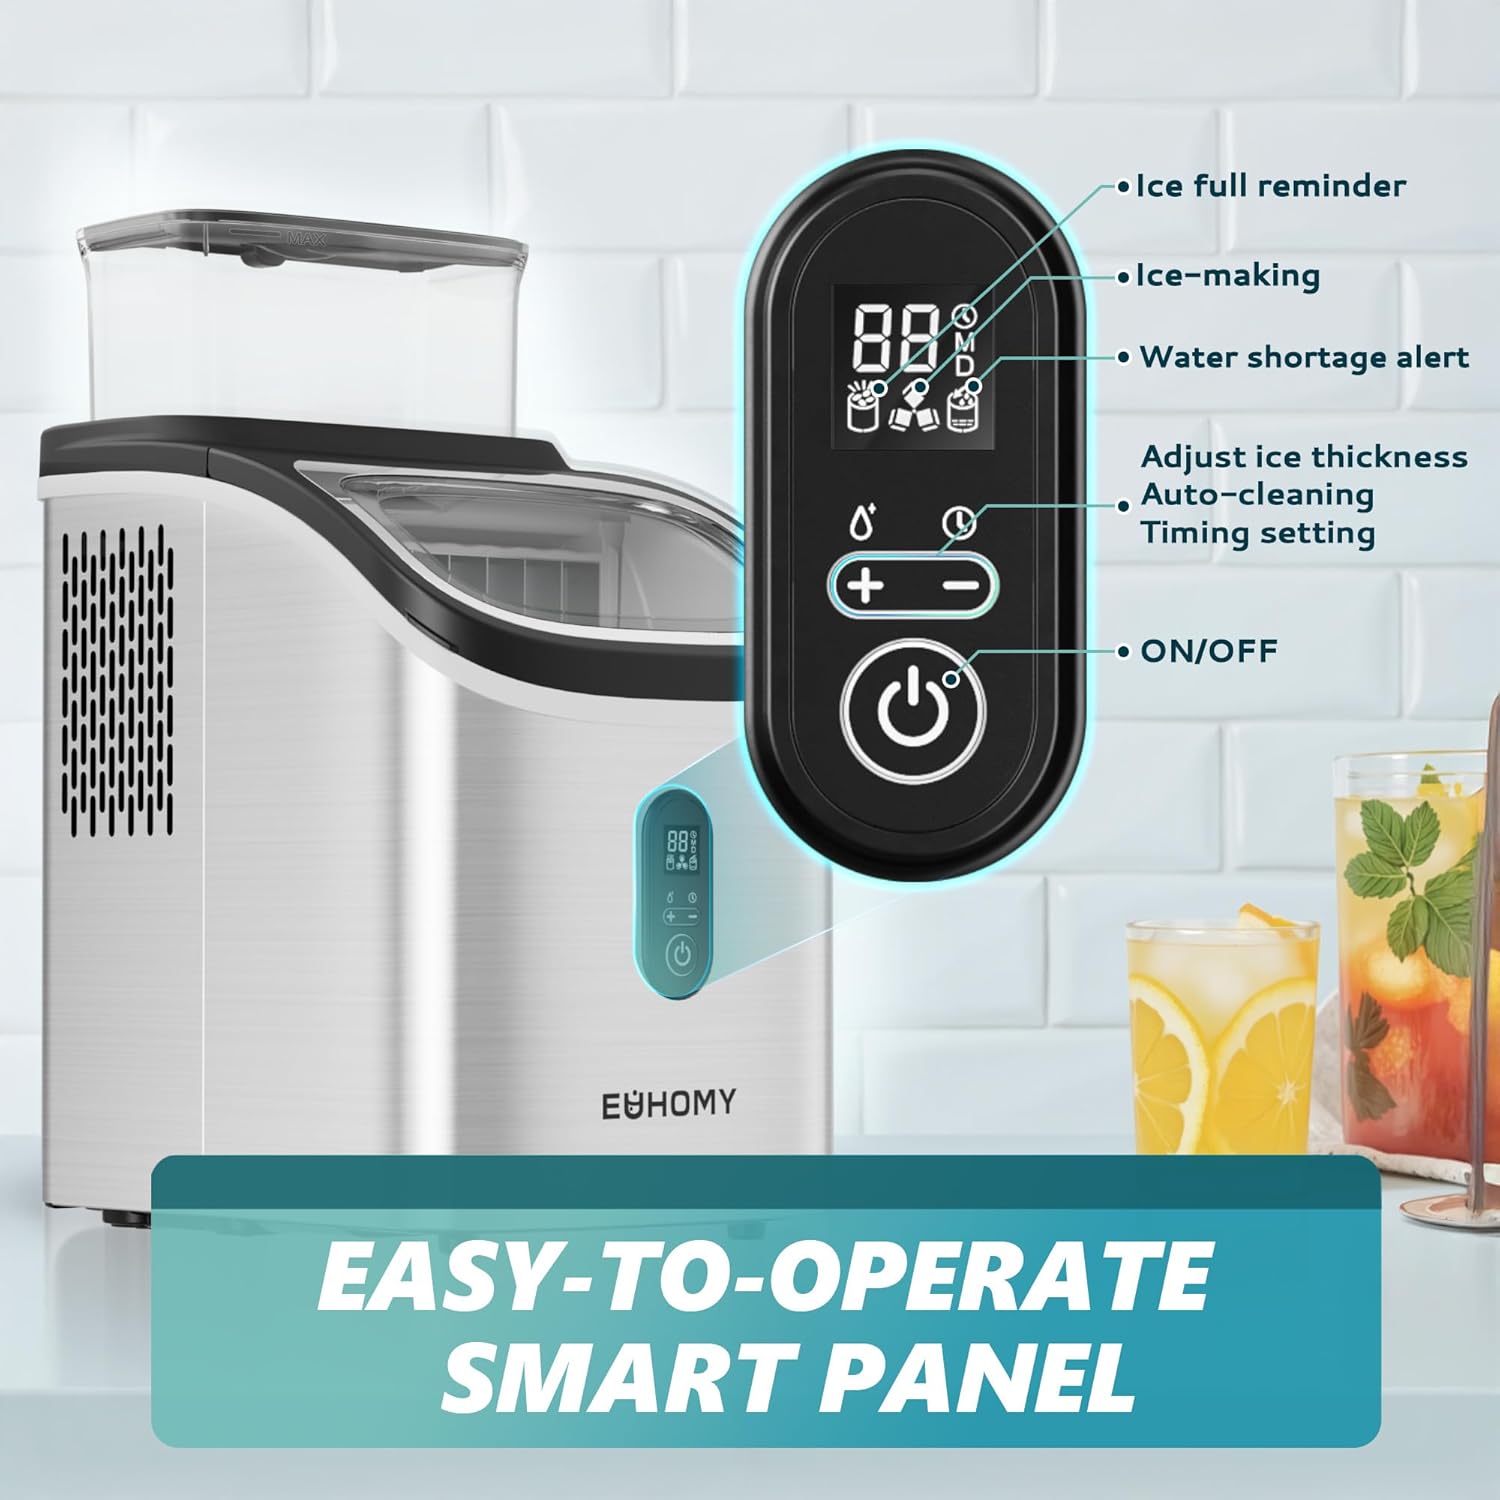
Figure 7: Detailed view of the smart control panel, highlighting indicators for ice full, ice-making, water shortage, and controls for thickness adjustment, auto-cleaning, timing, and power.

Figure 8: Demonstrates the 24-hour timer function, allowing users to schedule ice production for convenience, such as having ice ready in the morning.
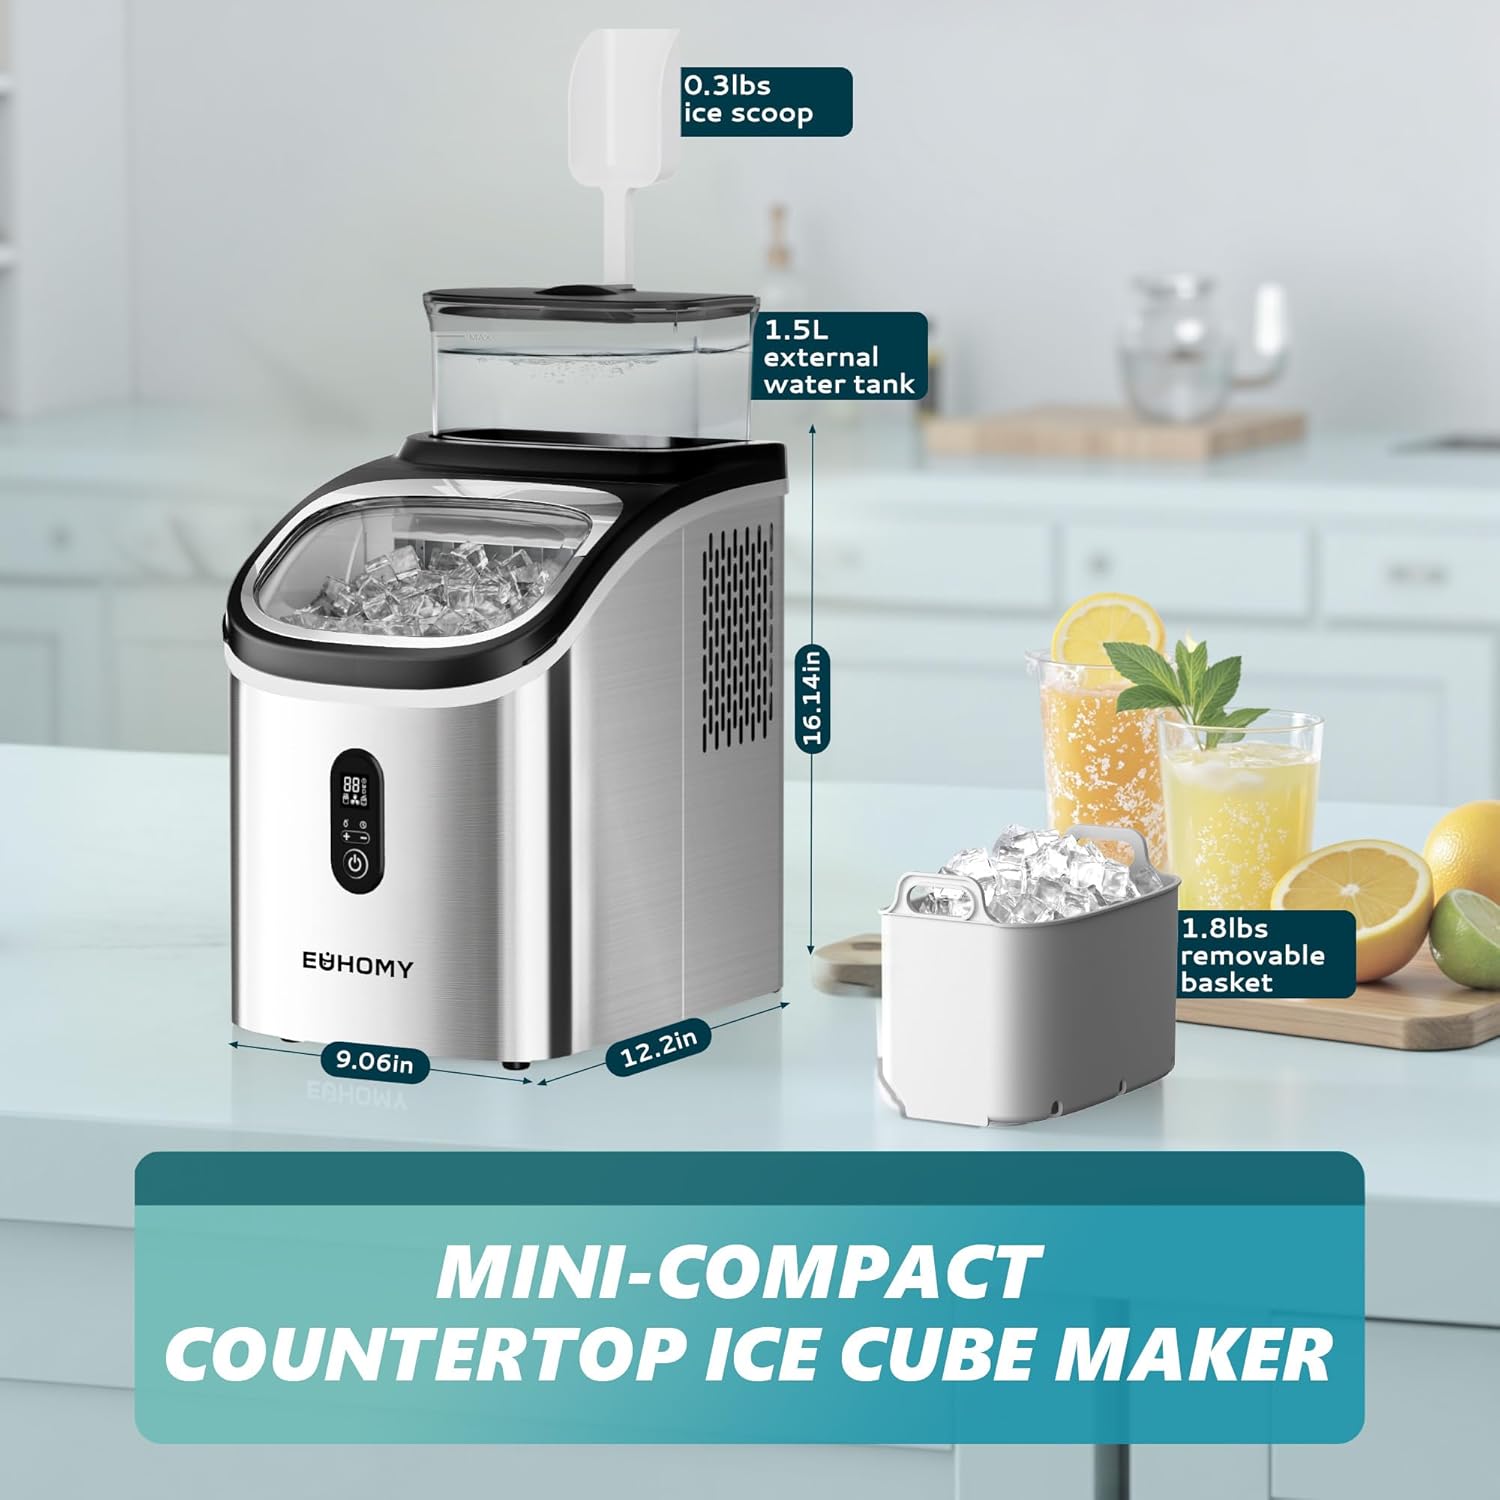
Figure 9: Provides the compact dimensions of the ice maker (9.06in W x 12.2in D x 16.14in H), along with the 1.5L external water tank and 1.8lbs removable ice basket.
4. Setup
4.1 Unpacking
Carefully remove all packaging materials. Ensure all components listed in Section 3.1 are present. Keep packaging for future storage or transport if needed.
4.2 Placement
- Place the ice maker on a flat, stable, and level surface.
- Ensure there is adequate ventilation around the unit (at least 5 inches of space on all sides).
- Avoid placing the unit near heat sources (e.g., ovens, radiators) or in direct sunlight.
- Do not place the unit in an enclosed cabinet.
4.3 Initial Cleaning
Before first use, clean the interior of the ice maker and all removable parts (ice basket, ice scoop, external water tank) with a mild detergent and warm water. Rinse thoroughly and dry completely. Run the auto-cleaning cycle (see Section 6.2) with clean water before making ice for consumption.
4.4 Water Filling
You can add water in two ways:
- Internal Reservoir: Open the lid and pour potable water directly into the internal water reservoir up to the MAX fill line.
- External Water Tank: Fill the 1.5L external water tank with potable water and place it securely on top of the ice maker. The machine will automatically draw water from this tank.
Ensure the water level is sufficient before starting the ice-making process.
5. Operating Instructions
5.1 Powering On and First Ice Cycle
- Plug the ice maker into a grounded electrical outlet.
- Add water using either method described in Section 4.4.
- Press the ON/OFF button on the control panel to start the ice-making process. The ice-making indicator will illuminate.
- The first cycle may take slightly longer, and the ice cubes might be smaller or irregular. This is normal. Discard the first few batches of ice.
5.2 Adjusting Ice Thickness
You can adjust the ice cube thickness to suit your preference:
- Press the "+" button to increase the ice-making time, resulting in thicker ice cubes.
- Press the "-" button to decrease the ice-making time, resulting in thinner ice cubes.
- Typical settings: Thin (approx. 8 mins), Medium (approx. 13 mins), Thick (approx. 20 mins).
5.3 Using the 24-Hour Timer
The timer function allows you to schedule when the ice maker starts or stops:
- While the machine is running, press the Timer button (often indicated by a clock icon).
- Use the "+" and "-" buttons to set the desired delay time (in hours) before the machine starts or stops.
- Press the Timer button again to confirm the setting.
5.4 Indicator Lights
- Ice Full: The indicator will flash when the ice basket is full, and the machine will pause operation. Remove ice to resume.
- Water Shortage: The indicator will flash when the water level is low. Add water to the reservoir or external tank to resume operation.
6. Maintenance and Cleaning
Regular cleaning ensures optimal performance and extends the lifespan of your ice maker.
6.1 Daily Cleaning
- Empty the ice basket and clean it with a soft cloth and mild detergent. Rinse and dry.
- Wipe the exterior of the unit with a damp cloth.
6.2 Auto-Cleaning Function
The auto-cleaning function simplifies internal cleaning:
- Ensure the ice maker is empty of ice and water.
- Add clean water to the internal reservoir up to the MAX fill line.
- Press and hold the "+" button for 3 seconds to activate the auto-cleaning mode. The cycle will run for approximately 20 minutes.
- Once the cycle is complete, drain the water from the unit (refer to the drainage port, usually at the bottom or back).
- Rinse the interior with fresh water and drain again.
6.3 Regular Deep Cleaning (Descaling)
Depending on water hardness, descaling may be required periodically (e.g., monthly or every few months) to remove mineral buildup:
- Prepare a descaling solution (e.g., a mixture of water and white vinegar or a commercial descaling agent as per product instructions).
- Pour the solution into the water reservoir.
- Run the auto-cleaning cycle. For stubborn buildup, let the solution sit for 15-30 minutes after the cycle before draining.
- Drain the solution completely.
- Rinse the interior thoroughly with fresh water multiple times, running auto-cleaning cycles with plain water to ensure all descaling solution is removed.
7. Troubleshooting
Refer to the table below for common issues and their solutions.
| Problem | Possible Cause | Solution |
|---|---|---|
| Ice maker not working. | No power; unit not plugged in. | Ensure unit is plugged into a grounded outlet. Check circuit breaker. |
| "Water Shortage" indicator flashing. | Water reservoir is empty. | Add potable water to the internal reservoir or external tank. |
| "Ice Full" indicator flashing. | Ice basket is full. | Remove ice from the basket. |
| Ice cubes are too small or thin. | Ice-making time is too short; water temperature is too high. | Adjust ice thickness setting to a longer cycle (e.g., Medium or Thick). Use colder water. |
| Ice cubes are stuck together. | Ice-making time is too long; ice is melting in the basket. | Adjust ice thickness setting to a shorter cycle. Transfer ice to a freezer promptly. |
| Unusual noise during operation. | Normal operation sounds (compressor, water pump); unit not level. | Ensure the unit is on a level surface. If noise is excessive or unusual, contact support. |
If the problem persists after attempting these solutions, please contact EUHOMY customer support.
8. Specifications
| Attribute | Value |
|---|---|
| Brand | EUHOMY |
| Model Name | IM005 |
| Product Dimensions (D x W x H) | 12.2"D x 9.06"W x 16.14"H |
| Weight | 18.85 Pounds |
| Ice Production Capacity | 34 Lbs/Day |
| Ice Basket Capacity | 1.8 Pounds |
| External Water Tank Capacity | 1.5 Liters |
| Wattage | 143 watts |
| Ice Cube Shape | Crystal Clear Square-shaped |
9. Warranty and Support
EUHOMY offers a 12-month after-sales service from the original purchase date for this ice maker. This warranty covers manufacturing defects and issues arising from normal use.
For technical service support, warranty claims, or any questions regarding the use of your EUHOMY Ice Cube Maker Machine, please contact our customer support team. Our mission is to provide premium products and excellent service.
Please have your model number (IM005) and purchase date ready when contacting support to expedite assistance.


