
ANCTOR HK-BA-YN03
ANCTOR Freestanding Wardrobe Closet HK-BA-YN03 User Manual
Model: HK-BA-YN03
Introduction
This manual provides detailed instructions for the assembly, operation, and maintenance of your ANCTOR Freestanding Wardrobe Closet, Model HK-BA-YN03. Please read all instructions carefully before beginning assembly and retain this manual for future reference.
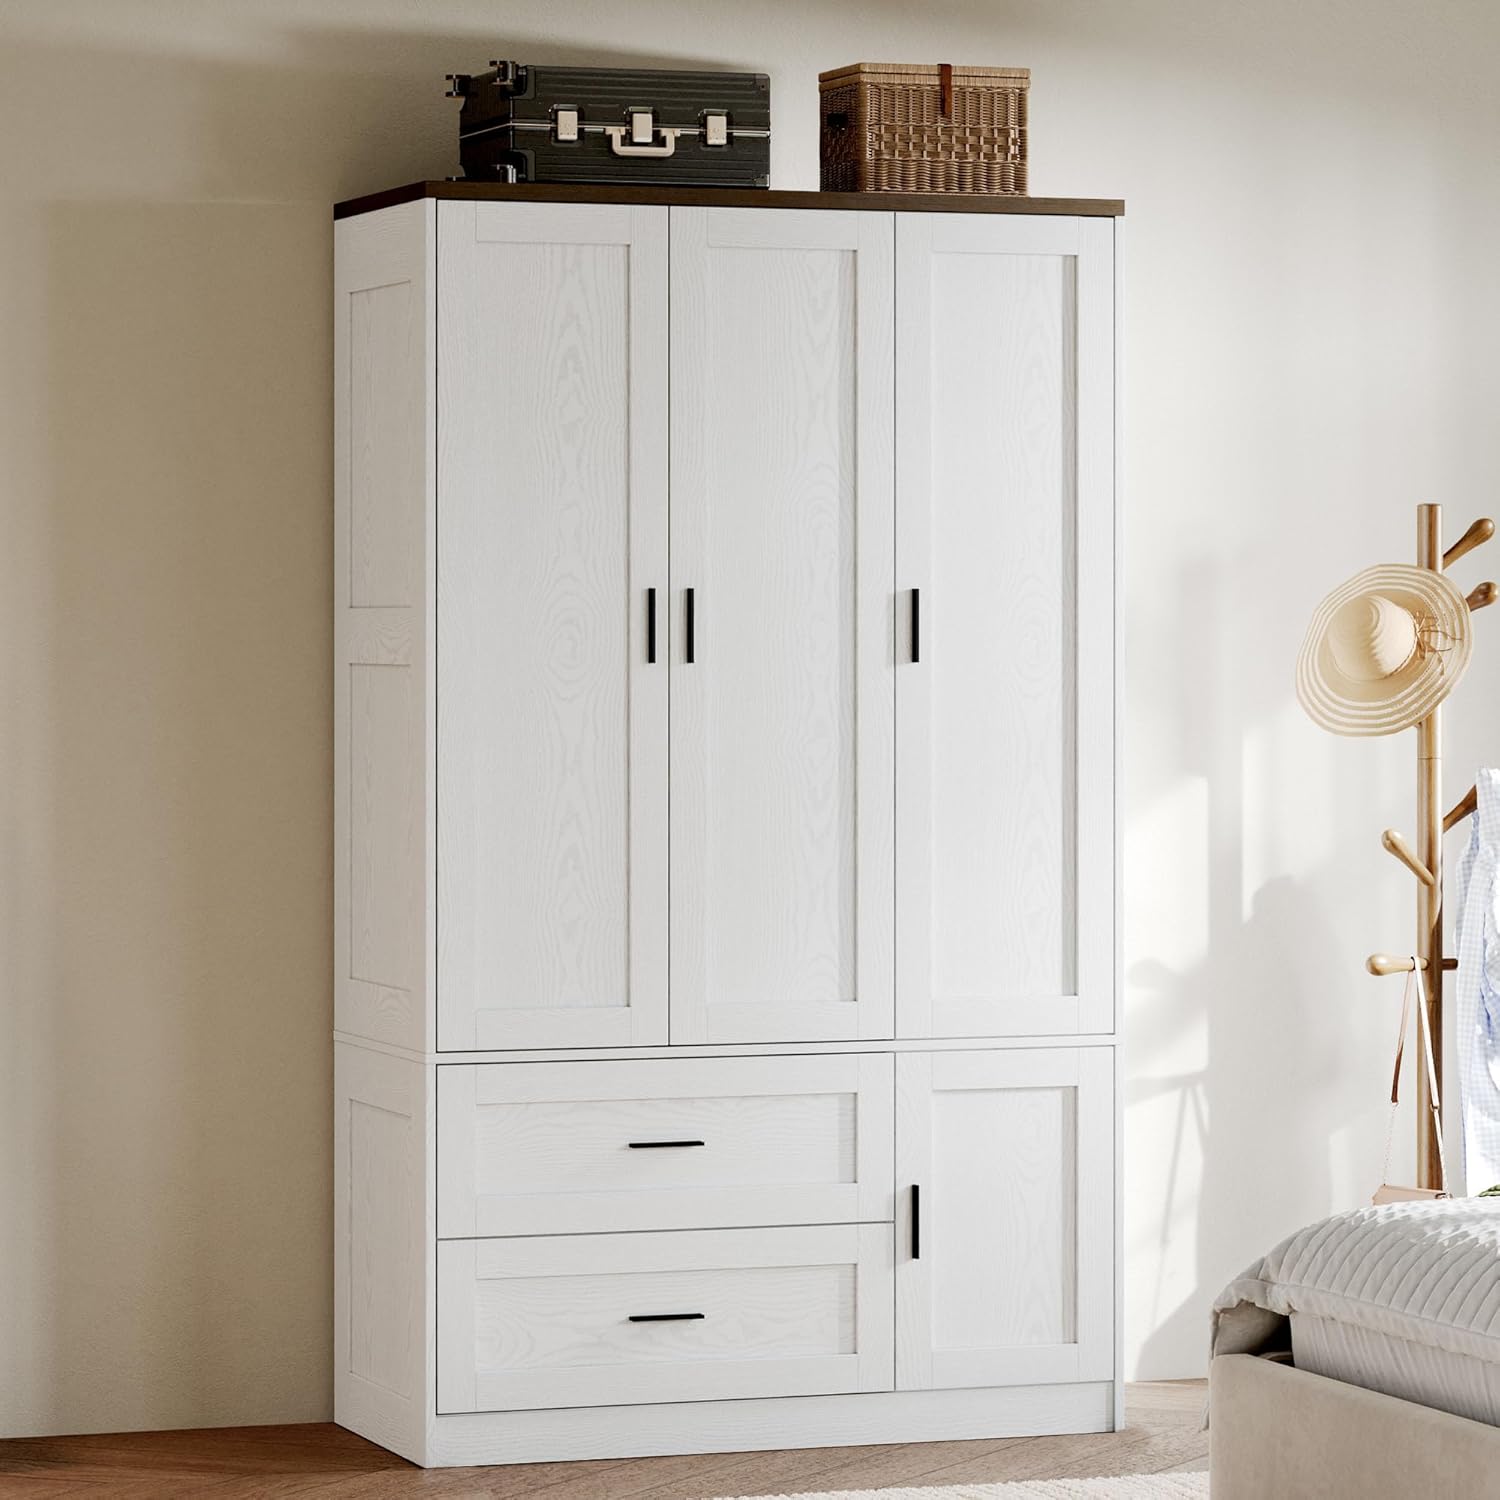
Image: The ANCTOR Freestanding Wardrobe Closet, Model HK-BA-YN03, featuring three doors, two drawers, and a closed cabinet organizer.
Safety Information
Important Safety Instructions:
- Always secure the wardrobe to the wall using the provided anti-tip hardware to prevent serious injury from tipping.
- During assembly, follow the instructions carefully to avoid injury. It is recommended that two people assemble this unit.
- Keep small parts away from children during assembly.
- Do not overload shelves or hanging rods. Refer to specifications for weight limits.
Product Specifications
| Feature | Detail |
|---|---|
| Brand | ANCTOR |
| Model Name | HK-BA-YN03 |
| Color | White |
| Product Dimensions | 19.7"D x 35.4"W x 70.1"H |
| Material | Engineered Wood |
| Weight Limit | 100 Pounds |
| Special Features | Adjustable Shelf, Anti-Tipping, Removable Shelf |
| Included Components | Cabinet, Doors, Drawers, Hanging Rod, Shelves |

Image: Visual representation of the wardrobe dimensions, showing height, width, and depth.
Assembly Instructions
Please follow these steps carefully for proper assembly. It is recommended to have two people for assembly.
Assembly Overview Video
Video: Step-by-step visual guide for assembling the ANCTOR Freestanding Wardrobe Closet.
Detailed Step-by-Step Assembly
Refer to the numbered images for each assembly step.
- Step 1: Prepare Drawer Sides
Attach the drawer slides to parts 16 and 18 using screws N. Ensure the slides are oriented correctly. - Step 2: Assemble Drawer Front Panel
Connect part 21 to part 18 using dowels C and screws D. - Step 3: Attach Drawer Back Panel
Secure part 14 to parts 18 and 21 using dowels A, cam locks B, and dowels C. - Step 4: Install Drawer Bottom Panel
Slide parts 11 and 12 into the grooves of parts 18, 14, and 21. Secure with screws D. - Step 5: Attach Side Panel to Drawer Assembly
Connect part 17 to the assembled drawer section using dowels C and screws D. - Step 6: Install Remaining Drawer Bottom Panel
Slide part 8 into the grooves of parts 17, 18, and 14. Secure with screws D. - Step 7: Complete Drawer Box
Attach part 16 to the remaining side of the drawer assembly using dowels C and screws D. - Step 8: Prepare Top Panel
Attach brackets E to part 2 and part 4 using screws I. - Step 9: Assemble Top Crossbar
Connect part 20 to part 4 using dowels C and screws D. - Step 10: Attach Top Panels
Connect parts 9, 10, and 31 to the top crossbar assembly using dowels C and screws D. - Step 11: Attach Side Panel to Top Assembly
Connect part 3 to the top assembly using dowels C and screws D. - Step 12: Install Back Panels for Top Section
Slide parts 7 (x2) and 13 into the grooves of the top assembly. Secure with screws D. - Step 13: Attach Remaining Top Panel
Connect part 2 to the top assembly using screws D. - Step 14: Install Top Board
Place part 1 (top board) onto the assembled top section. Secure with dowels C and screws D. - Step 15: Install Bottom Board
Place part 6 (bottom board) onto the assembled base section. Secure with dowels C and screws D. - Step 16: Attach Cam Lock Pins to Base
Insert cam lock pins A into the designated holes on the base structure. - Step 17: Connect Top and Bottom Sections
Carefully align the top section with the bottom section and secure them together using cam locks B and dowels C. - Step 18: Install Back Panels and Anti-Tip Brackets
Attach the back panels (X) to the rear of the wardrobe using screws P and O. Install anti-tip brackets Q to the top rear corners using screws I. - Step 19: Install Adjustable Shelves and Hanging Rod
Insert shelf pins F into the desired height holes. Place shelves 19 (x2) onto the pins. Install hanging rod V into the designated supports. - Step 20: Install Magnetic Catches
Attach magnetic catches M to the interior of the cabinet using screws I. Cover screw heads with caps X. - Step 21: Attach Hinges to Doors
Attach hinges G to doors 30 and 28 using screws I. - Step 22: Attach Hinges to Door
Attach hinges H to door 29 using screws I. - Step 23: Install Doors
Mount doors 30, 28, and 5 to the cabinet frame using screws I and K. Attach handles J to doors 28 and 5. - Step 24: Install Remaining Door
Mount door 29 to the cabinet frame using screws I and K. Attach handle J. - Step 25: Assemble Drawer Box 2
Repeat steps 1-7 for the second drawer box. - Step 26: Prepare Drawer Front Panel 2
Insert cam lock pins A into the designated holes on part 24. - Step 27: Assemble Drawer Box 2 Sides
Connect parts 23, 25, 26, and 27 using screws L. - Step 28: Assemble Drawer Box 2 Bottom
Connect parts 22, 23, 24, and 25 using cam locks B. - Step 29: Assemble Drawer Box 2 Front
Attach part 24 (drawer front) to the assembled drawer box using screws N and K. Install handle J. - Step 30: Insert Drawers
Slide the assembled drawers into their respective tracks within the wardrobe. - Step 31: Mark Wall for Anti-Tip Brackets
Measure and mark the wall according to the provided diagram for anti-tip bracket placement. - Step 32: Drill Holes for Wall Anchors
Drill pilot holes at the marked locations on the wall. - Step 33: Insert Wall Anchors
Insert wall anchors R into the drilled holes. - Step 34: Attach Wall Brackets
Secure wall brackets Q to the wall using screws S. - Step 35: Secure Wardrobe to Wall
Attach the wardrobe to the wall brackets using straps T.
Operating Instructions
Storage Areas
- Hanging Area: Utilize the metal hanging rod for suits, uniforms, coats, and dresses.
- Stacking Area: The 4-tier adjustable shelves are suitable for folded clothes, boxes, shoes, or bags. Adjust shelf height as needed.
- Drawers: Two smooth-gliding drawers provide storage for smaller items like socks, underwear, or other personal belongings.
- Closed Cabinet Organizer: The additional closed cabinet offers concealed storage for various items.

Image: The wardrobe interior, highlighting the hanging rod, adjustable shelves, and drawers for organized storage.

Image: Detail of the 4-tier cubby shelves, illustrating their adjustability for customized storage.

Image: Detail of the double drawers for private items and the durable metal clothes hanger rod.
Maintenance
General Care
- Wipe surfaces with a soft, damp cloth. Avoid harsh chemicals or abrasive cleaners.
- Periodically check all screws and fasteners to ensure they are tight. Retighten as necessary.
- Ensure the anti-tip hardware remains securely fastened to the wall.
Hinge Adjustment
If the cabinet doors are not aligned correctly, you can adjust the hinges for a perfect fit.
Video: Instructions on how to adjust cabinet hinges to correct door alignment (front/back, left/right, up/down).
- Front and Back Adjustment: Use a screwdriver to adjust the screw on the hinge arm to move the door closer to or further from the cabinet frame.
- Left and Right Adjustment: Turn the front screw on the hinge to adjust the door horizontally, correcting any gaps or overlaps between doors.
- Up and Down Adjustment: Adjust the screws at the top and bottom of the hinge plate to raise or lower the door vertically.
Troubleshooting
This section addresses common issues you might encounter with your wardrobe.
- Wobbly Wardrobe: Ensure all cam locks and screws are fully tightened. Verify the anti-tip hardware is securely installed and engaged with the wall.
- Doors Not Closing Properly/Misaligned: Refer to the "Hinge Adjustment" section above for detailed instructions on how to adjust the door hinges.
- Drawers Sticking: Check that the drawer slides are properly aligned and free of obstructions. Ensure all screws on the slides are tight.
- Missing Parts: If you find any parts missing during assembly, please contact ANCTOR customer support with your model number and the specific part numbers needed.
Warranty and Support
For warranty information or customer support, please refer to the documentation included with your purchase or visit the official ANCTOR website. You may also contact ANCTOR Direct for assistance.
ANCTOR Direct Seller ID: AFW8VX6NB710
Related documentsHK-BA-YN03

Ask a question about this manual
Ask about setup, troubleshooting, compatibility, parts, safety, or missing instructions. Manuals+ will review the question and use this page’s manual context to help answer it.