
1. Introduction
This manual provides essential information for the proper setup, operation, and maintenance of your CRUA 24.5-inch White Gaming Monitor (Model CR245D). Please read this manual thoroughly before using the product to ensure optimal performance and safety. Keep this manual for future reference.

Figure 1.1: Front view of the CRUA 24.5-inch White Gaming Monitor.
2. Safety Information
- Do not expose the monitor to rain or moisture to prevent fire or electric shock.
- Do not open the monitor casing. There are no user-serviceable parts inside. Refer all servicing to qualified personnel.
- Place the monitor on a stable, flat surface to prevent it from falling.
- Ensure proper ventilation around the monitor. Do not block ventilation openings.
- Use only the power adapter and cables provided or recommended by the manufacturer.
- Unplug the monitor from the power outlet during lightning storms or when unused for extended periods.
- Avoid placing heavy objects on the power cord or monitor cables.
3. Package Contents
Verify that all items are present in your package:
- CRUA 24.5-inch White Gaming Monitor
- Monitor Stand (Base and Neck)
- Power Adapter and Power Cable
- HDMI Cable
- DisplayPort (DP) Cable
- User Manual (this document)
- Screws for stand assembly
4. Setup
4.1 Assembling the Stand
- Carefully remove the monitor from its packaging, keeping it protected on a soft surface.
- Attach the stand neck to the monitor's rear panel using the provided screws.
- Attach the stand base to the stand neck and secure it with the designated screw, usually hand-tightened.
- Place the assembled monitor on a stable desk or table.
4.2 Connecting Cables
Refer to the back panel image below for port locations.
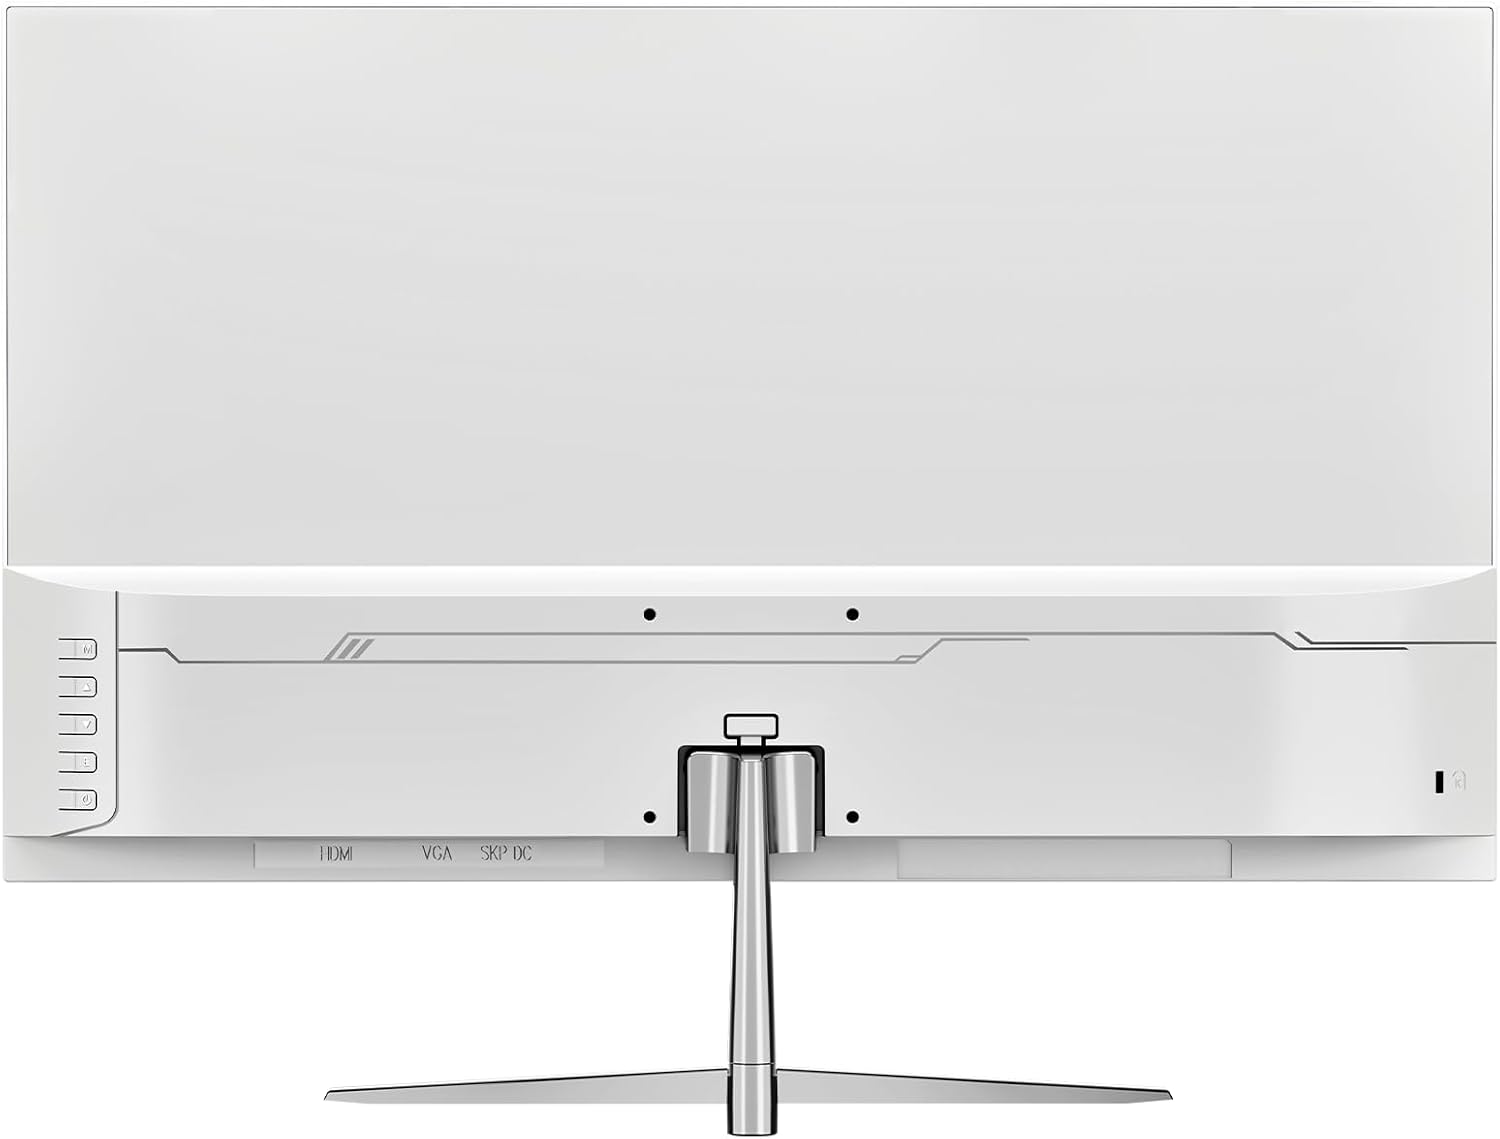
Figure 4.1: Rear view of the monitor with input ports.
- Power Connection: Connect the power adapter to the monitor's DC input port, then plug the power cable into a wall outlet.
- Video Connection: Connect one end of the HDMI or DisplayPort (DP) cable to the corresponding port on your computer's graphics card and the other end to the HDMI 1.4 or DP 1.2 port on the monitor.
- Audio Output: If using external speakers or headphones, connect them to the monitor's audio out port. The monitor also has built-in speakers.
4.3 Wall Mounting (Optional)
The monitor supports VESA wall mounts with a 75mm x 75mm pattern. Ensure you use appropriate screws and a compatible VESA bracket (not included) for secure installation. Follow the instructions provided with your wall mount kit.
5. Operating Instructions
5.1 Powering On/Off
Press the power button, typically located on the back or bottom right of the monitor, to turn the monitor on or off. The power indicator light will illuminate when the monitor is on.
5.2 On-Screen Display (OSD) Menu
The OSD menu allows you to adjust various monitor settings. Use the buttons on the back or bottom of the monitor to navigate the menu:
- Menu Button: Opens the OSD menu.
- Up/Down Buttons: Navigate through menu options.
- Enter/Select Button: Confirms a selection or enters a sub-menu.
- Exit Button: Exits the current menu or OSD.
5.3 Display Settings
Adjust image quality and performance settings via the OSD menu:
- Brightness/Contrast: Adjust the overall luminance and contrast ratio.
- Color Settings: Modify color temperature, gamma, and individual RGB levels. The monitor supports 120% sRGB color gamut, 16.7 million colors, and 8-bit depth for accurate color reproduction.

Figure 5.1: Monitor's color and brightness capabilities.
- Input Source: Manually select between HDMI and DisplayPort inputs if auto-detection fails.
- Refresh Rate: The monitor supports up to a 200Hz refresh rate for smooth motion. Ensure your graphics card and cable support this rate.
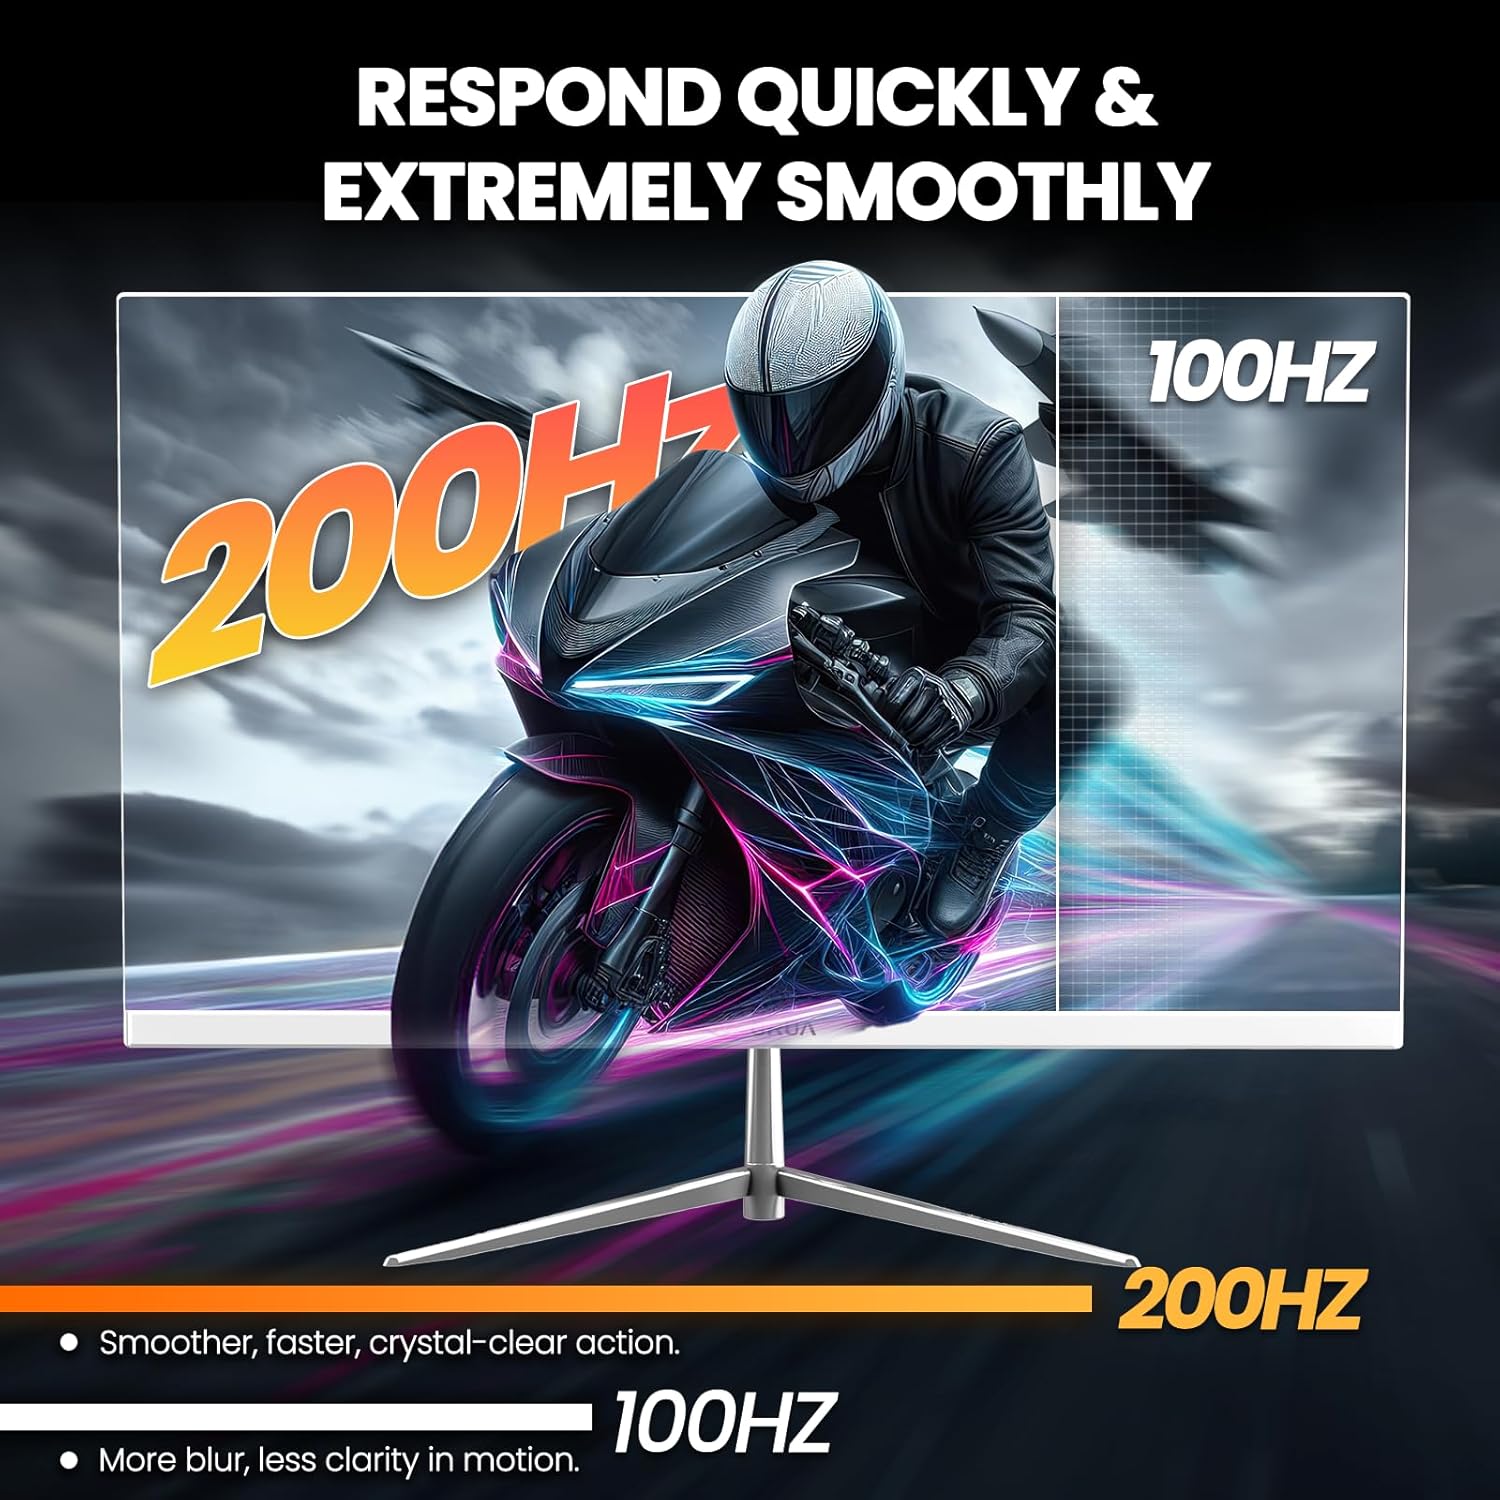
Figure 5.2: Visual representation of 200Hz refresh rate performance.
- Adaptive Sync (FreeSync): This technology synchronizes the monitor's refresh rate with your graphics card's frame rate to eliminate screen tearing and stuttering. Enable it in the OSD menu and ensure it's activated in your graphics card settings.

Figure 5.3: Effect of Adaptive Sync on image quality.
- Blue Light Filter: Reduces blue light emission to minimize eye strain during prolonged use. Activate this feature in the OSD menu.
- Built-in Speakers: The monitor includes integrated speakers for basic audio needs. Volume can be adjusted via the OSD or your computer's audio settings.
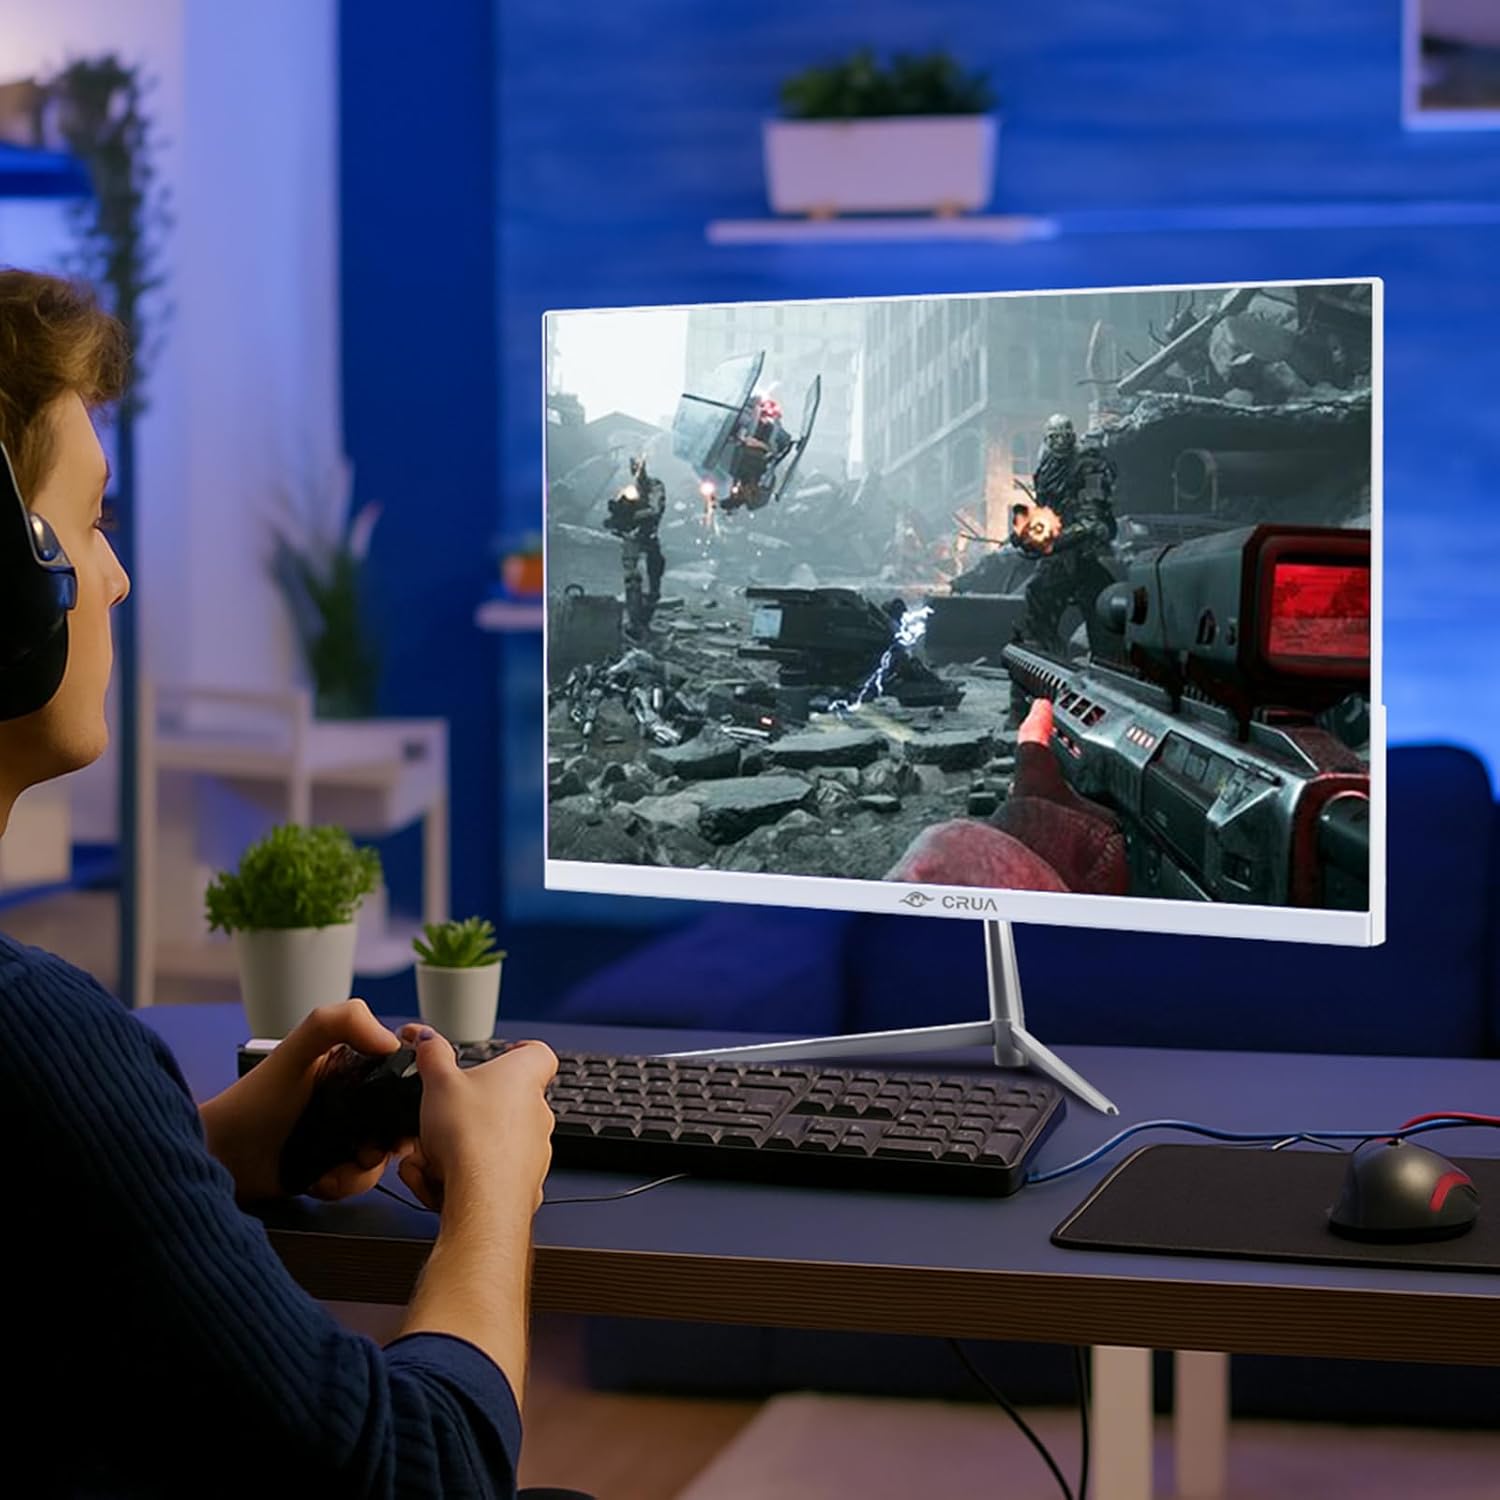
Figure 5.4: Monitor in use during a gaming session.
6. Maintenance
- Cleaning the Screen: Gently wipe the screen with a soft, lint-free cloth. For stubborn marks, dampen the cloth with a small amount of screen cleaner specifically designed for monitors. Do not spray cleaner directly onto the screen.
- Cleaning the Casing: Use a soft, dry cloth to wipe the monitor's exterior. Avoid using abrasive cleaners or solvents.
- Storage: If storing the monitor for an extended period, unplug it and cover it to protect it from dust.
7. Troubleshooting
| Problem | Possible Cause | Solution |
|---|---|---|
| No power | Power cable not connected; Power outlet not working | Ensure power cable is securely connected. Test the outlet with another device. |
| No signal | Video cable not connected; Incorrect input source selected | Check video cable connections. Select the correct input source in the OSD menu. |
| Flickering screen | Loose cable connection; Graphics card issue; Refresh rate mismatch | Secure cable connections. Update graphics drivers. Ensure refresh rate is compatible with your system. Enable Adaptive Sync. |
| Poor image quality | Incorrect resolution; OSD settings incorrect | Set display resolution to 1920x1080. Adjust brightness, contrast, and color settings in the OSD. |
| No sound from speakers | Volume too low; Audio output not selected | Increase volume in OSD and computer settings. Ensure monitor is selected as audio output device on your computer. |
8. Specifications
| Model Number | CR245D |
| Screen Size | 24.5 Inches |
| Panel Type | VA |
| Resolution | 1920 x 1080 (FHD 1080p) |
| Refresh Rate | 200Hz |
| Aspect Ratio | 16:9 |
| Image Brightness | 290 Candela (cd/m²) |
| Color Gamut | 120% sRGB |
| Color Depth | 16.7 Million (8-bit) |
| Dynamic Contrast Ratio | 3500:1 |
| Adaptive Sync | Supported (AMD FreeSync) |
| Connectivity | HDMI 1.4, DisplayPort 1.2 |
| Built-in Speakers | Yes |
| Wall Mountable | Yes (75mm x 75mm VESA) |
| Product Dimensions | 1.4 x 21 x 12 inches |
| Item Weight | 7.54 pounds |
9. Warranty and Support
CRUA is committed to providing high-quality computer monitors and premium services. For any questions or assistance regarding your monitor, please contact CRUA customer support. Refer to your purchase documentation for specific warranty terms and contact details.