1. Introduction
This manual provides essential information and step-by-step instructions for the proper installation, operation, and maintenance of your A-Tech 32GB DDR4 3200MHz PC4-25600 Non-ECC UDIMM Memory Module. Adhering to these guidelines will ensure optimal performance and longevity of your memory upgrade.
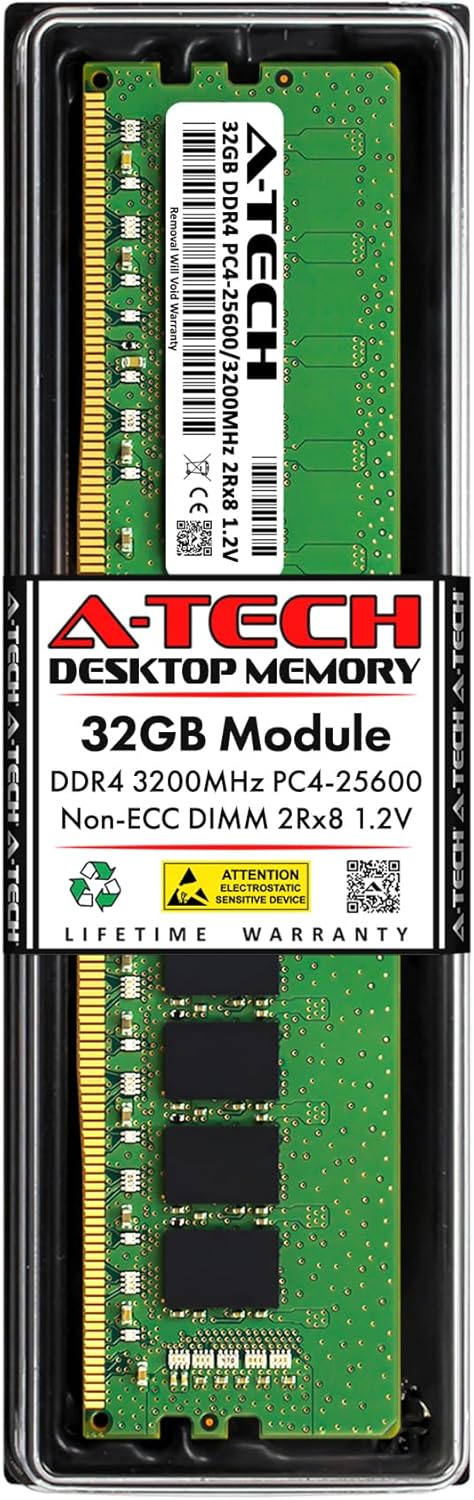
Image 1.1: A-Tech 32GB DDR4 RAM module in its retail packaging.
2. Product Specifications
| Feature | Specification |
|---|---|
| Memory Capacity | 32GB (1 x 32GB Module) |
| Memory Type | DDR4 DIMM |
| Speed | 3200MHz (PC4-25600) |
| Pin Count | 288-Pin |
| Error Correction | Non-ECC Unbuffered (UDIMM) |
| Rank | 2Rx8 - Dual Rank x8 |
| Voltage | 1.2V |
| Dimensions (LxWxH) | 133.35mm x 31.24mm x 3.81mm (5.25 x 1.23 x 0.15 inches) |
| Weight | 0.8 ounces |
| Compatible Devices | ASUS ROG Strix B560-E Gaming WiFi, B560-G Gaming WiFi Motherboards |

Image 2.1: Physical dimensions of the A-Tech DDR4 RAM module.
3. Setup and Installation
Before beginning the installation process, ensure you have read and understood all instructions. Improper handling or installation can damage the memory module or your computer components.
Safety Precautions:
- Always power off your computer and unplug it from the power outlet before opening the case.
- Discharge any static electricity by touching a grounded metal object (e.g., the metal chassis of your computer) before handling components. Consider using an anti-static wrist strap.
- Handle the memory module by its edges, avoiding contact with the gold connector pins or the integrated circuits.
Installation Steps:
- Prepare Your System: Power down your computer completely and disconnect the power cord from the wall outlet. Disconnect all other cables (monitor, USB, etc.).
- Open the Computer Case: Remove the side panel of your computer case to access the motherboard. Refer to your computer or case manual for specific instructions.
- Locate DIMM Slots: Identify the DDR4 DIMM slots on your motherboard. These are typically long slots near the CPU. Your motherboard manual will specify the recommended slots for single module installation or optimal dual-channel configuration.
- Open Retention Clips: Gently push open the white or black retention clips at both ends of the DIMM slot(s) where you intend to install the memory module.
- Align the Memory Module: Hold the A-Tech DDR4 memory module by its edges. Align the notch on the bottom edge of the module with the key in the DIMM slot. The module is designed to fit in only one orientation. Do not force it.
- Insert the Module: With the notch aligned, place the module into the slot. Apply firm, even pressure to both ends of the module simultaneously until the retention clips snap into place, securing the module. Ensure the clips are fully closed.
- Close the Case: Once the memory module is securely installed, replace the computer's side panel and reconnect all cables.
- BIOS Update Recommendation: For ASUS ROG Strix B560-E Gaming WiFi and B560-G Gaming WiFi Motherboards, a BIOS update is recommended to unlock maximum performance and ensure full compatibility with the 3200MHz memory speed. Refer to your motherboard manufacturer's website for BIOS update instructions.

Image 3.1: A-Tech DDR4 RAM module, showing the gold connector pins and notch.
4. Operating
After successful installation, your computer should automatically detect the new memory. Upon booting your system:
- Initial Boot: The first boot after installing new RAM may take slightly longer as the system initializes the new memory.
- Verify in BIOS/UEFI: Enter your system's BIOS/UEFI settings (usually by pressing DEL or F2 during startup) to confirm that the new memory capacity and speed are recognized correctly.
- Verify in Operating System: Once booted into your operating system, you can verify the installed RAM. For Windows, right-click 'This PC' or 'My Computer', select 'Properties', and check the 'Installed RAM' value. For macOS or Linux, use system information utilities.
If the memory is not detected or the system does not boot, refer to the Troubleshooting section.
5. Maintenance
A-Tech memory modules are designed for reliability and require minimal maintenance. Follow these guidelines to ensure continued performance:
- Cleanliness: Keep your computer's interior clean and free of dust. Dust can impede airflow and lead to overheating, potentially affecting memory performance.
- Handling: If you need to remove or re-install the memory module, always follow the safety precautions outlined in Section 3. Avoid touching the gold contacts.
- Environmental Conditions: Operate your computer in a well-ventilated area with stable temperature and humidity to prevent component stress.
6. Troubleshooting
If you encounter issues after installing your A-Tech memory module, consider the following troubleshooting steps:
- System Not Booting / No Display:
- Ensure the memory module is fully seated in its slot and the retention clips are closed. Remove and re-insert the module firmly.
- Verify that the module is installed in the correct DIMM slot(s) as per your motherboard manual.
- If you have multiple modules, try booting with only one module installed at a time to identify a potentially faulty module.
- Incorrect Memory Detected / Lower Speed:
- Check your BIOS/UEFI settings. Ensure that the memory speed (XMP/DOCP profile) is correctly configured to 3200MHz.
- Confirm that your motherboard supports 3200MHz DDR4 memory.
- Ensure your motherboard's BIOS is updated to the latest version, especially for optimal compatibility and performance with 3200MHz RAM.
- System Instability / Blue Screens (BSOD):
- Run a memory diagnostic tool (e.g., Windows Memory Diagnostic or MemTest86) to check for errors.
- Ensure your system's power supply unit (PSU) is sufficient for all installed components.
If these steps do not resolve the issue, please contact A-Tech support for further assistance.
7. Warranty and Support
All A-Tech memory modules are covered by a Limited Lifetime Warranty, ensuring dependable and reliable performance. Our dedicated support team is available to assist you with any questions or issues you may encounter.
For warranty claims, technical support, or additional product information, please visit our support page:

Image 7.1: A-Tech's commitment to dedicated support.


