1. Safety Information
Read all instructions before using the appliance. Keep this manual for future reference. Always follow basic safety precautions to reduce the risk of fire, electric shock, or injury.
- Ensure the appliance is properly grounded.
- Do not operate the dishwasher if it is damaged.
- Keep children away from the dishwasher, especially when it is operating.
- Use only detergents and rinse aids specifically designed for dishwashers.
- Do not touch the heating element during or immediately after use.
- In case of water leakage, immediately turn off the water supply and disconnect the power.
2. Product Overview
The Hisense HV642D65 is a 60 cm built-in dishwasher designed for efficient and thorough cleaning of up to 14 place settings. It features an automatic door opening for improved drying, flexible baskets for versatile loading, and 6 wash programs to suit various needs.
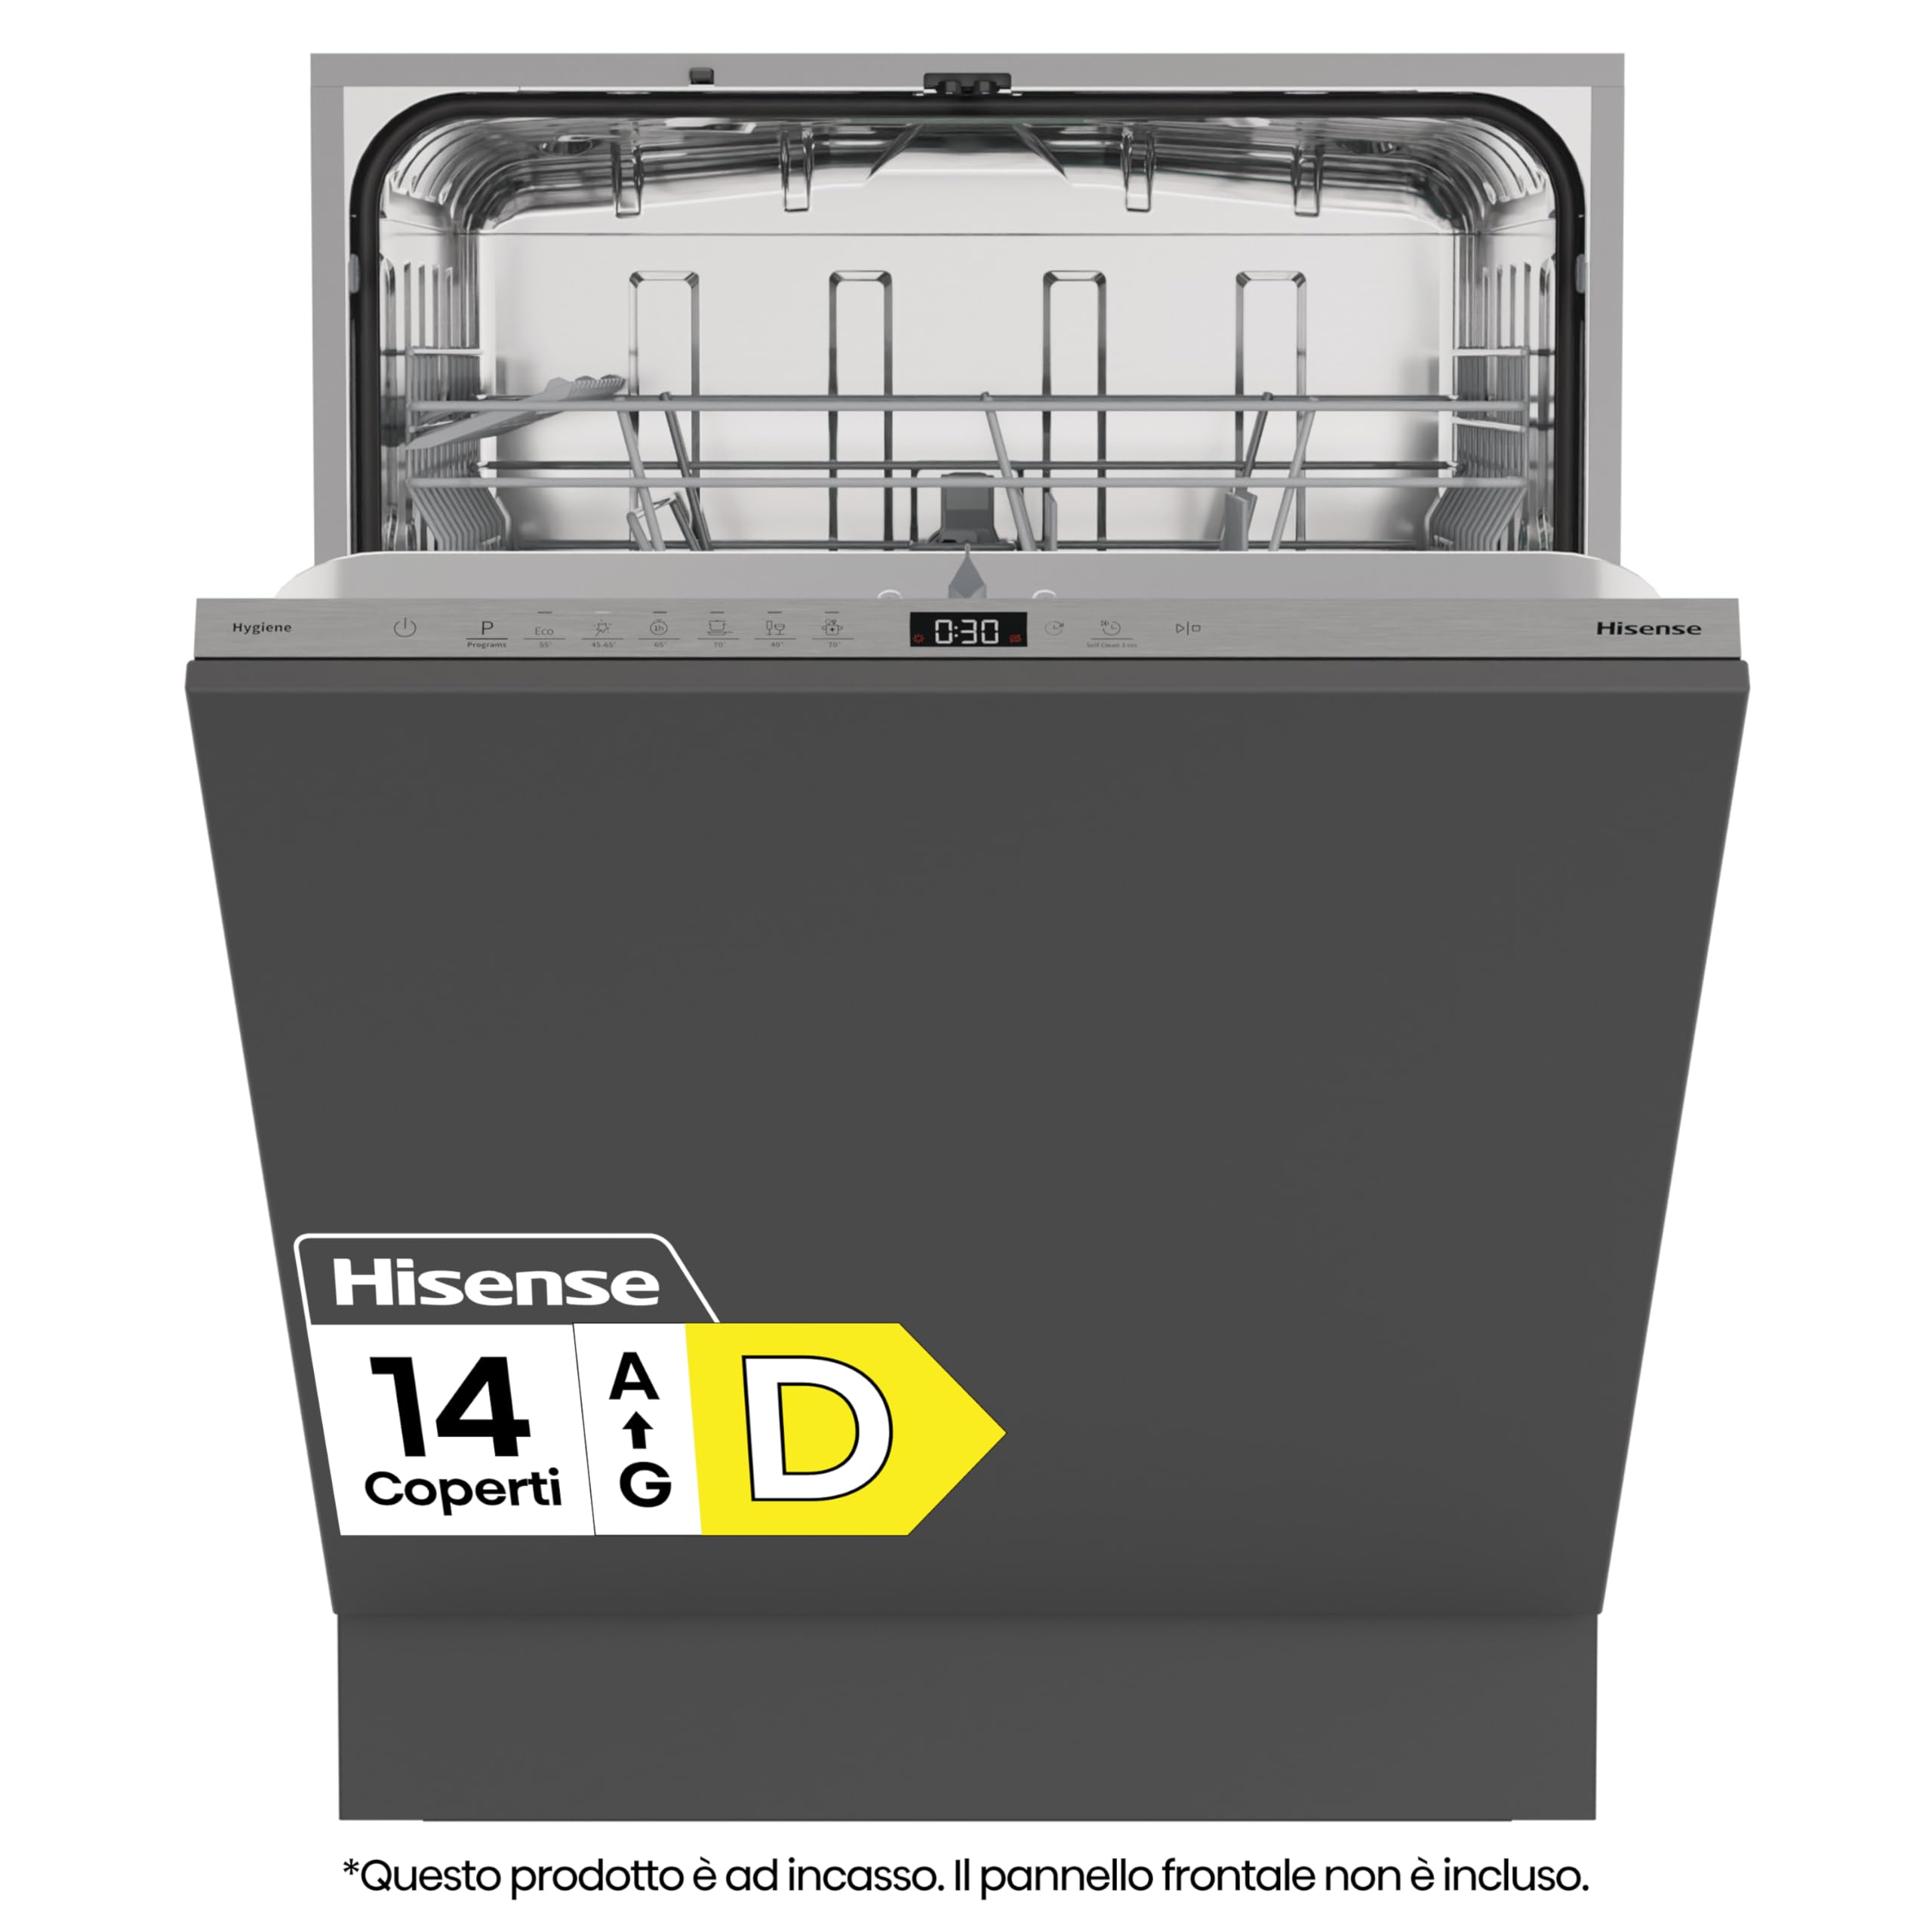
Image: Front view of the Hisense HV642D65 built-in dishwasher.
Key Features:
- 14 Place Settings Capacity: Large internal tub for washing up to 14 place settings in one cycle.
- Automatic Door Opening: The door opens automatically at the end of the cycle for natural and efficient drying.
- Flexible Baskets: Adjustable baskets and a dedicated cutlery compartment for adaptable loading.
- Hygiene Program: High-temperature program for deep cleaning of items like baby bottles and cutting boards.
- Quick Wash (15 Minutes): Ideal for lightly soiled dishes when speed is required.
- Eco Program: Optimized for energy and water saving.
- Self-Clean Program: Monthly program to maintain the tub and spray arms.
- Anti-Flood Device: Integrated system to prevent water leaks.
3. Installation Instructions
Proper installation is crucial for the safe and efficient operation of your dishwasher. It is recommended that installation be performed by a qualified technician.
3.1 Unpacking and Positioning
- Carefully remove all packaging materials.
- Position the dishwasher in the desired location, ensuring it is level by adjusting the feet.
- Ensure adequate space for ventilation and connections.
3.2 Water and Electrical Connections
- Connect the water inlet hose (175 cm length) to a cold water supply with a stopcock.
- Connect the drain hose (150 cm length) to the household drainage system, ensuring it is properly secured to prevent leaks.
- Plug the power cord into a grounded electrical outlet. Ensure the voltage (28 Volts) and frequency (50 Hz) match your household supply.
3.3 Cabinet Integration
This is a built-in model. The decorative front panel (not included) must be securely attached to the dishwasher door. Note that the panel is fixed with 6 screws, and you may need to adjust the kitchen plinth (kick plate) to allow the door to open fully without obstruction.

Image: Technical drawing showing dishwasher dimensions and cabinet integration requirements.
Adjust the door springs and leveling feet as necessary to ensure proper alignment and smooth operation of the door.
4. Operating Instructions
Your Hisense HV642D65 dishwasher features a touch control panel and LED display for easy program selection and monitoring.
4.1 Loading the Dishwasher
Arrange dishes to allow water to reach all surfaces. Utilize the flexible baskets and adjustable upper rack to accommodate various sizes of dishes and cookware. Place cutlery in the dedicated basket.

Image: Interior view of the dishwasher showing loaded baskets for 14 place settings.
4.2 Adding Detergent and Rinse Aid
Fill the detergent dispenser with the appropriate amount of dishwasher detergent. Add rinse aid to its dispenser for optimal drying results and to prevent water spots.

Image: Close-up of the detergent and rinse aid dispensers inside the dishwasher door.
4.3 Program Selection
Select one of the 6 available wash programs using the touch controls:
- Intensive: For heavily soiled dishes and pots.
- Automatic Program: Automatically adjusts wash cycle based on soil level.
- Eco Program: Energy and water-efficient cycle for normal soil.
- Hygiene Program: High-temperature wash for enhanced sanitation.
- Quick Wash (15 min): Fast wash for lightly soiled items.
- Glass Program: Gentle wash for delicate glassware.

Image: Dishwasher control panel showing program selection, with the Eco program highlighted.
4.4 Starting a Cycle
Close the dishwasher door firmly. Press the Start button. The LED display will show the remaining time. You can also use the delayed start option to program the wash cycle to begin at a later time.
4.5 End of Cycle
At the end of the cycle, an acoustic signal will sound, and the door will automatically open to facilitate natural drying. Allow dishes to cool before unloading.

Image: Dishwasher door automatically opening at the end of a cycle, releasing steam for drying.
5. Maintenance and Care
Regular maintenance ensures optimal performance and longevity of your dishwasher.
5.1 Cleaning the Filters
The dishwasher features a self-cleaning filter system. However, it is advisable to periodically check and clean the filters manually to remove any large food particles.

Image: Close-up view of the dishwasher's bottom, showing the filter assembly and lower spray arm.
5.2 Self-Clean Program
Run the dedicated Self-Clean program once a month to maintain the interior tub and spray arms, preventing the buildup of dirt and limescale.

Image: Visual representation of the dishwasher's interior during a self-clean cycle, showing water circulation.
5.3 Exterior Cleaning
Wipe the exterior surfaces with a soft, damp cloth. Do not use abrasive cleaners or solvents.
6. Troubleshooting
Before contacting customer service, refer to this section for common issues and their solutions.
| Problem | Possible Cause | Solution |
|---|---|---|
| Dishwasher does not start | Power cord not plugged in; door not closed properly; circuit breaker tripped. | Check power connection; ensure door is latched; reset circuit breaker. |
| Dishes are not clean | Improper loading; insufficient detergent; clogged spray arms; dirty filters. | Reload dishes correctly; add more detergent; clean spray arm nozzles; clean filters. |
| Water leaks from dishwasher | Hose connections loose; door seal damaged; excessive suds. | Check and tighten hose connections; inspect door seal for damage; use less detergent. The integrated anti-flood device should activate in case of a leak. If it persists, turn off water and power, then contact service. |
| Unusual noise during operation | Items obstructing spray arms; foreign objects in the pump. | Ensure dishes do not block spray arms; check for and remove any foreign objects. |
| Dishwasher emits smoke or sparks | Electrical malfunction. | Immediately disconnect power and water supply. Do not attempt to operate. Contact qualified service personnel immediately. |

Image: Close-up of the anti-flood system component, designed to prevent water leaks.
7. Specifications
| Feature | Specification |
|---|---|
| Brand | Hisense |
| Model Number | HV642D65 |
| Installation Type | Built-in |
| Dimensions (D x W x H) | 55.5P x 59.8W x 81.6H cm |
| Capacity | 14 Place Settings |
| Energy Class | D |
| Water Consumption (Eco Program) | 9.7 liters/cycle |
| Energy Consumption (100 cycles) | 83 kWh/100 cycles |
| Noise Level | 47 Decibels |
| Number of Programs | 6 |
| Controls Type | Touch |
| Display Type | LED |
| Material (Tub/Basket) | Stainless Steel |
| Voltage | 28 Volts |
| Frequency | 50 Hz |
| Weight | 30.5 Kilograms |
| Included Components | Power cable, Cutlery basket, Salt funnel, User manual |

Image: Energy label for Hisense HV642D65 dishwasher, showing Class D efficiency, 14 place settings, 9.7L water, 83 kWh/100 cycles, and 47dB noise level.

Image: Product information sheet detailing technical specifications and energy data for the Hisense HV642D65 dishwasher.
8. Warranty and Support
8.1 Product Warranty
This Hisense HV642D65 dishwasher comes with a 2-year warranty from the date of purchase. Please retain your proof of purchase for warranty claims. The warranty covers manufacturing defects and malfunctions under normal use conditions.
8.2 Customer Support
For technical assistance, service requests, or questions not covered in this manual, please contact Hisense customer support. Refer to the official Hisense website or the contact information provided with your purchase documentation for the most up-to-date support details.
You can find more information on the official Hisense website: hisense-europe.com