1. Introduction
Thank you for choosing the AOC Gaming 25G4SRE monitor. This manual provides essential information for setting up, operating, and maintaining your monitor. Please read it carefully before using the product to ensure proper functionality and safety. The AOC 25G4SRE is designed for competitive gaming, offering an ultra-fast 300 Hz refresh rate (overclockable to 310 Hz), a 1 ms GtG response time, and a fast IPS panel for smooth, tear-free visuals. With 0.3 ms MPRT, low input lag, and HDR10 support, every image is sharp and responsive. It features an eSports base, FlickerFree technology, and an integrated USB hub for seamless connectivity.
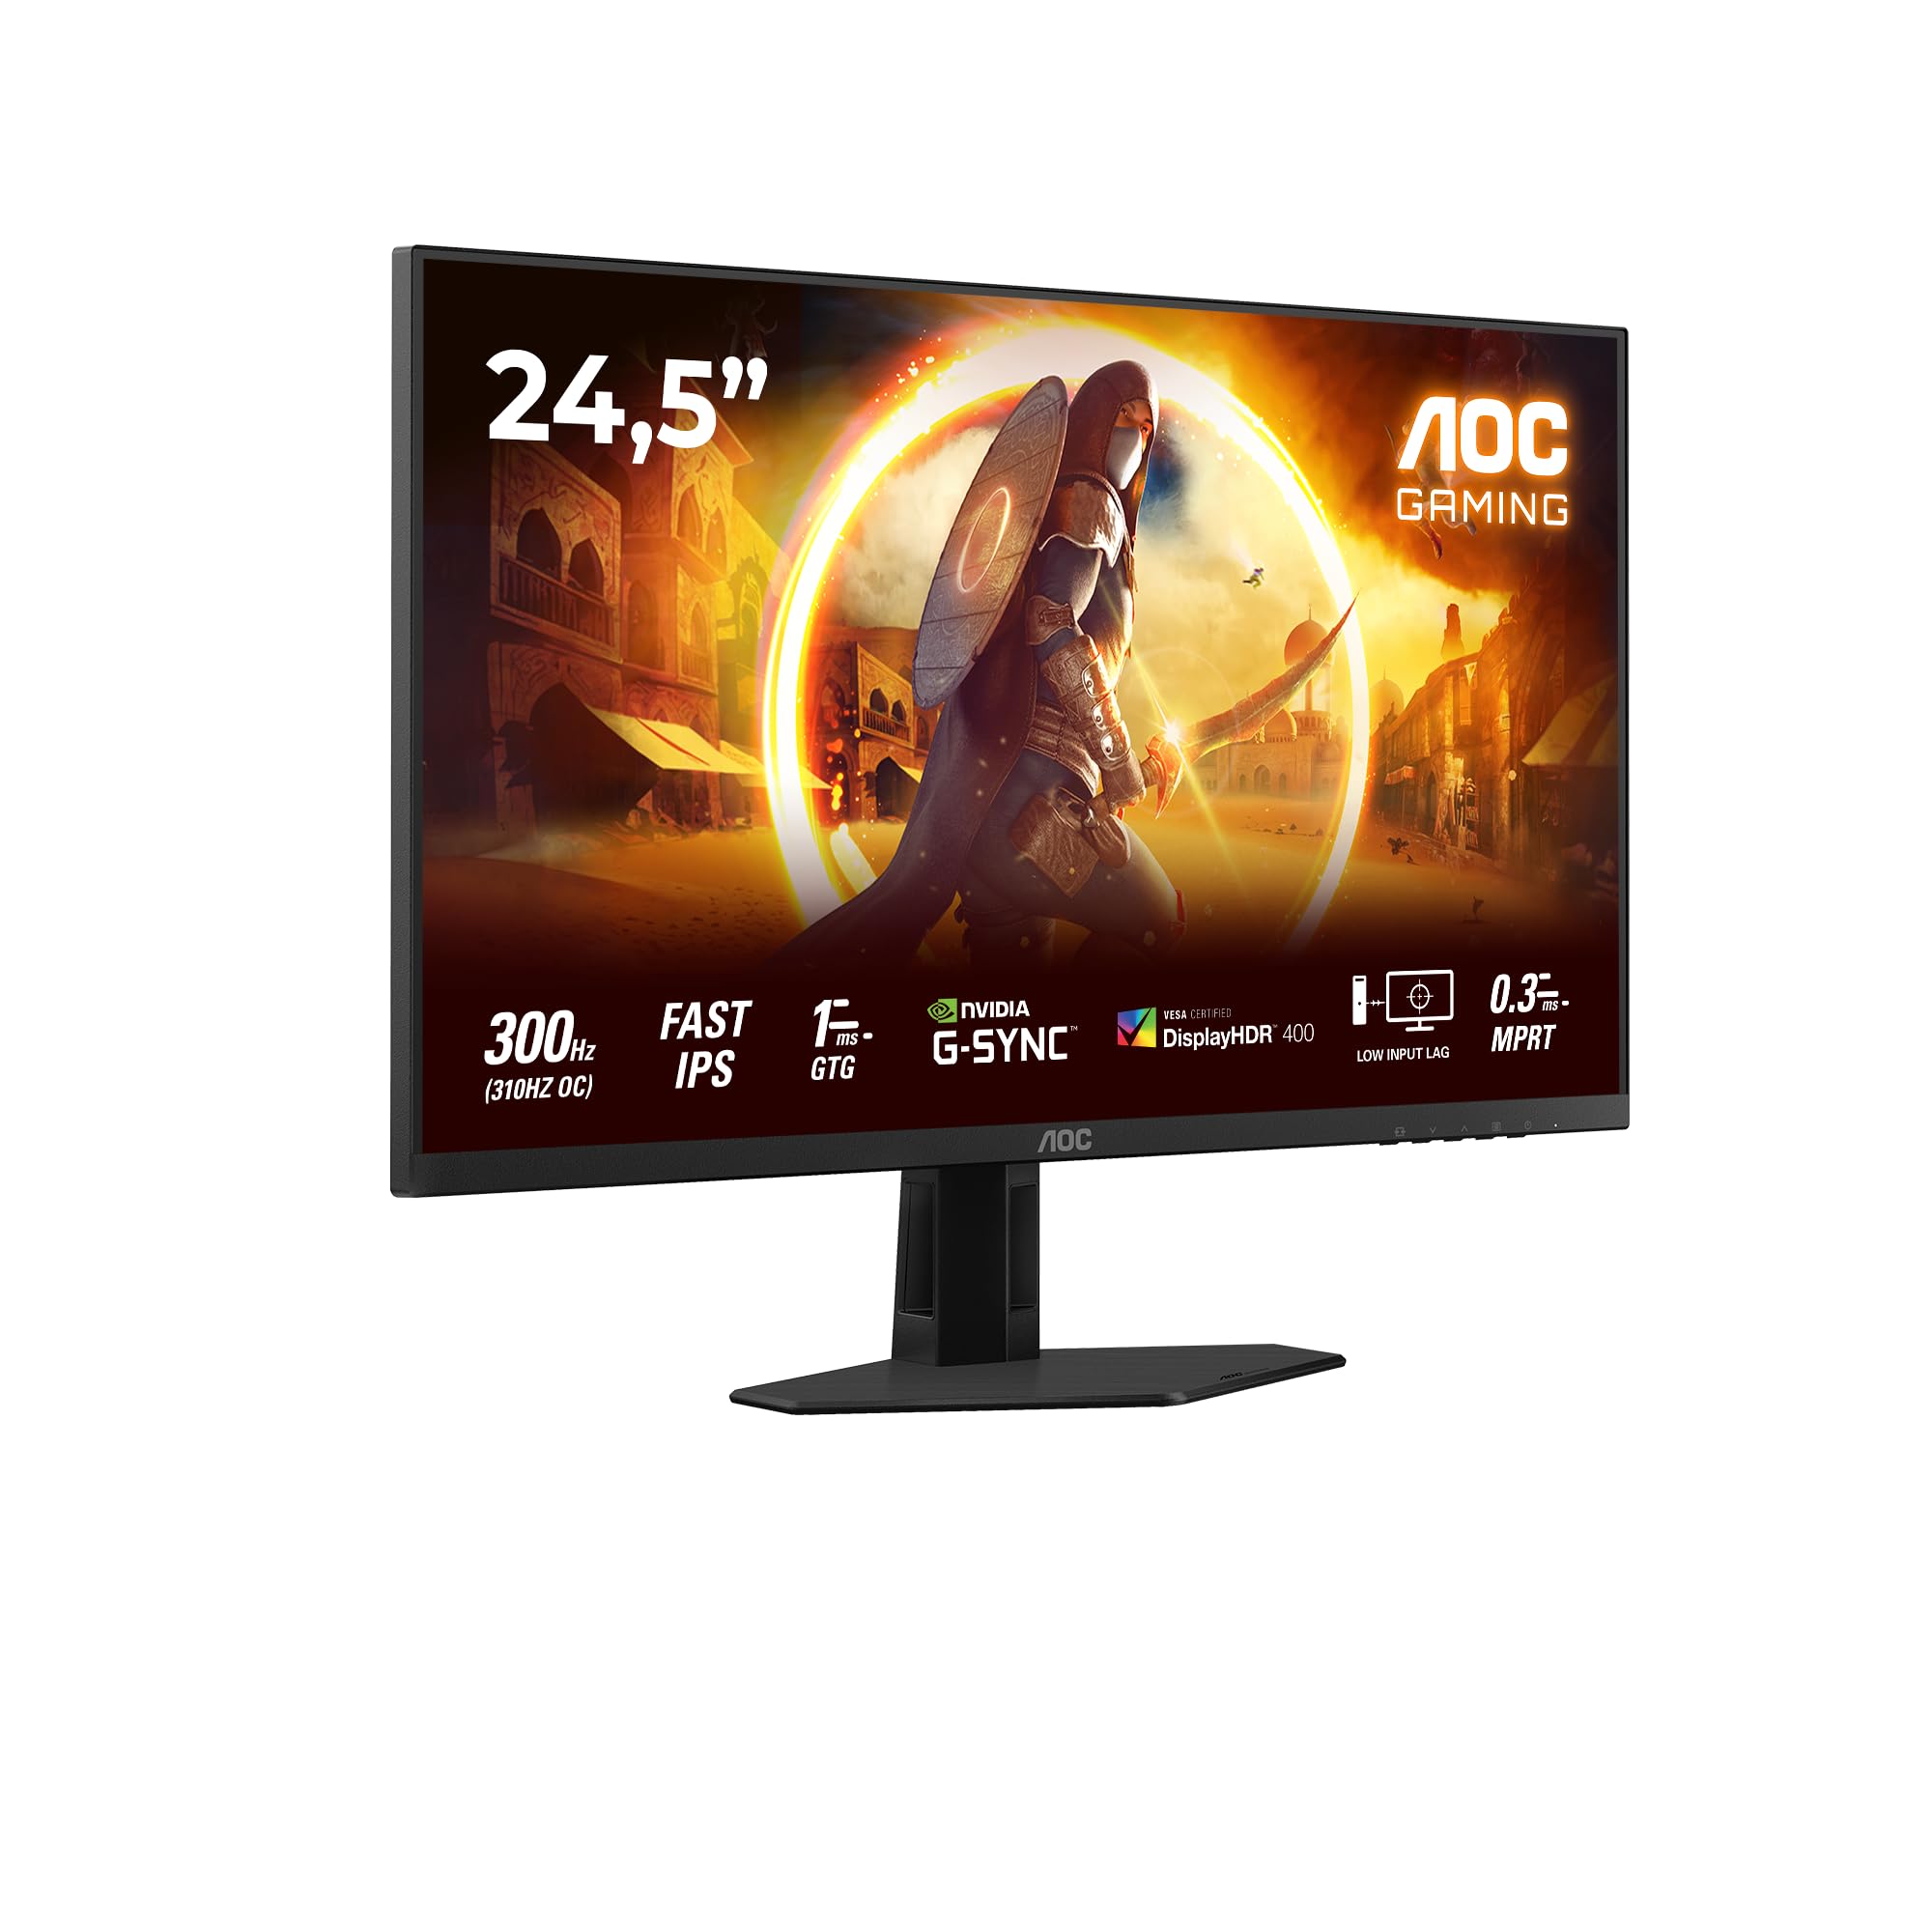
Figure 1.1: Front view of the AOC Gaming 25G4SRE monitor.
2. Safety Information
Please observe the following safety precautions to prevent damage to the monitor and ensure your personal safety:
- Do not place the monitor on an unstable cart, stand, or table.
- Do not block ventilation openings.
- Do not use the monitor near water.
- Do not place heavy objects on the power cord.
- Use only the power adapter supplied with the monitor.
- Unplug the monitor from the wall outlet if it will not be used for an extended period.
- Refer all servicing to qualified service personnel.
3. Package Contents
Verify that all items are present in your package. If any items are missing or damaged, contact your dealer immediately.
- AOC Gaming 25G4SRE Monitor
- Monitor Stand (Base and Neck)
- Power Cable
- HDMI Cable
- DisplayPort Cable
- Quick Start Guide
4. Setup
4.1 Assembling the Stand
- Carefully place the monitor face down on a soft, clean surface to prevent scratches.
- Attach the stand neck to the monitor panel.
- Secure the stand base to the neck using the provided screws.
4.2 Connecting the Monitor
Connect the monitor to your computer and power source using the appropriate cables.
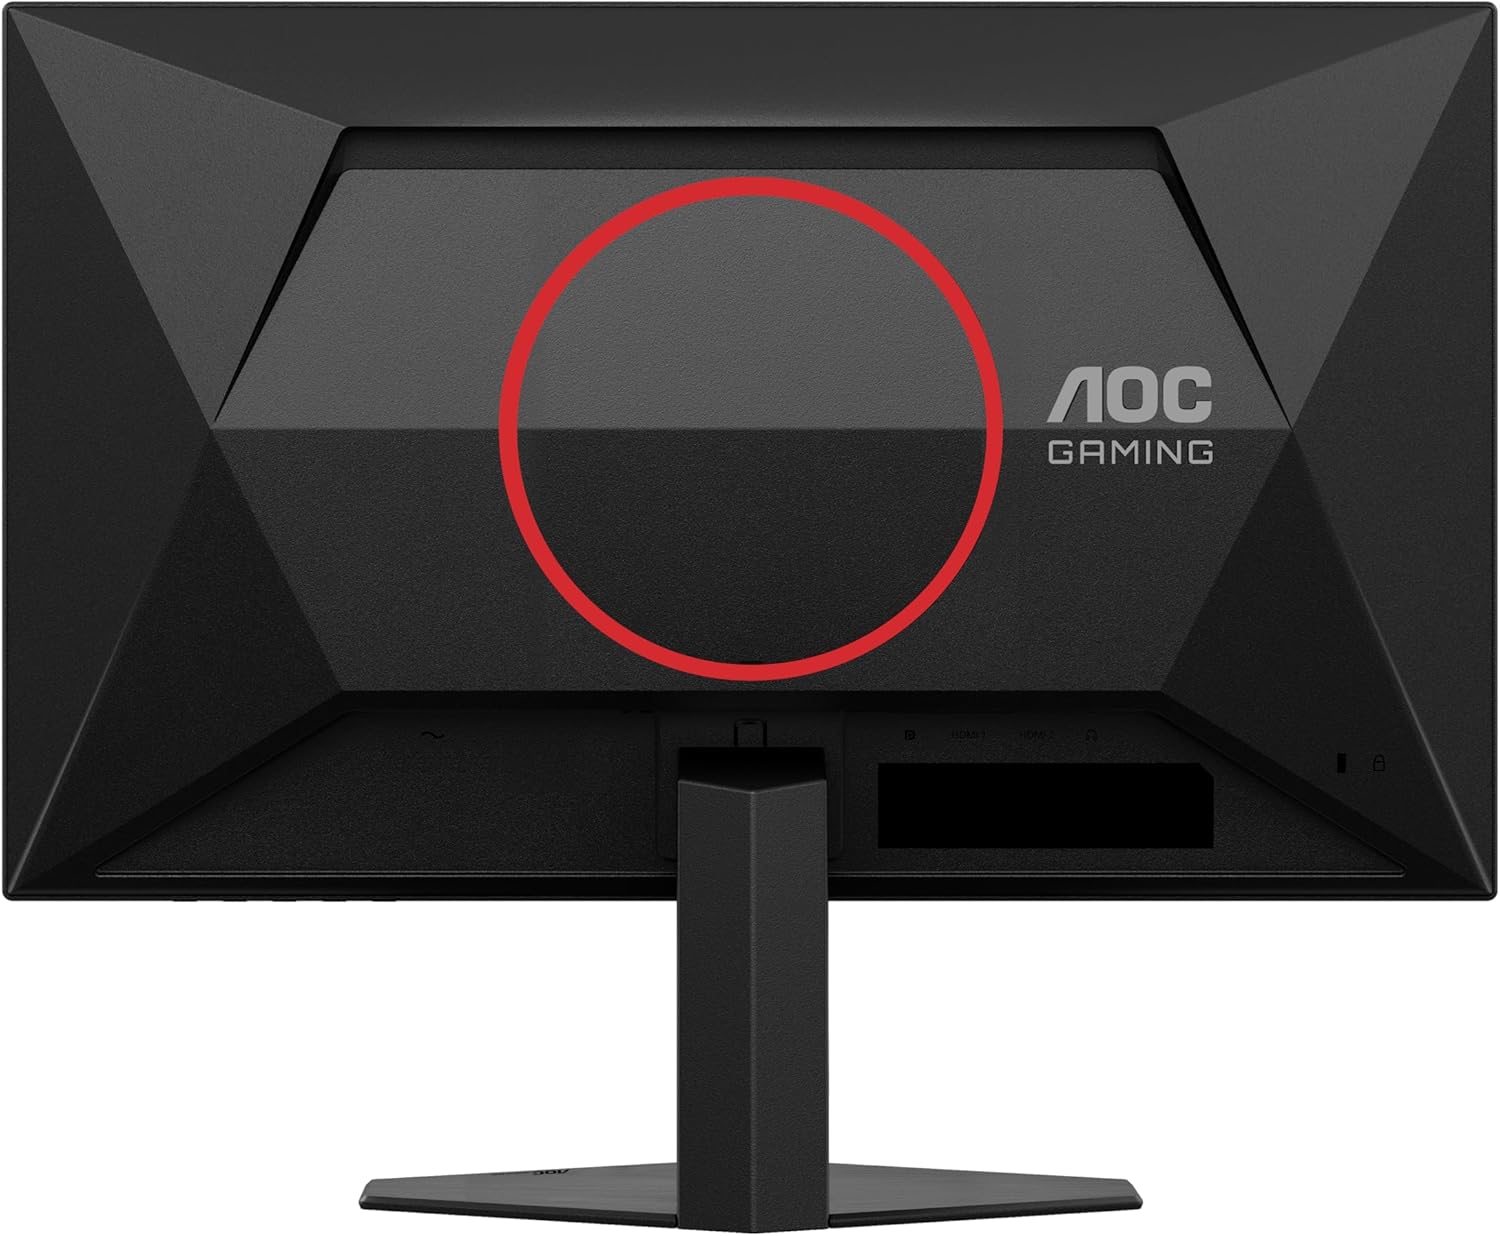
Figure 4.1: Rear view of the monitor, showing the stand attachment area and port locations.

Figure 4.2: Diagram illustrating the HDMI, DisplayPort, and Headphone Out ports.
- Power Connection: Connect the power cable to the monitor's power input and then to a wall outlet.
- Video Connection:
- For optimal performance, use the DisplayPort cable to connect the monitor to your computer's graphics card.
- Alternatively, use an HDMI cable to connect to an HDMI port on your computer. The monitor supports 2 x HDMI 2.0 inputs.
- Audio Connection: Connect headphones or external speakers to the Headphone Out port if desired.
5. Operating the Monitor
5.1 Power On/Off
Press the power button located on the bottom right of the monitor to turn it on or off.
5.2 On-Screen Display (OSD) Menu
Use the buttons on the bottom bezel of the monitor to navigate the OSD menu. The OSD allows you to adjust various settings such as brightness, contrast, color temperature, input source, and gaming features.

Figure 5.1: Example of the On-Screen Display (OSD) menu for monitor settings.
5.3 Key Features and Settings
- High Refresh Rate (300Hz/310Hz OC): Experience ultra-smooth gameplay. Ensure your graphics card and connection cable (DisplayPort recommended) support this refresh rate. You can enable overclocking to 310Hz via the OSD menu.
- Fast IPS Panel: Enjoy wide viewing angles up to 178 degrees with consistent color and clarity from almost any perspective.
- NVIDIA G-Sync Compatible: Synchronizes the monitor's refresh rate with your NVIDIA GPU to eliminate screen tearing and stuttering for a fluid gaming experience. Enable this feature in your graphics card control panel.
- VESA Certified DisplayHDR 400: Provides enhanced dynamic range for improved colors and contrast, delivering a more vivid visual experience. Activate HDR in your operating system display settings.
- Low Input Lag: Minimizes the delay between your input devices and the display, ensuring quick response times in fast-paced games.
- Rapid Response Time (1ms GtG / 0.3ms MPRT): Reduces motion blur and ghosting for crystal-clear images during fast-moving scenes.
- FlickerFree Technology: Reduces screen flickering to minimize eye strain during prolonged use.
- Low Blue Light Mode: Reduces harmful blue light emissions to decrease eye fatigue and improve viewing comfort. This can be enabled through the OSD menu.

Figure 5.2: Visual comparison demonstrating the fluidity of 300Hz refresh rate over 60Hz.

Figure 5.3: Illustration of wide viewing angles provided by the Fast IPS panel technology.

Figure 5.4: Visual representation of NVIDIA G-Sync compatibility for tear-free gaming.

Figure 5.5: Comparison showing the visual improvement with DisplayHDR 400 enabled.

Figure 5.6: Illustration demonstrating the benefit of low input lag for responsive gaming.

Figure 5.7: Visual comparison highlighting the difference between 0.3ms MPRT and 4ms response times.

Figure 5.8: Comparison showing the absence of flicker on a FlickerFree monitor versus a conventional one.
6. Maintenance
6.1 Cleaning the Monitor
- Always unplug the monitor before cleaning.
- Use a soft, lint-free cloth lightly dampened with water or a mild, non-abrasive screen cleaner.
- Do not use alcohol, ammonia, or abrasive cleaners, as they may damage the screen or casing.
- Wipe the screen gently to avoid scratching.
6.2 General Care
- Avoid exposing the monitor to direct sunlight or extreme temperatures.
- Keep the monitor away from sources of heat and moisture.
- Do not place heavy objects on the monitor or its cables.
7. Troubleshooting
If you encounter issues with your monitor, refer to the following common problems and solutions:
| Problem | Possible Solution |
|---|---|
| No image on screen | Ensure the power cable is securely connected. Check if the video cable (HDMI/DisplayPort) is properly connected to both the monitor and the computer. Select the correct input source via the OSD menu. |
| Image is blurry or distorted | Adjust the resolution and refresh rate settings on your computer to match the monitor's native resolution (1920x1080) and desired refresh rate. Check the video cable for damage. |
| Screen flickering | Ensure FlickerFree technology is enabled in the OSD. Check for loose cable connections. Update your graphics card drivers. |
| No sound from headphones | Ensure headphones are fully plugged into the Headphone Out port. Check audio output settings on your computer. Adjust volume levels on both the monitor and computer. |
| G-Sync not working | Ensure you are using a DisplayPort cable. Verify G-Sync is enabled in the NVIDIA Control Panel. Update graphics card drivers. |
8. Specifications
Detailed technical specifications for the AOC Gaming 25G4SRE monitor:
| Feature | Detail |
|---|---|
| Brand | AOC |
| Model Number | 25G4SRE |
| Screen Size | 25 Inches (62.2 cm) |
| Resolution | FHD 1080p (1920 x 1080) |
| Aspect Ratio | 16:9 |
| Refresh Rate | 300 Hz (310 Hz Overclock) |
| Response Time | 1 ms GtG, 0.3 ms MPRT |
| Panel Type | Fast IPS |
| HDR Support | VESA Certified DisplayHDR 400 |
| Adaptive Sync | NVIDIA G-Sync Compatible |
| Connectivity | 2 x HDMI 2.0, 1 x DisplayPort 1.4, Headphone Out |
| Special Features | Frameless, FlickerFree, Low Blue Light, Low Input Lag |
| Product Dimensions | 19.4D x 56W x 43.8H cm |
| Manufacturer | AOC International |
| Country of Origin | China |
For more detailed product information, please refer to the official product information sheet:

Figure 8.1: Product Information Sheet (English) for AOC 25G4SRE.
You can also find the EPREL registration details here.
9. Warranty and Support
AOC International provides comprehensive support for your monitor.
9.1 Warranty Information
- Minimum Guarantee Offered by Supplier: 3 Years
- Minimum Guaranteed Availability of Spare Parts: 7 Years
- Minimum Guaranteed Product Support: 8 Years
Please retain your proof of purchase for warranty claims.
9.2 Customer Support
For technical assistance, warranty inquiries, or other support needs, please contact AOC Customer Service:
- Website: https://eu.aoc.com
- Email: kevin.yang@tpv-tech.com
- Phone: +31 (0)20 504 6962


