
1. Introduction
Thank you for choosing the ELEMARA 12V Kids Ride-On Off-Road Truck. This manual provides essential information for the safe assembly, operation, and maintenance of your new ride-on vehicle. Please read this manual thoroughly before initial use and retain it for future reference. This vehicle is designed to provide an engaging driving experience for children, featuring a 12V motor, all-terrain traction tires, and dual control options.

Image 1.1: ELEMARA 12V Kids Ride-On Off-Road Truck
2. Safety Information
WARNING: Adult supervision is required at all times when the vehicle is in use.
For external use only. Avoid contact with eyes. Keep away from naked flame or direct heat sources. Ensure all safety belts are securely fastened before operation. Do not operate the vehicle near swimming pools, steep inclines, or public roads. Always ensure the child wears appropriate safety gear, such as a helmet, when operating the vehicle.
3. What's in the Box
Upon unpacking, please verify that all components listed below are present:
- Ride on Car (main body) x 1
- Instruction Manual x 1
- Remote Control x 1
- 12V Battery x 1 (pre-installed or separate)
- Charger x 1
- Assembly Hardware (screws, washers, etc.)
- Wheels x 4
- Steering Wheel x 1
- Seat x 1
Note: Some smaller components may be pre-assembled.
4. Setup and Assembly
Assembly typically requires 30-40 minutes and a screwdriver. Follow these general steps:
- Unpack Components: Carefully remove all parts from the packaging and lay them out.
- Attach Wheels: Securely attach all four wheels to the vehicle chassis using the provided hardware.
- Connect Battery: Locate the battery compartment, typically under the seat. Connect the battery terminals according to the instructions (red to red, black to black). Ensure a secure connection.
- Install Steering Wheel: Attach the steering wheel to the steering column.
- Install Seat: Secure the seat into position.
- Initial Charge: Before first use, fully charge the battery for 8-10 hours. Refer to the 'Charging the Battery' section for details.

Image 4.1: Replaceable Parts Overview
5. Operating Instructions
5.1 Powering On/Off
Press the power button located on the dashboard to turn the vehicle on or off.
5.2 Driving Modes
The vehicle offers two driving modes:
- Manual Steering: The child operates the steering wheel and foot pedal. This mode features 2 speed settings.
- Remote Control Riding: An adult can control the vehicle using the included remote control. This mode offers 3 speed settings and allows for forward/reverse movement and steering. The remote control is effective within a specified range (e.g., 30 feet).

Image 5.1: Dual Driving Modes (Remote Control vs. Manual Steering)
5.3 Speed Selection
The vehicle has multiple speed settings. The maximum speed is approximately 3.5 mph. The soft-start function ensures a gradual acceleration for safety.

Image 5.2: Soft-Start Function Speed Curve
5.4 Lights and Sounds
The vehicle is equipped with bright LED headlights for enhanced visibility and a realistic driving experience. It also features a built-in audio hub with an AUX port and Bluetooth connectivity, allowing children to listen to music while riding.
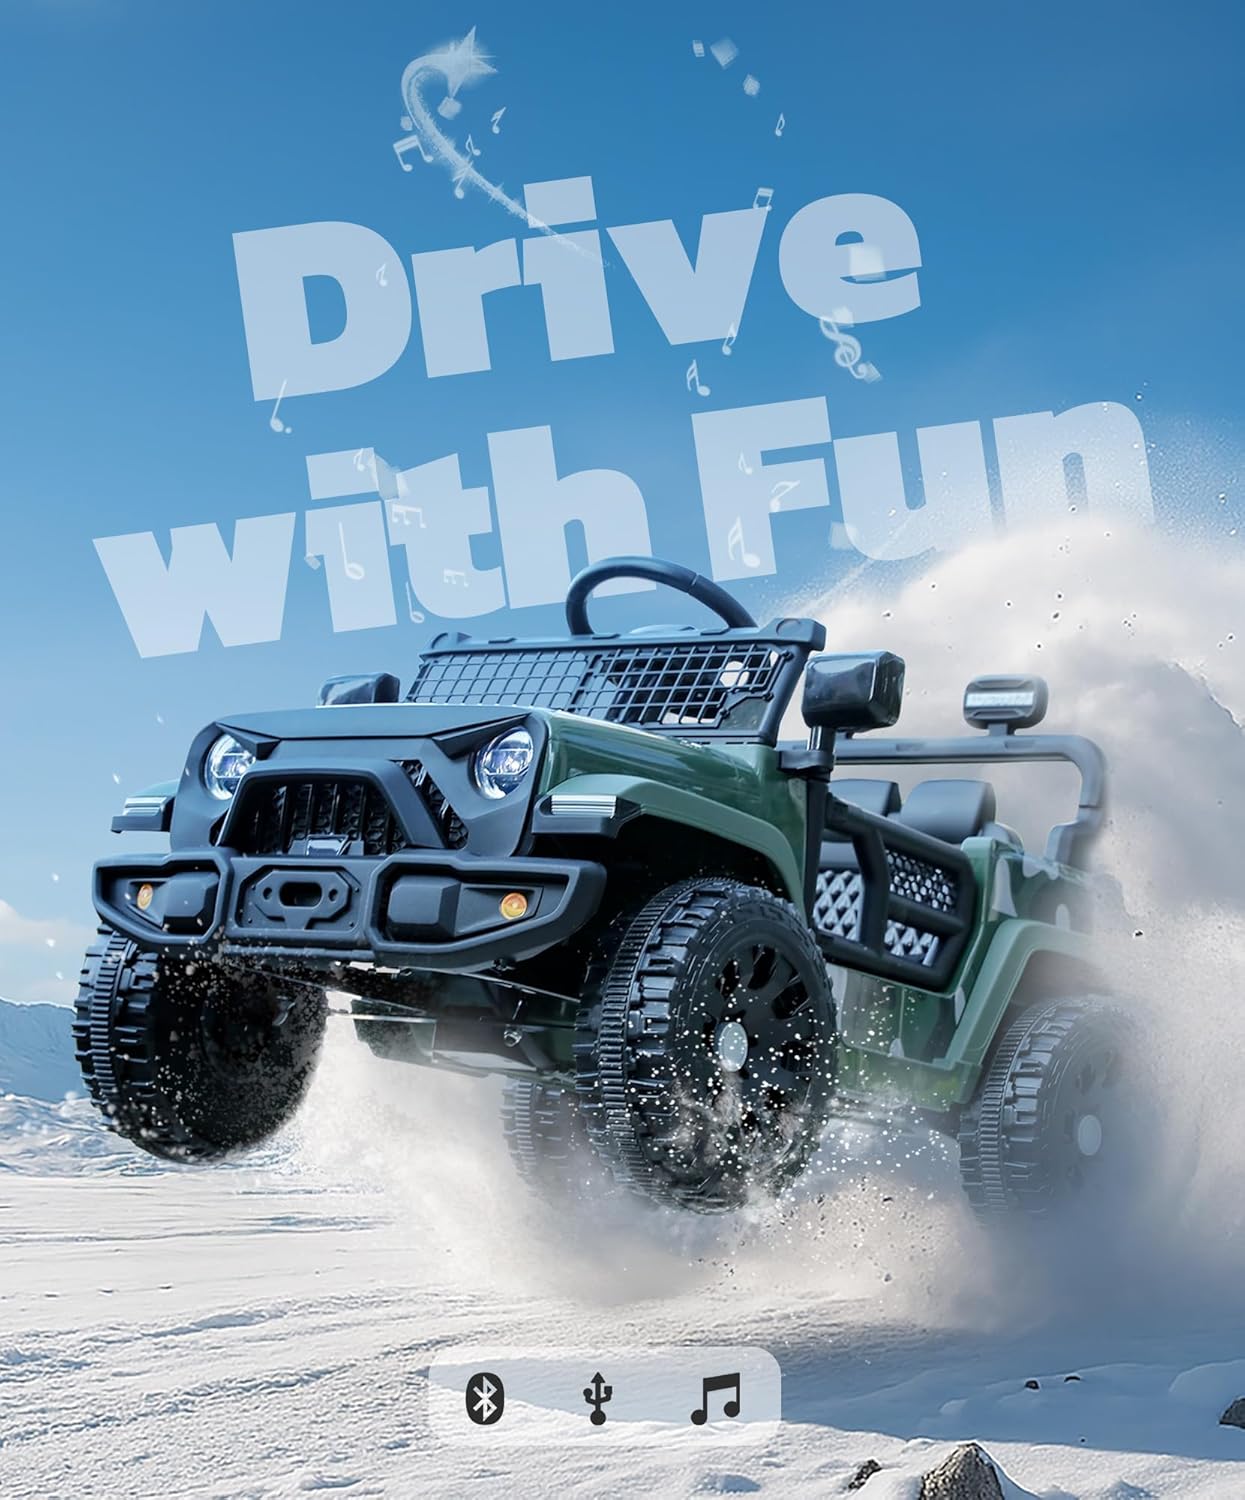
Image 5.3: Audio Connectivity Features
5.5 Charging the Battery
To charge the 12V battery, connect the charger to the charging port on the vehicle and then plug the charger into a standard wall outlet. The charging time is typically 8-10 hours for a full charge, providing approximately 30-45 minutes of play time depending on usage.

Image 5.4: Battery Charging and Play Time
6. Maintenance
6.1 Battery Care
- Always fully charge the battery after each use.
- If storing the vehicle for an extended period, charge the battery at least once a month to prolong its lifespan.
- Do not overcharge the battery. Disconnect the charger once the charging indicator shows a full charge.
6.2 Cleaning
Wipe the vehicle's exterior with a soft, damp cloth. Avoid using harsh chemicals or abrasive cleaners. Keep the wheels free of debris.
6.3 Storage
Store the vehicle in a dry, cool place away from direct sunlight and moisture. Protect it from extreme temperatures.
6.4 Inspection
Regularly inspect the vehicle for any loose parts, damaged wires, or worn components. Tighten any loose screws and replace damaged parts immediately to ensure safe operation.
7. Troubleshooting
| Problem | Possible Cause | Solution |
|---|---|---|
| Vehicle does not power on. | Battery not connected or discharged. | Check battery connections. Charge the battery fully. |
| Reduced power or short run time. | Battery not fully charged or aging. | Ensure battery is fully charged. Consider battery replacement if performance does not improve. |
| Remote control not working. | Remote batteries dead or not paired. | Replace remote control batteries. Refer to remote pairing instructions (if applicable). |
| Vehicle makes unusual noises. | Loose parts or debris in wheels/motor. | Inspect for loose components and tighten. Clear any debris from moving parts. |
8. Specifications
- Model Number: WJL028MCN0X
- Product Dimensions (L x W x H): 33.8 x 22.8 x 22.2 inches
- Item Weight: 22.7 pounds
- Maximum Load Capacity: 66 lbs
- Recommended Age: 3 years and up
- Battery: 1 x 12V (included)
- Maximum Speed: 3.5 mph
- Charging Time: 8-10 hours
- Play Time: 30-45 minutes
- Manufacturer: ELEMARA

Image 8.1: Product Dimensions and Capacity
9. Warranty and Customer Support
9.1 Warranty Information
This ELEMARA Ride-On Off-Road Truck is covered by a 2-year warranty from the date of purchase. This warranty covers manufacturing defects under normal use. Please retain your proof of purchase for warranty claims.
9.2 Customer Support
For any questions, technical assistance, or warranty inquiries, please contact ELEMARA customer service:
Email: officialcssupport@elemara.us


