
outequip OEP2500A
12V RV Rooftop Air Conditioner with Heater
User Manual
Model: OEP2500A | Brand: outequip
1. Introduction
Thank you for choosing the outequip 12V RV Rooftop Air Conditioner with Heater. This low-profile, battery-powered unit is designed to provide efficient cooling and heating for your RV, camper, van, truck, trailer, or boat. This manual provides essential information for the safe and effective installation, operation, and maintenance of your new air conditioner.
Please read this manual thoroughly before installation and operation, and keep it for future reference.
2. Safety Information
Important Safety Instructions:
- Always disconnect power before performing any installation, maintenance, or troubleshooting.
- Installation must be performed by a qualified technician in accordance with all local and national electrical codes.
- Ensure the mounting surface is structurally sound and can support the weight of the unit (approximately 45 lbs).
- Do not operate the unit with damaged wiring or if it has been dropped or damaged.
- Keep all vents clear of obstructions to ensure proper airflow.
- This unit operates on 12V DC power. Ensure your power source is compatible and adequately sized.
- Do not attempt to repair or modify the unit yourself. Contact qualified service personnel.
3. Product Features
The outequip 12V RV Rooftop Air Conditioner with Heater is engineered for optimal performance and convenience:
- Efficient Cooling & Heating: Delivers 10,000 BTU for rapid temperature control.
- Battery-Powered Operation: Designed for off-grid use, connecting directly to your vehicle's 12V battery system.
- Durable Construction: Features UV-resistant ABS housing, a zinc-coated condenser, and an EPDM foam gasket for superior weather resistance.
- Quiet Operation: Equipped with dual brushless copper motor fans and anti-vibration mounting for low noise levels (40 dB).
- Smart Control: Includes a wireless remote, digital temperature display, and multiple modes (Eco, Sleep, Turbo).
- Low Profile Design: At only 6.3 inches high, it reduces wind resistance and blends seamlessly with your vehicle's exterior.
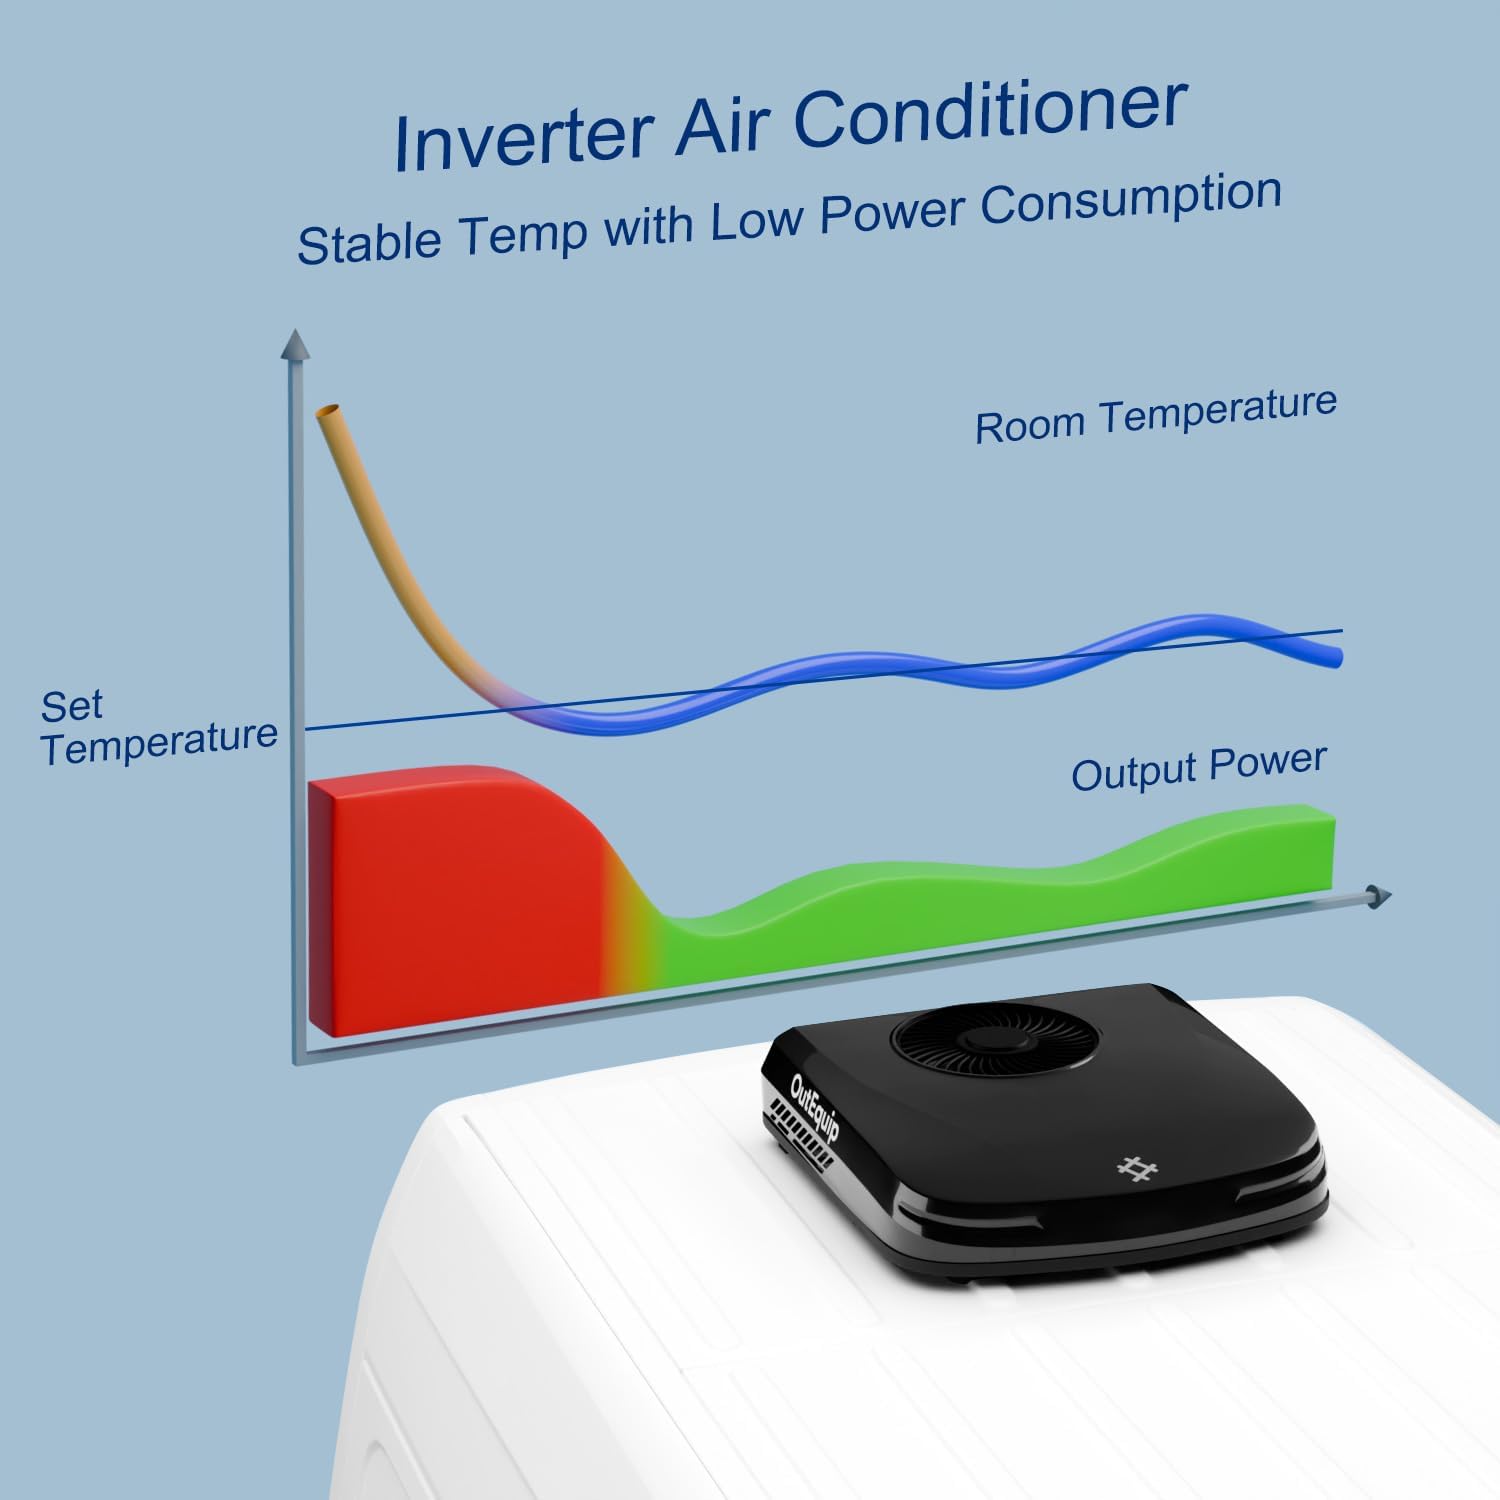
Figure 3.1: Inverter technology ensures stable temperature with low power consumption.
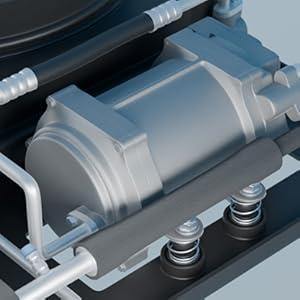
Figure 3.2: Anti-vibration mounting for quiet operation.
4. What's in the Box
Your outequip RV Rooftop Air Conditioner package includes the following components:
- Outdoor Unit
- Indoor Panel Set
- Mounting Hardware (bolts, brackets)
- EPDM Gasket
- Wireless Remote Control
- Power Cable (12 feet)

Figure 4.1: Exploded view of the unit components.
5. Setup and Installation
Pre-Installation Checklist:
- Verify roof opening dimensions (standard 14x14 inch opening is typically required).
- Ensure adequate clearance on the roof for the outdoor unit and around the indoor panel.
- Confirm your vehicle's 12V battery system can support the unit's power requirements (960 Watts).
Installation Steps:
- Prepare the Roof Opening: Ensure the existing roof opening is clean and free of debris.
- Position the Gasket: Place the EPDM gasket around the roof opening. The gasket height is 1.2 inches, lifting the outdoor unit by 1 inch for proper sealing.
- Mount the Outdoor Unit: Carefully lift the outdoor unit onto the roof, aligning it with the gasket and opening.
- Install Mounting Brackets: From inside the vehicle, install the mounting brackets and secure the outdoor unit using the provided bolts. Tighten evenly to ensure a watertight seal.
- Connect Power: Route the 12-foot power cable to your vehicle's 12V/24V battery system. Ensure proper polarity and secure connections.
- Install Indoor Panel: Attach the indoor panel to the ceiling, connecting any necessary wiring as per the wiring diagram (not included in this general manual, refer to specific wiring instructions provided with the product).

Figure 5.1: Connecting the unit to your vehicle's battery.
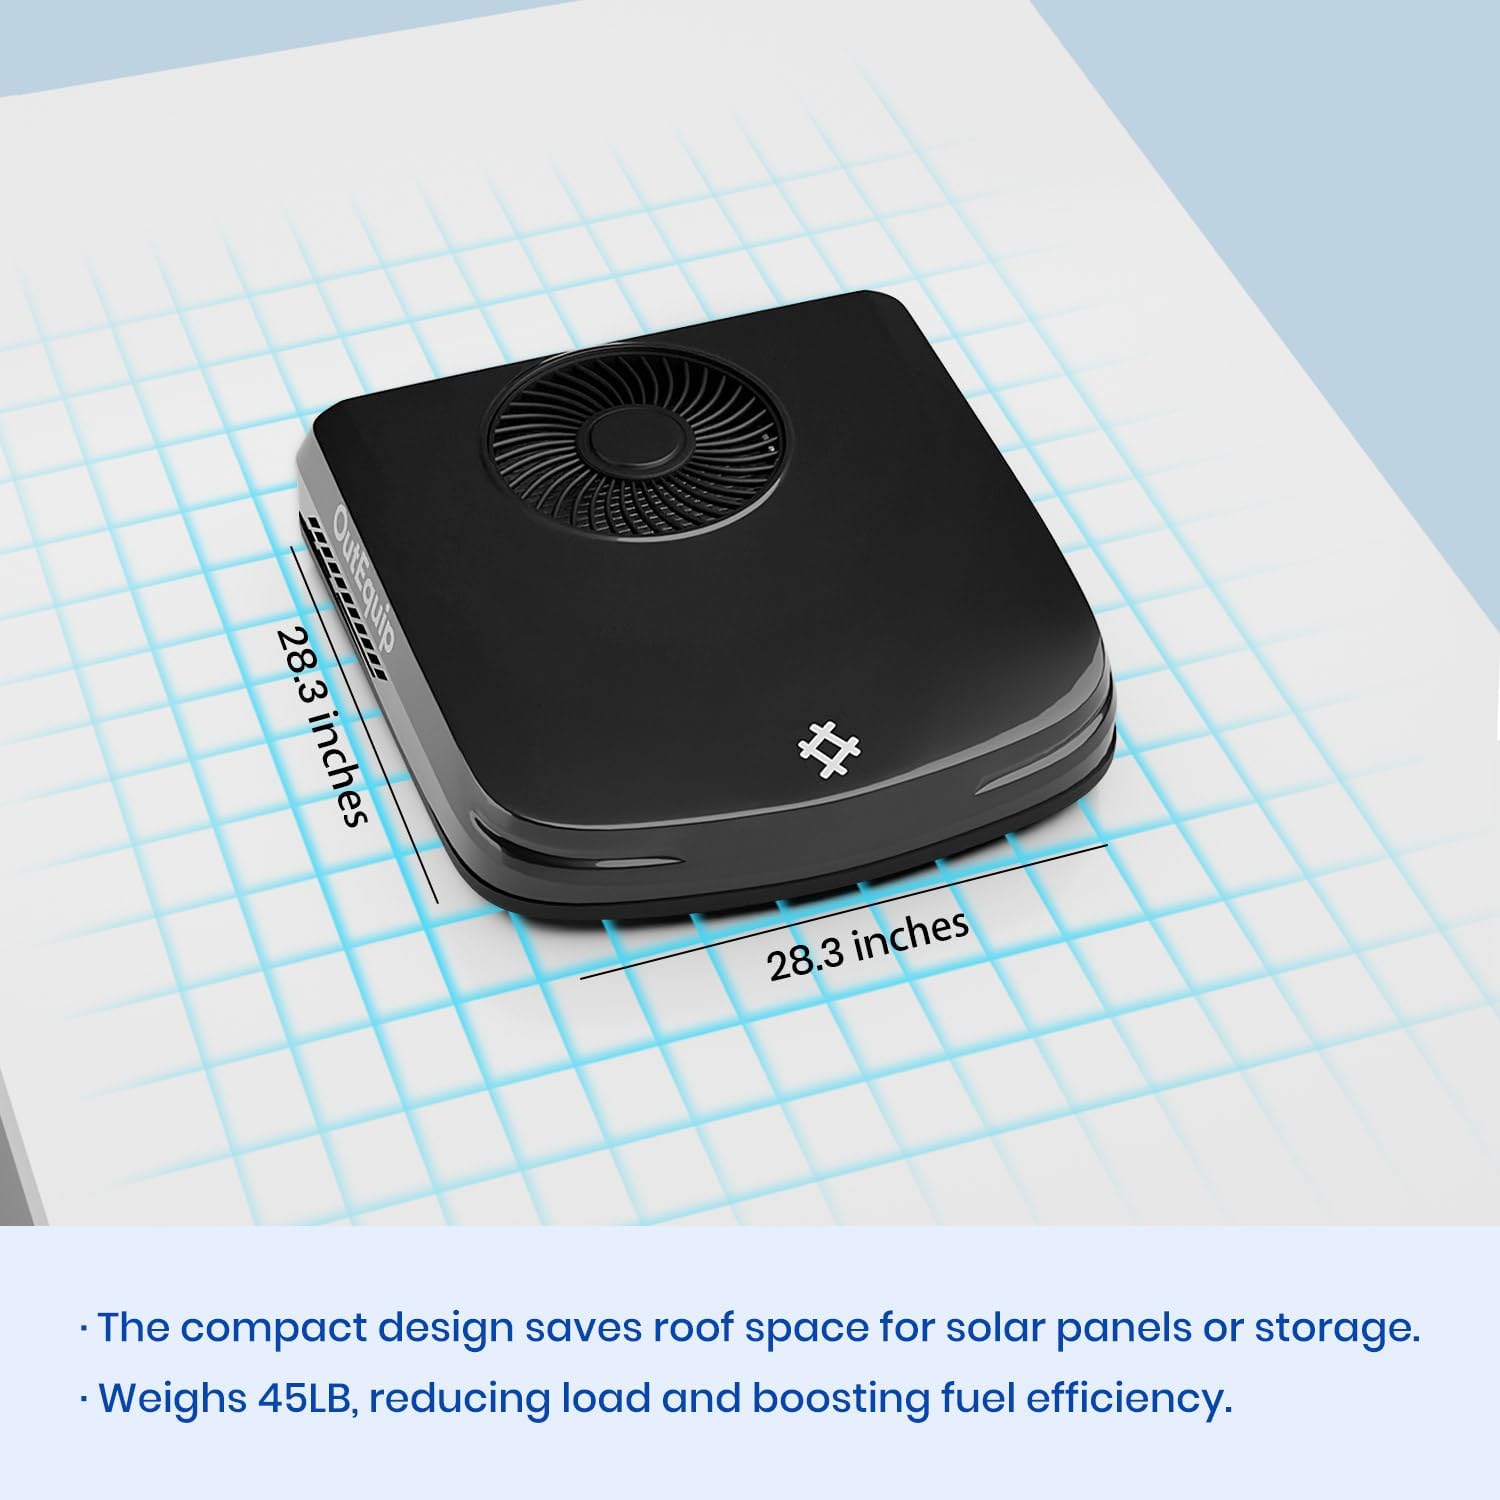
Figure 5.2: Unit dimensions for installation planning.

Figure 5.3: Low-profile design (6.3 inches).
6. Operating Instructions
The unit can be controlled via the indoor panel or the wireless remote control.
Indoor Panel Controls:
- Power Button: Press to turn the unit ON or OFF.
- Mode Button: Cycle through operating modes (Cool, Heat, Fan, Eco, Sleep, Turbo).
- Temperature Adjustment: Use the up/down arrows to set your desired temperature.
- Fan Speed: Adjust fan speed (Low, Medium, High, Auto).
- Digital Display: Shows current temperature, set temperature, and mode indicators.
Wireless Remote Control:
The remote control provides full functionality from a distance. Ensure line of sight to the indoor panel for optimal performance.
- ECO Mode: Optimizes power consumption for extended battery life.
- SLEEP Mode: Adjusts temperature and fan speed for quiet, comfortable overnight operation.
- TURBO Mode: Provides maximum cooling or heating for rapid temperature change.
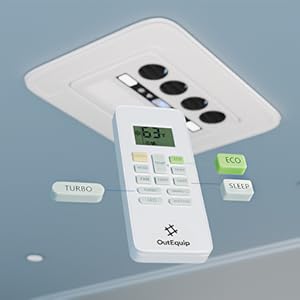
Figure 6.1: Remote control and indoor panel for easy operation.
7. Maintenance
Regular maintenance ensures the longevity and efficient operation of your air conditioner.
- Clean Air Filters: The indoor panel contains reusable air filters. Clean them regularly (monthly or as needed) by removing them and washing with mild soap and water. Allow to dry completely before reinserting.
- Exterior Cleaning: Periodically clean the exterior of the outdoor unit with a soft cloth and mild detergent. Avoid using harsh chemicals or abrasive cleaners.
- Check Condenser Coils: Ensure the condenser coils on the outdoor unit are free of dirt, leaves, and other debris. Carefully clean with a soft brush or vacuum if necessary.
- Inspect Gasket and Seals: Annually inspect the EPDM gasket and other seals for any signs of wear, cracking, or leaks. Replace if necessary to maintain a watertight seal.
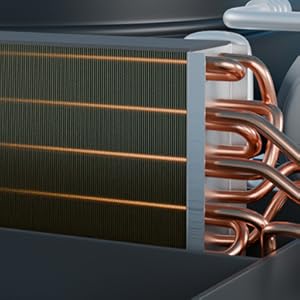
Figure 7.1: Keep condenser coils clean for optimal performance.
8. Troubleshooting
If you encounter issues with your air conditioner, refer to the following common problems and solutions:
| Problem | Possible Cause | Solution |
|---|---|---|
| Unit does not turn on | No power, loose connection, low battery voltage | Check battery charge, inspect power cable connections, verify circuit breaker. |
| Insufficient cooling/heating | Dirty air filters, blocked condenser coils, incorrect mode/temperature setting, low refrigerant (professional service required) | Clean air filters, clear obstructions from coils, adjust settings, contact support if issue persists. |
| Unusual noise | Loose components, debris in fan, unit not level | Inspect for loose parts, remove debris, ensure unit is level. |
| Water leakage | Blocked drain hose, improper installation/sealing | Clear drain hose, check gasket and seals for proper installation. |
If the problem persists after attempting these solutions, please contact outequip customer support.
9. Specifications
Detailed specifications for the outequip 12V RV Rooftop Air Conditioner with Heater:
| Specification | Value |
|---|---|
| Brand Name | outequip |
| Model Number | OEP2500A |
| Cooling Power | 10,000 British Thermal Units (BTU) |
| Capacity | 1 Tons |
| Voltage | 12 Volts DC |
| Annual Energy Consumption | 960 Watts |
| Noise Level | 40 dB |
| Item Weight | 45 pounds |
| Product Dimensions (D x W x H) | 28.3 x 28.3 x 6.3 inches |
| Installation Type | Top Mounted |
| Color | Black |
| Special Features | Fast Cooling, Remote Controlled, Sleep Mode |
10. Warranty and Support
Your outequip 12V RV Rooftop Air Conditioner is backed by a commitment to quality. While specific warranty details should be referenced from your purchase documentation, outequip typically offers support for product defects.
For technical assistance, troubleshooting beyond this manual, or warranty claims, please contact outequip customer support through the retailer where you purchased the product or visit the official outequip website for contact information.
Returns: This product typically includes a 30-day easy return policy from the date of purchase. Please refer to your purchase receipt for exact terms and conditions.
Related documentsOEP2500A


Ask a question about this manual
Ask about setup, troubleshooting, compatibility, parts, safety, or missing instructions. Manuals+ will review the question and use this page’s manual context to help answer it.