
1. Introduction
This manual provides detailed instructions for assembling, operating, and maintaining your TYCOLE Owl Clock Building Blocks Set, Model T2114. This set allows you to construct a decorative owl model featuring a functional clock. Please read all instructions carefully before beginning assembly.

Image 1.1: The TYCOLE Owl Clock Building Blocks Set, showcasing the completed owl model with its functional clock face.

Image 1.2: The TYCOLE Owl Clock Building Set, including the product packaging and the assembled model.
2. Safety Information
WARNING: CHOKING HAZARD - Small parts. Not suitable for children under 3 years of age.
This building set contains numerous small components. Keep all parts out of reach of young children to prevent accidental ingestion. Adult supervision is recommended during assembly, especially for younger builders.
3. Setup and Assembly
The TYCOLE Owl Clock Building Blocks Set consists of 964 pieces. Assembly typically takes 5-8 hours, depending on individual experience. Follow the included instruction booklet for step-by-step guidance.
3.1. General Assembly Guidelines
- Organize your workspace: Clear a large, well-lit area for assembly.
- Sort pieces: Separate pieces by color and type as you open the numbered bags. This will simplify the building process.
- Follow the instruction booklet: Each step in the provided manual illustrates the required pieces and their placement. Pay close attention to the diagrams.
- Ensure secure connections: Press blocks firmly together to ensure a stable and durable structure.
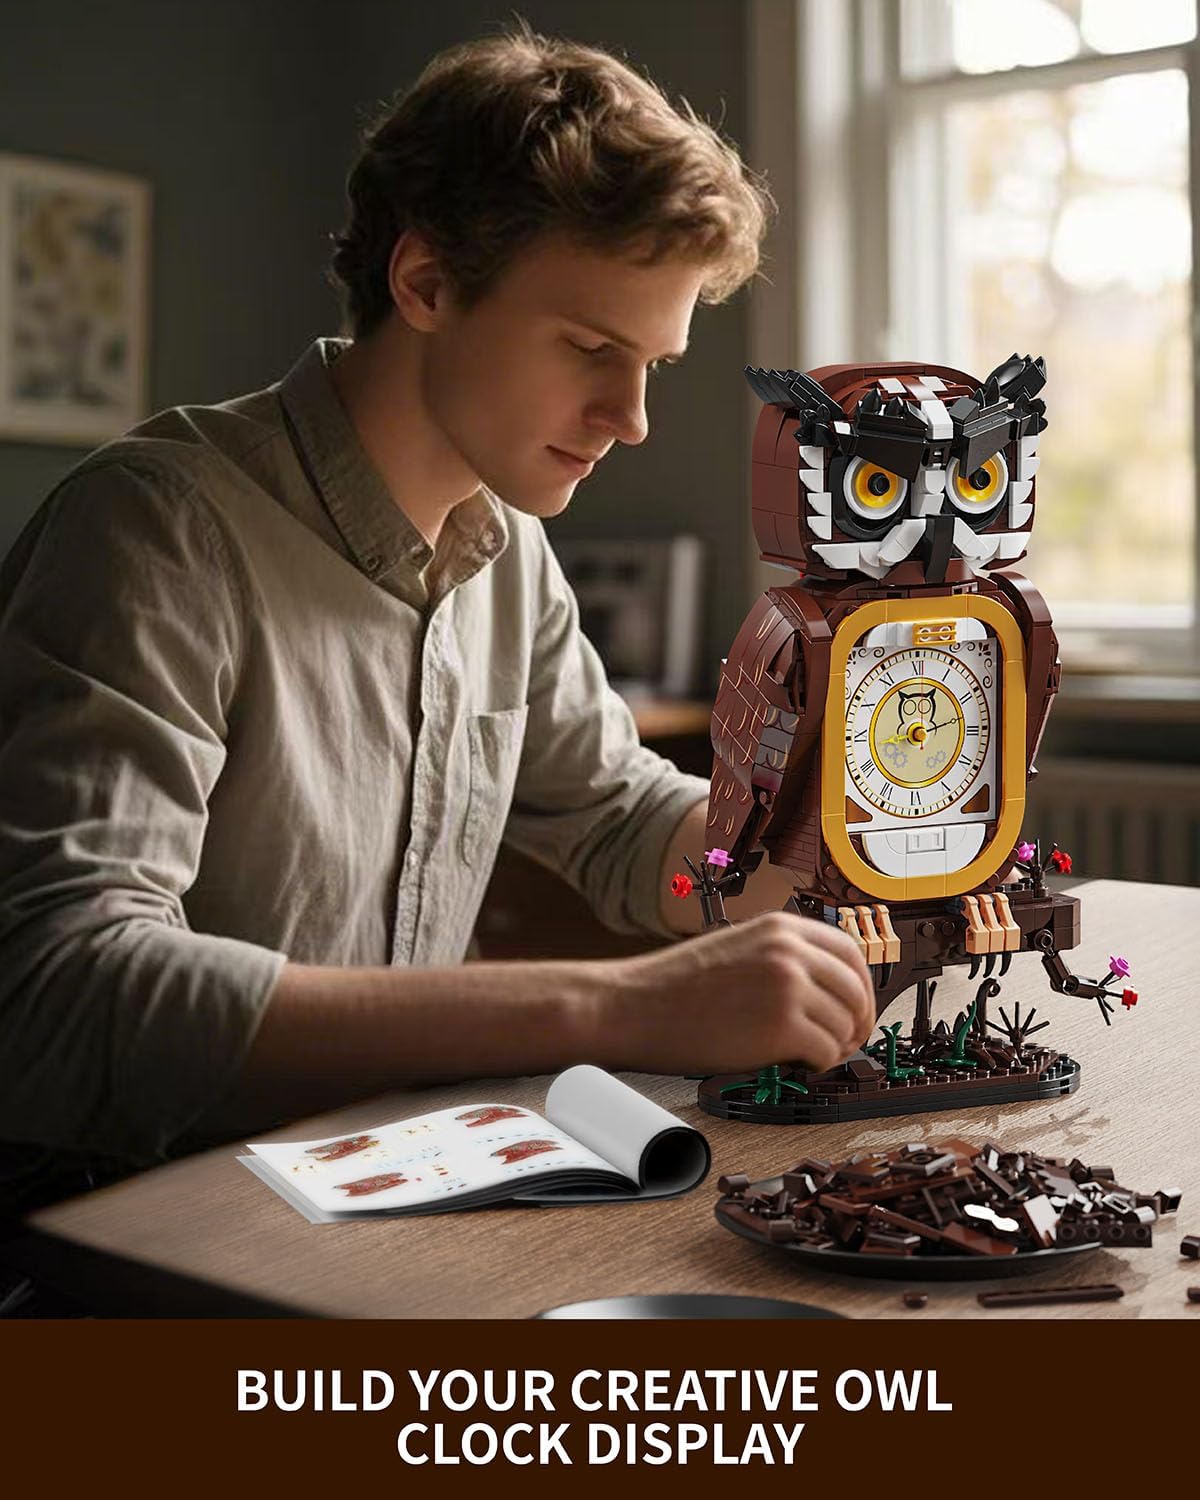
Image 3.1: A person engaged in the assembly process of the TYCOLE Owl Clock Building Blocks Set, demonstrating the hands-on nature of the project.
3.2. Battery Installation for the Functional Clock
The integrated clock mechanism requires one AA battery (not included) to function. Install the battery after the main owl body is assembled, but before fully closing the back panel, as instructed in the manual.
- Locate the battery compartment: The compartment is situated at the back of the owl model, behind the clock mechanism.
- Open the compartment: Carefully open the back cover designed for battery access.
- Insert battery: Insert one AA battery, ensuring correct polarity (+/-).
- Close compartment: Securely close the back cover.

Image 3.2: Detailed view of the battery compartment and the process of inserting an AA battery into the functional clock mechanism of the owl model.
4. Operating the Owl Clock
Once assembled and the battery is installed, your owl clock is ready for operation.
4.1. Setting the Time
The clock features a traditional Roman numeral dial. To set the time, locate the small adjustment knob on the back of the clock mechanism. Gently turn this knob to move the clock hands to the desired time. The clock will begin ticking once the battery is correctly installed and the time is set.
4.2. Functional Features
- Functional Clock: The integrated clock keeps accurate time, serving as both a decorative piece and a practical timepiece.
- Swingable Wings: The owl model features articulated wings that can be manually adjusted to different positions, adding to its dynamic display.

Image 4.1: A display of various detailed features of the owl clock, including its expressive eyes, tree stump base, and swingable wings.
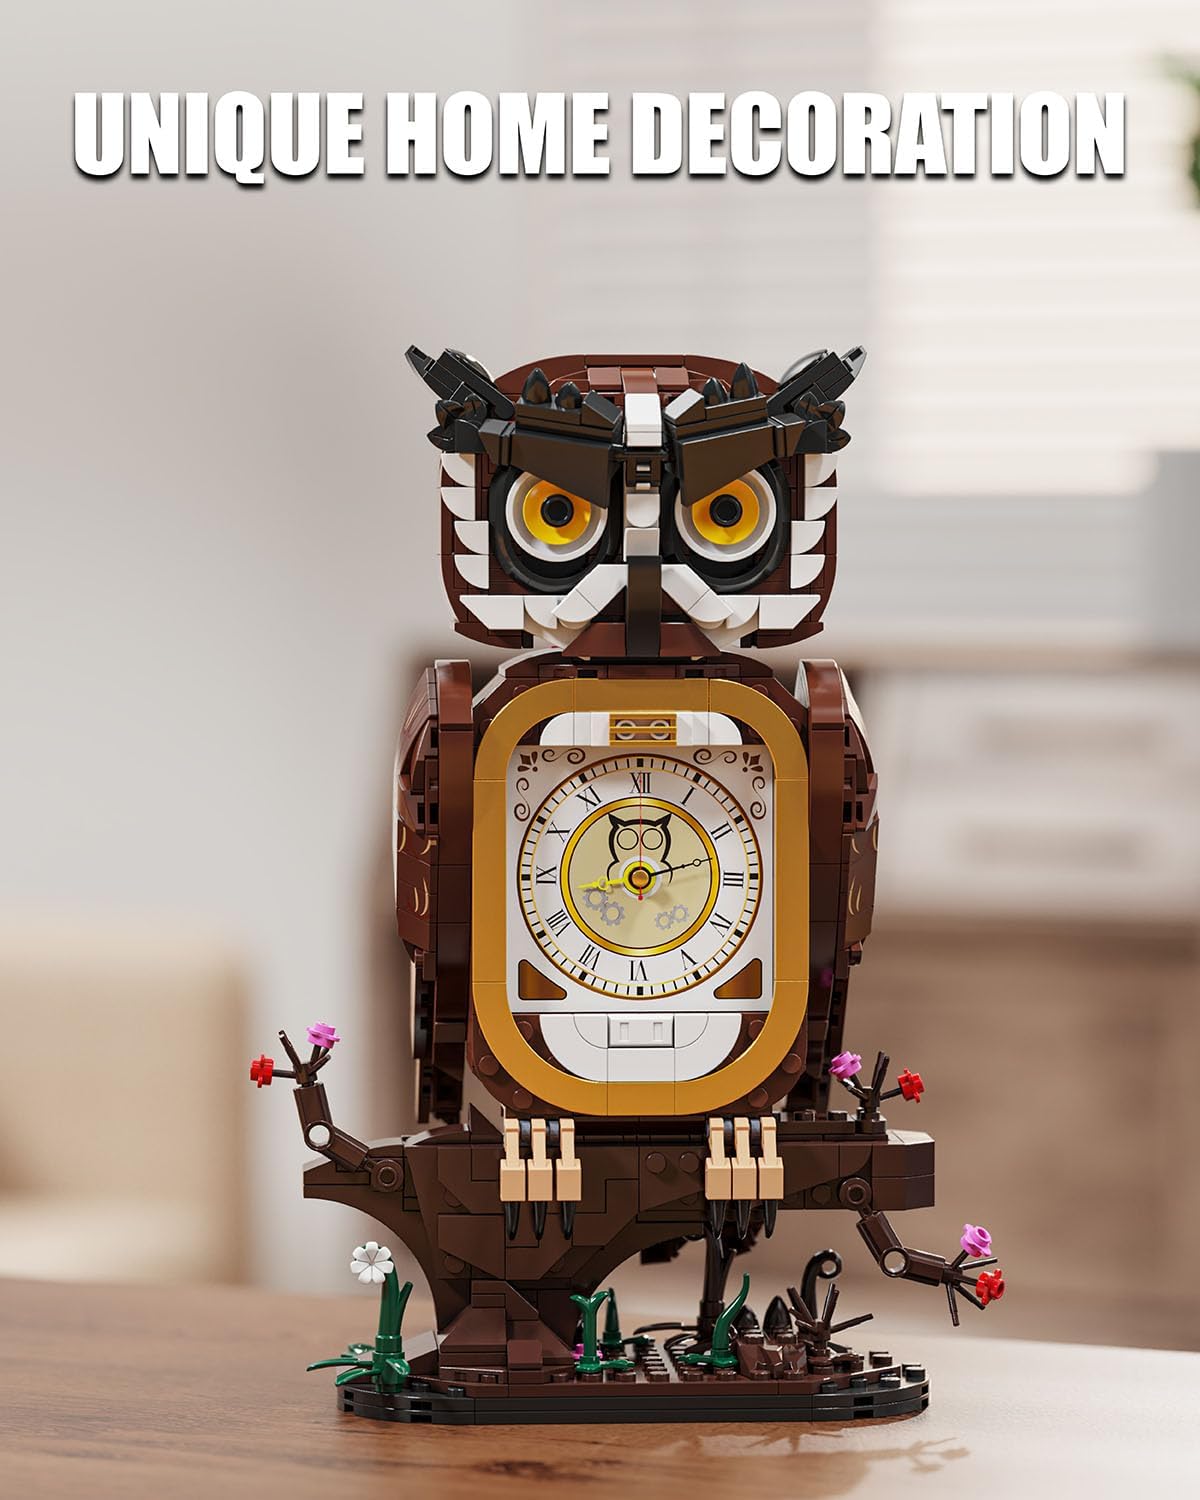
Image 4.2: The fully assembled owl clock displayed as a unique home decoration, highlighting its aesthetic appeal and functional clock face.
5. Maintenance
Proper care will ensure the longevity and appearance of your TYCOLE Owl Clock Building Blocks Set.
5.1. Cleaning
To clean the model, gently wipe it with a dry, soft cloth. For stubborn dust, a slightly damp cloth can be used, followed by immediate drying. Avoid using harsh chemicals or abrasive materials, as these can damage the plastic blocks.
5.2. Battery Replacement
When the clock stops functioning or its accuracy diminishes, it is time to replace the AA battery. Follow the battery installation steps outlined in Section 3.2. Ensure the new battery is inserted with correct polarity.
6. Troubleshooting
If you encounter any issues with your TYCOLE Owl Clock Building Blocks Set, refer to the following common solutions.
- Missing Parts: If you discover any missing parts during assembly, please contact TYCOLE customer support for assistance. Refer to the 'Support' section for contact details.
- Clock Not Functioning:
- Check battery installation: Ensure the AA battery is correctly inserted with the proper polarity.
- Replace battery: If the battery is old or depleted, replace it with a new AA battery.
- Verify mechanism: Ensure no building blocks are obstructing the clock mechanism or hands.
- Difficulty Assembling:
- Review instructions carefully: Some steps may require closer attention to detail.
- Ensure correct pieces: Double-check that you are using the correct pieces for each step.
- Apply firm pressure: Ensure blocks are fully connected to avoid loose or unstable sections.
- Structural Instability: If the model feels unstable, re-examine the connections of the base and main body sections. Ensure all blocks are securely interlocked.
7. Specifications
| Feature | Detail |
|---|---|
| Product Dimensions (L x W x H) | 7.08 x 3.58 x 10.02 inches (18 x 9.1 x 25.5 cm) |
| Item Weight | 1.4 pounds (0.64 kg) |
| Item Model Number | T2114 |
| Manufacturer Recommended Age | 6 years and up |
| Batteries Required | 1 x AA battery (not included) |
| Number of Pieces | 964 |
| Material | Premium ABS materials |

Image 7.1: Visual representation of the assembled owl clock with its key dimensions (height, width, depth) indicated.
8. Warranty and Support
TYCOLE building block sets are crafted from premium ABS materials and have successfully passed CPC, CE, and CCPSA testing and certification.
Should you encounter any issues, such as missing parts during assembly or defects, please do not hesitate to reach out to us. We are committed to providing you with a satisfactory solution. For support, please contact the seller directly through the platform where the product was purchased.
Specific warranty details are not provided in this manual. Please refer to the product listing or contact the seller for information regarding warranty coverage.