
1. Product Overview
The RAPSUAR 48-inch Wall Mount Range Hood, Model GRTJJD20185647, is designed to provide efficient kitchen ventilation. It features a stainless steel construction, 1500 CFM powerful suction, 4-speed fan, adjustable LED lighting, and convenient control options including touch and gesture sensing.
Key features include:
- Touch & Gesture Control: Intuitive digital touchscreen and advanced gesture sensing for fan speed adjustment.
- Powerful Suction: Dual centrifugal motors provide up to 1500 CFM airflow to effectively remove smoke and odors.
- Adjustable LED Lights: Four warm-toned LED lights with adjustable brightness for optimal cooking visibility.
- Quiet Operation: Noise levels as low as 35 decibels at low speed, and below 50 decibels at the highest setting.
- Dishwasher-Safe Baffle Filters: Two heavy-duty stainless steel baffle filters for easy cleaning and maintenance.
- Timer Function: Delayed shut-off mode (180 seconds) and customizable timer (up to 15 minutes) to clear residual fumes.
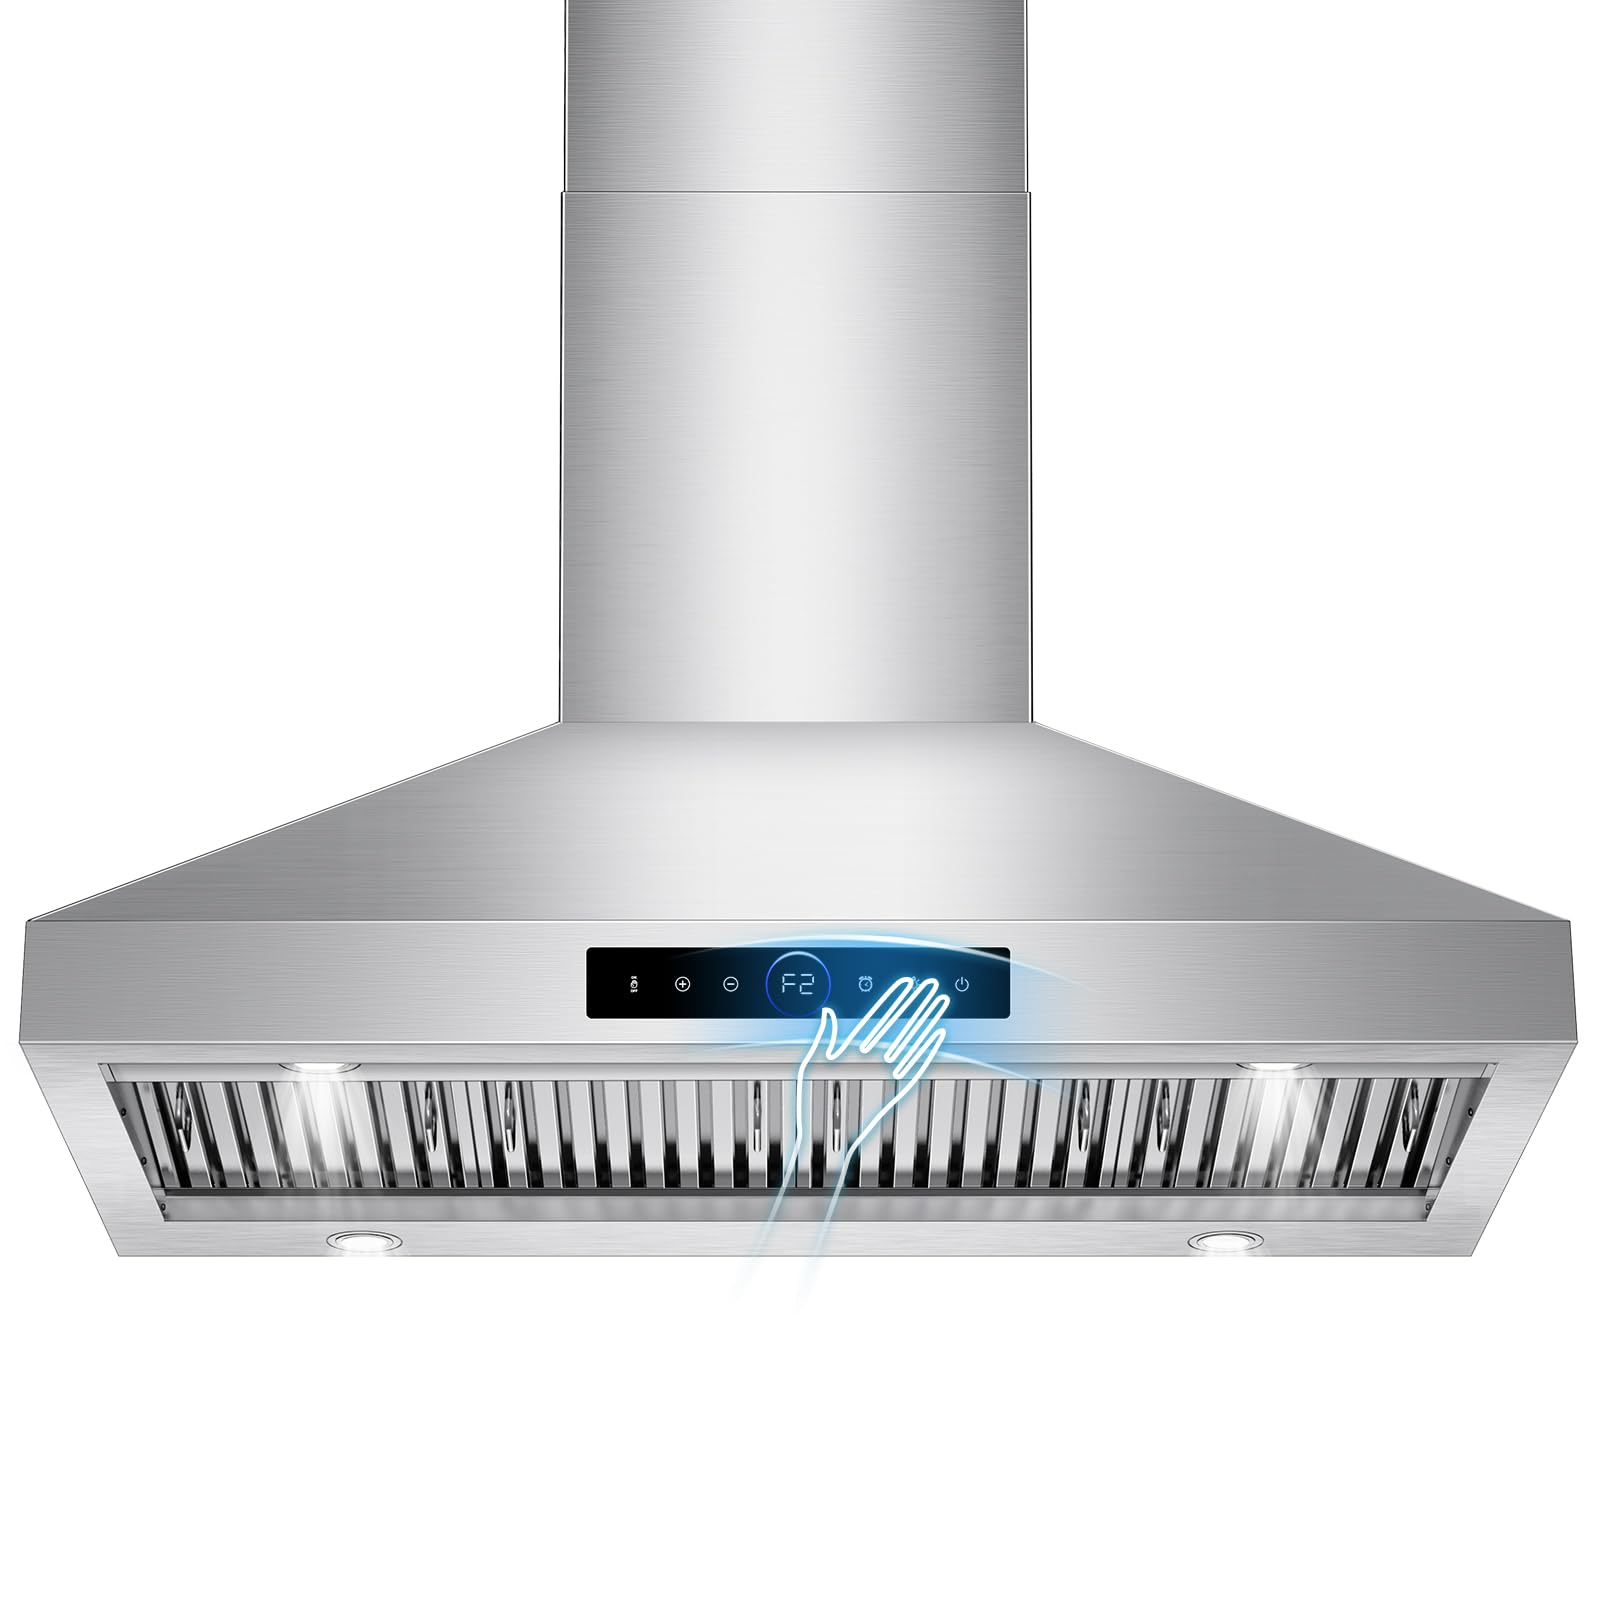
Figure 1: RAPSUAR 48-inch Wall Mount Range Hood.
Product Videos
Smart Multifunction Range Hood, Elevate Kitchen Life
Video 1: An overview of the smart multifunction features of the range hood, demonstrating how it enhances the kitchen experience.
Fall in Love with Cooking with This Sleek Range Hood
Video 2: A short video highlighting the aesthetic and functional benefits of the range hood in a modern kitchen setting.
2. Setup and Installation
2.1 Unpacking and Components
Carefully unpack the range hood and inspect for any damage. Ensure all components are present before proceeding with installation.
Included Components:
- Range Hood Unit
- LED Lights (pre-installed)
- Grease Filters (Baffle Filters)
- Oil Cup
- Installation Hardware (screws, anchors, etc. - refer to separate hardware bag)
- Ducting (flexible aluminum duct may be included or sold separately)
2.2 Installation Requirements
- Mounting Type: Wall Mount
- Ventilation Type: Ducted (requires external venting)
- Electrical: 110 Volts, 60 Hz
- Recommended Installation Height: The distance between the stove top and the bottom of the range hood should be 24 to 30 inches.

Figure 2: Product dimensions and recommended installation height. The chimney height is adjustable from 19.6" to 39".
2.3 Step-by-Step Installation Guide
- Prepare the Wall: Identify the mounting location above your cooking surface. Ensure the wall can support the weight of the range hood.
- Mark Reference Lines: Use a level to draw a straight vertical reference line on the wall where the center of the range hood will be. Mark the recommended bottom height (24-30 inches above the cooktop).
- Mark Drilling Points: Based on the mounting bracket template (usually included with hardware), mark the drilling points for the mounting screws.
- Drill Holes and Install Anchors: Drill holes at the marked points and insert appropriate wall anchors.
- Mount the Bracket: Secure the mounting bracket to the wall using screws.
- Attach Ducting: Connect the ducting to the range hood's exhaust outlet and route it to your external vent. Ensure a secure and airtight connection.
- Hang the Range Hood: Carefully lift the range hood and hang it onto the wall mounting bracket. Secure it in place according to the specific instructions in your hardware kit.
- Install Chimney Cover: Attach the decorative chimney cover sections, adjusting their height as needed.
- Electrical Connection: Connect the range hood to a grounded 110V, 60Hz power outlet.
- Install Filters and Oil Cup: Insert the baffle filters and the oil cup into their designated slots.
Always consult the detailed installation diagrams and instructions provided in the physical manual for precise measurements and steps. Professional installation is recommended.
RAPSUAR Range Hood Installation Guide (General)
Video 3: This video provides a general overview of the installation process for a wall mount range hood. While not specific to model GRTJJD20185647, it illustrates common installation steps.
3. Operating Instructions
The RAPSUAR range hood offers both touch control and gesture sensing for convenient operation.
3.1 Control Panel Overview

Figure 3: Diagram of the control panel buttons and their functions.
- ON/OFF Button: Powers the unit on or off.
- Speed Adjustment (+/- Buttons): Increases or decreases the fan speed (F1-F4).
- LED Light Button: Toggles the LED lights on/off. Press and hold to adjust brightness.
- Timer Button: Activates the delayed shut-off (180 seconds) or allows setting a custom timer (up to 15 minutes) by pressing and holding.
- Gesture Control Switch: Activates or deactivates gesture sensing.
3.2 Gesture Control
With gesture control activated, you can adjust fan speed with a simple hand wave.
- Wave Left: Decreases fan speed.
- Wave Right: Increases fan speed.

Figure 4: Illustration of gesture control for the range hood.
How to use gesture control of range hood?
Video 4: Demonstrates how to activate and use the gesture control feature to adjust fan speeds.
3.3 Fan Speed Operation
The range hood features four fan speeds (F1-F4) to accommodate various cooking needs, from slow simmering to high-heat frying.

Figure 5: Visual representation of the 4-speed fan settings for different cooking activities.
A range hood with super strong suction power.
Video 5: Illustrates the powerful suction capability of the range hood at various fan speeds.
3.4 LED Lighting
The four LED lights provide illumination for your cooking area. Press and hold the light button to adjust the brightness to your preference.
How to adjust light brightness & use memory function?
Video 6: Guide on adjusting the brightness of the LED lights and utilizing the memory function for light settings.
3.5 Timer and Delayed Shut-off
The timer function helps clear residual cooking fumes after you finish cooking.
- Delayed Shut-off: Touch the timer button to activate a 180-second delayed shut-off.
- Custom Timer: Press and hold the timer button to set a custom shut-off time, up to 15 minutes.
How to use the delayed shutdown & timed shutdown functions?
Video 7: Instructions on setting and using the delayed shutdown and timed shutdown features.
4. Maintenance
Regular maintenance ensures optimal performance and longevity of your range hood.
4.1 Cleaning Baffle Filters
The stainless steel baffle filters are designed to capture grease and are easy to clean.
- Remove Filters: Gently lift and pull the baffle filters to remove them from the range hood.
- Clean: The filters are dishwasher-safe. Alternatively, wash them by hand with warm, soapy water.
- Dry and Reinstall: Ensure filters are completely dry before reinstalling them into the range hood.

Figure 6: Image showing the dishwasher-safe baffle filters and the oil cup.

Figure 7: Illustration of cleaning the baffle filters by hand or in a dishwasher.
4.2 Emptying the Oil Cup
The detachable oil cup collects grease from cooking fumes and should be emptied regularly.
- Remove Oil Cup: Locate and carefully slide out the oil cup from its position.
- Empty and Clean: Dispose of the collected grease and wash the oil cup with warm, soapy water.
- Reinstall: Ensure the oil cup is clean and dry before placing it back into the range hood.

Figure 8: Image showing the detachable oil cup and its function.
4.3 Exterior Cleaning
Wipe the stainless steel exterior with a soft cloth and a mild, non-abrasive cleaner. Avoid harsh chemicals or abrasive pads that could scratch the surface.
5. Troubleshooting
This section addresses common issues you might encounter with your range hood.
| Problem | Possible Cause | Solution |
|---|---|---|
| Range Hood Not Turning On | No power supply. Power cord not properly connected. Circuit breaker tripped. | Check if the unit is plugged in. Ensure the power cord is securely connected. Reset the circuit breaker. |
| Weak Suction Power | Grease filters are clogged. Ducting is obstructed or improperly installed. Fan speed is too low. | Clean the baffle filters. Inspect ductwork for blockages or leaks. Increase the fan speed. |
| Excessive Noise | Loose components. Obstruction in the fan or duct. Improper installation. | Check for loose screws or parts and tighten them. Inspect the fan blades and duct for foreign objects. Ensure the unit is securely mounted. |
| Gesture Control Not Responding | Gesture control feature is deactivated. Sensor is obstructed or dirty. Incorrect gesture motion. | Ensure the gesture control switch is active. Clean the sensor area on the control panel. Practice the correct wave motion (left for down, right for up). |
| LED Lights Not Working | Light switch is off. LED bulb failure. | Press the LED light button. Contact customer support for replacement instructions if a bulb is faulty. |
If the problem persists after attempting these solutions, please contact customer support.
6. Specifications
| Feature | Detail |
|---|---|
| Brand | RAPSUAR |
| Model Number | GRTJJD20185647 |
| Product Dimensions (D x W x H) | 24"D x 48"W x 23.6"H |
| Material Type | Stainless Steel |
| Finish Type | Brushed |
| Mounting Type | Wall Mount |
| Ventilation Type | Ducted |
| Air Flow Capacity | 1500 Cubic Feet Per Minute (CFM) |
| Number of Speeds | 4 |
| Noise Level | 50 Decibels (Max) |
| Controls Type | Touch, Gesture |
| Light Source | LED |
| Wattage | 350 Watts |
| Voltage | 110 Volts |
| Frequency | 60 Hz |
| Filter Type | Baffle (Dishwasher-Safe) |
| Special Features | Delayed Closing, Time Settings |
7. Warranty and Support
7.1 Warranty Information
Specific warranty details are typically provided with your product packaging or on the manufacturer's official website. Please refer to these resources for information regarding warranty coverage, duration, and terms.
For additional protection, extended warranty plans may be available for purchase. Please check with your retailer or the manufacturer for options.
7.2 Customer Support
If you have any questions, require technical assistance, or need to report an issue, please contact RAPSUAR customer support. Contact information can usually be found in your product documentation or on the official RAPSUAR website.
When contacting support, please have your product model number (GRTJJD20185647) and purchase date ready.