1. Introduction
Thank you for choosing the Ströme Gliding Grille Bladeless 2-in-1 Tower Fan and Air Purifier. This innovative appliance combines efficient air circulation with advanced air purification, providing a healthier and more comfortable indoor environment. Please read this manual thoroughly before use to ensure proper operation and maintenance.
2. Safety Instructions
To reduce the risk of fire, electric shock, or injury, always follow these basic safety precautions:
- Ensure the power supply matches the voltage specified on the appliance.
- Do not operate the fan with a damaged cord or plug.
- Keep the appliance away from water or other liquids.
- Do not insert fingers or objects into the grille while the fan is operating.
- Unplug the fan before cleaning or performing any maintenance.
- This appliance is for indoor use only.
- Keep out of reach of children.
3. Package Contents
Verify that all items are present in the package:
- Ströme Gliding Grille Bladeless 2-in-1 Tower Fan and Air Purifier
- Remote Control
- User Manual
4. Product Overview
Familiarize yourself with the components of your new appliance.
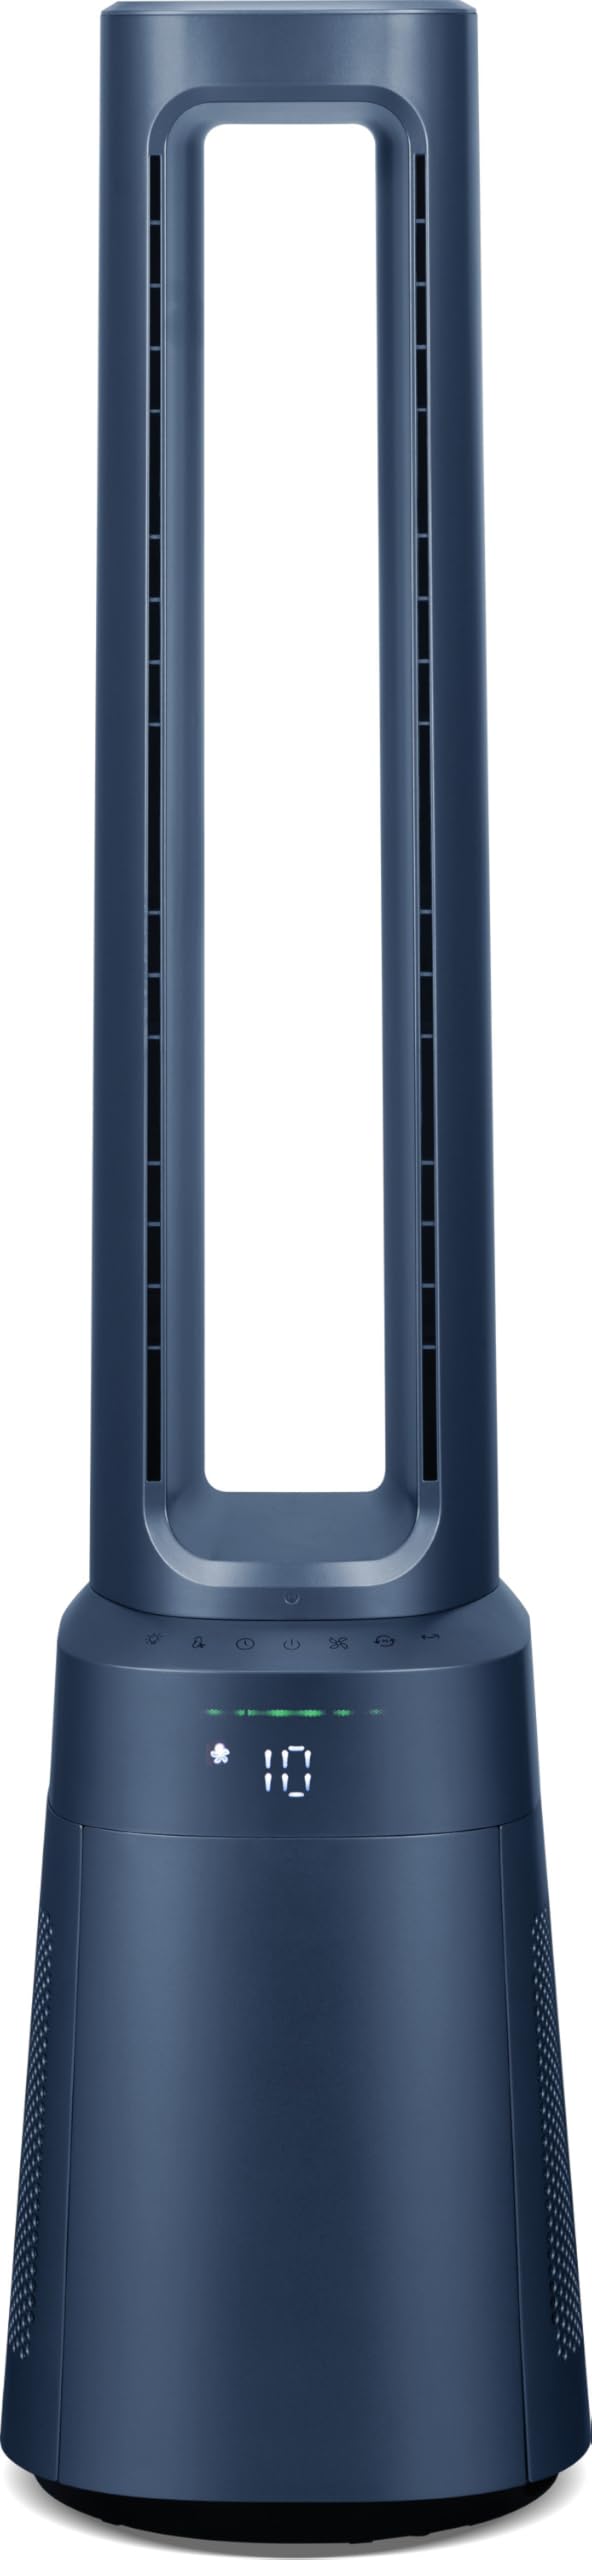
Figure 4.1: Front view of the Ströme Gliding Grille Bladeless 2-in-1 Tower Fan and Air Purifier, showing the sleek, dark blue bladeless design and the digital display on the base.

Figure 4.2: Side view of the Ströme Gliding Grille Bladeless 2-in-1 Tower Fan and Air Purifier, highlighting its slim profile and air intake grille.

Figure 4.3: Close-up of the touch control panel and LED display, showing various function icons and the current fan speed setting.

Figure 4.4: View of the open filter compartment, revealing the HEPA H13 filter ready for installation or replacement.
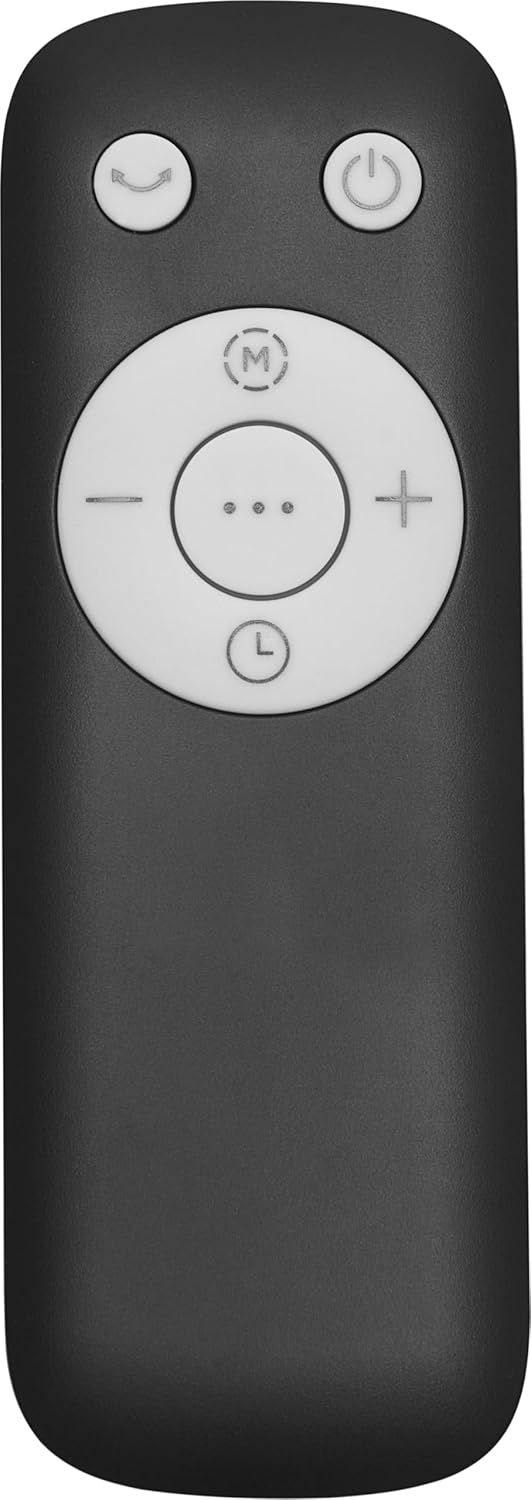
Figure 4.5: The compact remote control with clearly labeled buttons for power, oscillation, mode selection, and fan speed adjustment.
5. Setup
- Unpacking: Carefully remove the appliance and all accessories from the packaging. Retain packaging for future storage or transport.
- Filter Installation:
- Locate the filter compartment cover on the lower part of the fan (refer to Figure 4.4).
- Open the cover and insert the HEPA H13 filter(s) according to the 'FRONT' markings.
- Close the cover securely.
- Placement: Place the fan on a firm, level surface. Ensure there is adequate space around the unit for proper air intake and circulation. Avoid placing it near curtains or other objects that could obstruct airflow.
- Power Connection: Plug the power cord into a standard electrical outlet.
6. Operating Instructions
The fan can be controlled via the touch panel on the unit or the magnetic remote control.
6.1. Power On/Off
- Press the Power button () on the touch panel or remote control to turn the unit on or off.
6.2. Fan Speed Adjustment
- Use the '+' and '-' buttons on the remote or the corresponding icons on the touch panel to adjust the fan speed. There are 10 speed levels available.
6.3. Oscillation Function
- Press the Oscillation button () to activate or deactivate the 60° oscillation feature, which distributes air evenly.
6.4. Timer Setting
- Press the Timer button () to set the automatic shut-off timer. The timer can be set for up to 12 hours.
7. Modes and Settings
The fan offers three distinct operating modes:
- Normal Mode: Standard operation with adjustable fan speeds.
- Night Mode: Designed for quiet operation during sleep. The fan speed will automatically decrease, and the display will dim or turn off after 60 seconds of inactivity.
- Baby Mode: Provides gentle airflow and purification, ideal for sensitive environments.
To switch between modes, press the Mode button () on the control panel or remote control.
7.1. Digital Air Quality Display
The LED screen displays real-time air quality information. The display automatically turns off after 60 seconds of inactivity to save energy and reduce light disturbance, especially in Night Mode. The unit also features a memory function that recalls your last settings upon restart.
8. Maintenance
Regular maintenance ensures optimal performance and longevity of your appliance.
8.1. Cleaning the Exterior
- Always unplug the fan before cleaning.
- Wipe the exterior surfaces with a soft, damp cloth. Do not use abrasive cleaners or solvents.
- Ensure no water enters the internal components.
8.2. HEPA Filter Replacement
The Ströme Gliding Grille uses two HEPA H13 filters for effective air purification. The filters are not washable and must be replaced periodically.
- The filter life depends on usage and air quality. Replace filters when the air quality indicator consistently shows poor readings despite operation, or approximately every 6-12 months.
- To replace, open the filter compartment cover (refer to Figure 4.4), remove the old filters, and insert new ones, ensuring correct orientation.
- Dispose of used filters responsibly.
9. Troubleshooting
If you encounter issues, refer to the following table before contacting support.
| Problem | Possible Cause | Solution |
|---|---|---|
| Fan does not turn on | No power supply | Check if the power cord is securely plugged into a working outlet. |
| Weak airflow | Filters are dirty or blocked | Check and replace the HEPA filters if necessary. Ensure air intake is not obstructed. |
| Unusual noise | Obstruction in the air outlet or base | Turn off and unplug the unit. Carefully check for any foreign objects and remove them. |
| Remote control not working | Batteries are depleted or incorrectly inserted | Replace the remote control batteries (sold separately) and ensure correct polarity. |
10. Specifications
| Feature | Specification |
|---|---|
| Brand | Ströme |
| Model Name | Gliding Grille Bladeless 2-in-1 |
| Color | Blue |
| Product Dimensions | 25.5 x 25.5 x 105.6 cm |
| Material | Plastic |
| Number of Speeds | 10 |
| Noise Level | 59.8 Decibels |
| Mounting Type | Floor Mount |
| Control Type | Remote Control, Touch Panel |
| Recommended Product Use | Residential |
| Form Factor | Tower |
| Air Purification | 2x HEPA H13 Filters |
| Oscillation Angle | 60° |
| Timer | 12-hour |
11. Warranty and Support
This Ströme product comes with a standard manufacturer's warranty. For detailed warranty information, please refer to the warranty card included with your purchase or visit the official Ströme website. For technical support, troubleshooting assistance, or to inquire about replacement parts, please contact your retailer or the Ströme customer service department.


