1. Introduction
The TERRAMASTER D4 SSD NVMe Enclosure is a high-performance direct-attached storage solution designed for demanding workflows. It supports up to four M.2 NVMe 2280 SSDs, offering massive storage capacity and ultra-fast data transfer speeds. This manual provides detailed instructions for setting up, operating, and maintaining your D4 SSD enclosure to ensure optimal performance and data integrity.

Image 1.1: Front view of the TERRAMASTER D4 SSD NVMe Enclosure.
2. What's in the Box
Verify that all items are present in the package:
- Host unit (x1)
- Power adapter (x1)
- USB Type-C to Type-C 80Gbps Cable 80cm (x1)
- Quick Start Guide (x1)
- Screwdriver (x1) + Screws (several)
3. Setup
3.1. M.2 NVMe SSD Installation
The D4 SSD enclosure supports up to four M.2 NVMe 2280 SSDs. Follow these steps to install your SSDs:
- Unscrew the thumb screw on the rear panel and slide open the enclosure.
- Carefully insert each M.2 NVMe SSD into its corresponding slot on the internal board. Ensure the SSD is fully seated.
- Secure each SSD with the provided screws.
- Slide the enclosure cover back into place and secure it with the thumb screw.

Image 3.1: Internal view of the D4 SSD enclosure with M.2 NVMe SSD slots.
3.2. Connecting to Host Device
Connect the D4 SSD enclosure to your computer using the provided USB Type-C to Type-C cable. The enclosure is compatible with USB 4/3.2/3.1/3.0/2.0 and Thunderbolt 5/4/3 ports.
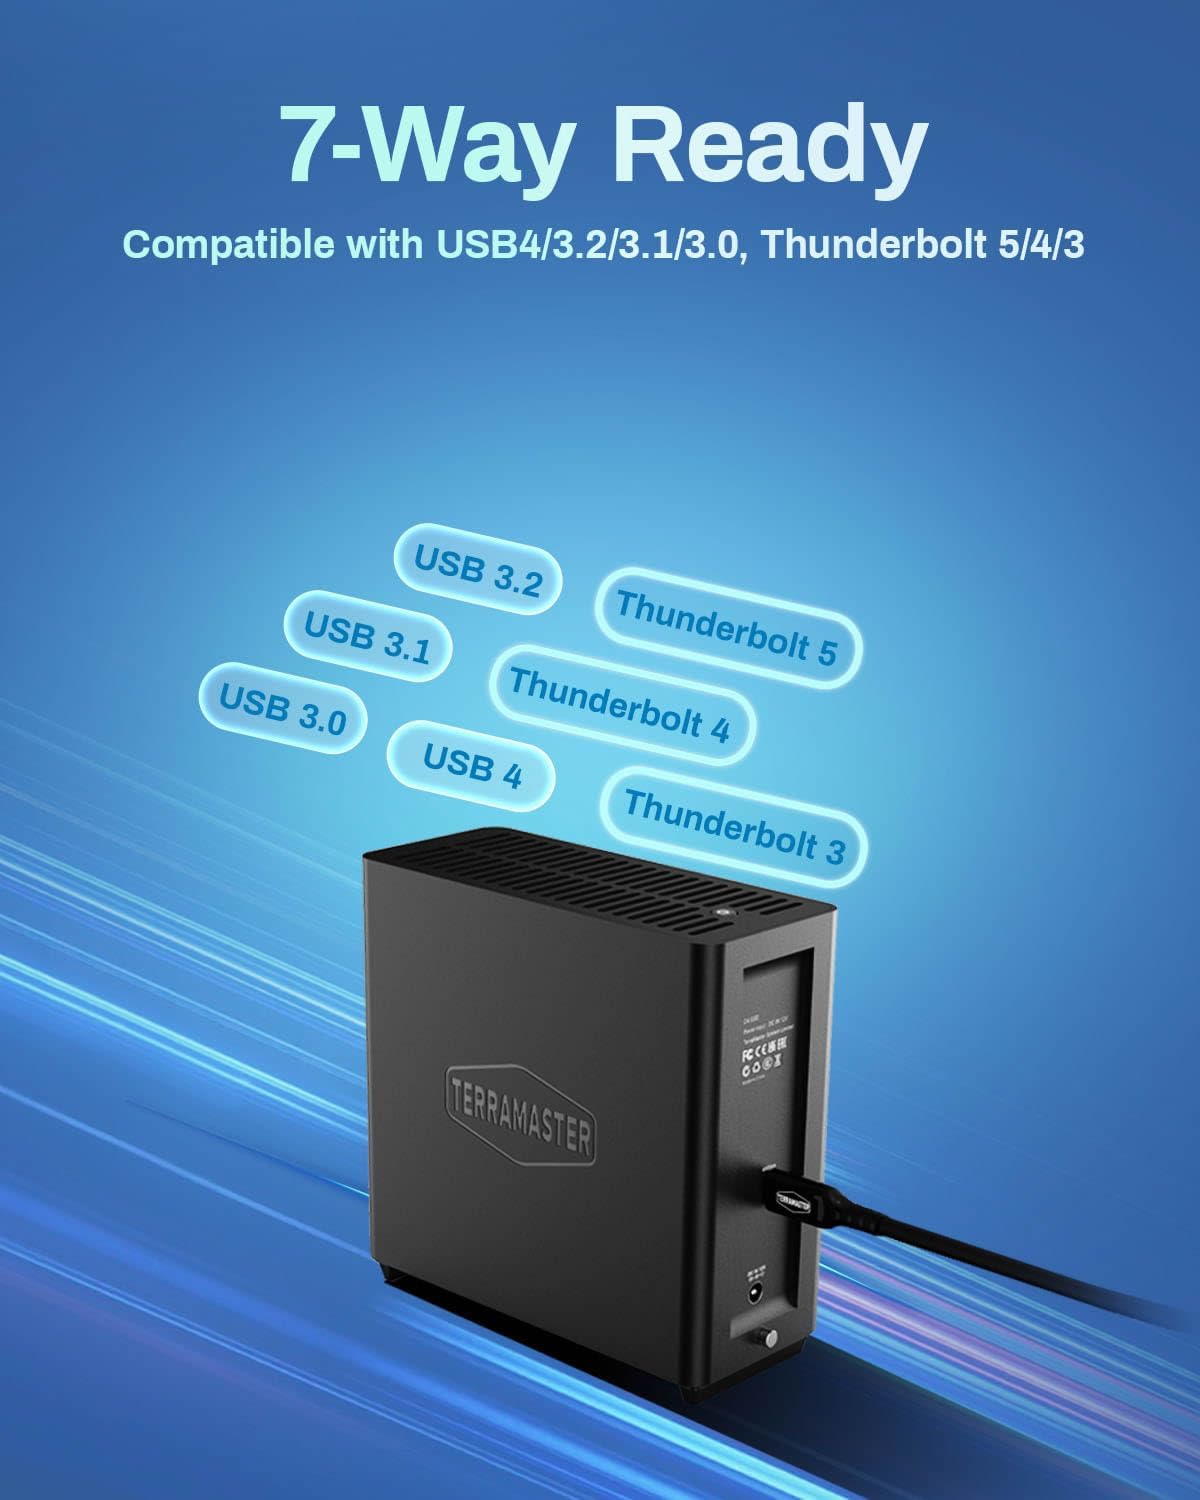
Image 3.2: D4 SSD Enclosure connected to a host device.
3.3. Disk Initialization (Windows Example)
After connecting the enclosure, new SSDs will need to be initialized and formatted before use. The process may vary slightly depending on your operating system.
- On Windows, open 'Disk Management' by right-clicking the Start button and selecting 'Disk Management'.
- Locate the newly installed disks (they may appear as 'Unknown' or 'Unallocated').
- Right-click on each disk and select 'Initialize Disk'. Choose GPT (GUID Partition Table) for modern systems.
- Right-click on the unallocated space of each disk and select 'New Simple Volume'. Follow the wizard to create and format the partitions (e.g., NTFS for Windows).
For macOS and Linux, refer to your operating system's documentation for disk initialization and formatting procedures.
4. Operating Instructions
4.1. Data Transfer
The D4 SSD enclosure supports data transfer speeds up to 40Gbps, enabling rapid file transfers and efficient handling of large media files. Simply drag and drop files to and from the recognized drives within the enclosure.

Image 4.1: High-speed data transfer with the D4 SSD Enclosure.
4.2. Data Backup
The D4 SSD enclosure offers convenient data backup solutions:
- TDAS Mobile App: Use the included TDAS Mobile App to wirelessly back up photos and videos from your iOS/Android devices directly to the D4 SSD.
- TPC Backupper Software: For Windows users, the TPC Backupper software allows you to schedule and perform automated backups of your PC data to the D4 SSD.

Image 4.2: TDAS Mobile App for one-click photo backup.
Image 4.3: TPC Backupper software for Windows data backup.
4.3. Power-Loss Recovery
The D4 SSD enclosure features power-loss recovery, ensuring automatic restart after power outages. This function helps maintain data integrity and system uptime, making it suitable for server and NAS environments.
4.4. Intelligent Disk Sleep
The enclosure supports intelligent disk sleep, allowing the drives to hibernate alongside the computer's operating system. This feature conserves power and extends the lifespan of your SSDs.
5. Features Overview
- Ultra-Fast 40Gbps Speeds: The D4 SSD NVMe enclosure delivers 40Gbps speeds, compatible with Thunderbolt 5/4/3 and USB 4/3.2/3.1/3.0/2.0. It achieves speeds up to 3,224MB/s with four 990 PRO SSDs, or 1,608MB/s with a single SSD. Note: No built-in RAID; supports four individual disks (soft RAID via third-party tools).
- Massive 32TB Storage Capacity: Supports four M.2 NVMe 2280 SSDs (up to 8TB each), providing up to 32TB of high-speed storage.
- Whisper-Quiet Operation with Intelligent Cooling: An advanced active cooling system with temperature-controlled fans keeps the NVMe external enclosure silent (19dB(A) in standby) even under heavy loads. Four internal temperature sensors ensure optimal heat dissipation, protecting your SSDs.
- Universal Compatibility: Functions as a plug-and-play storage expansion for Mac mini, a bootable macOS drive, or a high-speed Windows/Linux external drive.
- Compact and Portable Design: Its book-sized, lightweight form factor fits seamlessly on desks, shelves, or in travel bags.
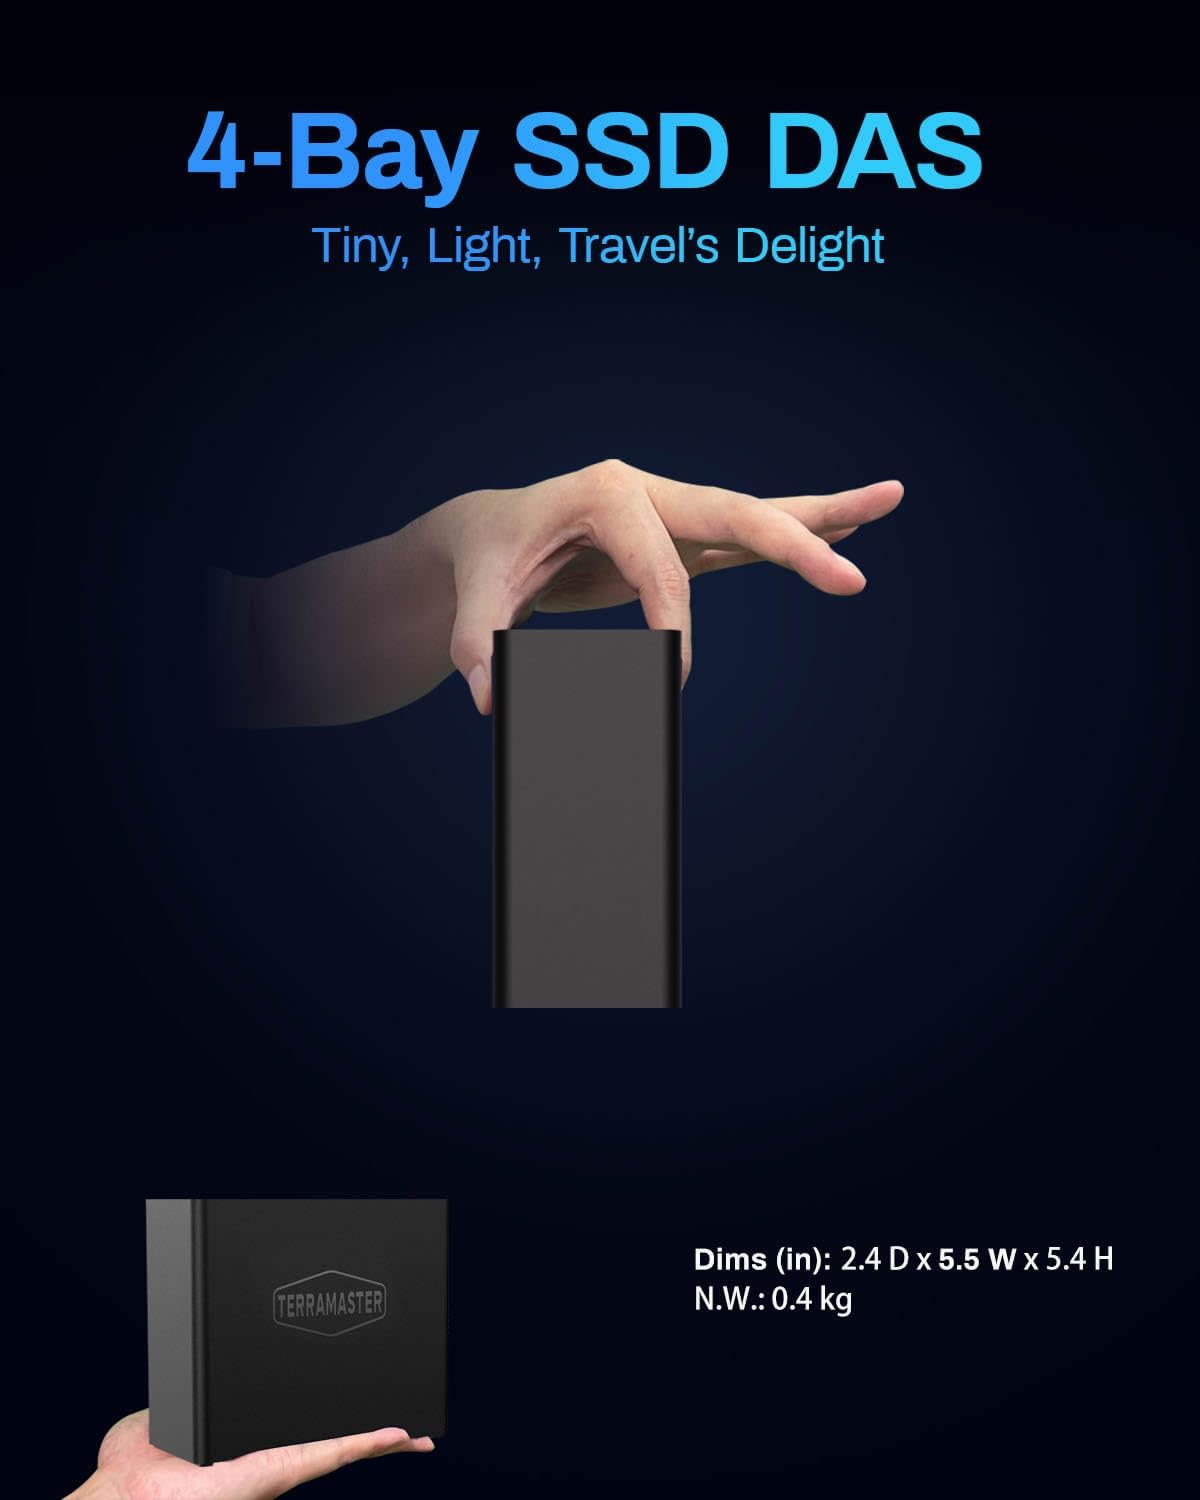
Image 5.1: The compact design of the D4 SSD Enclosure.
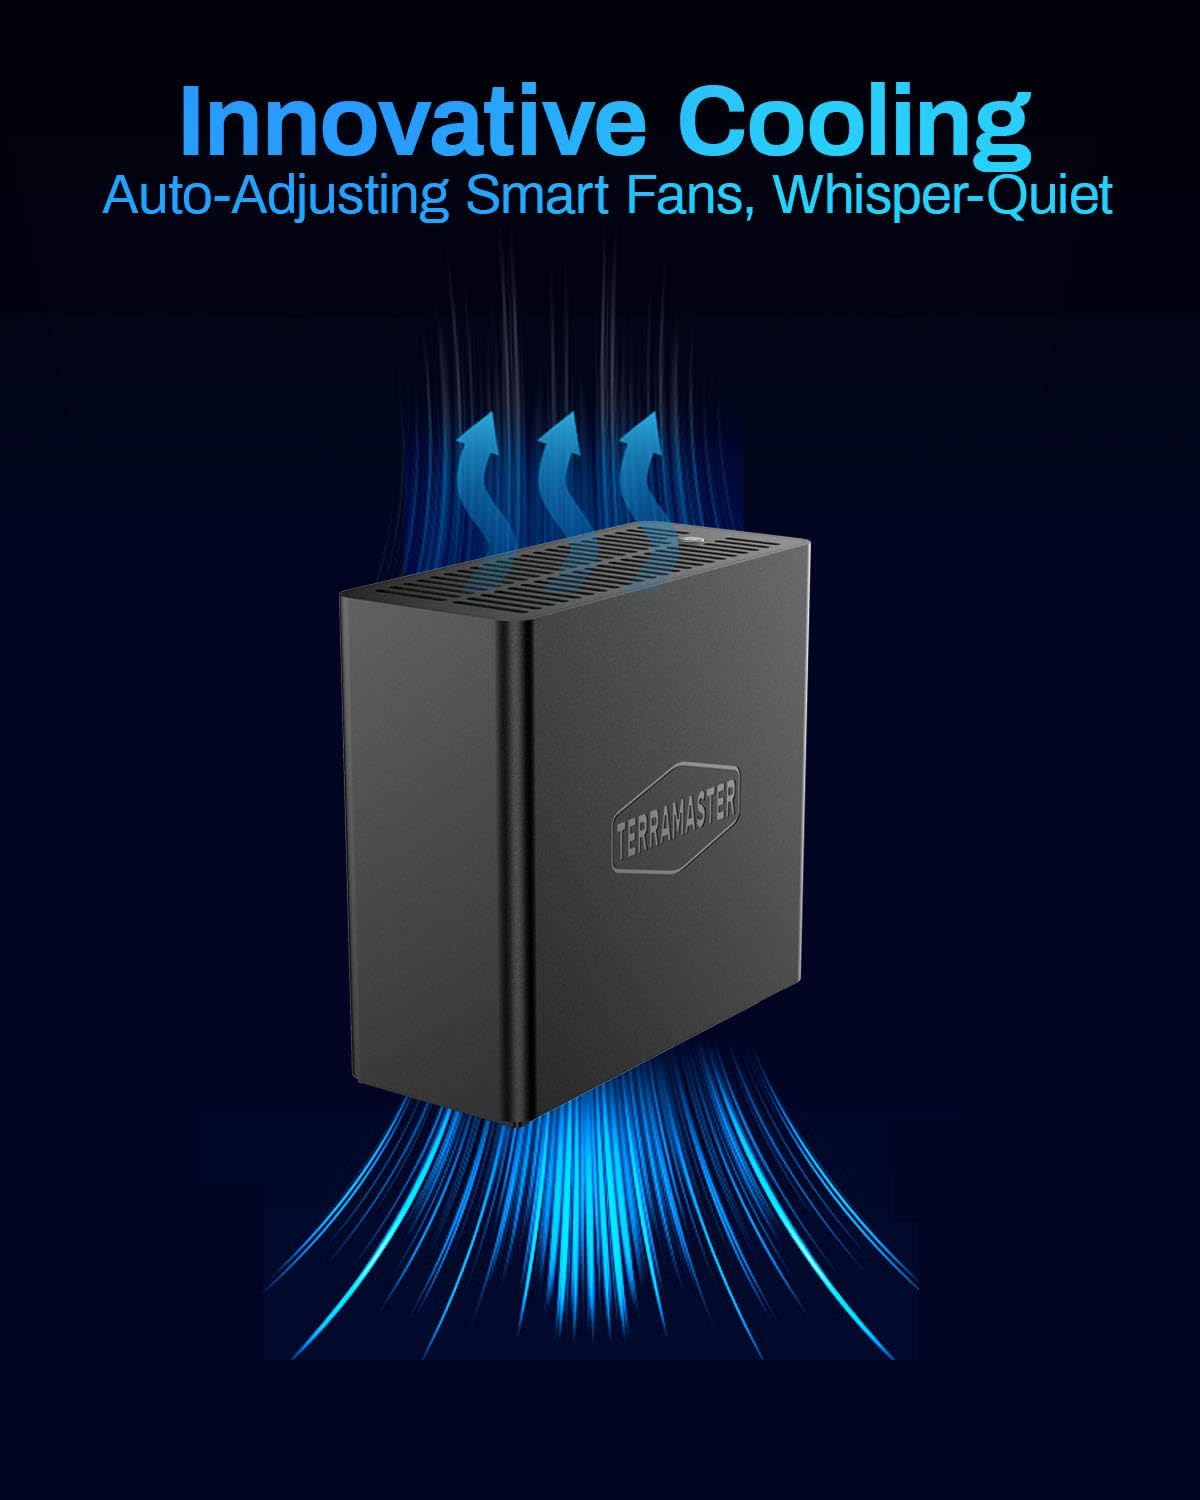
Image 5.2: Intelligent cooling system with dual fans.
5.1. Important Note: Direct Attached Storage (DAS)
The TERRAMASTER D4 SSD is a Direct Attached Storage (DAS) device, not a Network Attached Storage (NAS) device. It connects directly to a computer via USB/Thunderbolt and does not have a LAN port for network access.
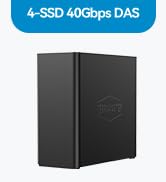
Image 5.3: D4 SSD is a DAS, not a NAS.
6. Maintenance
To ensure the longevity and optimal performance of your D4 SSD NVMe Enclosure, consider the following maintenance tips:
- Keep Vents Clear: Ensure the ventilation grilles on the enclosure are not obstructed to allow for proper airflow and cooling.
- Clean Regularly: Gently clean the exterior of the enclosure with a soft, dry cloth. Avoid using liquid cleaners or solvents.
- Firm Connections: Periodically check that all cables (USB and power) are securely connected to prevent accidental disconnections and potential data loss.
- Software Updates: Keep your operating system and any related drivers or backup software (TDAS Mobile App, TPC Backupper) updated to the latest versions for compatibility and security.
- Environmental Conditions: Operate the enclosure in a well-ventilated area, away from direct sunlight, excessive heat, and moisture.
7. Troubleshooting
If you encounter issues with your D4 SSD NVMe Enclosure, refer to the following common troubleshooting steps:
- Enclosure Not Detected:
- Ensure the power adapter is securely connected and the enclosure is powered on.
- Verify the USB-C cable is properly connected to both the enclosure and your host device. Try a different USB-C port or cable if available.
- Check 'Disk Management' (Windows) or 'Disk Utility' (macOS) to see if the drives are recognized but uninitialized/unformatted.
- Slow Transfer Speeds:
- Ensure your host device's port supports 40Gbps (USB4 or Thunderbolt 3/4/5). Connecting to a lower-speed port will limit performance.
- Confirm you are using the provided 80Gbps USB Type-C cable or another high-quality cable capable of 40Gbps transfer rates.
- Check the health and performance of your installed NVMe SSDs.
- Overheating:
- Ensure the enclosure's ventilation grilles are not blocked.
- Operate the device in a well-ventilated environment.
- The intelligent cooling system should manage temperatures; if persistent overheating occurs, contact support.
- Data Backup Issues:
- For mobile backup, ensure your device is connected to the same network as the D4 SSD or directly connected if applicable, and the TDAS Mobile App is correctly configured.
- For TPC Backupper, verify the software is installed, updated, and backup tasks are correctly scheduled.
If these steps do not resolve your issue, please contact TERRAMASTER customer support.
8. Specifications
| Feature | Specification |
|---|---|
| Brand | TERRAMASTER |
| Series | D4 SSD |
| Model Number | D4 SSD |
| Hard Drive Support | 4x M.2 NVMe 2280 SSDs |
| Digital Storage Capacity | Up to 32 TB (8TB per drive) |
| Hard Disk Interface | PCIE x 4 |
| Connectivity Technology | USB Type-C |
| Data Transfer Speed | Up to 40Gbps |
| Compatibility | USB 4/3.2/3.1/3.0/2.0, Thunderbolt 5/4/3 |
| Supported OS | Windows, Mac, Linux, Android, iOS |
| Item Weight | 1.3 pounds |
| Product Dimensions (LxWxH) | 2.17 x 2.14 x 0.93 inches |
| Color | Black |
9. Warranty and Support
The TERRAMASTER D4 SSD NVMe Enclosure comes with a limited warranty. Please refer to the 'Quick Start Guide' included in your package for specific warranty terms and conditions. For technical support, product inquiries, or warranty claims, please visit the official TERRAMASTER website or contact their customer service department.
Official Product Video:
Video 9.1: Official product overview of the TERRAMASTER D4 SSD 40Gbps 4Bay M.2 NVMe SSD Enclosure. This video highlights key features such as speed, capacity, cooling, and portability, demonstrating its use in creative workflows.