
1. Introduction
Thank you for choosing the Generic XWT013 8x10ft Resin Plastic Storage Shed. This manual provides essential information for the safe assembly, operation, maintenance, and troubleshooting of your new storage shed. Please read this manual thoroughly before beginning assembly and retain it for future reference. Proper assembly and care will ensure the longevity and optimal performance of your shed.
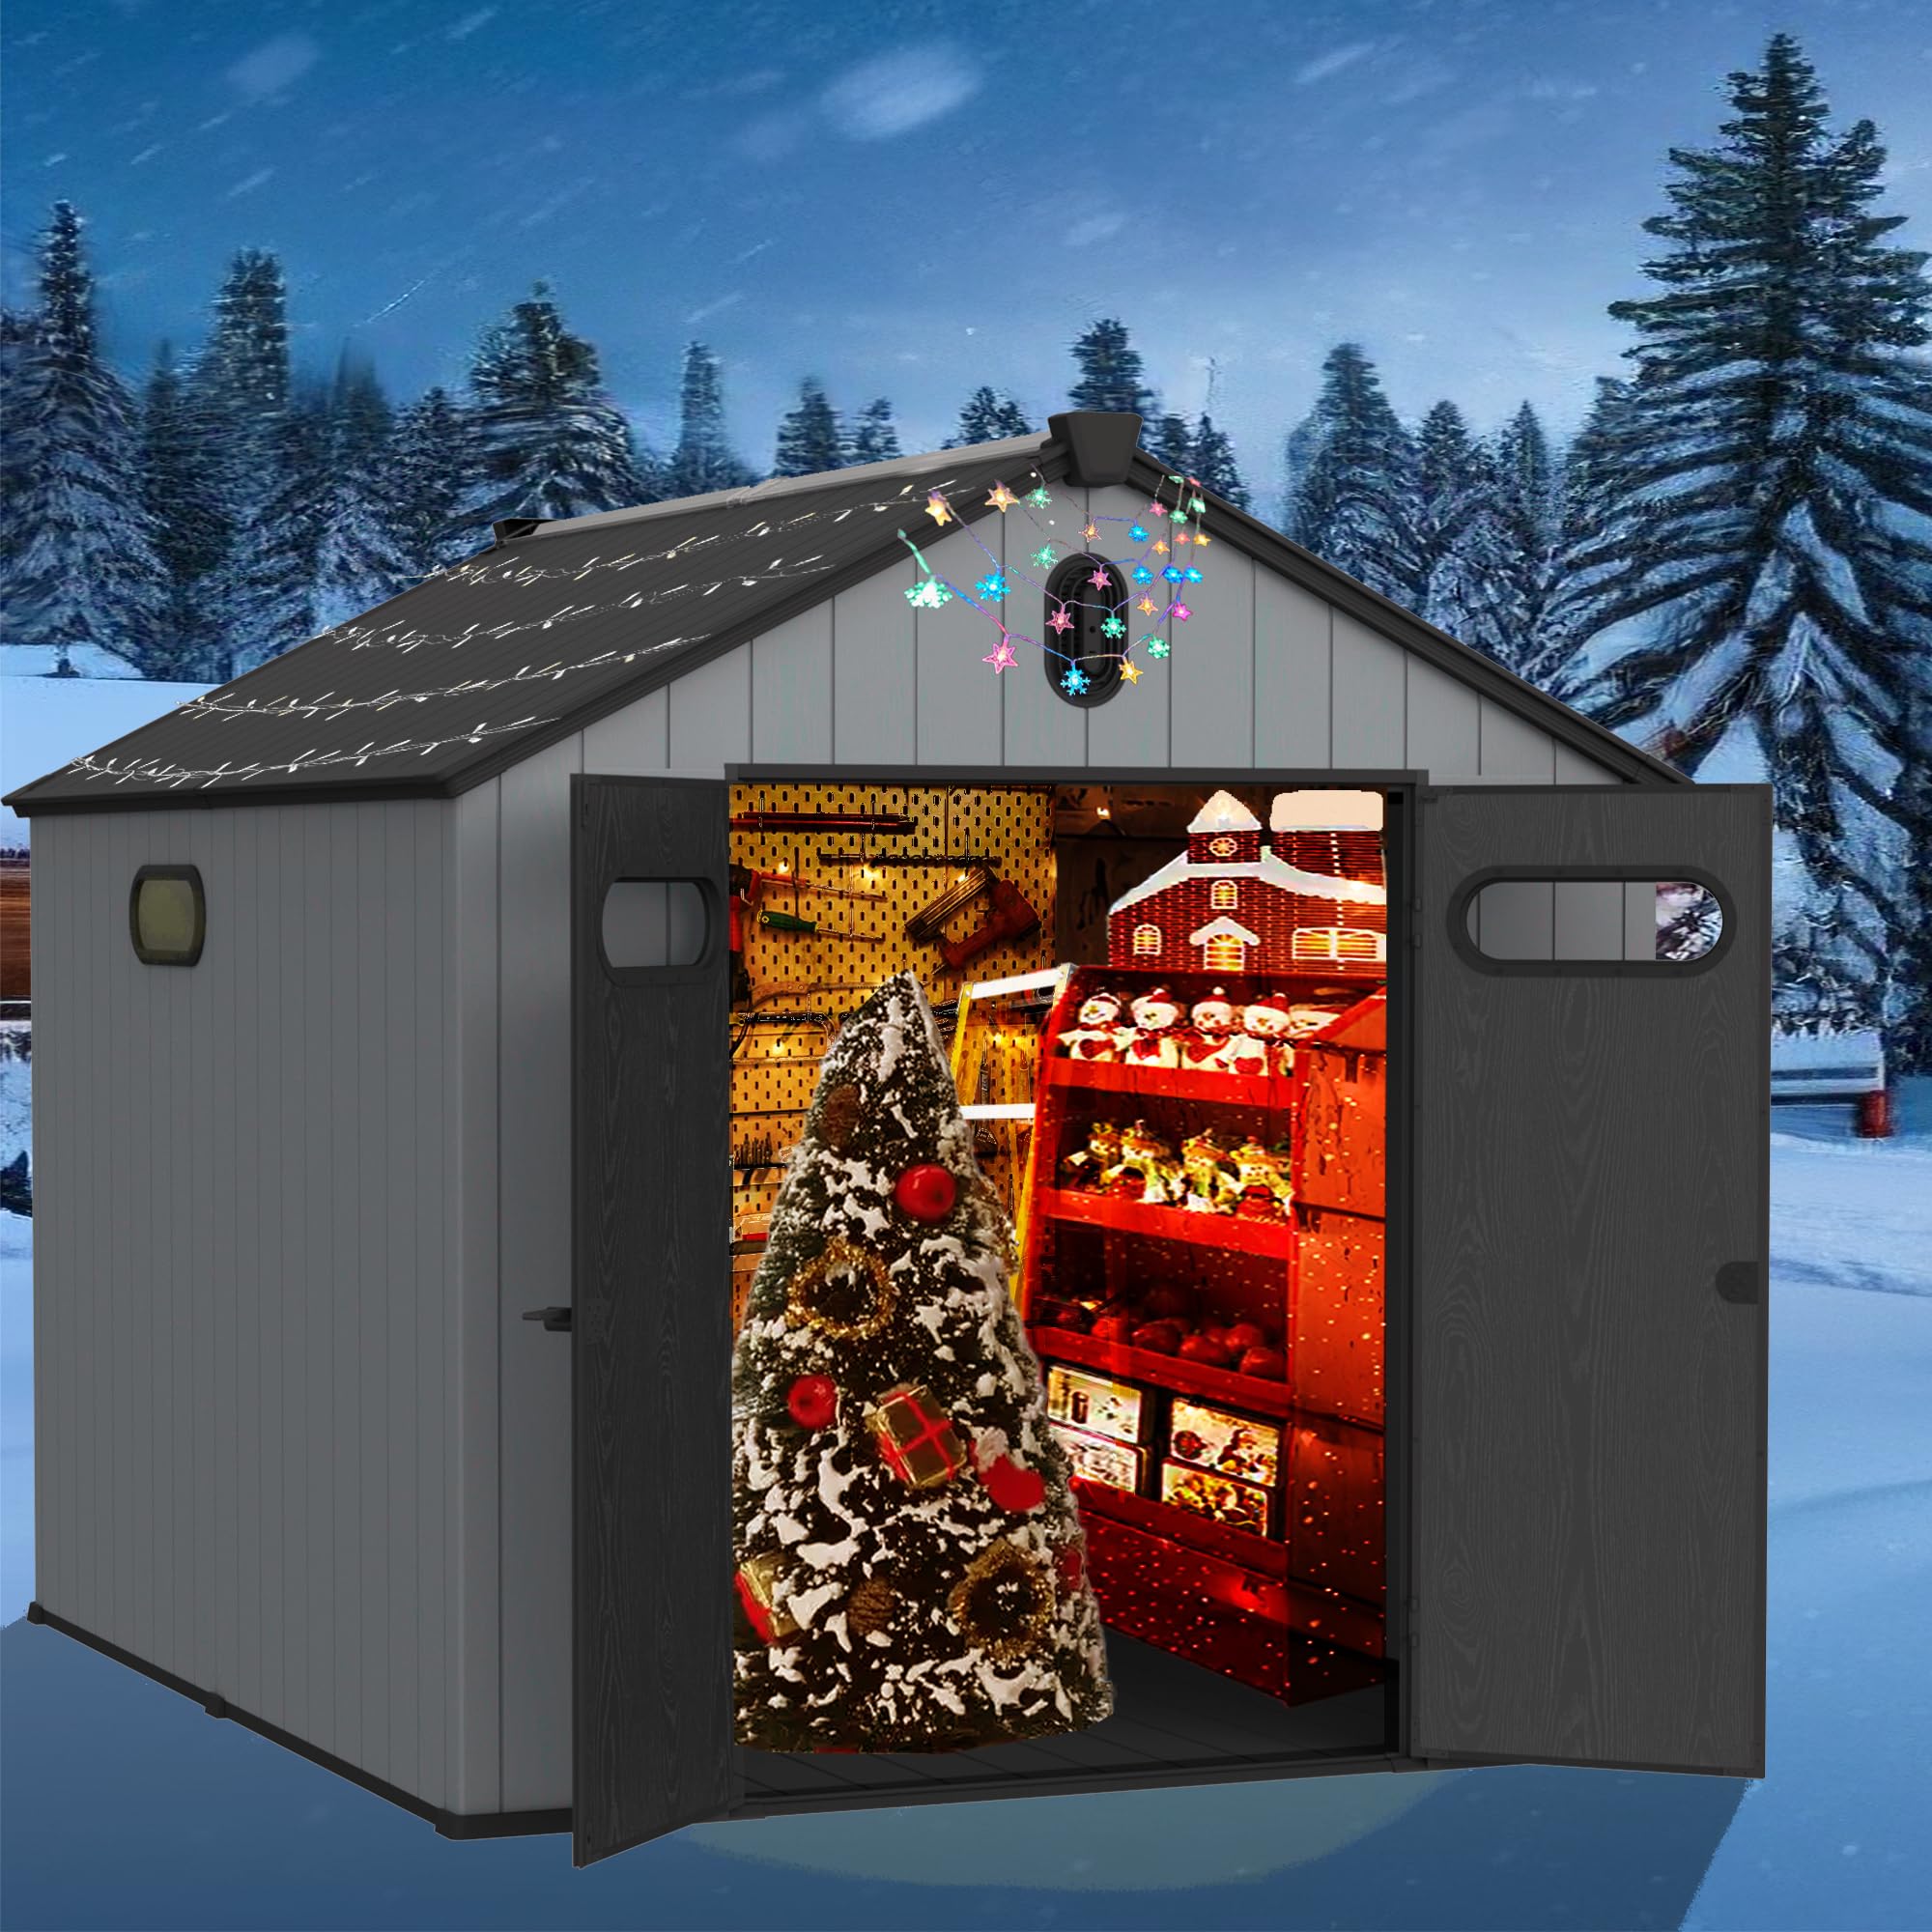
Image 1.1: The XWT013 Resin Plastic Storage Shed in a typical backyard environment, showcasing its spacious interior suitable for various tools and equipment.
2. Safety Information
Your safety and the safety of others are paramount. Always follow these basic safety precautions during assembly and use of the shed:
- Read all instructions: Ensure you understand all assembly steps and safety warnings before starting.
- Two-person assembly: Assembly typically requires two adults.
- Wear protective gear: Use gloves, safety glasses, and appropriate footwear during assembly.
- Choose a level site: Install the shed on a firm, level surface to ensure stability.
- Secure the shed: Anchor the shed to the ground to prevent wind damage.
- Keep children and pets away: Do not allow children or pets near the assembly area.
- Avoid climbing: Do not climb on the shed roof.
- Ventilation: Ensure proper ventilation if storing items that emit fumes.
- Electrical safety: Do not install electrical wiring or appliances inside the shed without consulting a qualified electrician.
3. Setup and Assembly
Before you begin, ensure all parts are present and undamaged. Refer to the included parts list. Assembly typically takes several hours and requires basic tools (e.g., screwdriver, wrench, ladder).
3.1 Site Preparation
- Select a flat, level area for the shed.
- Clear the area of debris, rocks, and vegetation.
- Consider a foundation (e.g., concrete slab, treated timber frame) for added stability and moisture protection.
3.2 Component Overview

Image 3.1: Key product details showing the transparent roof, secure gate lock, integrated floor, functional window, and ventilation opening for air circulation.

Image 3.2: An interior perspective highlighting the double-layer structure of the resin plastic, indicating a wall thickness of 16mm for enhanced durability and insulation.
3.3 Assembly Steps (General Guide)
Follow the detailed step-by-step instructions provided in your packaging. The general sequence is:
- Base Assembly: Assemble the floor panels and secure them to your prepared foundation.
- Wall Panel Installation: Attach the side and back wall panels to the base, ensuring they are properly aligned and secured with the provided fasteners.
- Door Frame and Door Installation: Assemble the door frame and attach the doors, ensuring they open and close smoothly and the gate lock functions correctly.
- Roof Truss and Roof Panel Installation: Install the roof trusses for support, then attach the transparent roof panels. Ensure all roof sections are securely fastened to provide waterproof protection.
- Finishing Touches: Install windows, ventilation openings, and any other accessories. Double-check all fasteners for tightness.

Image 3.3: The fully assembled shed, ready for use, with common garden tools illustrating its purpose.
4. Operating Instructions
The XWT013 shed is designed for straightforward use:
- Door Operation: The shed features double doors for easy access. Use the gate lock mechanism to secure the doors when not in use.
- Ventilation: The integrated ventilation opening helps to reduce condensation and maintain air circulation inside the shed. Ensure it is not blocked.
- Natural Light: The transparent roof allows natural light into the shed, making it easier to find items during the day without artificial lighting.
- Storage Capacity: Utilize the spacious interior for storing garden tools, equipment, outdoor furniture, or other items. Avoid overloading shelves or hanging heavy items directly from the roof structure.

Image 4.1: The multi-purpose design of the resin storage shed, illustrating its potential use as a pet house, a dedicated tool house, or for general backyard storage.
5. Maintenance
Regular maintenance will help preserve the appearance and structural integrity of your shed:
- Cleaning: Clean the shed periodically with mild soap and water. Avoid abrasive cleaners or harsh chemicals that could damage the resin plastic. Rinse thoroughly with clean water.
- Inspection: Annually inspect all fasteners, hinges, and the roof for any signs of loosening, damage, or wear. Tighten loose screws and replace damaged parts as needed.
- Drainage: Ensure that water drains away from the shed's base to prevent moisture buildup.
- Snow Removal: In areas with heavy snowfall, gently remove excessive snow from the roof to prevent structural stress.

Image 5.1: The shed's waterproof and sunscreen features, demonstrating its resilience against rain and sunlight, crucial for long-term outdoor storage.
6. Troubleshooting
Here are solutions to common issues you might encounter:
| Problem | Possible Cause | Solution |
|---|---|---|
| Doors do not close properly | Uneven ground; misaligned door frame; loose hinges. | Ensure the shed is on a level surface. Adjust door frame or tighten hinge screws. |
| Water leakage inside shed | Improperly sealed roof panels; damaged roof; blocked ventilation. | Check roof panel seals and ensure all fasteners are tight. Clear any blockages from ventilation. |
| Shed feels unstable | Not properly anchored; uneven foundation; loose base connections. | Ensure the shed is securely anchored to the ground. Verify the foundation is level and all base connections are tight. |
| Condensation inside shed | Poor ventilation; high humidity. | Ensure ventilation openings are clear. Consider adding a dehumidifier if humidity is consistently high. |
7. Specifications
Key specifications for the Generic XWT013 Resin Plastic Storage Shed:
| Feature | Detail |
|---|---|
| Model | XWT013 |
| Brand | Generic |
| Material | Plastic, Resin |
| Color | Black+Grey |
| Approximate Dimensions (L x W x H) | 118.90" x 94.10" x 94.10" |
| ASIN | B0F8B4Z11N |

Image 7.1: Dimensional overview of the shed, indicating its length, width, and height for planning placement.
8. Warranty and Support
For warranty information or technical support, please refer to the documentation included with your purchase or contact the retailer where the product was acquired. Keep your proof of purchase for any warranty claims.