
1. Introduction
This manual provides detailed instructions for the installation, operation, and maintenance of your ASURE 10.1-inch Android 15 Car Stereo. Please read this manual thoroughly before using the product to ensure proper functionality and safety. This unit is designed to enhance your driving experience with advanced features like wireless CarPlay, Android Auto, GPS navigation, and multimedia playback.
2. Product Overview
The ASURE 10.1-inch Android 15 Car Stereo is an 8-Core unit with 4GB RAM and 64GB internal storage, featuring a 1280x800 IPS touchscreen. It offers seamless integration with your smartphone and provides a modern infotainment experience for your vehicle.
Key Features:
- 10.1-inch 1280x800 IPS Capacitive Touch Screen
- Android 15 Operating System with 8-Core Processor
- 4GB RAM + 64GB Internal Storage
- Wireless Apple CarPlay & Android Auto
- Built-in GPS Navigation with Offline Map Support
- Bluetooth 5.0 & Wi-Fi Connectivity
- FM/RDS Radio
- Support for Steering Wheel Controls
- AHD Reversing Camera Input
3. Compatibility
This car stereo is specifically designed for:
- Honda Accord 2013-2017 Base Version Sedan without a factory center navigation screen.
Note: If your car has an OEM navigation screen, an additional power cable may be required. Please contact ASURE support for specific wiring kits.
4. What's in the Box
- 1x 8-Core Car Stereo Radio
- 1x Install Bezel
- 1x Wiring Harness Kit
- CAN BUS Box
- USB Adaptor
- Audio Video Ports
- Wi-Fi/BT Antenna
- USB Cable
- GPS Cable
- Microphone
- Screwdriver and User Manual
- Reversing Camera (if included in package)

Figure 4.1: Overview of included accessories.
5. Setup & Installation
5.1 General Installation Notes
- After installation, set the car model: Go to Settings > Factory > 3368 > Car Model > RZC > Honda > Accord 9 > RZC, or RZC.HIGH. Incorrect settings may cause screen malfunction.
- Ensure the Wi-Fi/BT antenna is properly connected to the back of the radio to prevent Android Auto disconnection issues and poor Bluetooth signal.
5.2 Visual Comparison (Before & After)

Figure 5.1: Factory dashboard before stereo installation.

Figure 5.2: Dashboard with ASURE 10.1" Android 15 Car Stereo installed.
5.3 Wiring Diagram

Figure 5.3: General wiring harness connections.
5.4 Rear Camera Installation
The rear camera requires tapping into the vehicle's backup light for power and signal. The red wire from the rear camera's RCA cable needs to be connected to the reverse trigger wire on the stereo's wiring harness.
Steps for Rear Camera Wiring:
- Route the rear camera cable and microphone cable towards the center console, ensuring they are kept away from the steering column and brake pedal.
- Remove the side step panel and the adjacent cover to route the cable along the side of the vehicle.
- Route the rear camera cable along the factory wire harness, securing it with tie wraps.
- Access the vehicle's tail light assembly. Remove the three 10mm bolts on the side of the tail light.
- Carefully pull the tail light assembly out.
- Identify the backup light bulb, typically located at the bottom of the assembly.
- Tap the black wire from the rear camera power cable onto the negative wire of the backup light.
- Tap the red wire from the rear camera power cable onto the positive wire of the backup light. This will trigger the display to switch to backup view when reverse is engaged.
- Reinstall the light bulb and feed the power wire through the hole before reinstalling the tail light.
- At the head unit, connect the yellow RCA plug from the rear camera to the corresponding input.
- Connect the red wire from the rear camera's RCA cable to the pink 'BACK' (or 'REVERSE') trigger wire on the stereo's wiring harness. This wire typically has a 12V trigger.
- Ensure all connections are secure, preferably using butt connectors or T-tap connectors for reliability.
Video 5.1: Detailed guide on installing a third-party rear camera and connecting its wiring to the car stereo system.
6. Operating Instructions
6.1 Wireless CarPlay & Android Auto
Start your engine, and your phone will sync automatically without cables. Access GPS, music, calls, and texts via Siri or Google Assistant for a focused and connected driving experience.
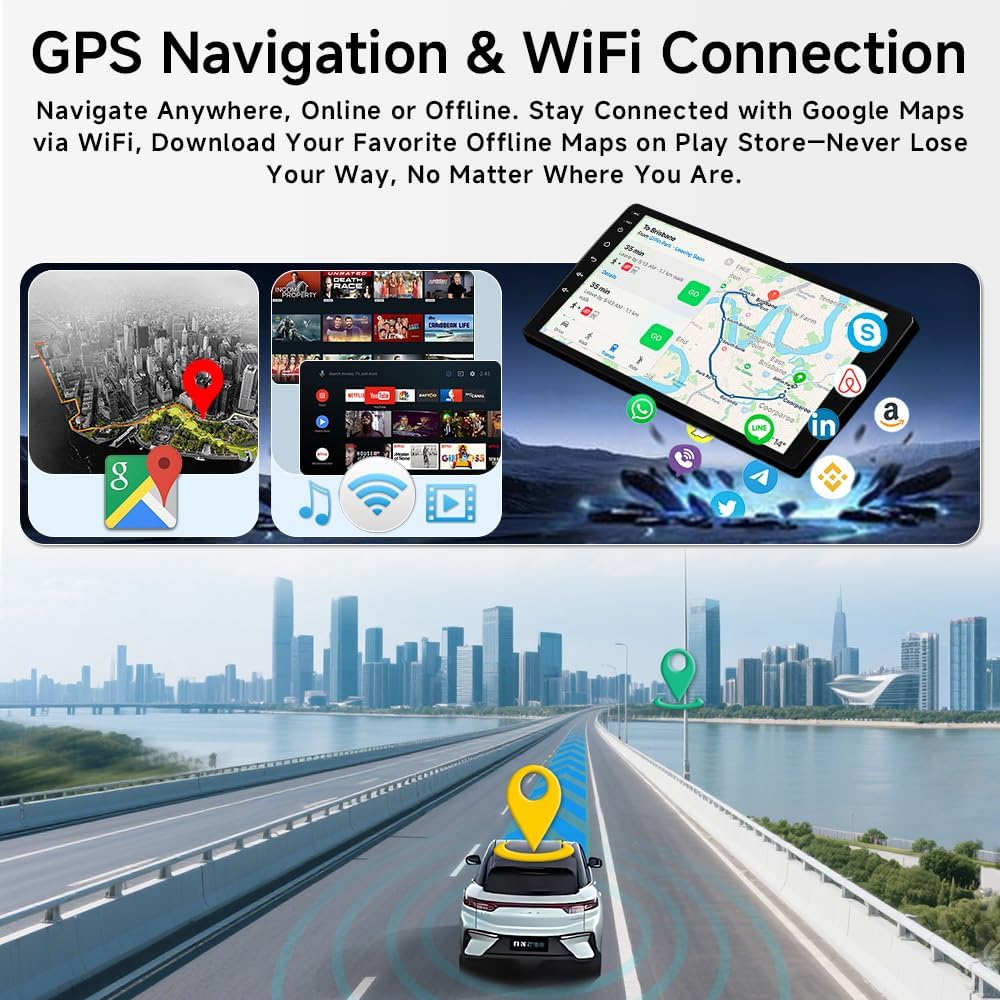
Figure 6.1: Wireless CarPlay and Android Auto functionality.
6.2 GPS Navigation & Wi-Fi Connection
The unit supports dual navigation modes, allowing for both offline preloaded maps and online navigation via Wi-Fi or hotspot. Download your preferred navigation apps like Waze or Spotify from Google Play.

Figure 6.2: GPS Navigation and Wi-Fi capabilities.
6.3 Bluetooth & FM/RDS Radio
Connect your phone via Bluetooth for hands-free calls and audio streaming. Enjoy your favorite radio stations with FM/RDS functionality.

Figure 6.3: Bluetooth and FM/RDS Radio interface.
6.4 Siri Voice Control
If the 'Listen for Hey Siri' function is enabled on your iPhone, you can simply say "Hey Siri" to activate voice commands after hearing the audible alert. This allows for hands-free control of various functions.
6.5 Screen Brightness Adjustment
To adjust screen brightness, especially for night driving:
- Go to Settings > Factory.
- Enter the password 3368.
- Navigate to Backlight current adjustment.
- Lower the "Minimum" value to set a darker screen.
- Click "Save" and "Confirm" to apply changes.
Video 6.1: Demonstrates various settings adjustments, including screen brightness and CarPlay connection.
6.6 Steering Wheel Controls
The included CANBUS box and SWC cables support the car's original steering wheel control buttons. These can be programmed and customized through the unit's settings.
If "Previous" and "Next" controls work reversely, or Volume+ and Volume- controls are reversed, you can correct them in the Factory settings menu.
6.7 Touch Screen Calibration
If necessary, the touchscreen can be recalibrated through the Factory settings menu to ensure accurate response.
7. Troubleshooting
- Android Auto Disconnection: Check the "wifi/BT antenna" adapter. Ensure it is properly connected to the back of the radio. An unstable connection will cause poor Bluetooth signal and easy disconnection.
- Screen Malfunction: Verify that the correct car model is set in the factory settings (Settings > Factory > 3368 > Car Model > RZC > Honda > Accord 9 > RZC, or RZC.HIGH).
- No Sound After Car Restart: Some users have reported this issue. A manual reboot of the unit may be required to restore sound. Consult ASURE support for potential firmware updates or solutions.
- Screen Dims with Climate Control: This is a reported issue by some users. A workaround for brightness adjustment can be found in the Factory settings (Backlight current adjustment).
- Factory Password Issues: The default factory password is 3368. If this does not work, contact ASURE support.
8. Specifications
| Feature | Specification |
|---|---|
| Item Weight | 5.19 pounds |
| Product Dimensions | 9.4 x 5.7 x 1.6 inches |
| Display Size | 10.1 Inches |
| Model Name | ASURE Car Stereo |
| Vehicle Service Type | Car |
| Special Features | Android Auto, Apple CarPlay, Built-In Bluetooth, Built-In Wi-Fi, GPS Navigation |
| Connectivity Technology | Bluetooth, Wi-Fi |
| Map Type | Worldwide |
| Audio Output Mode | Stereo |
| Mounting Type | Dashboard Mount |
9. Maintenance
To ensure the longevity and optimal performance of your ASURE Car Stereo, follow these maintenance guidelines:
- Screen Cleaning: Use a soft, lint-free cloth to gently wipe the touchscreen. For stubborn smudges, slightly dampen the cloth with water or a screen-safe cleaner. Avoid harsh chemicals or abrasive materials.
- Software Updates: Periodically check for software updates from ASURE to ensure you have the latest features and bug fixes. Updates can often be downloaded via Wi-Fi.
- Cable Connections: Ensure all cables, especially the Wi-Fi/BT antenna and power connections, remain securely plugged in to prevent intermittent issues.
- Environmental Care: Avoid exposing the unit to extreme temperatures, direct sunlight for prolonged periods, or excessive moisture.
10. Warranty & Support
Your ASURE Car Stereo comes with the following warranty:
- 30 days free return and replacement.
- 1 year free repair for one instance.
For technical support, warranty claims, or further assistance, please refer to the contact information provided with your purchase or visit the official ASURE website.