
1. Introduction
This manual provides essential information for the safe and efficient installation, operation, and maintenance of your LiberLive 11kW 240V Electric Tankless Water Heater. Please read this manual thoroughly before installation and retain it for future reference. This tankless water heater is designed to provide instant, on-demand hot water for residential use, offering energy efficiency and a compact design.
2. Safety Information
Your safety and the safety of others are paramount. This appliance must be installed and serviced by a qualified electrician and plumber in accordance with all local, state, and national electrical and plumbing codes. Failure to follow these instructions could result in electric shock, fire, property damage, or personal injury.
- Electrical Requirements: This unit requires a dedicated 240V electrical supply and a 60-amp bipolar circuit breaker. Use 6 AWG wire for electrical connections.
- Water Connections: The unit uses 1/2" NPT water connections. Ensure all connections are watertight to prevent leaks.
- CSA Certified: This water heater is CSA-listed, indicating it meets recognized safety and performance standards.
- Built-in Safety Features: Includes leakage protection, overheating safeguards, damp-proofing, and drop resistance.
- Water-Electricity Isolation: The heating element is physically separated from the water lines to prevent short-circuit risks and reduce limescale buildup.

Figure 2.1: Installation Warning - Electrical and Plumbing Requirements
3. Product Overview
The LiberLive 11kW 240V Electric Tankless Water Heater provides efficient and continuous hot water. Its compact design saves space, and its advanced features ensure reliable performance.

Figure 3.1: LiberLive 11kW Electric Tankless Water Heater
Key Features:
- On-Demand Heating: Heats water only when needed, eliminating standby heat loss.
- High Thermal Efficiency: Achieves 99% thermal efficiency.
- Flow Rate: Delivers 1.0–2.6 gallons per minute (GPM), depending on inlet water temperature.
- Temperature Control: Adjustable from 86°F–131°F (30°C–55°C) in 1°F/°C increments.
- User Interface: Features an intuitive knob control and LED display.
- Compact Design: Dimensions of 7.9" x 2.8" x 11" for easy installation in various spaces.
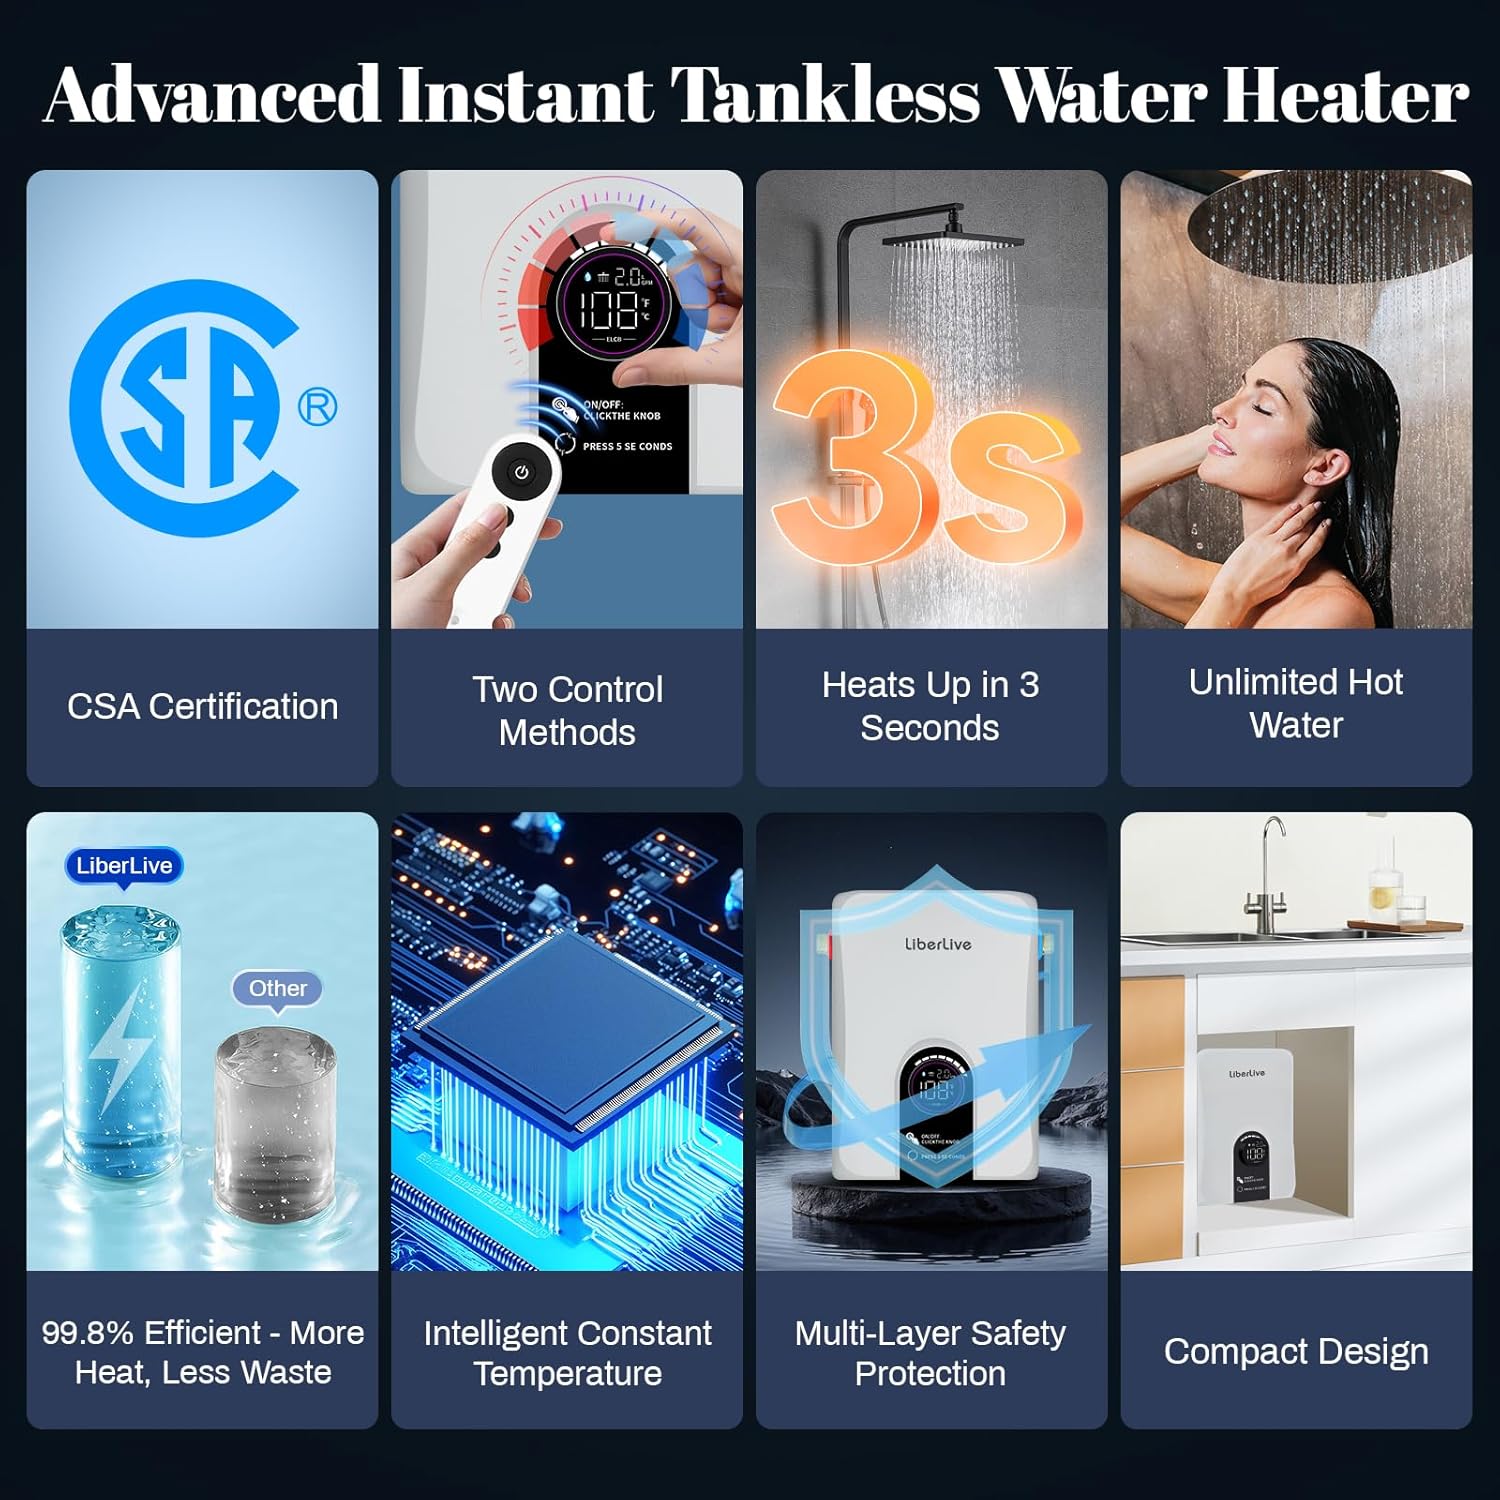
Figure 3.2: Advanced Features Overview
4. Installation
Proper installation is crucial for the safe and efficient operation of your tankless water heater. Consult a licensed professional for installation if you are not experienced with electrical and plumbing work.
4.1. Pre-Installation Checklist
- Verify electrical supply meets 240V and 60A bipolar circuit breaker requirements.
- Ensure adequate space for the compact unit (7.9"W x 2.8"D x 11"H).
- Confirm water connections are 1/2" NPT.
- Gather necessary tools: monkey wrench, electric drill, screwdrivers, marking pen, protective gloves, hammer.
4.2. Mounting the Unit
- Select a suitable wall location, ensuring it is structurally sound and protected from freezing temperatures.
- Use the provided mounting bracket as a template to mark drilling points on the wall.
- Drill pilot holes at the marked locations.
- Insert wall anchors (if necessary) and secure the mounting bracket with screws.
- Carefully hang the water heater unit onto the installed mounting bracket.
4.3. Water Connections
- Connect the cold water inlet pipe (blue) to the corresponding port on the water heater.
- Connect the hot water outlet pipe (red) to the corresponding port on the water heater.
- Tighten all water connections securely with a wrench to prevent leaks.
- Open the main water supply and check for any leaks before proceeding.
4.4. Electrical Connections
WARNING: Ensure power is OFF at the main circuit breaker before making any electrical connections.
- Connect the L1 (black copper wire) and L2 (red copper wire) from the water heater to the two-pole circuit breaker in your electrical panel.
- Connect the ground wire (yellow/green) to the ground bar in the electrical panel.
- Double-check all connections for tightness and proper wiring.
- Close the electrical panel cover and restore power.
Video 4.1: Installation Guide for LiberLive Electric Tankless Water Heater (11kW & 13kW models). This video demonstrates the unboxing, mounting, water pipe connections, and electrical wiring to the circuit breaker.
5. Operation
The LiberLive tankless water heater features a user-friendly interface for easy temperature adjustment and power management.
5.1. Initial Startup
- Ensure the unit is properly installed and water supply is open.
- Turn on the electrical power to the unit at the circuit breaker.
- The LED display will show the current status.
5.2. Temperature Adjustment
- Knob Control: Rotate the central knob to adjust the desired water temperature. The temperature range is 86°F–131°F (30°C–55°C).
- Remote Control: Use the provided remote control to set a constant temperature.
- The LED display will show the real-time water flow and set temperature.

Figure 5.1: All-in-One Control Knob and Temperature Range
5.3. Power Adjustment
- To adjust the water heater power, long-press the knob and then rotate it. This allows you to select different power levels (P1-P8 for 11kW model, P1-P8 for 13kW model).
- Refer to the table below for power and amperage details:
| Model | Power Level | Power (kW) | Amperage (Amp) |
|---|---|---|---|
| RE11K (11kW) | P8 | 11kW | 46Amp |
| P7 | 10kW | 41.5Amp | |
| P6 | 9kW | 37.5Amp | |
| P5 | 8kW | 33Amp | |
| P4 | 7kW | 29Amp | |
| P3 | 6kW | 25Amp | |
| P2 | 5kW | 21Amp | |
| P1 | 4kW | 16.5Amp |
5.4. Switching Temperature Units (°F/°C)
- When the unit is in the 'OF' (off) state, long-press the knob to switch between Fahrenheit (°F) and Celsius (°C) display.
6. Maintenance
Regular maintenance ensures the longevity and optimal performance of your tankless water heater.
- Descaling: Depending on your water hardness, periodic descaling may be required to remove mineral buildup. Consult a professional plumber for descaling procedures.
- Inspect Connections: Periodically check all water and electrical connections for any signs of leaks or loose wiring.
- Clean Exterior: Wipe the exterior of the unit with a soft, damp cloth. Do not use abrasive cleaners or solvents.
- Winterization: If the unit is installed in an area prone to freezing and will not be used for an extended period, drain the water from the unit to prevent freeze damage.
7. Troubleshooting
If you experience issues with your LiberLive tankless water heater, refer to the following common troubleshooting steps. For problems not listed here or if issues persist, contact customer support.
- No Hot Water: Check if the power supply is on and the circuit breaker has not tripped. Ensure water flow is sufficient to activate the heater. Verify the temperature setting is appropriate.
- Inconsistent Temperature: Ensure the water flow rate is within the recommended range. Extremely low or high flow can affect temperature stability. Check for any air in the water lines.
- Error Codes: If an error code appears on the LED display, consult the full user manual (included in the box) for specific code meanings and solutions.
- Low Water Pressure: This is typically not an issue with the water heater itself but rather with your home's plumbing or municipal water supply.
8. Specifications
| Feature | Specification |
|---|---|
| Brand | LiberLive |
| Model Number | RE11K |
| Wattage | 11 KW |
| Voltage | 240 Volts |
| Heat Output | 11 Kilowatts |
| Flow Rate | 2.6 Gallons Per Minute (Max) |
| Capacity | 2.6 Gallons (per minute) |
| Maximum Temperature | 131 Degrees Fahrenheit (55°C) |
| Minimum Temperature | 86 Degrees Fahrenheit (30°C) |
| Efficiency | High Efficiency (99%) |
| Product Dimensions | 7.9"W x 2.8"D x 11"H |
| Mount Type | Wall |
| Material Type | Plastic |
| Special Features | Dry Combustion Protection, LED Display, Overheat Protection, Leakage Protection, Damp-proofing, Drop Resistance |
| Included Components | User Manual x 1, Parts Kit x1, Water heater x 1, Installation Template x1, Remote Control x1 |
9. Warranty and Support
The LiberLive water heater comes with a comprehensive 1-year warranty that covers the entire unit from the date of purchase. This warranty covers defects in materials and workmanship under normal use and service.
For technical assistance, troubleshooting, or warranty claims, please contact our dedicated customer support team. Have your model number (RE11K) and purchase date ready when contacting support.
Customer Support: Refer to the contact information provided in your included User Manual or visit the official LiberLive website.