ZMDCAM A9
User Manual for ZMDCAM Mini Wireless Security Camera
Model: A9
1. Introduction
This user manual provides comprehensive instructions for the setup, operation, and maintenance of your ZMDCAM Mini Wireless Security Camera. Designed for versatile surveillance, this compact camera offers 1080P HD video, night vision, and convenient app control, making it ideal for home, office, baby, or pet monitoring.

Figure 1.1: ZMDCAM Mini Wireless Security Camera Overview
The image displays three compact, black, cylindrical cameras, each with a lens on top and a Micro SD card slot, ON/OFF switch, and MODE button on the side. Below them, a single camera is shown mounted on a small stand, and a hand holds a smartphone displaying a live feed from one of the cameras, showing children playing. This illustrates the camera's small size and its primary function for surveillance.
2. Package Contents
Please verify that all items are present in your package:
- 3 x ZMDCAM 1080P Mini Wireless Security Cameras
- 1 x User Manual
- Mounting Supports (quantity may vary based on pack size)
3. Product Features
The ZMDCAM Mini Wireless Security Camera is equipped with advanced features for reliable surveillance:
- 1080P HD Video & 150° Wide-Angle Lens: Captures clear, high-definition video with an expansive field of view, minimizing blind spots.
- Bluetooth Quick Setup: Enables fast and easy connection to your home Wi-Fi network in approximately one minute.
- Dual-Mode Continuous Recording: Supports up to 120 minutes of recording on its built-in battery or 24/7 loop recording when connected to a power source.
- 5M Infrared Night Vision: Six non-luminous infrared LEDs provide clear visibility up to 5 meters in low-light or dark conditions.
- Large Storage Support: Compatible with Micro SD cards up to 128GB (not included) for local video storage.
- APP Control: Manage and view live feeds or recorded footage directly from your smartphone, tablet, or computer.
- Multi-User Viewing: Allows multiple authorized users to view the camera feed simultaneously.
- Compact and Discreet Design: Small form factor allows for discreet placement in various indoor environments.

Figure 3.1: 1080P HD Quality
This image visually demonstrates the superior clarity of 1080P high-definition video compared to 720P, highlighting the sharp details captured by the camera's lens.

Figure 3.2: 1080P HD Resolution Benefits
This graphic emphasizes how 1080P resolution helps capture every detail with higher definition and more vivid colors, showing children playing with toys in a living room setting.

Figure 3.3: Night Vision Capability
The image illustrates the camera's night vision functionality by showing a split view of a bedroom: one side in normal lighting and the other in complete darkness, demonstrating the camera's ability to provide clear images even without ambient light.

Figure 3.4: Wide-Angle View and Applications
This graphic highlights the camera's 150-degree wide-angle view and its versatility for different applications, including security monitoring, baby surveillance, and general home use, depicted with relevant icons and scenes.
4. Setup Guide
4.1 Initial Charging
Before first use, fully charge the camera using the provided USB cable. Connect the USB cable to the camera's USB port and a standard USB power adapter (not included) or a computer USB port. The charge indicator light will provide status feedback.
4.2 Inserting a Micro SD Card
Locate the Micro SD card slot on the side of the camera. Gently insert a Micro SD card (up to 128GB, not included) until it clicks into place. Ensure the camera is powered off before inserting or removing the card.

Figure 4.1: Camera Component Diagram
This diagram provides a detailed view of the camera's various components, including the TF Card/Micro SD Card slot, USB Output, ON/OFF switch, MODE button, WiFi Indicator, Charge Indicator, and Lens, along with rotational capabilities of the mount.
4.3 Bluetooth Quick Setup (Recommended)
Follow these steps for a quick and easy setup via Bluetooth:
- Download the APP: Scan the QR code in the included user manual or search for the official ZMDCAM app in your device's app store.
- Enable Bluetooth: Turn on Bluetooth on your smartphone or tablet.
- Open the APP and Scan: Launch the ZMDCAM app and allow it to scan for nearby devices.
- Connect to Wi-Fi: Within the app settings, select your home Wi-Fi network and enter the password.
- Completion: The camera will connect to your Wi-Fi network, and you can begin live viewing.

Figure 4.2: Bluetooth Quick Setup Steps
This image visually outlines the three simple steps for connecting the camera via Bluetooth: downloading the app, enabling Bluetooth and scanning, and finally connecting to your home Wi-Fi network through the app settings.
4.4 Connection Methods
Your camera supports two primary connection methods:
- Network Connection: Connect the camera to your wireless router to view real-time video from anywhere with an internet connection.
- Direct Connection (Hotspot/Bluetooth): Connect directly to the camera via its Wi-Fi hotspot or Bluetooth when your smartphone is near the camera. This allows local viewing without an internet connection.

Figure 4.3: Two Ways of Connection
This graphic illustrates the two main ways to connect the camera: a network connection through a wireless router for remote viewing, and a direct connection via the camera's hotspot or Bluetooth for local viewing when the smartphone is nearby.
5. Operation
5.1 Powering On/Off
To power on the camera, slide the ON/OFF switch to the "ON" position. To power off, slide it to the "OFF" position.
5.2 Live Viewing
Once connected, open the ZMDCAM app on your smartphone or tablet to access the live video feed. You can monitor your desired area in real-time.
5.3 Recording
The camera supports continuous recording to a Micro SD card. When the card is full, older footage will be overwritten (loop recording). Note that this camera does not support audio recording.
5.4 Night Vision
The camera automatically activates its infrared night vision in low-light conditions, providing clear black-and-white video up to 5 meters.
5.5 Multi-User Access
The ZMDCAM app allows you to share camera access with multiple users. This feature is useful for families or small teams who need to monitor the same area. Refer to the app's settings for instructions on inviting and managing users.
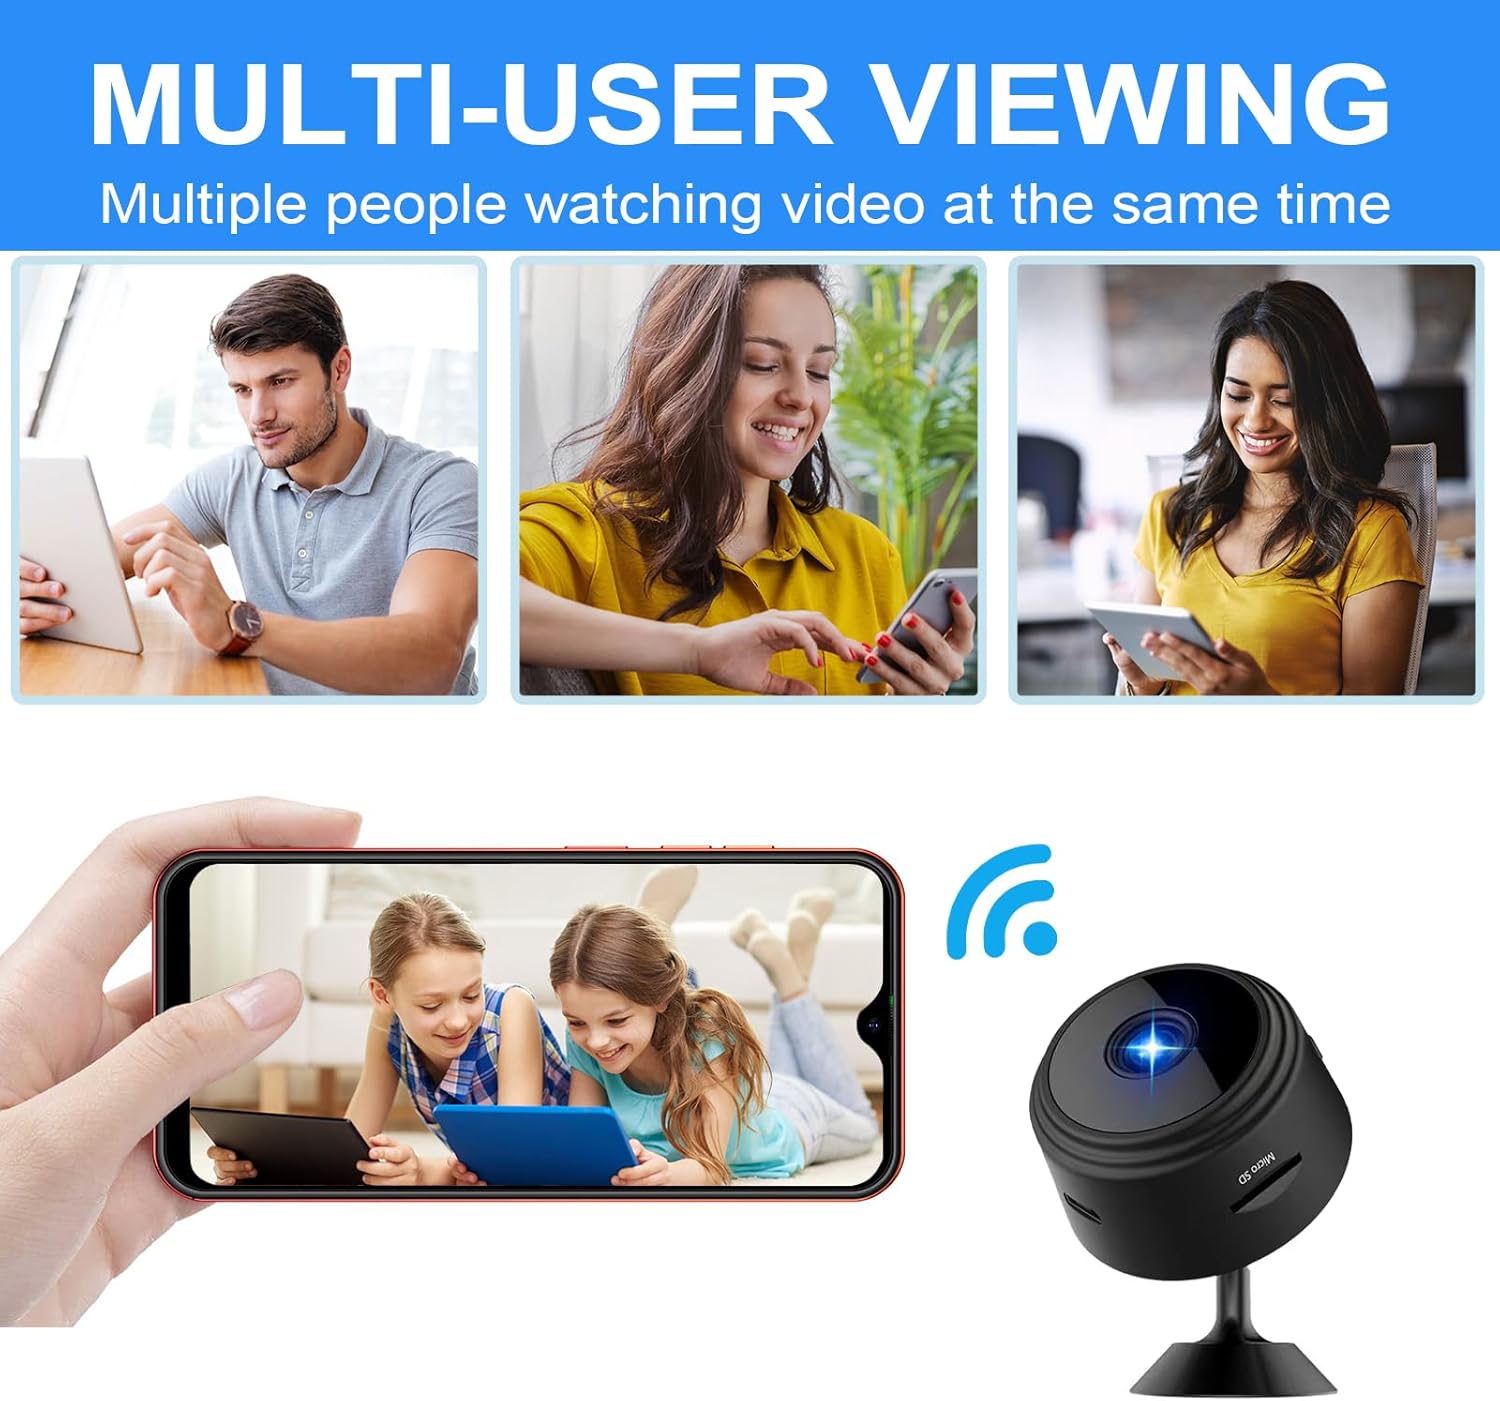
Figure 5.1: Multi-User Viewing
This image shows three different people simultaneously viewing the camera's video feed on their personal devices, illustrating the multi-user viewing capability of the system.

Figure 5.2: Family Multi-User Access
This graphic emphasizes the multi-user feature, showing how different family members (Father, Mother, Grandparents) can simultaneously access the camera feed, particularly useful for monitoring children.
6. Maintenance
6.1 Cleaning
To clean the camera, gently wipe the lens and body with a soft, dry cloth. Do not use liquid cleaners or abrasive materials, as they may damage the device.
6.2 Battery Care
For optimal battery life, avoid exposing the camera to extreme temperatures. If the camera will not be used for an extended period, charge it fully before storage and recharge every few months.
6.3 Storage
Store the camera in a cool, dry place away from direct sunlight and moisture when not in use.
7. Troubleshooting
If you encounter issues with your ZMDCAM Mini Wireless Security Camera, please refer to the following common problems and solutions:
| Problem | Possible Cause | Solution |
|---|---|---|
| Camera fails to connect to APP/Wi-Fi. | Incorrect Wi-Fi password, weak Wi-Fi signal, Bluetooth not enabled, camera too far from router/device. |
|
| Short battery life / Camera turns off unexpectedly. | Battery not fully charged, continuous recording without external power, aging battery. |
|
| Poor night vision quality. | Obstruction in front of the lens, excessive ambient light interfering with IR sensors. |
|
| Camera disconnects frequently. | Weak Wi-Fi signal, network interference, camera firmware issue. |
|
8. Specifications
Detailed technical specifications for the ZMDCAM Mini Wireless Security Camera:
| Feature | Detail |
|---|---|
| Brand | ZMDCAM |
| Model Name | A9 |
| Indoor/Outdoor Usage | Indoor |
| Compatible Devices | Smartphone |
| Power Source | Battery Powered (1 Lithium Ion battery included) |
| Connectivity Protocol | Bluetooth, Wi-Fi |
| Controller Type | APP Control |
| Mounting Type | Wall Mount |
| Video Capture Resolution | 1080p |
| Number of Items | 3 (in this pack) |
| Viewing Angle | 150 Degrees |
| Material | Acrylonitrile Butadiene Styrene (ABS) |
| Product Dimensions (L x W x H) | 1 x 1 x 0.7 inches (25.4 x 25.4 x 17.8 mm) |
| Item Weight | 4.6 ounces (130 grams) |
| Video Capture Format | MJPEG |
| Flash Memory Supported Size Maximum | 128 GB (Micro SD card) |
| Audio Visual Recording Capabilities | Video only (No audio recording) |
| Special Features | 1080P HD, 150° Wide Angle, Night Vision, Wireless Bluetooth Connection |

Figure 8.1: Product Size
This image provides a clear visual representation of the camera's dimensions, indicating its length, width, and height in millimeters, emphasizing its compact size.
9. Warranty and Support
Your ZMDCAM Mini Wireless Security Camera comes with a 30-day money-back guarantee and 3-year technical support.
For any setup assistance, troubleshooting, or technical inquiries, please contact ZMDCAM customer support. Refer to the packaging or the official ZMDCAM website for the most current contact information.
Related Documents - A9
 |
A9 Mini Camera User Manual: Setup, Indicator Status, and FAQ Comprehensive user manual for the A9 Mini Camera, covering basic settings, indicator light meanings, troubleshooting common connection issues, and frequently asked questions for setup and operation. |
 |
Manual de Instrucciones Cámara Mini Espía A9 Guía completa de instrucciones para la Cámara Mini Espía A9, cubriendo contenido del paquete, carga, encendido, conexión a aplicaciones (P2P y WiFi remoto), funciones principales, uso de tarjeta microSD, restablecimiento y solución de problemas comunes. |
 |
A9 Mini WiFi Camera User Manual and Quick Start Guide This document provides a comprehensive user manual and quick start guide for the A9 Mini WiFi camera, covering setup, installation, and operation. It details product functions, connectivity, and troubleshooting. |
 |
A9 Wireless Camera User Manual User manual for the A9 Wireless Camera, detailing setup, features, technical specifications, and safety precautions. Learn how to connect the camera to your smartphone and monitor your home. |
 |
Smart Camera A9: Installation and App Connection Guide Step-by-step instructions for downloading the FtyCam app, connecting your A9 Smart Camera, and troubleshooting network issues. Learn how to set up your wireless security camera. |
 |
FtyCamPro App Installation and Camera Setup Guide A comprehensive guide to installing and using the FtyCamPro application for senri security cameras, covering app setup, Wi-Fi configuration, recording settings, and troubleshooting. |