
KCEVE KC-201DP2X
KCEVE KVM Switch 2 Computer 1 Monitor Displayport 2.1 User Manual
Model: KC-201DP2X
Introduction
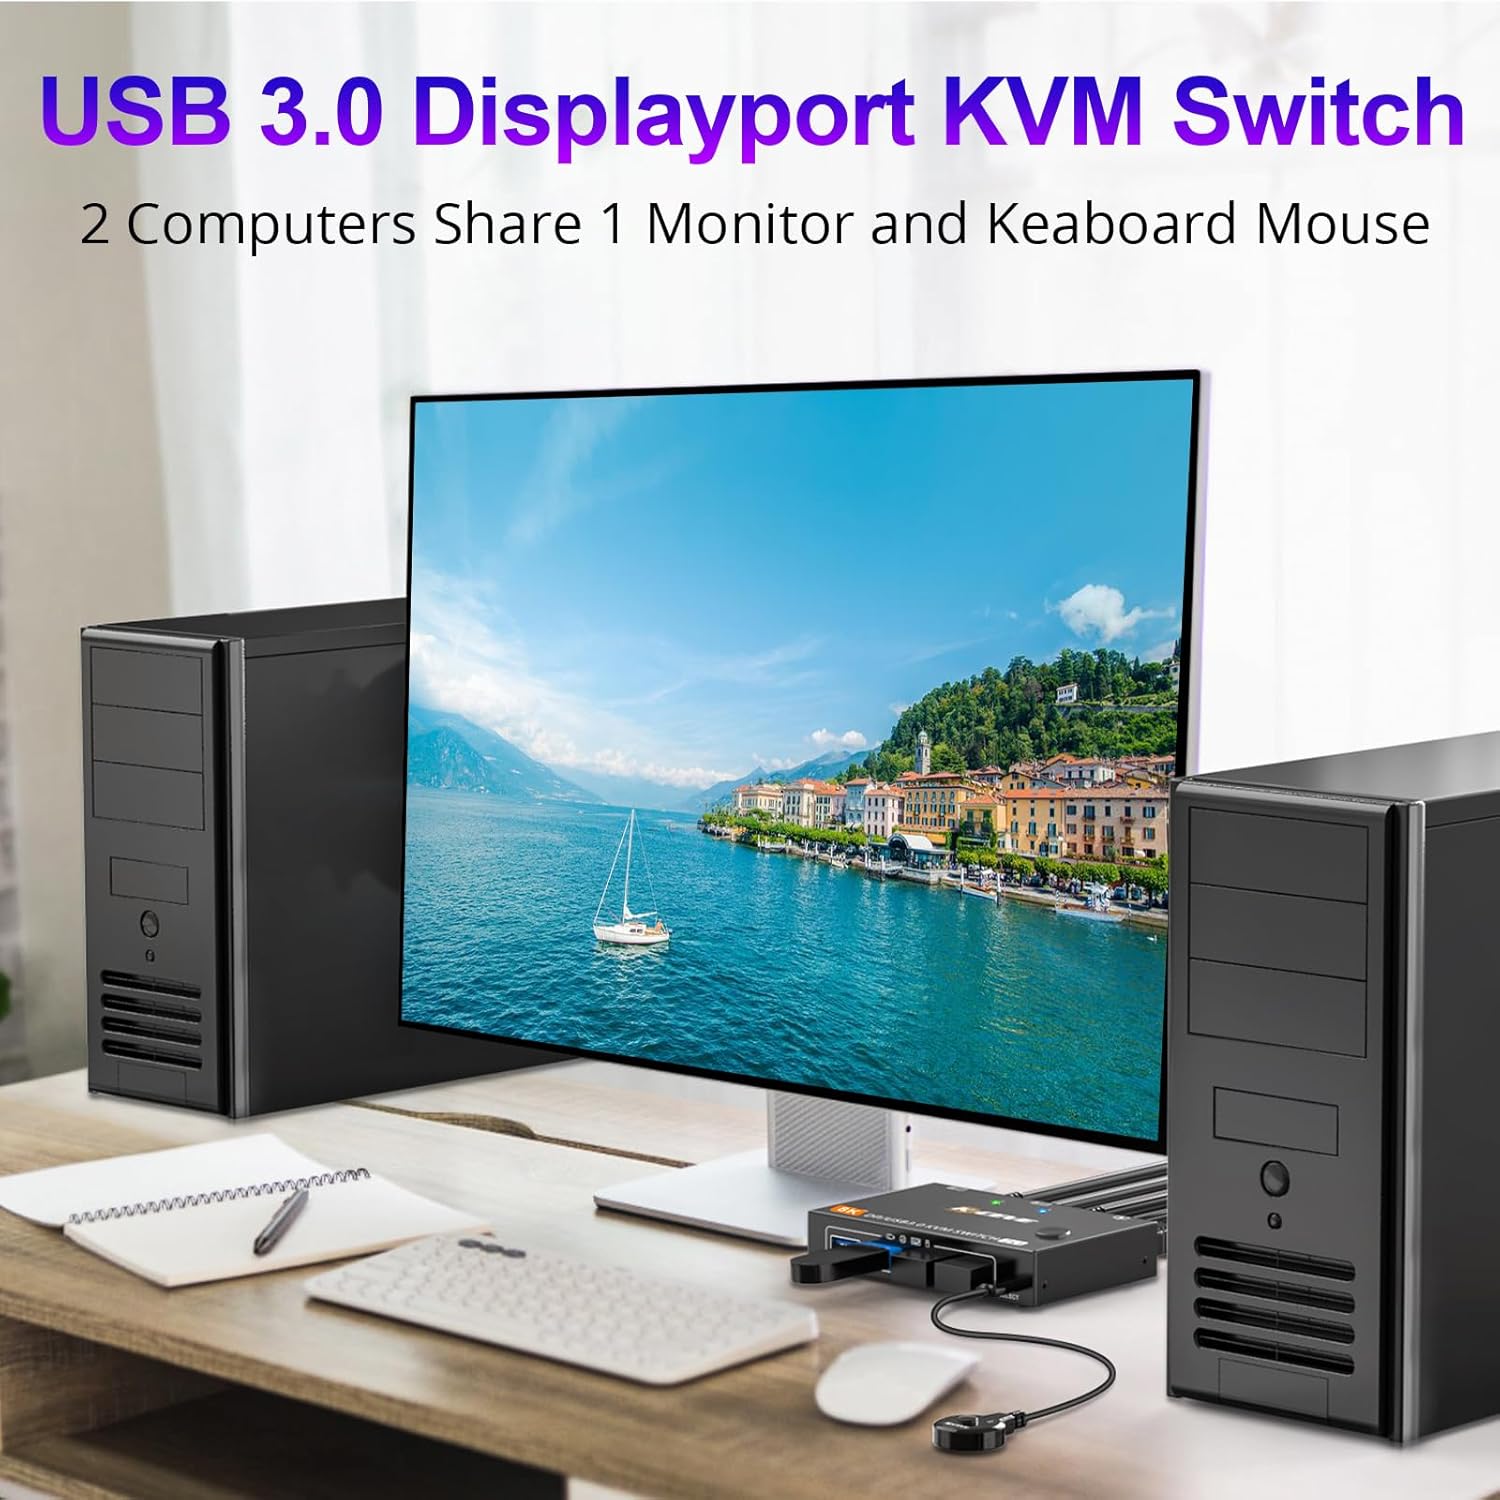
The KCEVE KVM Switch 2 Computer 1 Monitor Displayport 2.1 allows you to control two computers using a single set of keyboard, mouse, and monitor. This device is designed to streamline your workspace, offering high-resolution video output and fast data transfer speeds. It is ideal for users who need to switch between multiple systems efficiently, such as in office environments, multimedia teaching, or gaming setups.
Safety Information
- Ensure the device is placed on a stable, flat surface to prevent accidental falls.
- Do not expose the KVM switch to water, moisture, or extreme temperatures.
- Use only the provided DC 12V power supply. Using an incorrect power supply may damage the device.
- Avoid blocking ventilation openings to prevent overheating.
- Do not attempt to disassemble or repair the device yourself. Refer all servicing to qualified personnel.
- Disconnect the power supply before cleaning the device. Use a soft, dry cloth for cleaning.
Package Contents
Please verify that all items listed below are included in your package:
- 1 x KVM Switch Displayport
- 2 x USB 3.0 Cable
- 1 x DC 12V Power Supply
- 1 x Wired Remote Cable (1.5m)
- 1 x User Manual

Product Overview
The KCEVE KVM Switch features a robust metal shell for durability and efficient heat dissipation. It includes multiple ports for connecting your computers and peripherals.

Port Layout:
- Front Panel:
- Power Button: ON/OFF switch.
- USB 3.0 Ports (4x): For connecting keyboard, mouse, printer, U disk, and other USB 3.0 devices.
- Wired Remote Port: For connecting the included wired remote control.
- Select Button: Manual switch between PC1 and PC2.
- LED Indicators: Show which computer (PC1 or PC2) is currently active.
- Rear Panel:
- Monitor Output (DP): Connects to your display monitor.
- PC1 Input (DP + USB3.0): Connects to Computer 1's DisplayPort and USB 3.0 ports.
- PC2 Input (DP + USB3.0): Connects to Computer 2's DisplayPort and USB 3.0 ports.
- DC/12V Power Input: For connecting the external power supply.
Setup Instructions
Follow these steps to set up your KCEVE KVM Switch:
- Power Off Devices: Before making any connections, ensure both computers and your monitor are powered off.
- Connect Monitor: Connect your DisplayPort monitor to the "Monitor" output port on the KVM switch using a DisplayPort cable.
- Connect Computers:
- For PC1: Connect a DisplayPort cable from PC1's DisplayPort output to the "PC1 DP" input on the KVM switch. Then, connect one of the included USB 3.0 cables from PC1's USB 3.0 port to the "PC1 USB3.0" input on the KVM switch.
- For PC2: Repeat the process for PC2, connecting its DisplayPort output to "PC2 DP" and its USB 3.0 port to "PC2 USB3.0" on the KVM switch.
Note: Each PC requires one DisplayPort cable and one USB 3.0 cable connected to the KVM switch. If your computer lacks a DisplayPort output, a USB-C to DisplayPort adapter can be used. HDMI to DisplayPort adapters are not supported.
- Connect USB Devices: Plug your keyboard, mouse, printer, U disk, or other USB 3.0 devices into the four USB 3.0 ports on the front panel of the KVM switch.
- Connect Power: Connect the provided DC 12V power supply to the "DC/12V" input port on the KVM switch, then plug the power adapter into a wall outlet.
- Connect Wired Remote (Optional): If desired, plug the wired remote cable into the "Wired Remote" port on the front panel.
- Power On: Power on the KVM switch using its ON/OFF button, then power on your monitor and computers.

Operating Instructions
Switching Between Computers:
The KVM switch offers two convenient methods for switching between connected computers:
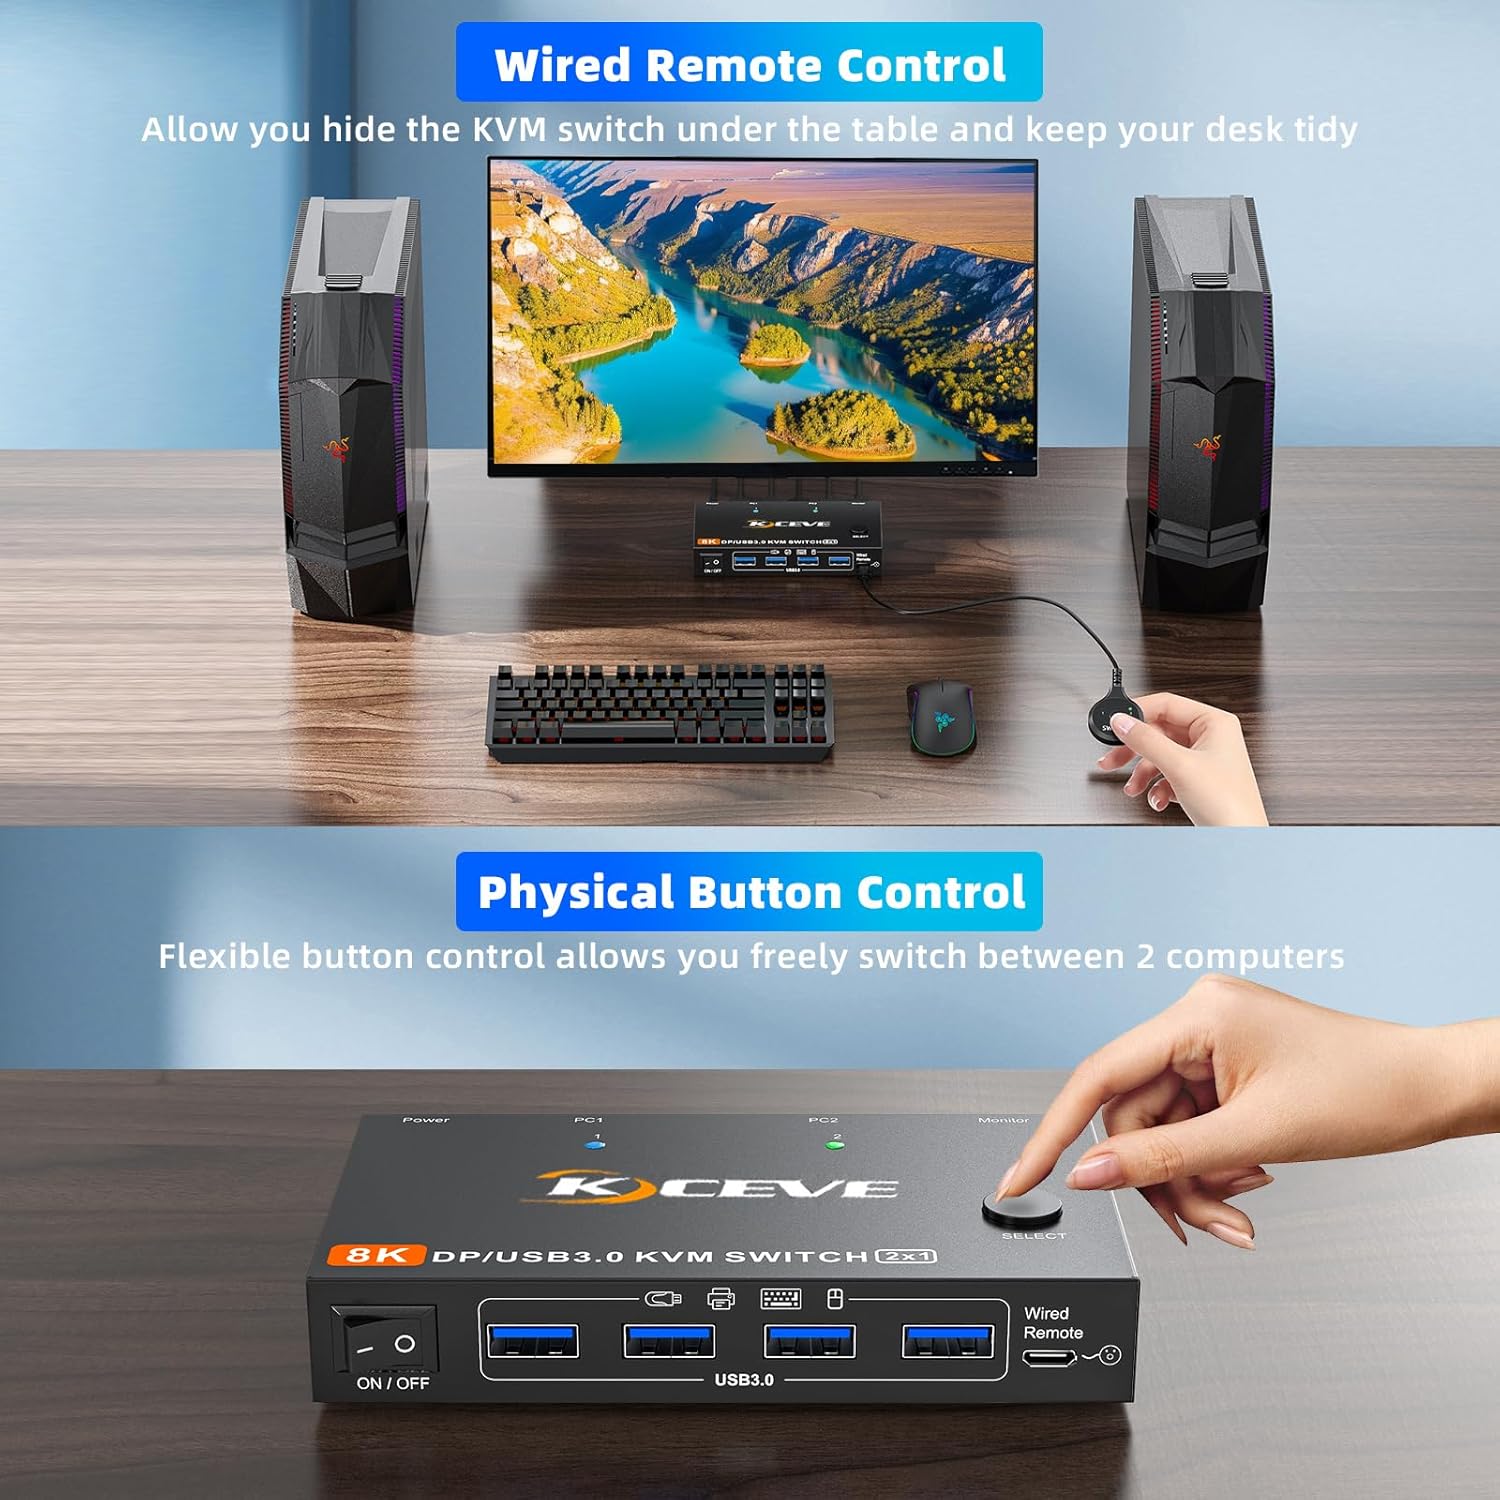
- Panel Button Switch: Press the "SELECT" button on the front panel of the KVM switch. Each press will toggle between PC1 and PC2. The LED indicators (PC1, PC2) will illuminate to show which computer is currently active.
- Wired Remote Controller: Use the included 1.5m wired remote to switch between computers. Simply press the button on the remote. This allows you to hide the KVM switch under your desk for a tidier workspace.
USB 3.0 Device Sharing:
The four integrated USB 3.0 ports allow you to share peripherals like keyboards, mice, printers, and scanners between the two connected computers. When you switch to a different computer, the USB devices connected to the KVM switch will automatically switch to that computer.


Compatibility
The KCEVE KVM Switch offers broad compatibility with various operating systems and devices:
- Operating Systems: Compatible with Windows 11 / 10 / 8 / XP / Vista, Chrome OS, Mac OS, and Linux systems.
- Input Devices: Supports DisplayPort input devices such as PCs, laptops, TV Boxes, Xbox One, Apple TV, PS5, HDTV, and other DisplayPort sources.
- Output Devices: Compatible with DisplayPort monitors, projectors, and HDTVs.
- USB Devices: Supports standard USB 3.0 devices including keyboards, mice, printers, scanners, and webcams. Note: Bluetooth mice are not supported directly through the KVM switch.
Resolution and Performance
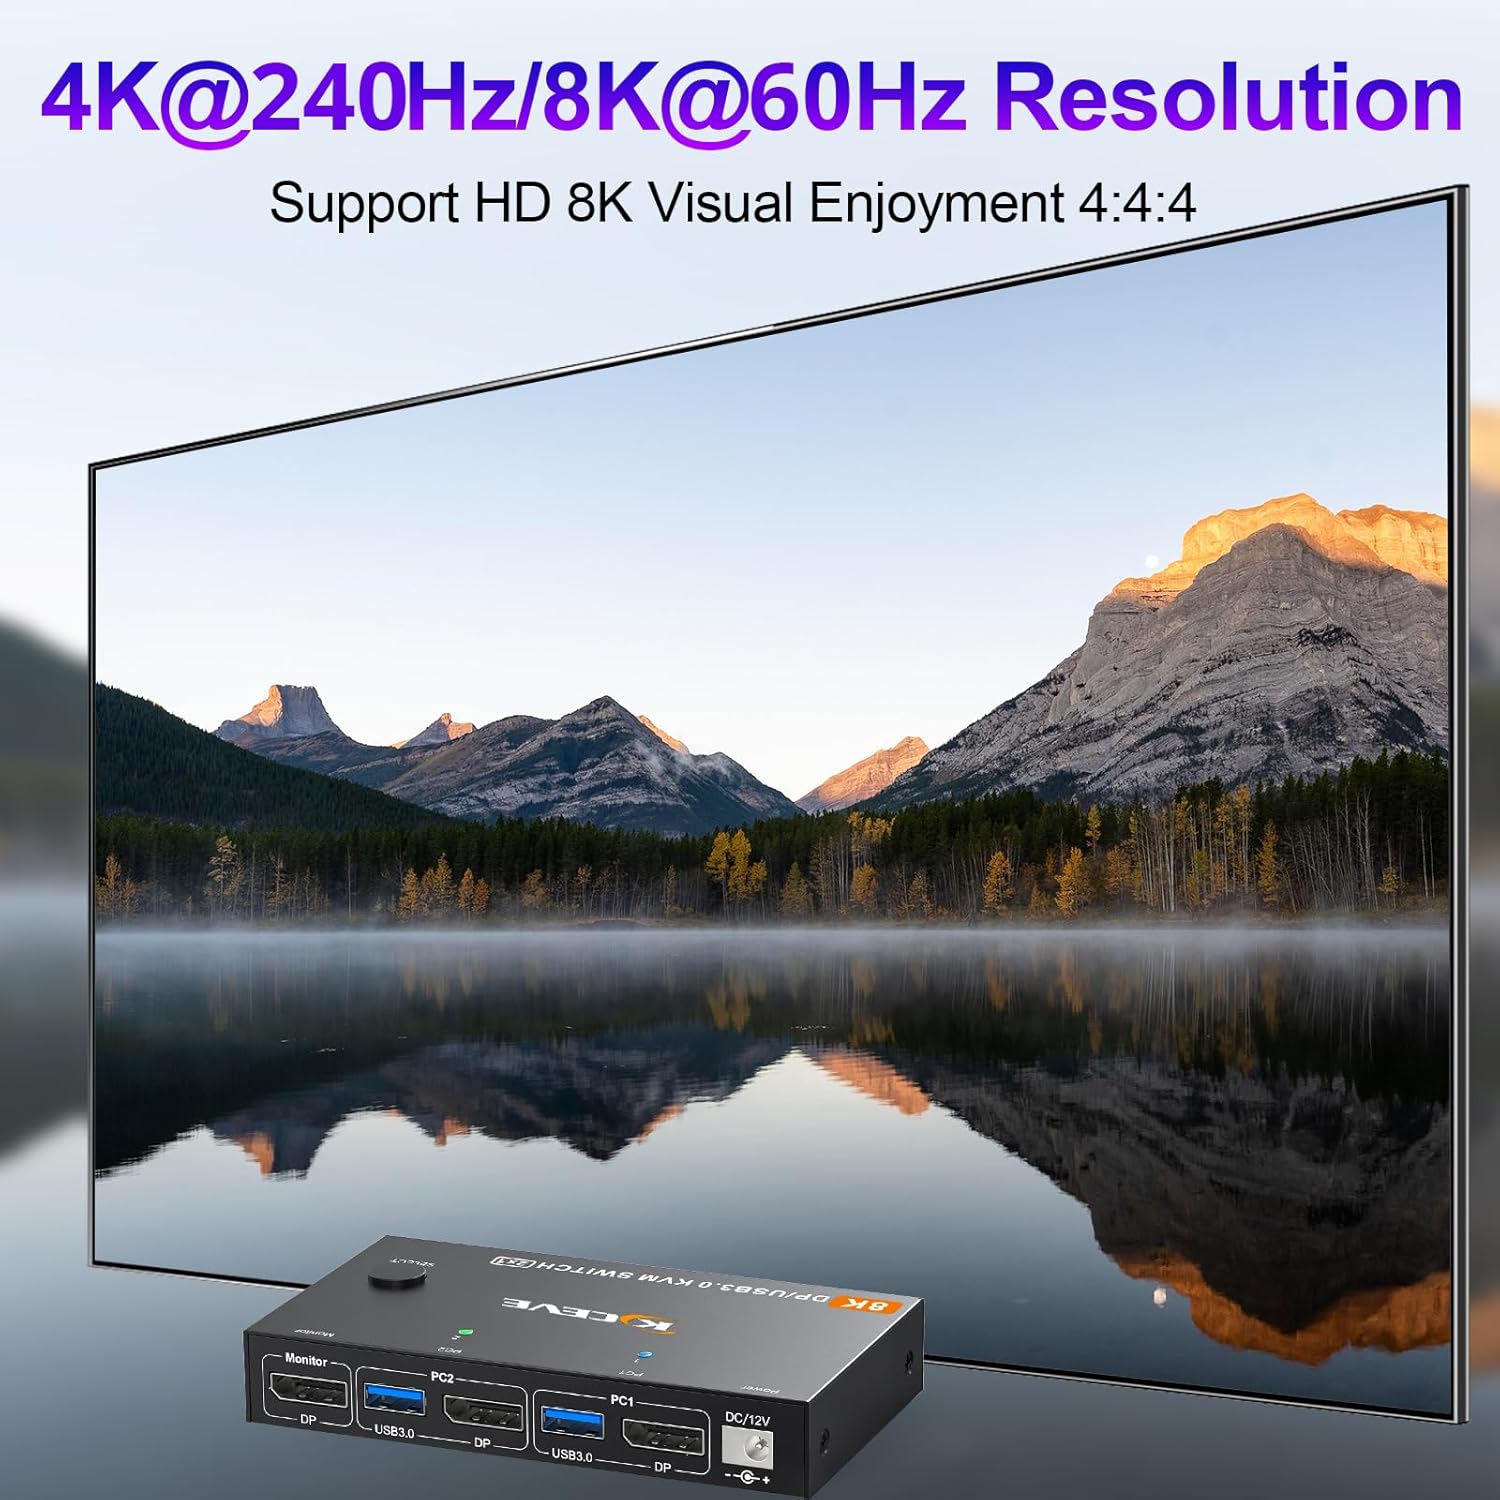
This KVM switch is compliant with DisplayPort 2.1 standards, providing exceptional visual and data transfer performance:
- Supported Resolutions:
- 8K@60Hz
- 4K@240Hz
- 4K@144Hz
- 4K@60Hz
- 2K@240Hz
- 1080P@240Hz
Note: To achieve 8K or 4K resolutions, ensure your computer, monitor, and all connecting cables (especially DisplayPort 2.1 cables) support these resolutions. Using high-quality DisplayPort 2.1 cables is crucial to prevent flickering or black screen issues at higher resolutions.
- Data Transfer Speed: USB 3.0 interface supports data transfer speeds of up to 5Gbps, ensuring fast and efficient operation for connected USB devices.
Troubleshooting
If you encounter issues while using the KVM switch, please refer to the following common solutions:
- No Display/Flickering Screen:
- Ensure all DisplayPort cables are securely connected to both the KVM switch and your computers/monitor.
- Verify that your DisplayPort cables are of high quality and support the desired resolution (e.g., DisplayPort 2.1 for 8K/4K@240Hz).
- Check if your graphics card and monitor settings support the selected resolution and refresh rate.
- Try reducing the resolution or refresh rate to see if the display stabilizes.
- Ensure the KVM switch is properly powered by the DC 12V adapter.
- Keyboard/Mouse Not Working:
- Ensure the USB 3.0 cables from your computers are securely connected to the KVM switch.
- Try connecting the keyboard and mouse to different USB ports on the KVM switch.
- Ensure the KVM switch is powered on and the correct PC is selected.
- Some specialized gaming keyboards/mice with advanced features may require direct connection to the computer or specific drivers. Try a standard keyboard/mouse to isolate the issue.
- Switching Delay:
- A brief delay (typically 2-3 seconds) during switching is normal as the KVM re-establishes video and USB connections.
- If the delay is excessive (e.g., 5-10 seconds), ensure all cables are firmly connected and the power supply is stable.
- No Power:
- Verify the DC 12V power adapter is correctly plugged into the KVM switch and a working power outlet.
- Ensure the ON/OFF switch on the KVM is in the "ON" position.
- Audio Distortion During Switching:
- This can occur if audio is actively playing during a switch. It is generally not a functional issue.
If problems persist, please contact KCEVE customer support for further assistance.
Specifications
| Feature | Detail |
|---|---|
| Model Number | KC-201DP2X |
| Brand | KCEVE |
| Product Dimensions | 4.7 x 2.5 x 0.8 inches (12 x 6.6 x 2 cm) |
| Weight | 6.72 ounces |
| Shell Material | Metal (Black oxidation treatment) |
| Video Standard | DisplayPort 2.1 |
| Supported Resolutions | 8K@60Hz, 4K@240Hz, 4K@144Hz, 4K@60Hz, 2K@240Hz, 1080P@240Hz |
| USB Standard | USB 3.0 |
| USB Data Transfer Speed | Up to 5Gbps |
| Power Supply | DC 12V (Included) |
| Switching Methods | Panel Button, Wired Remote (1.5m) |
| ESD Protection | Built-in ESD protection system |
| Plug and Play | Yes, no driver required |
Maintenance
To ensure the longevity and optimal performance of your KCEVE KVM Switch, follow these maintenance guidelines:
- Cleaning: Disconnect the power supply before cleaning. Use a soft, dry, lint-free cloth to wipe the exterior of the device. Do not use liquid cleaners, aerosols, or abrasive materials.
- Ventilation: Ensure that the KVM switch has adequate airflow around it. Do not place it in enclosed spaces or cover its ventilation openings, as this can lead to overheating.
- Cable Management: Keep cables organized and untangled to prevent damage to the ports or cables themselves. Avoid sharp bends or excessive tension on the cables.
- Storage: If storing the device for an extended period, disconnect all cables and store it in a cool, dry place away from direct sunlight and extreme temperatures.
Warranty and Support
KCEVE is committed to providing comprehensive after-sales support for its products. While specific warranty terms may vary, KCEVE has over ten years of experience in USB-KVM-Switches and offers dedicated customer service.
- Warranty: Please refer to the warranty card included with your product or visit the official KCEVE website for detailed warranty information.
- Technical Support: If you encounter any problems or have questions regarding the installation, operation, or troubleshooting of your KVM switch, please contact KCEVE customer support.
- Contact Information: For support, please reach out through the platform where you purchased the product or refer to the contact details provided in the packaging.
Ask a question about this manual
Ask about setup, troubleshooting, compatibility, parts, safety, or missing instructions. Manuals+ will review the question and use this page’s manual context to help answer it.