
SCULPFUN C1
SCULPFUN C1 Mini 3W Laser Engraving Machine User Manual
Model: C1
1. Introduction
The SCULPFUN C1 Mini Laser Engraving Machine is a compact and portable 3W laser engraver designed for high-precision engraving on various materials. Featuring an ultra-fine 0.04mm laser spot, it is ideal for detailed photo engravings and intricate designs. This machine is pre-assembled for immediate use, making it suitable for beginners and creative professionals alike. Its robust safety features and broad software compatibility ensure a reliable and versatile engraving experience.
2. Important Safety Instructions
- Laser Safety: Always wear the provided protective glasses when the laser is operating. Never look directly at the laser beam.
- Ventilation: Operate the machine in a well-ventilated area to dissipate smoke and fumes produced during engraving.
- Fire Hazard: Do not leave the machine unattended during operation, especially when engraving flammable materials. Keep a fire extinguisher nearby.
- Children and Pets: Keep children and pets away from the engraving machine during operation.
- Emergency Stop: Familiarize yourself with the power switch location for quick shutdown in emergencies.
- Magnetic Protective Cover: Ensure the magnetic protective cover is correctly installed to filter harmful wavelengths (100–500 nm).
- Limit Switches: The machine is equipped with X and Y axis limit switches for precise positioning and safe operation.
3. Package Contents
Verify that all items are present in the package:
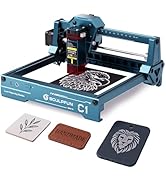
Image: Contents of the SCULPFUN C1 Mini Laser Engraver package.
- C1 Body
- Laser Head
- Metal Protective Plate
- Acrylic Focusing Sheet
- User Manual
- Power Adapter
- Repair Tools
- Data Cable
- Protective Glasses
- Metal Business Card (sample)
- Kraft Paper (sample)
- Plywood (sample)
- Cleaning Cloth
4. Product Overview
The SCULPFUN C1 features a compact design with clearly labeled ports and safety mechanisms.

Image: SCULPFUN C1 Mini Laser Engraver with key components and dimensions labeled.
Key Components:
- Laser Head: The core component for engraving, featuring a 3W single-beam laser.
- X and Y Axis: Movement system for precise laser positioning.
- Limit Switches: Located on X and Y axes for automatic reset and safety.
- Magnetic Protective Cover: Red, removable cover over the laser head to filter harmful light and aid in smoke evacuation.
- Power Port: Connects the power adapter.
- Data Port: Connects to your computer for software control.
- Power Switch: Turns the device on/off.
- Indicator Light: Shows the device's operational status.
5. Setup Guide
The SCULPFUN C1 Mini is designed for quick and easy setup, being largely pre-assembled.
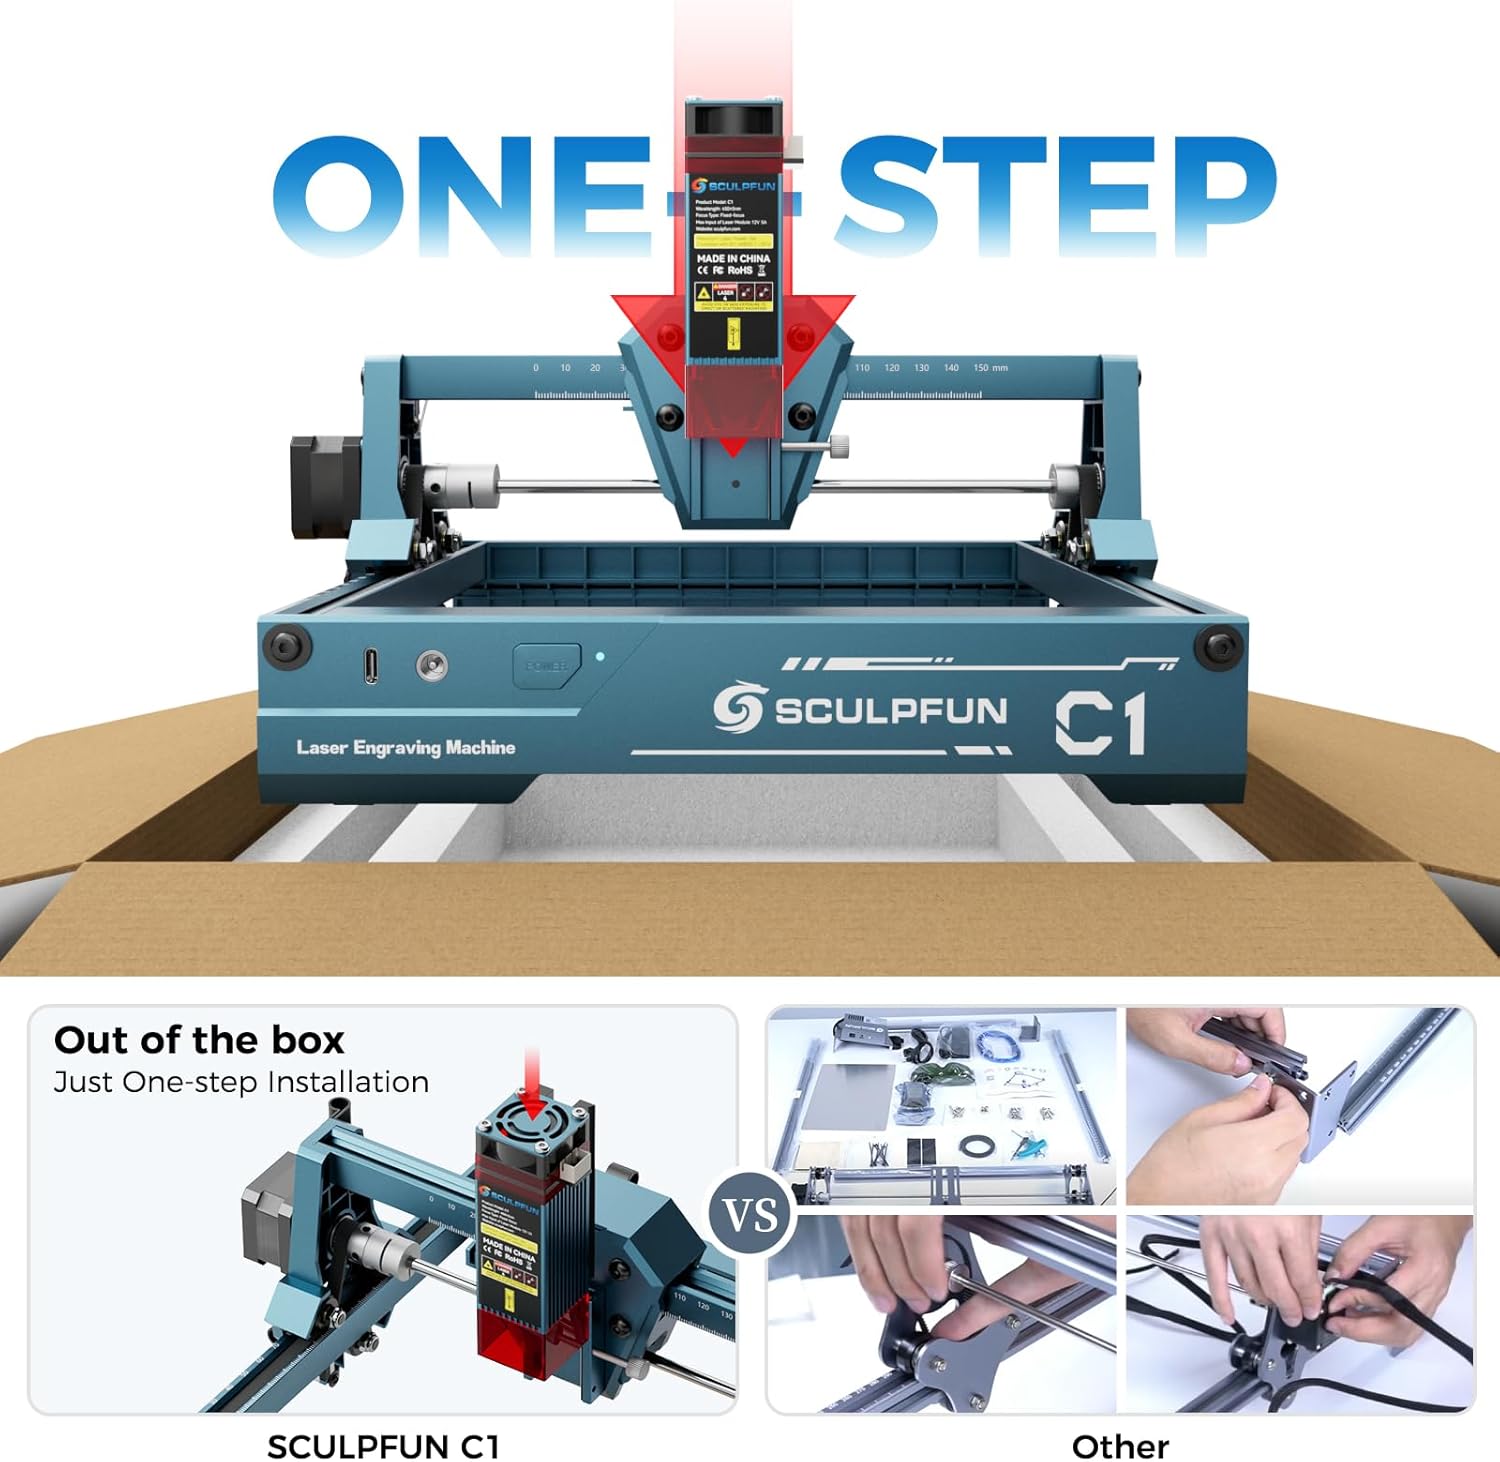
Image: The SCULPFUN C1 Mini is ready to use out of the box with minimal assembly.
- Unpack: Carefully remove the SCULPFUN C1 Mini from its packaging.
- Placement: Place the machine on a stable, level surface in a well-ventilated area.
- Connect Power: Plug the power adapter into the Power Port on the machine, then into a suitable power outlet.
- Connect Data: Connect the data cable from the Data Port on the machine to your computer.
- Install Software: Install the recommended engraving software (LightBurn or LaserGRBL) on your computer. Refer to the software's documentation for installation instructions.
- Wear Protective Glasses: Always put on your protective glasses before turning on the machine.
6. Operating Instructions
6.1 Software Compatibility
The SCULPFUN C1 Mini is compatible with popular laser engraving software:
- LightBurn: Professional laser control software (additional purchase may be required).
- LaserGRBL: Free and open-source software with an easy-to-use interface.
Both software options are compatible with Windows and macOS operating systems. Supported image formats include JPG, PNG, BMP, GIF, SVG, and AI.

Image: Software compatibility and supported file formats for the SCULPFUN C1 Mini.
6.2 Engraving Process
- Prepare Material: Place your material (e.g., wood, acrylic, paper) within the engraving area (150 x 130 mm). Ensure it is flat and secured.
- Focus the Laser: Use the acrylic focusing sheet to set the correct focal length for optimal engraving quality.
- Load Design: Open your chosen software (LightBurn or LaserGRBL) and load your desired image or design.
- Adjust Settings: Configure engraving parameters such as speed, power, and line interval (recommended 0.04–0.06 mm for ultra-fine details).
- Start Engraving: Initiate the engraving process from the software. Monitor the machine closely.

Image: Demonstrating the 0.04mm ultra-fine laser spot for high-precision engraving.
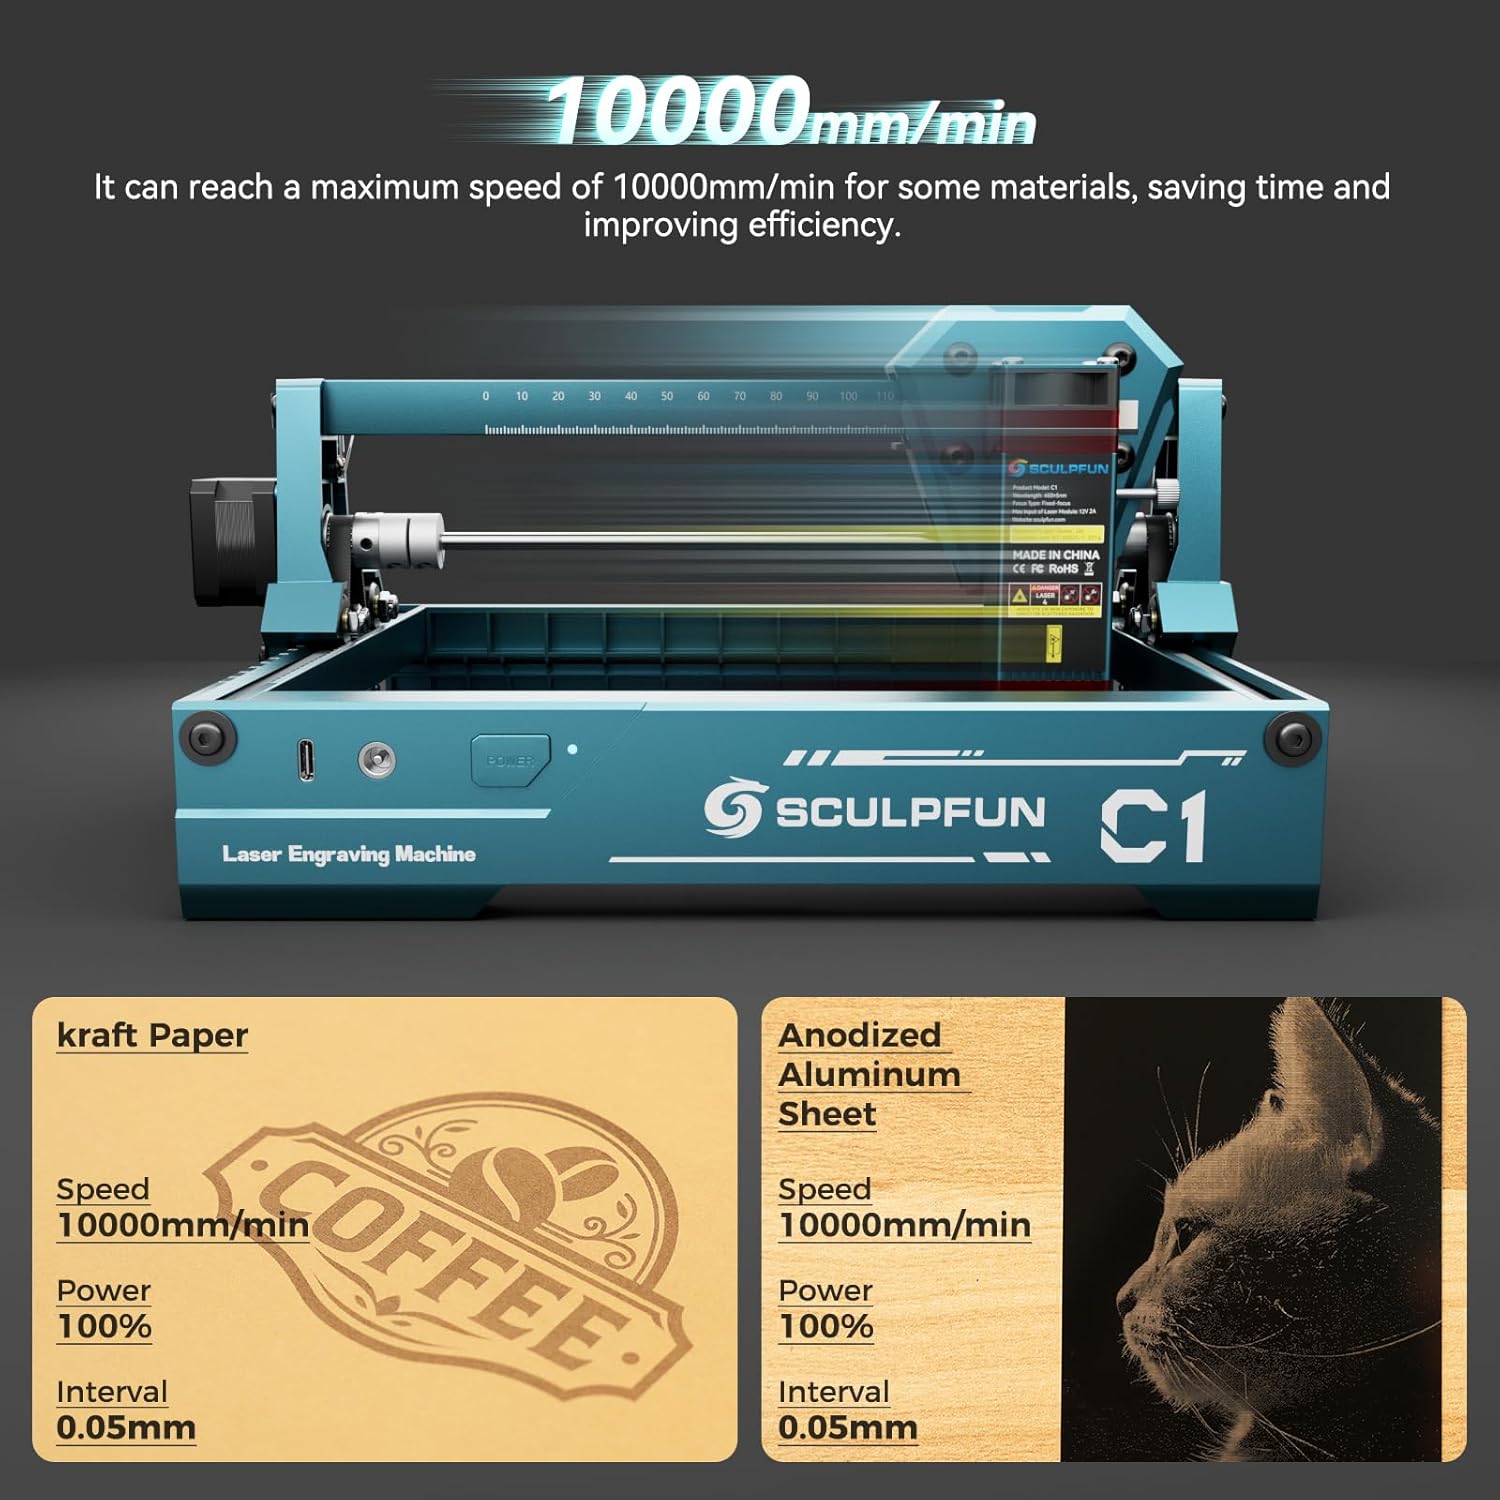
Image: High-speed engraving capabilities of the SCULPFUN C1 Mini.
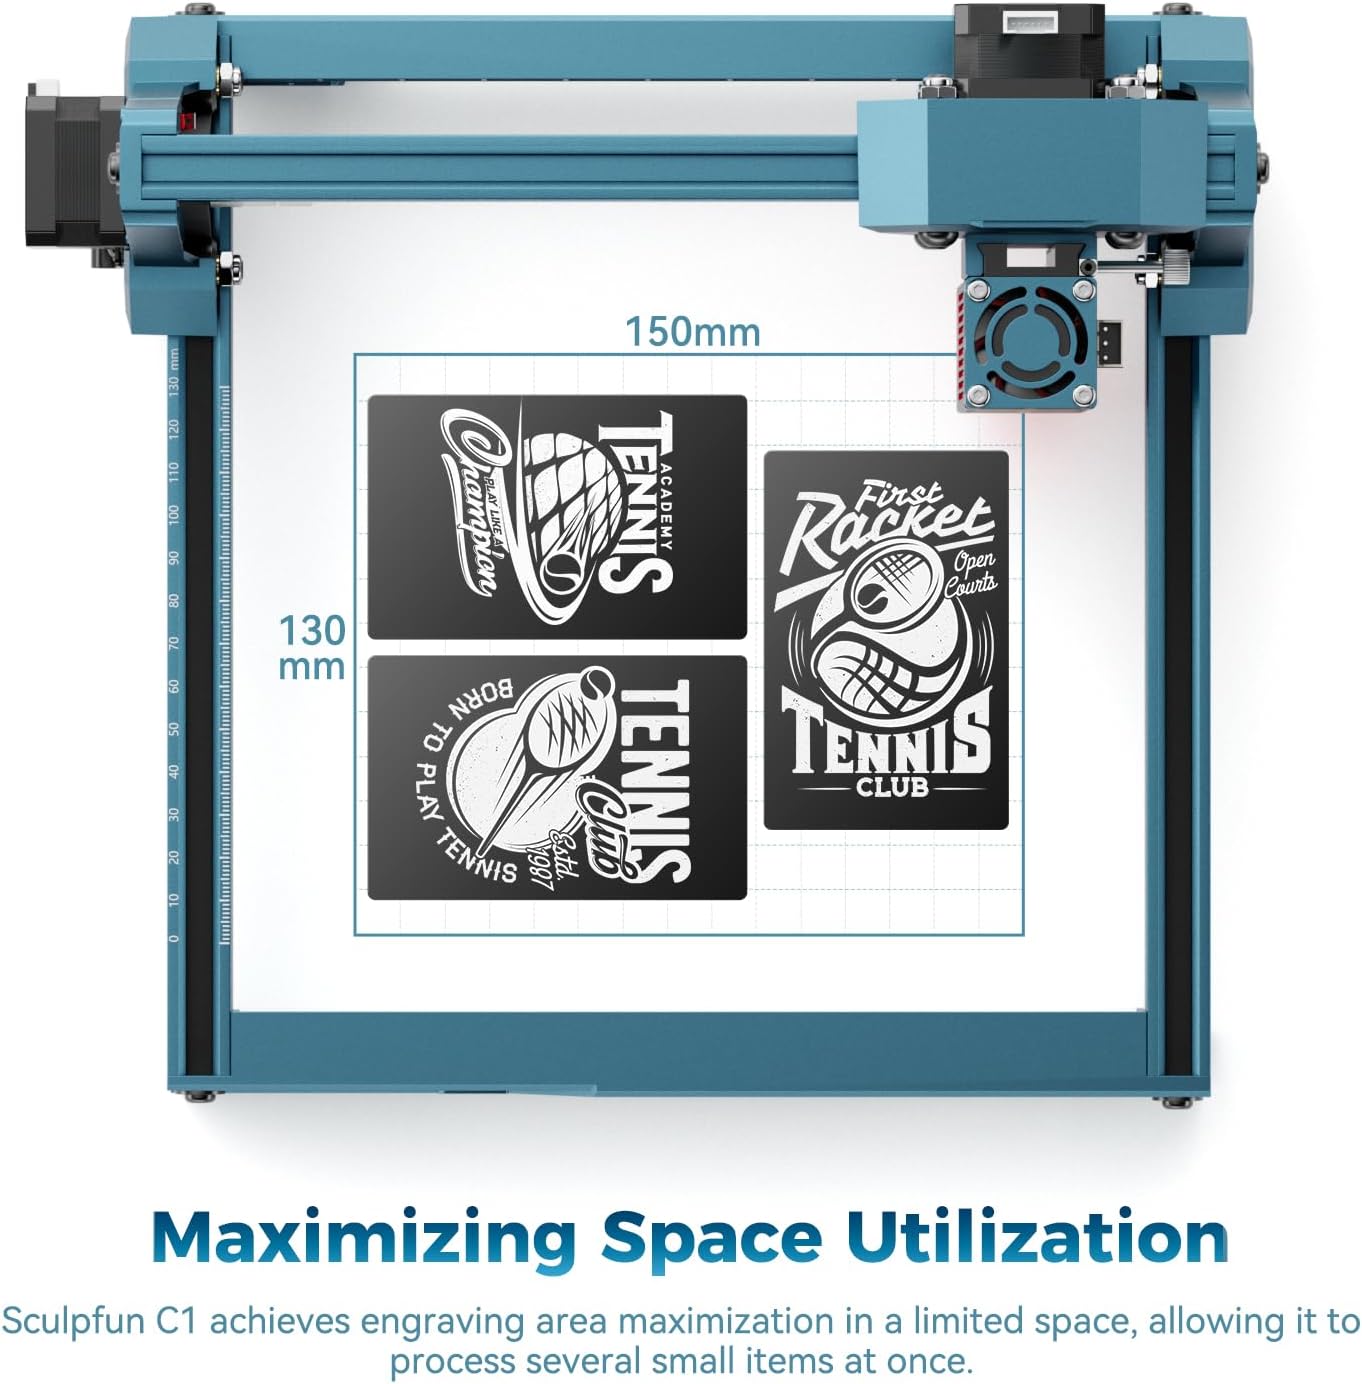
Image: Optimized engraving area of 150 x 130 mm.
7. Maintenance
- Clean Laser Lens: Regularly clean the laser lens using the provided cleaning cloth to ensure optimal performance and prevent smoke residue buildup. The smoke exhaust outlet helps keep the lens clean during operation.
- Check Connections: Periodically inspect all cable connections for security.
- Keep Area Clean: Maintain a clean working environment around the machine to prevent dust and debris from affecting its operation.

Image: Magnetic protective cover and smoke exhaust system for lens maintenance.
8. Troubleshooting
| Problem | Possible Cause | Solution |
|---|---|---|
| Laser not firing | Power cable loose, software not connected, laser head not properly seated. | Check power and data connections. Ensure software is connected and laser head is securely in place. |
| Poor engraving quality | Incorrect focal length, dirty lens, incorrect power/speed settings, material not flat. | Adjust focal length. Clean the laser lens. Optimize power and speed settings for the material. Ensure material is flat. |
| Machine not moving | Data cable loose, software error, limit switch engaged. | Verify data cable connection. Restart software and machine. Check if any limit switches are triggered. |
| Unusual noise during operation | Loose components, debris in moving parts. | Inspect for loose screws or foreign objects. Ensure smooth movement of axes. |
9. Specifications
| Feature | Detail |
|---|---|
| Model | C1 (CARC1) |
| Laser Power | 3W (single-beam) |
| Engraving Precision | 0.04 mm ultra-fine spot |
| Recommended Line Interval | 0.04–0.06 mm |
| Engraving Area | 150 x 130 mm |
| Max Engraving Speed | 10000 mm/min |
| Product Dimensions (Approx.) | 290 mm (W) x 250 mm (D) x 140 mm (H) |
| Weight | 1.05 kg |
| Power Source | AC |
| Software Compatibility | LightBurn, LaserGRBL |
| OS Compatibility | Windows, macOS |
| Supported Image Formats | JPG, PNG, BMP, GIF, SVG, AI |
10. Warranty and Support
For warranty information, technical support, or service inquiries, please refer to the official SCULPFUN website or contact your retailer. Keep your purchase receipt as proof of purchase for warranty claims.
Related documentsC1


Ask a question about this manual
Ask about setup, troubleshooting, compatibility, parts, safety, or missing instructions. Manuals+ will review the question and use this page’s manual context to help answer it.