1. Product Overview
The ZUMIMALL X6K Solar Security Camera is designed for comprehensive home security, offering 2K clear HD images and advanced features for both indoor and outdoor monitoring. It operates wirelessly via 2.4GHz WiFi and is powered by a rechargeable battery with a solar panel for continuous operation.
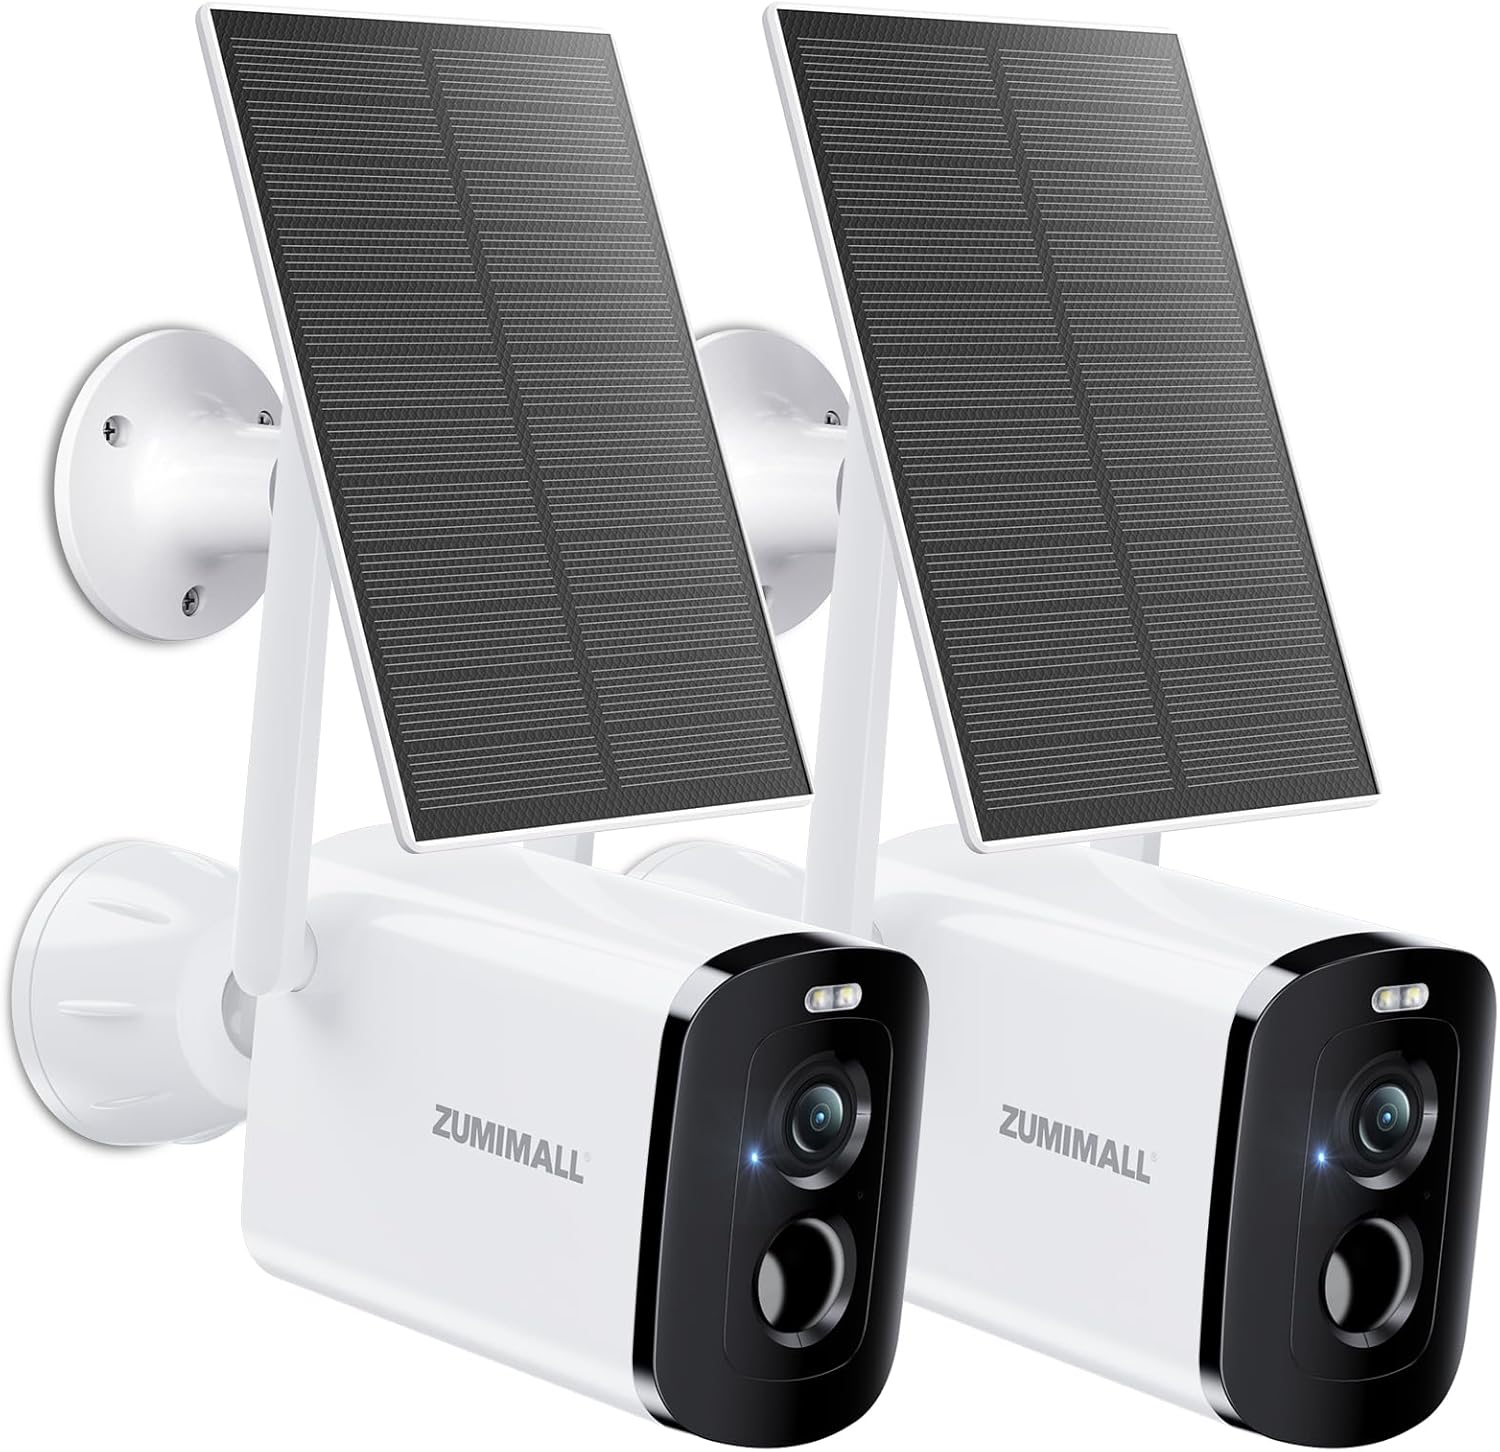
Image: Two ZUMIMALL X6K Solar Security Cameras.
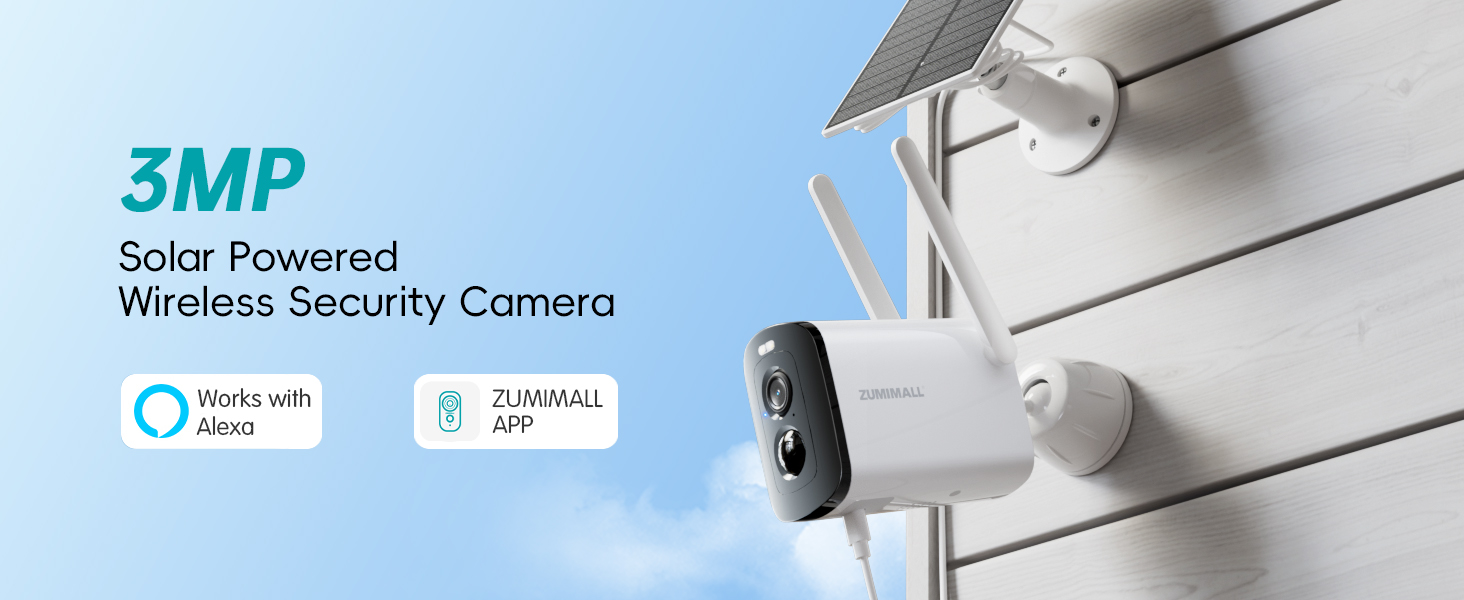
Image: Overview of the 3MP Solar Powered Wireless Security Camera.
2. What's in the Box
Verify that all components are present in your package:
- Security Camera (x2)
- Camera Bracket (x2)
- Solar Panel (x2)
- Solar Panel Bracket (x2)
- Data Cable (x2)
- Screw Package (x4)
- Tip Sticker (x2)
- Instruction Manual (x2)

Image: All components included in the ZUMIMALL X6K package.
3. Specifications
| Feature | Detail |
|---|---|
| Model Name | X6K |
| Indoor/Outdoor Usage | Outdoor, Indoor |
| Power Source | Solar Powered |
| Connectivity Protocol | Bluetooth, Wi-Fi (2.4GHz only) |
| Controller Type | ZUMIMALL APP, CloudEdge, Google Assistant, Amazon Alexa |
| Mounting Type | Wall Mount |
| Video Capture Resolution | 1440p (2K) |
| Color | White |
| Number of Items | 2 |
| Wireless Communication Technology | Bluetooth, Wi-Fi |
| Form Factor | Bullet |
| Water Resistance Level | Waterproof (IP66) |
| Item Dimensions L x W x H | 4.64 x 1.62 x 6.22 inches |
| Flash Memory Supported Size Maximum | 128 GB (SD Card) |
| Special Feature | HD Resolution, Night Vision, 2-Way Audio, Built-In Light, Motion Sensor |
4. Setup Guide
4.1. Physical Installation
Follow these steps to physically install your ZUMIMALL X6K camera and solar panel:
- Disassemble the camera mounting bracket: Separate the base from the adjustable part.
- Mark drill hole positions: Use the bracket base as a template to mark the drill holes on your desired installation surface.
- Drill holes: Use a power drill to create holes at the marked locations.
- Insert bolts: Gently tap the provided bolts into the drilled holes.
- Secure the bracket base: Attach the bracket base to the wall using the screws.
- Assemble the bracket loosely: Reattach the adjustable part of the bracket to the base, but do not fully tighten it yet. This allows for angle adjustment.
- Mount the camera: Secure the camera onto the bracket. Adjust the camera angle as needed, then tighten all fasteners to secure its position.
- Install Solar Panel: Mark and drill holes for the solar panel mounting bracket. Secure the solar panel bracket base with screws. Attach the solar panel to its bracket.
- Connect Solar Panel to Camera: Feed the Type-C connector from the solar panel through the silicone grommet on the camera. Insert the Type-C connector into the camera's charging port.
Video: Step-by-step guide on how to install the ZUMIMALL Solar Camera.

Image: Installation advice for camera and solar panel placement.
4.2. App Download and Connection
To connect your camera to the ZUMIMALL App:
- Download the ZUMIMALL App: Search for "ZUMIMALL" on the App Store (iOS) or Google Play (Android) and download the application.
- Power On Camera: Open the rubber stopper on the camera and press and hold the power button. Wait for the red light to flash slowly after hearing the camera beep. Ensure the camera indicator is blinking red.
- Add Device: Open the ZUMIMALL App, click 'Add' to start the device pairing process.
- Select Camera Model: Choose 'DG4' (or X6K, as the model name may have been updated) from the list of devices.
- Network Tips: Watch the networking tips in the app and click 'Next'.
- Connect to 2.4G WiFi: Enter your 2.4GHz WiFi network password. Note: 5G WiFi is not supported.
- Scan QR Code: The app will display a QR code. Position the camera to scan this QR code from your mobile phone App.
- Confirmation: You will hear a 'beep' from the camera, indicating a successful scan. The camera will then attempt to connect.
- Completion: Once connected, you can start using the camera. The app may provide installation suggestions.
Video: Detailed instructions on how to connect the ZUMIMALL Wireless Camera to the app.
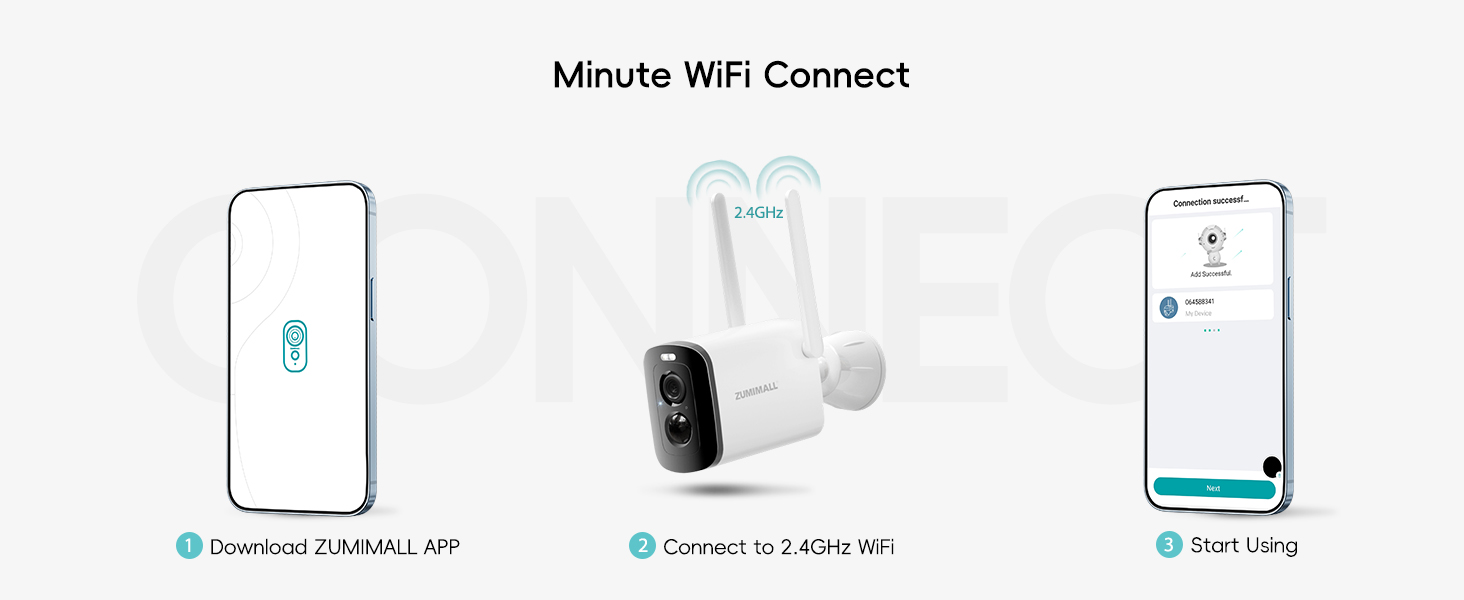
Image: Quick guide to WiFi connection.
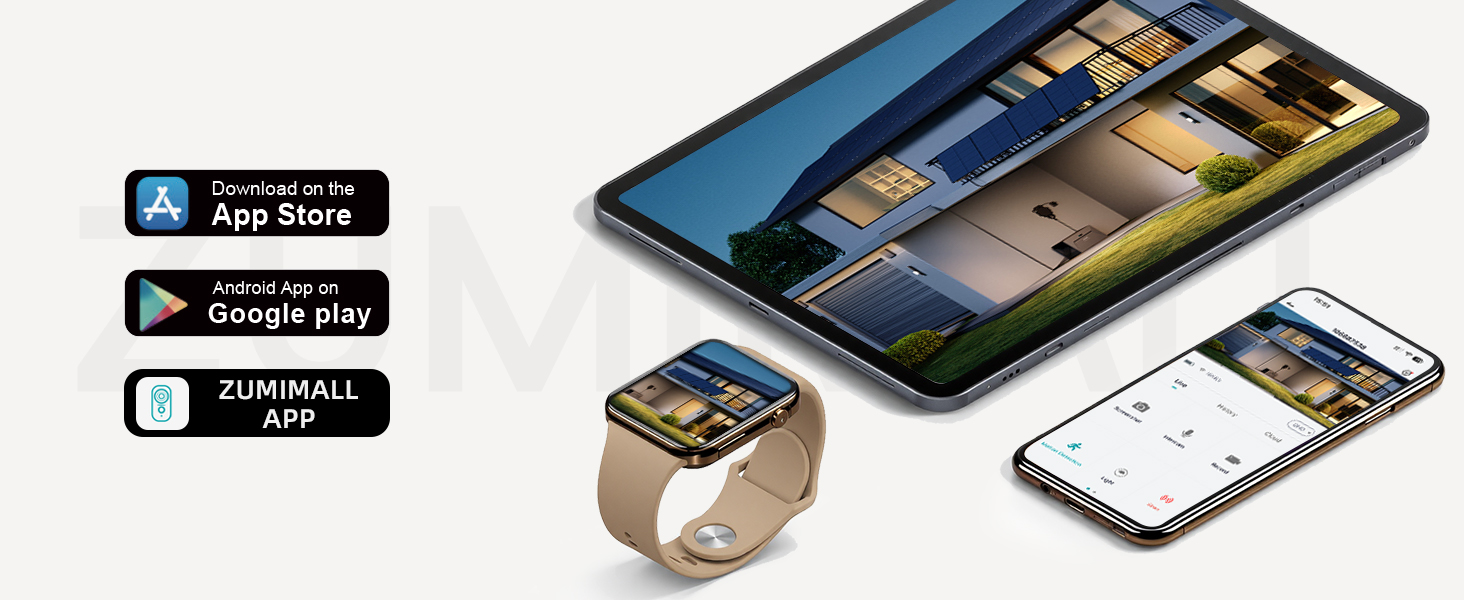
Image: ZUMIMALL App availability and interface.
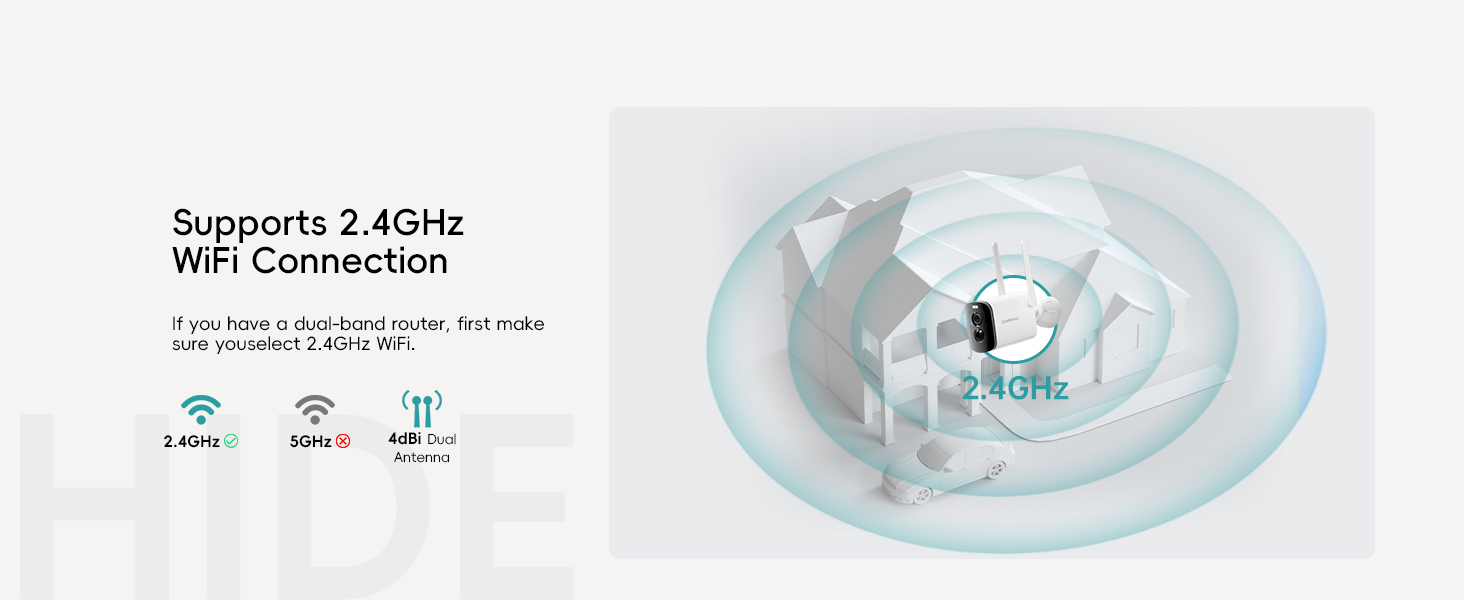
Image: 2.4GHz WiFi connection support.
5. Operating Instructions
5.1. 2K Color Night Vision
The camera captures 2K clear HD images, providing superior video quality. With enhanced infrared LEDs, it delivers long-range night vision with sharper contrast and lifelike colors even in total darkness.

Image: 2K Color Night Vision capabilities.
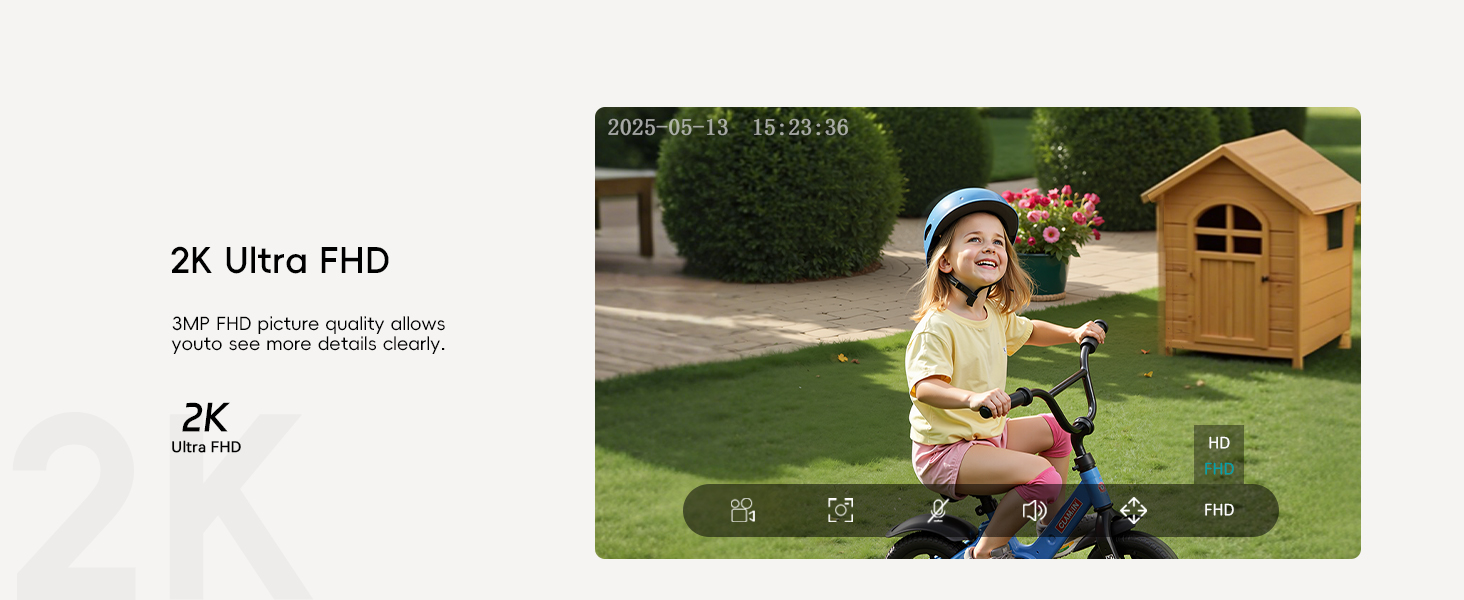
Image: 2K Ultra FHD image quality.
5.2. AI Detection & Instant Alerts
The camera features an advanced PIR motion sensor and supports AI analysis for comprehensive home protection. When motion is detected, the spotlight and siren activate automatically, and you receive instant app notifications. You can set custom alert zones and detection sensitivity for focused monitoring.

Image: Three selectable alarm modes.

Image: AI Detection capabilities.
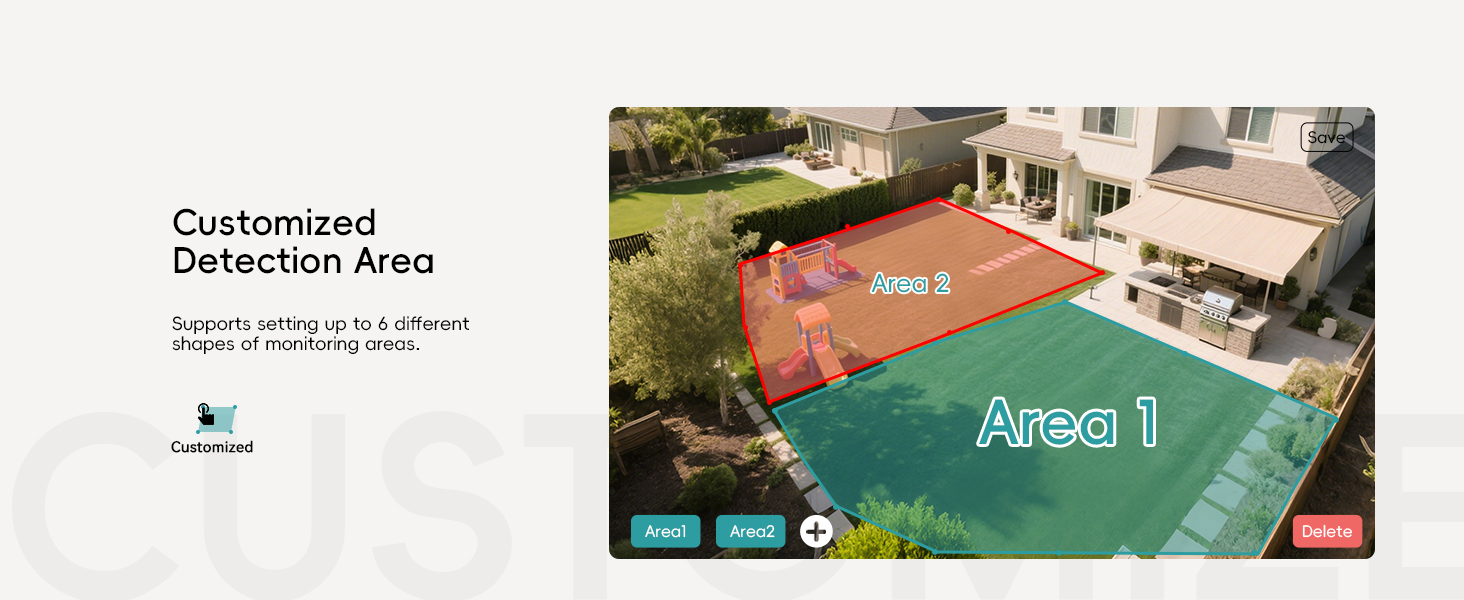
Image: Customized detection areas.
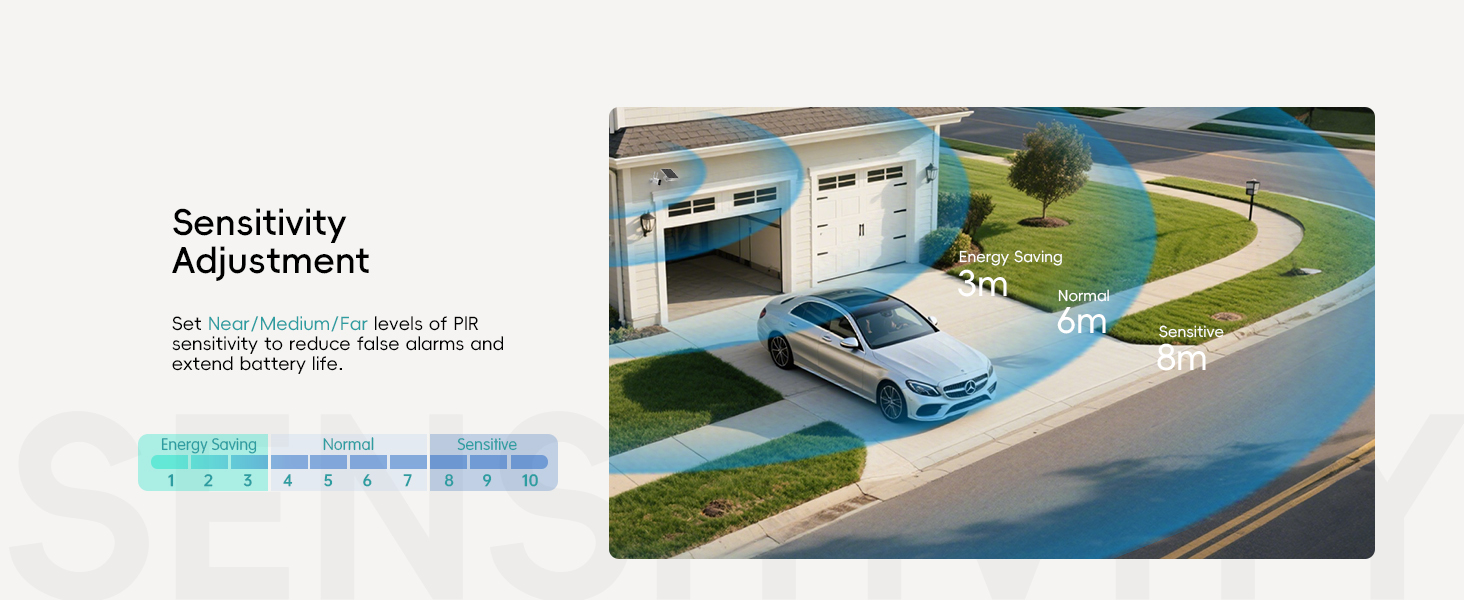
Image: Sensitivity adjustment for motion detection.
5.3. 2-Way Talk & Multi-User Sharing
The camera features a two-way talk function with an integrated microphone and high-power speaker, enabling online interaction with visitors. You can also share access to the live feed with up to 4 other users who have the ZUMIMALL App.

Image: Two-way audio communication.
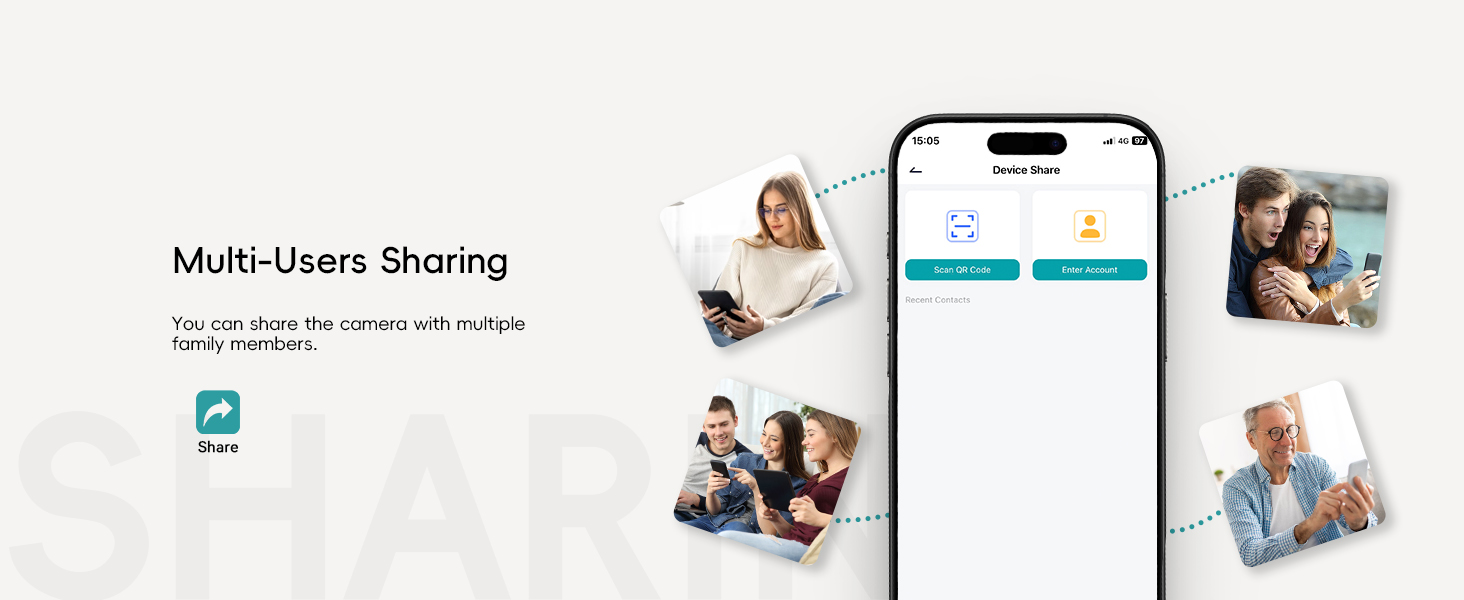
Image: Multi-user sharing feature.
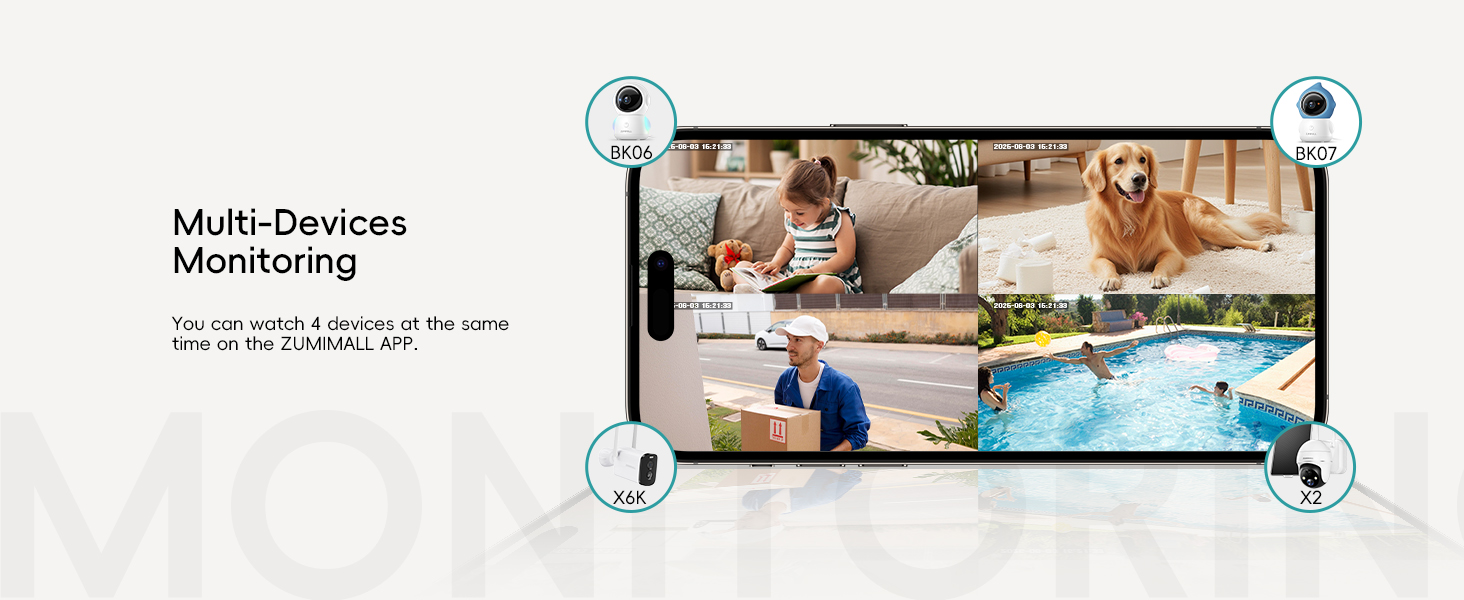
Image: Multi-device monitoring.
5.4. Storage Options
For storage, you can use a memory card (not included, up to 128GB) for local recording or opt for secure cloud storage (with encryption), making viewing videos quick and easy.
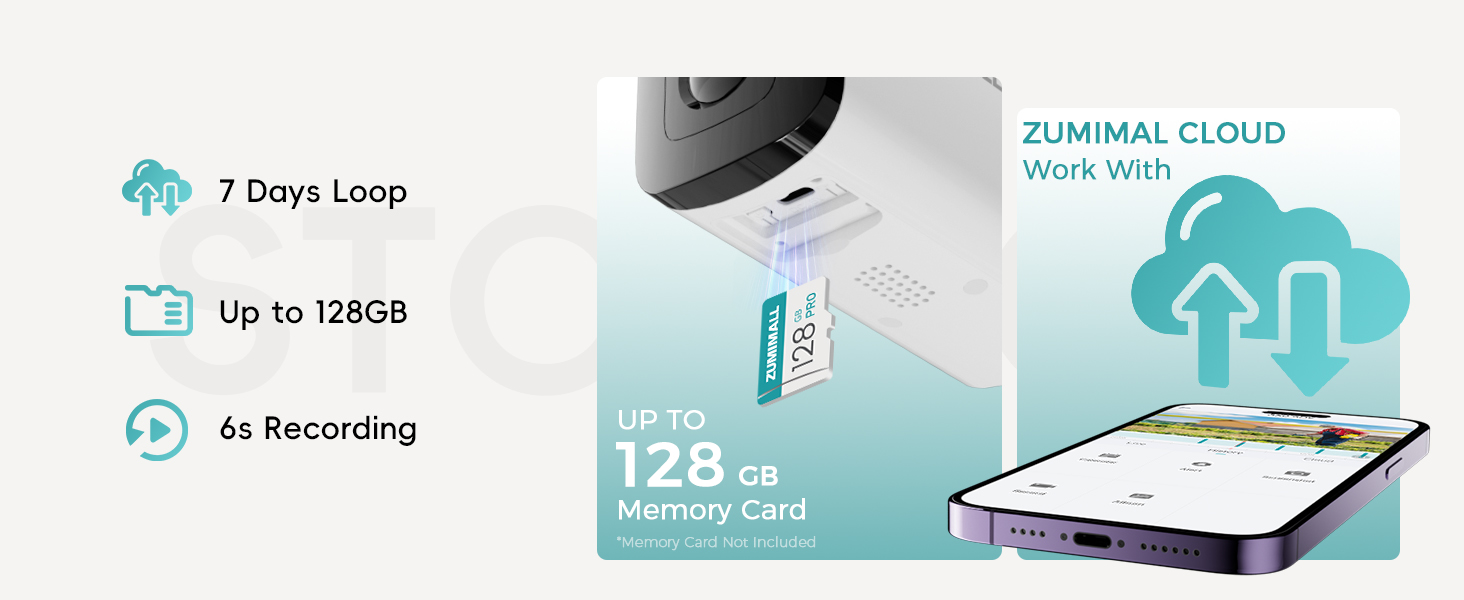
Image: Storage features including SD card and cloud options.
5.5. Energy Saving Modes
The camera supports multiple power usage modes to optimize battery life, allowing for extended operation depending on frequency of use.

Image: Energy saving modes and battery life estimates.
5.6. Hide Indicator Light
You have the option to hide the indicator light when the camera is operating, providing a more discreet surveillance solution.
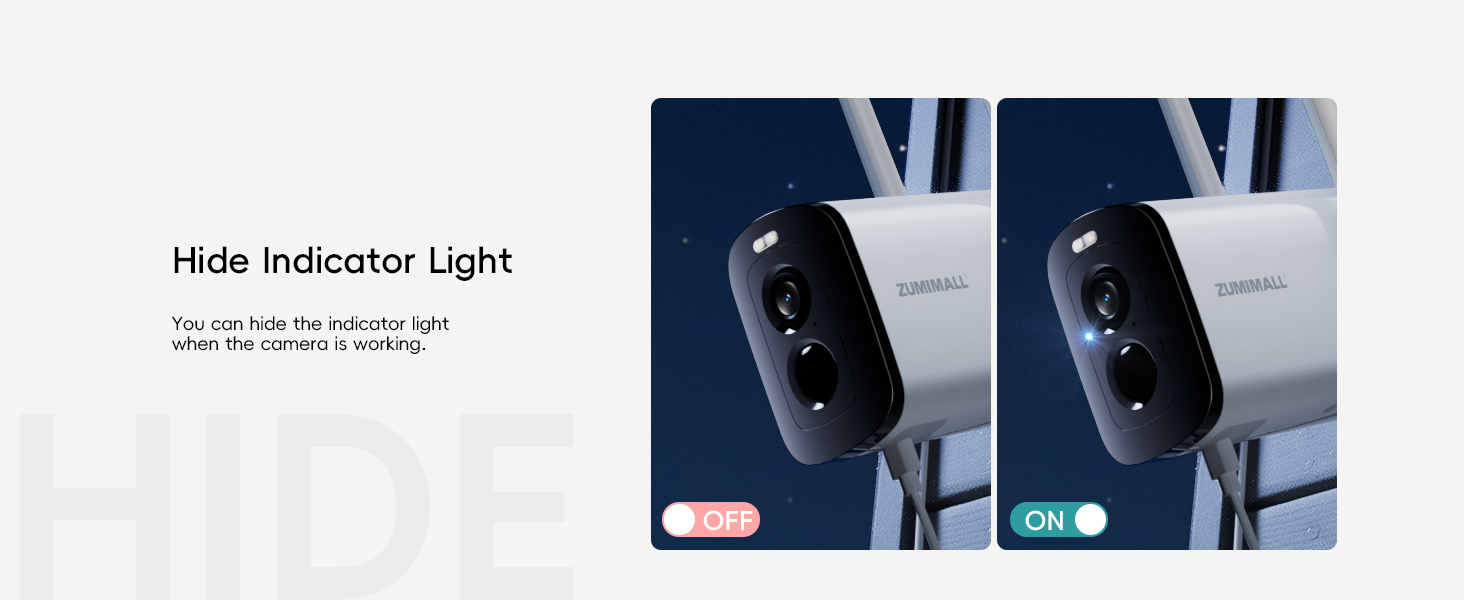
Image: Option to hide the camera's indicator light.
6. Maintenance
6.1. IP66 Weatherproof Rating
The ZUMIMALL X6K camera features an IP66 waterproof rating, ensuring it can withstand rain, wind, dust, and other harsh conditions. It operates reliably in temperatures ranging from -4°F to 120°F (-20°C to 50°C), making it suitable for various outdoor environments.

Image: IP66 Weatherproof feature.

Image: IP66 Weatherproof details.
7. Troubleshooting
7.1. How to Reset the Wireless Camera
If you encounter issues with your camera, performing a reset can often resolve them. Ensure the device is powered on before proceeding:
- Remove Silicone Plug: Locate and remove the silicone plug on the bottom of the camera to access the reset button.
- Press and Hold Reset Button: Press and hold the reset button until you hear a "Boogu" sound.
- Release Button: Release the button after hearing the sound.
- Wait for Red Light: Wait for the red indicator light to flash slowly. This indicates a successful reset.
Video: Instructions on how to reset the ZUMIMALL Wireless Camera.
8. Warranty & Support
Your ZUMIMALL X6K Solar Security Camera comes with a manufacturer's warranty. For specific warranty terms, duration, and claim procedures, please refer to the warranty card included in your product packaging or visit the official ZUMIMALL website.
For technical support, troubleshooting assistance beyond this manual, or any product-related inquiries, please contact ZUMIMALL customer service through the contact information provided in your product documentation or on the ZUMIMALL App.