1. Introduction
This manual provides essential instructions for the installation, operation, and maintenance of your Kenwood Excelon Reference DMX1058XR 10.1-inch HD Touchscreen Car Stereo. Please read this manual thoroughly before using the product to ensure correct usage and optimal performance. Keep this manual for future reference.
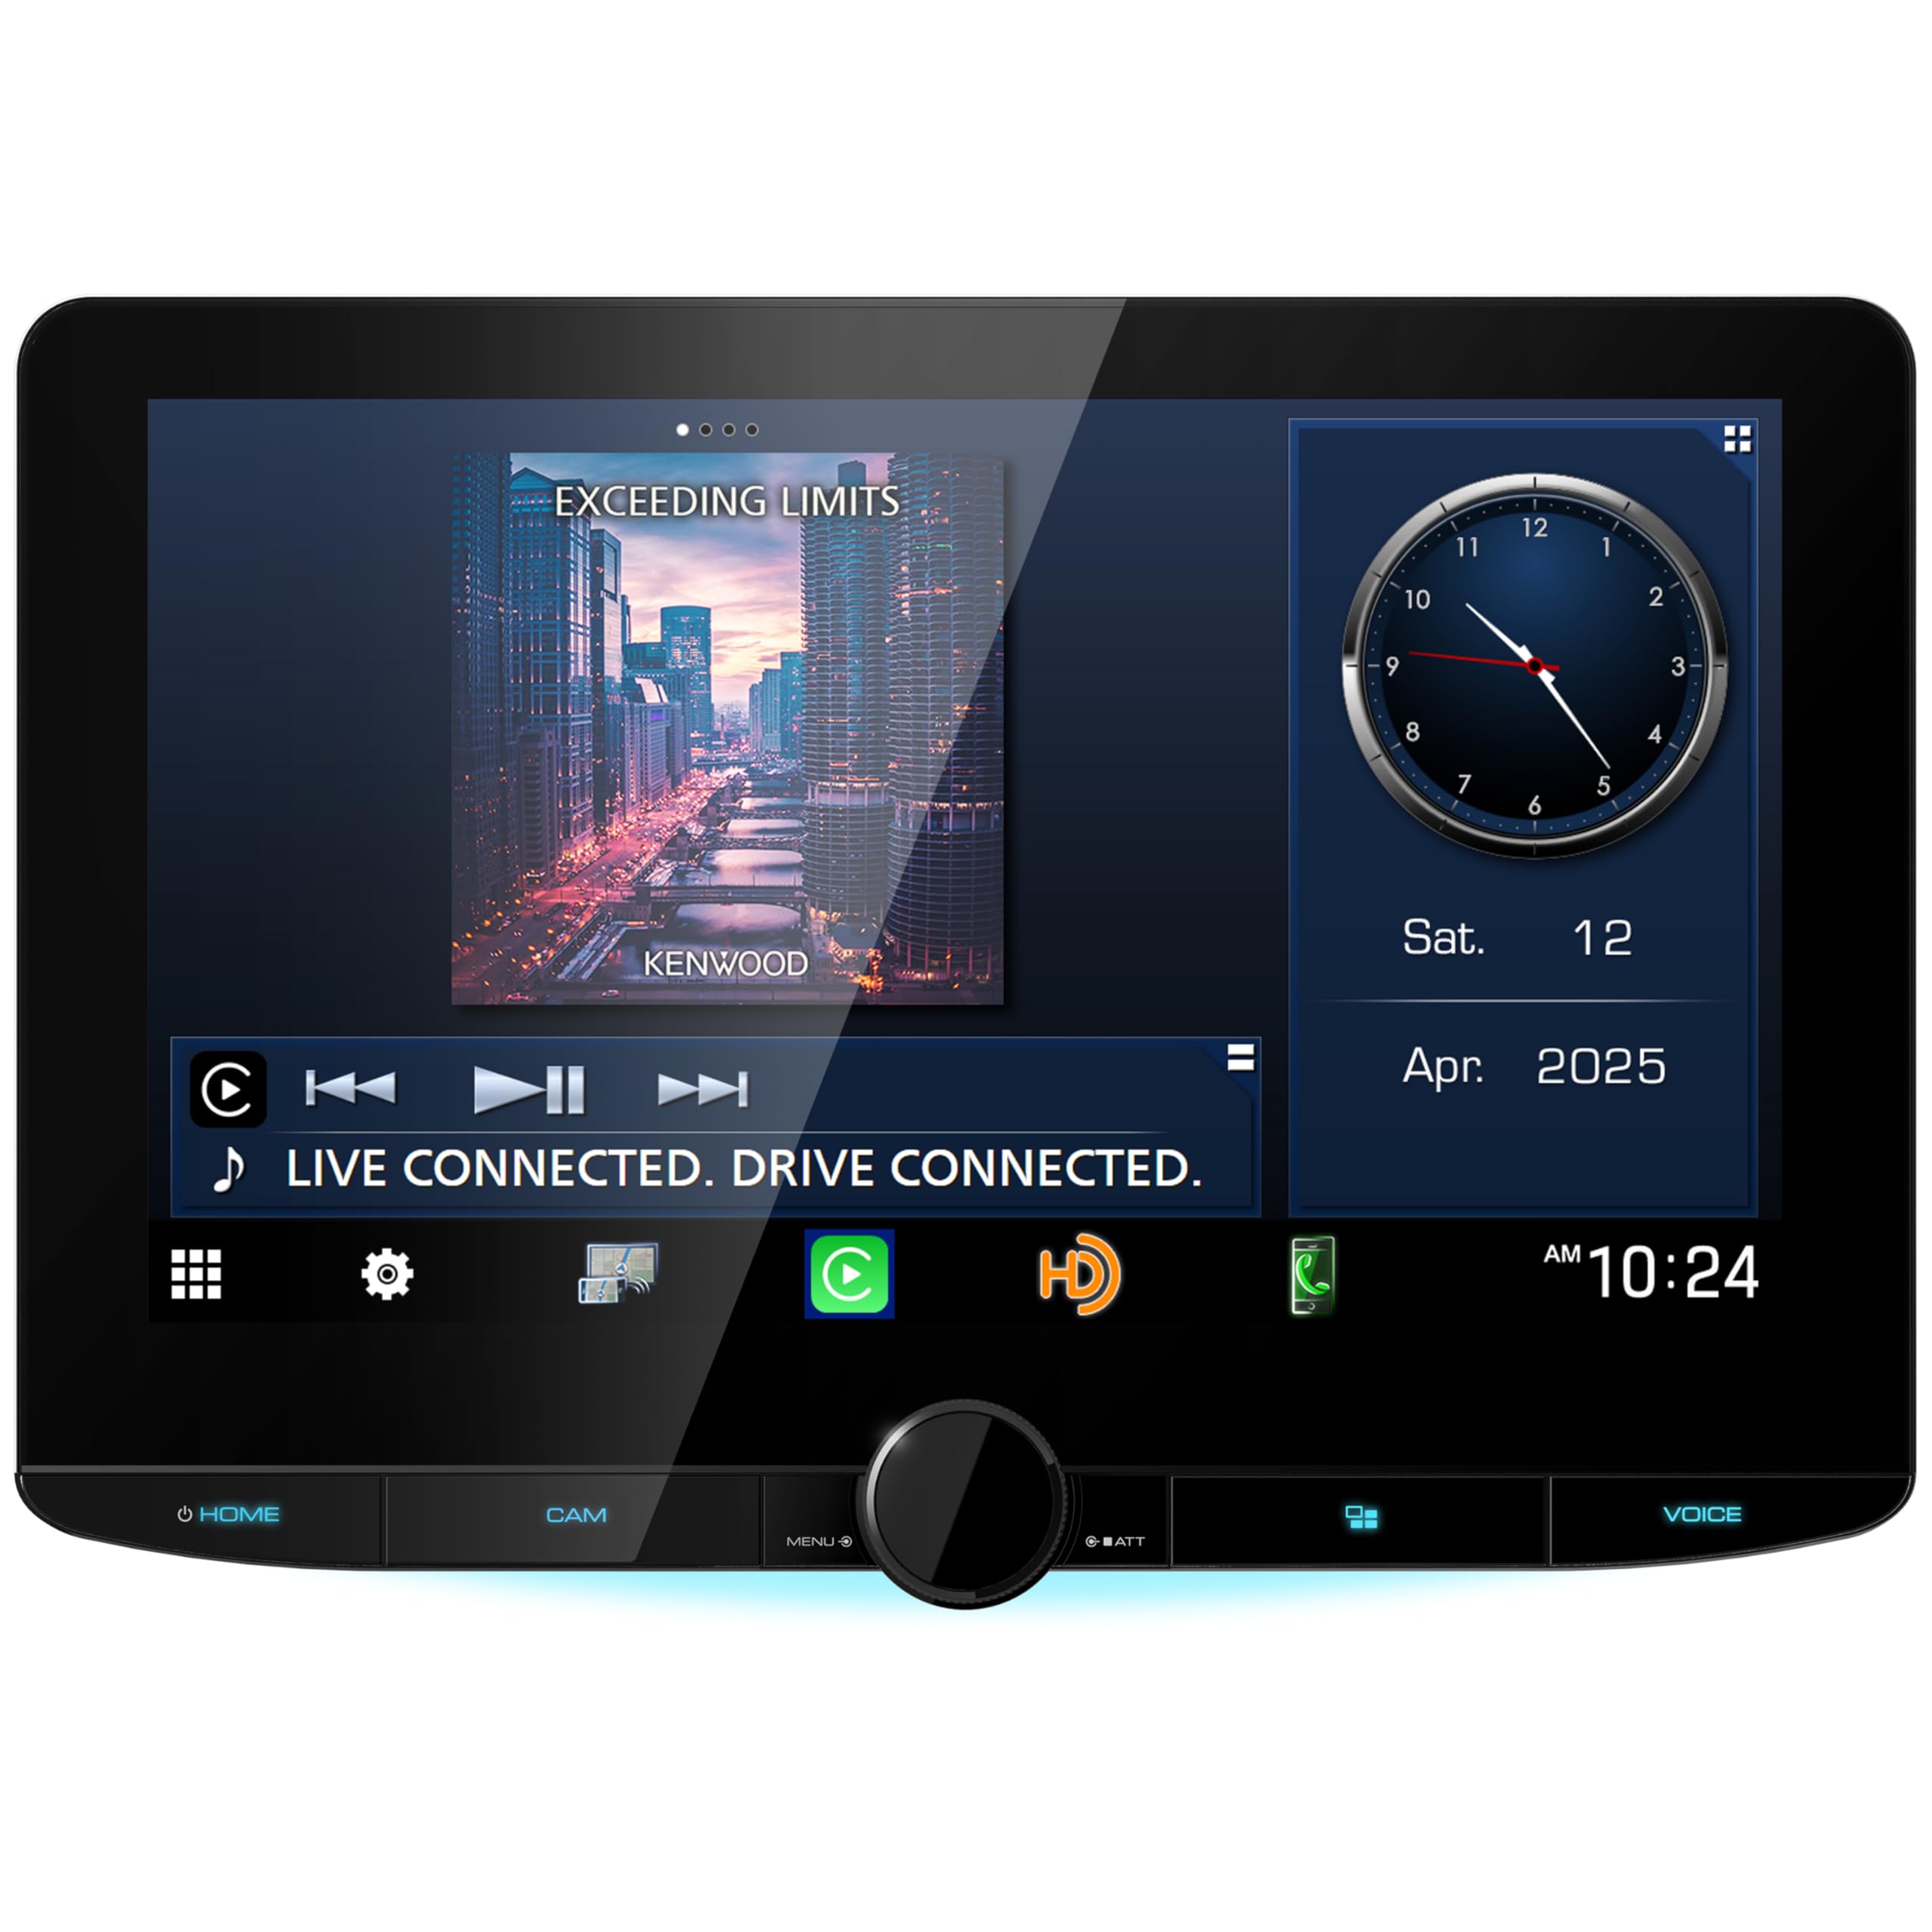
Front view of the Kenwood Excelon Reference DMX1058XR car stereo, showcasing its 10.1-inch HD touchscreen display.
2. Safety Information
WARNING: To reduce the risk of electric shock, fire, or injury, observe the following precautions:
- Do not attempt to disassemble or modify the unit. Refer all servicing to qualified Kenwood service personnel.
- Ensure proper wiring connections to prevent short circuits and damage.
- Do not operate the unit in a manner that distracts you from driving. Always prioritize road safety.
- Avoid exposing the unit to moisture or extreme temperatures.
- Use only accessories specified by Kenwood.
3. Package Contents
Verify that all items are present in the package:
- Kenwood Excelon Reference DMX1058XR Head Unit
- Power/Speaker Harness
- USB Extension Cables
- GPS Antenna
- Microphone
- Mounting Hardware
- User Manual (this document)
- Warranty Card
4. Setup
4.1. Installation Overview
Installation of this unit requires technical knowledge and experience. It is highly recommended that installation be performed by a qualified professional installer. Incorrect installation can lead to damage to the unit, vehicle, or personal injury.
The DMX1058XR is designed to fit standard double DIN dash openings. Its 10.1-inch floating display offers 4-way adjustability (tilt, height, depth, and left/right alignment) to optimize viewing angles and fit various dashboards.
4.2. Wiring Connections
Before making any connections, ensure the vehicle's battery is disconnected. Refer to the wiring diagram provided in the separate installation guide for detailed connections. Below is an illustration of the rear panel connections.

Detailed view of the rear panel of the DMX1058XR, showing ports for HDMI, USB, GPS, Video I/O, Audio I/O, Dash Cam, Mic, iDatalink, and SiriusXM.
- Power/Speaker Harness: Connect to the vehicle's power supply and speakers. Ensure correct polarity.
- USB Ports: Two USB ports are available for media playback, smartphone connection (Apple CarPlay/Android Auto), and charging.
- HDMI Input: For connecting external video sources.
- GPS Antenna: Connect the supplied GPS antenna for navigation features.
- Video I/O: Inputs for up to four cameras (rear, front, side, dash cam).
- Audio I/O: RCA pre-outs for external amplifiers and optical digital output for DSP.
- Microphone Input: Connect the external microphone for hands-free calling and voice commands.
- iDatalink Maestro: Connect for integration with vehicle's factory features (steering wheel controls, vehicle data).
- SiriusXM: Connect an optional SiriusXM tuner (sold separately).
4.3. Display Adjustment
The 10.1-inch display can be adjusted after installation to achieve the best viewing angle and position. Use the adjustment mechanisms to:
- Tilt: Adjust the vertical angle of the screen.
- Height: Move the screen up or down.
- Depth: Adjust how far the screen extends from the dash.
- Left/Right Alignment: Shift the screen horizontally.

Angled view of the DMX1058XR display, demonstrating its floating design and adjustability.
5. Operating Instructions
5.1. Power On/Off and Basic Controls
To power on the unit, ensure the vehicle's ignition is on. The unit will typically power on automatically. To turn off the display or unit, refer to the power button on the front panel or within the system menu.
The rotary encoder on the front panel controls volume. Pressing it may mute the audio or access menu functions, depending on the current mode.
5.2. Touchscreen Operation
The 10.1-inch HD capacitive touchscreen responds to touch gestures similar to a smartphone. Tap to select, swipe to scroll, and pinch to zoom (where applicable).
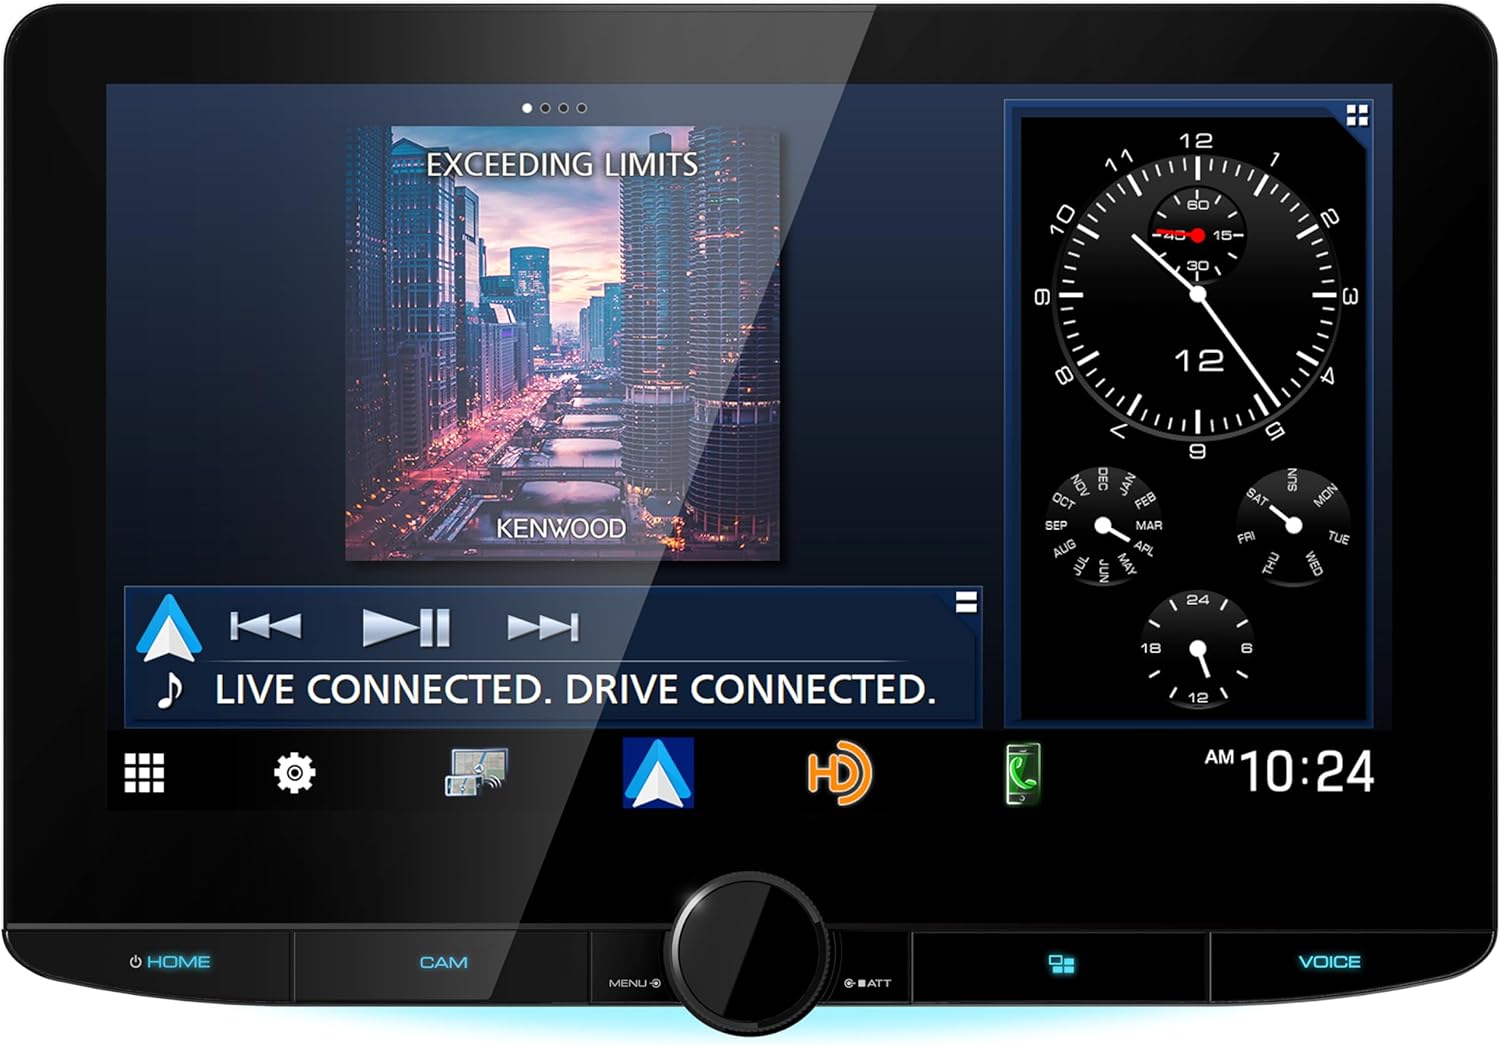
The DMX1058XR display showing a music playback interface with album art and controls.
5.3. Wireless Apple CarPlay & Android Auto
Connect your compatible iPhone or Android smartphone wirelessly via Wi-Fi for seamless access to navigation, calls, messages, and music. Ensure your phone's Wi-Fi and Bluetooth are enabled. Follow the on-screen prompts to pair your device. Alternatively, connect via USB for a wired connection.
5.4. Bluetooth Connectivity
Pair your Bluetooth-enabled device for hands-free calling and audio streaming. Go to the Bluetooth settings on the DMX1058XR and search for available devices. Select your device and confirm the pairing code.
5.5. Camera Inputs
The unit supports up to four camera inputs, including HD rear camera support with parking guidelines. Access camera views through the dedicated CAM button on the front panel or via the system menu. The rear camera view will automatically display when the vehicle is in reverse.
5.6. Audio Features (Hi-Res Audio, EQ, Time Alignment)
The DMX1058XR supports Hi-Res Audio playback (up to 192kHz/24-bit) and LDAC Bluetooth streaming for high-quality wireless audio. Utilize the built-in 13-band equalizer and digital time alignment features to fine-tune your audio system for optimal sound staging and clarity. Access these settings through the audio menu.
5.7. Radio and HDMI Input
Tune into HD Radio stations for enhanced sound quality. The unit is SiriusXM Ready; a separate SiriusXM Connect Vehicle Tuner and subscription are required. The HDMI input allows you to connect compatible external devices for video and audio playback on the DMX1058XR display.
5.8. iDatalink Maestro Integration
When connected with an iDatalink Maestro module (sold separately), the DMX1058XR can retain factory features such as steering wheel controls, display vehicle information screens (e.g., tire pressure, climate control), and integrate with OEM amplifier systems. Consult the iDatalink Maestro manual for specific vehicle compatibility and setup.
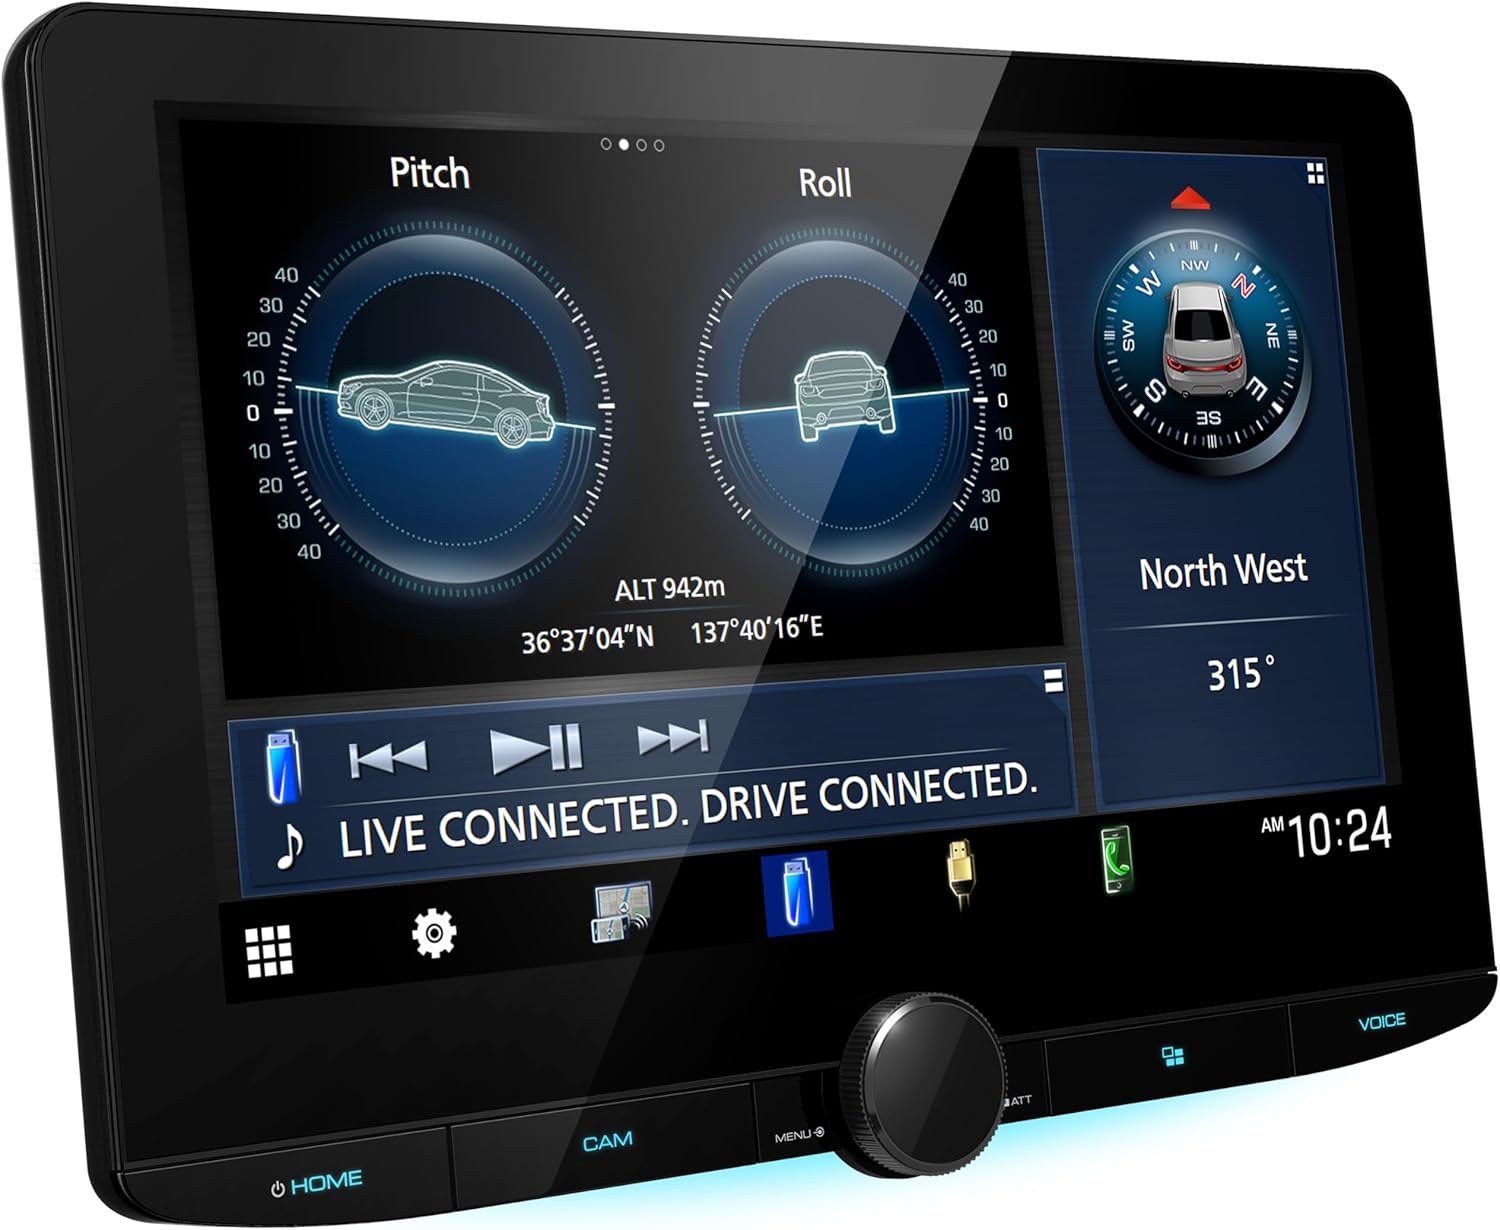
The DMX1058XR display showing vehicle pitch and roll data, accessible via iDatalink Maestro integration.
6. Maintenance
6.1. Cleaning the Display
To clean the touchscreen, gently wipe it with a soft, dry cloth. For stubborn smudges, use a cloth lightly dampened with a screen cleaner specifically designed for electronic displays. Avoid using abrasive cleaners, solvents, or alcohol-based solutions, as these can damage the screen coating.
6.2. Software Updates
Periodically check the Kenwood website for firmware updates. Updates can provide new features, performance improvements, and bug fixes. Follow the instructions provided with the update file carefully to avoid damaging the unit.
7. Troubleshooting
| Problem | Possible Cause | Solution |
|---|---|---|
| No power | Blown fuse, incorrect wiring, vehicle ignition off. | Check vehicle fuse box and unit's fuse. Verify power wiring. Ensure ignition is on. |
| No sound | Volume muted, incorrect speaker wiring, amplifier issue. | Increase volume. Check mute function. Verify speaker connections. Check external amplifier if used. |
| Apple CarPlay/Android Auto not connecting | Phone settings, Wi-Fi/Bluetooth off, incompatible cable (for wired). | Ensure phone's Wi-Fi/Bluetooth is on. Restart phone and unit. Try a different USB cable (if wired). |
| Display not responding to touch | Temporary software glitch. | Restart the unit (turn vehicle ignition off and on). If issue persists, consult support. |
For issues not listed here, please contact Kenwood customer support or your authorized dealer.
8. Specifications
- Model Number: DMX1058XR
- Display: 10.1-inch HD Capacitive Touchscreen (1280x720)
- Connectivity: Wireless Apple CarPlay, Wireless Android Auto, Bluetooth, Built-in Wi-Fi, USB, HDMI
- Audio: Hi-Res Audio (192kHz/24-bit), LDAC Bluetooth, 13-Band EQ, Digital Time Alignment, 5V Pre-outs, Optical Digital Output
- Camera Inputs: 4 (with HD Rear Camera Support)
- Radio: HD Radio, SiriusXM Ready (tuner sold separately)
- Integration: iDatalink Maestro Compatible
- Dimensions (Product): 15.25 x 10.25 x 7.5 inches
- Weight: 10 pounds
- Power: 15A Fuse
9. Warranty & Support
This Kenwood product is covered by a limited warranty. Please refer to the included warranty card for details regarding coverage, terms, and conditions. For technical support, service, or to find an authorized Kenwood dealer, please visit the official Kenwood website or contact their customer service department.
Kenwood Official Website: www.kenwood.com