
IMPORTANT SAFETY WARNINGS
WARNING: This air gun is not a toy. Misuse or careless use may cause serious injury or death. Read all instructions before use. Always wear eye protection. Always keep the muzzle pointed in a safe direction. Always treat every air gun as if it were loaded. Do not brandish or display this air gun in public. It may confuse people and may be a crime. Do not change the coloration or markings to make it look more like a firearm. That is dangerous and may be a crime. The user and any person within the area of use must wear eye protection. Always use the correct caliber pellets. Never shoot at hard surfaces or water, as pellets may ricochet. Always store the air gun unloaded and separated from ammunition, in a secure location inaccessible to children and unauthorized users.
This air gun is designed for use by individuals 18 years of age or older. Adult supervision is required for users under 18.
Introduction
Thank you for purchasing the Lancer Tactical SnowPeak CP1-M CO2 Air Gun. This manual provides essential information for the safe and effective operation, maintenance, and troubleshooting of your air gun. Please read this manual thoroughly before using the product and retain it for future reference.
Setup
1. Unpacking and Initial Inspection
Carefully remove all components from the packaging. Verify that all included items are present:
- 1x Lancer Tactical SnowPeak CP1-M Air Gun
- 1x Fill Probe
- 1x Ring Set
- 1x Tooling Set
- 1x User Manual (this document)
Inspect the air gun for any visible damage that may have occurred during shipping. If any damage is found, do not attempt to use the air gun and contact customer support immediately.
2. CO2 Cartridge Installation
The CP1-M uses standard 12g CO2 cartridges for power.
- Ensure the air gun is unloaded and the safety is engaged.
- Locate the CO2 cartridge compartment, typically beneath the barrel or in the grip.
- Unscrew the cap or open the compartment.
- Insert a new 12g CO2 cartridge with the narrow neck facing upwards (towards the piercing pin).
- Quickly and firmly tighten the cap or close the compartment until the cartridge is pierced. A small hiss of gas is normal. Do not overtighten.
- Check for any continuous hissing, which may indicate a leak. If a leak persists, remove the cartridge and re-insert, ensuring proper seating.

Figure 1: Full view of the Lancer Tactical SnowPeak CP1-M CO2 Air Gun, showing the overall design and CO2 compartment location (typically under the barrel).
3. Loading Pellets
The CP1-M is compatible with 5.5mm (.22 caliber) pellets and can be used in both single-shot and multi-shot configurations.
Single-Shot Loading:
- Ensure the air gun is unloaded and the safety is engaged.
- Pull back the bolt handle (cocking mechanism) fully until it locks.
- Insert a single 5.5mm pellet into the breech, ensuring it is seated correctly.
- Push the bolt handle forward to close the breech.
Multi-Shot Loading (if using a magazine):
- Ensure the air gun is unloaded and the safety is engaged.
- Remove the rotary magazine from the air gun (if applicable).
- Load 5.5mm pellets into each chamber of the magazine.
- Insert the loaded magazine back into the air gun, ensuring it clicks into place.
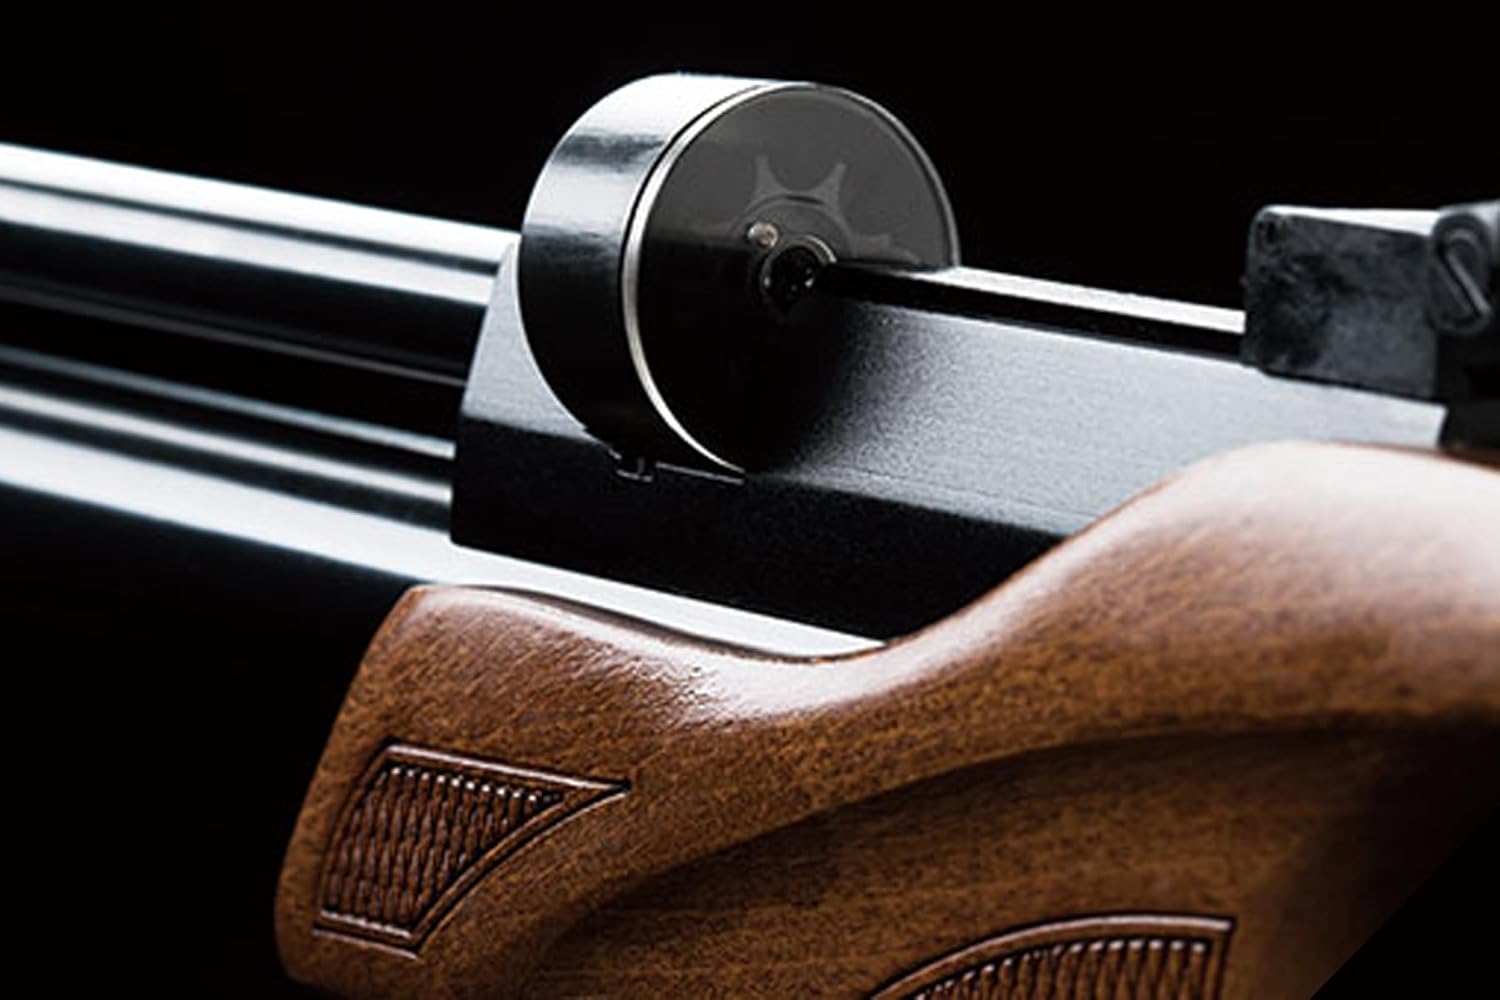
Figure 2: Close-up view of the loading area, showing the rotary magazine for multi-shot use.
4. Sight Adjustment
The CP1-M features an adjustable rear sight for windage and elevation. Use the included tooling set for adjustments.
- Elevation Adjustment: Turn the vertical screw on the rear sight to raise or lower the point of impact.
- Windage Adjustment: Turn the horizontal screw on the rear sight to move the point of impact left or right.
A 12mm rail is also present for mounting optics or other accessories, if desired.
Operation
1. Cocking the Air Gun
The CP1-M utilizes a manual cocking mechanism.
- Ensure the air gun is pointed in a safe direction.
- Disengage the safety.
- Pull the bolt handle fully rearward until it locks into place. This cocks the hammer and prepares the air gun for firing.
- If using a multi-shot magazine, pulling the bolt back and pushing it forward will also cycle the next pellet into the breech.

Figure 3: Close-up view of the bolt action mechanism, used for cocking the air gun and loading pellets.
2. Firing
After cocking and loading, the air gun is ready to fire.
- Aim at a safe and appropriate target.
- Place your finger on the trigger.
- Gently and steadily pull the trigger to fire.
- After firing, re-engage the safety if you are not immediately firing again.
3. Trigger Adjustment
The trigger pull can be adjusted between 1-6 Lbf to suit user preference. Refer to the included tooling set and specific instructions for trigger adjustment screws, typically located near the trigger guard. Make small adjustments and test the trigger pull carefully to avoid accidental discharge.
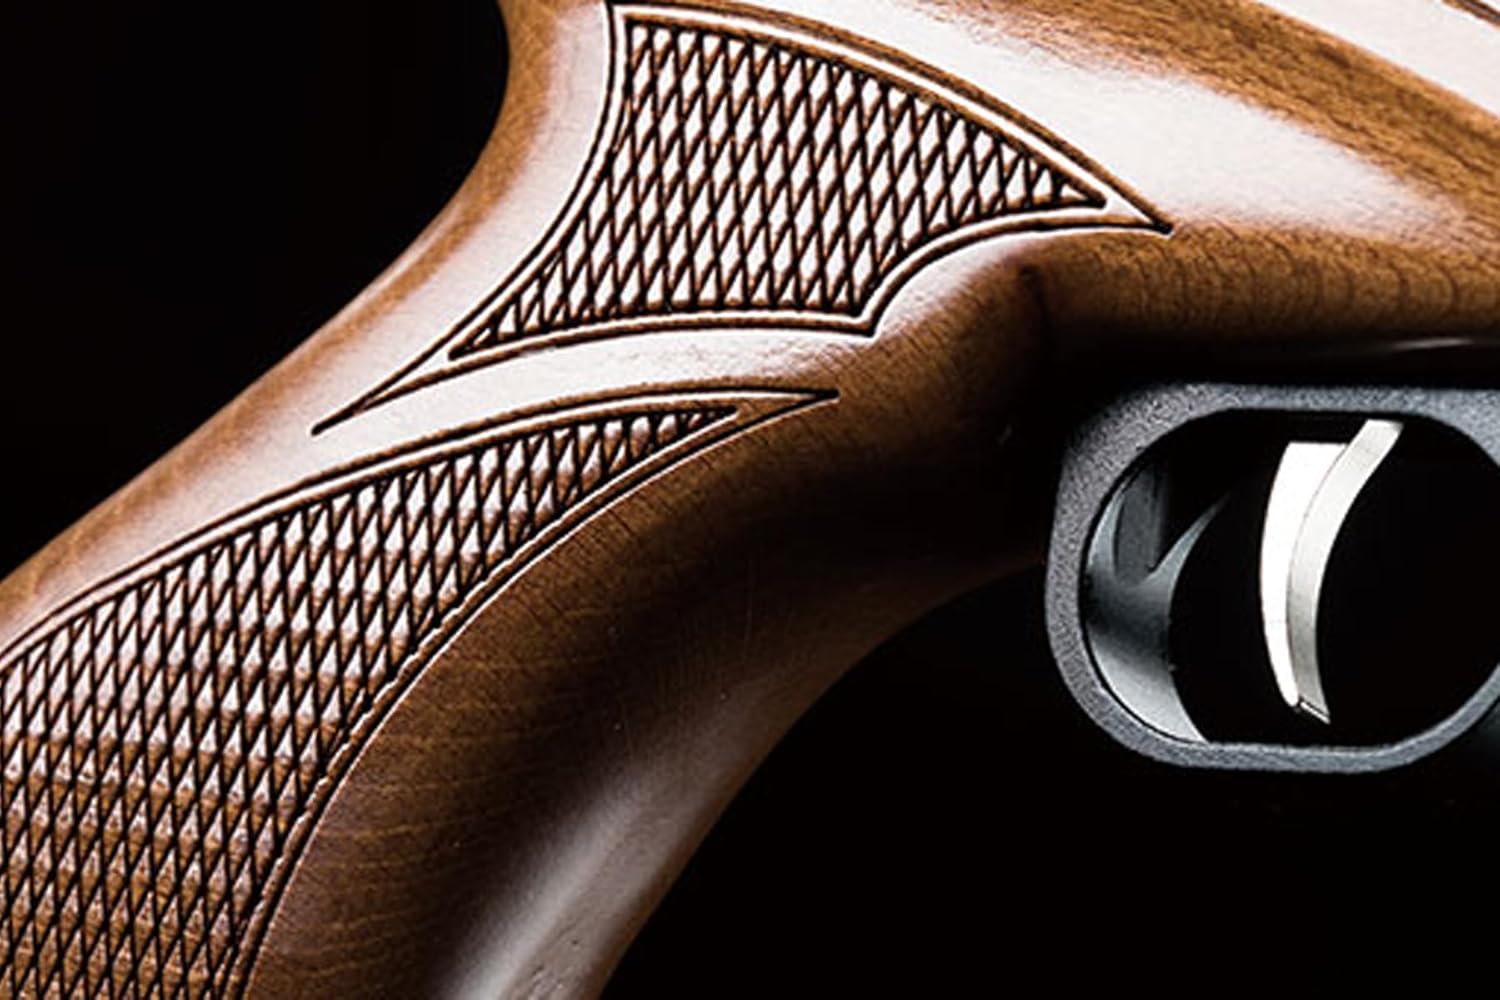
Figure 4: Close-up view of the ergonomic beech wood grip and trigger area, where trigger adjustments can be made.
Maintenance
Regular maintenance ensures the longevity and reliable performance of your CP1-M air gun.
1. Cleaning
- Barrel: Periodically clean the barrel using a cleaning rod and appropriate cleaning patches. Ensure no debris or lead residue accumulates.
- Exterior: Wipe down the exterior surfaces with a soft, dry cloth to remove dust, dirt, and fingerprints. For the beech wood stock, use a wood-safe cleaner if necessary.
- Moving Parts: Apply a small amount of silicone-based lubricant to moving parts such as the bolt and trigger mechanism to ensure smooth operation. Avoid petroleum-based oils, as they can damage seals.
2. Storage
Store the air gun in a cool, dry place, away from direct sunlight and extreme temperatures. Always store the air gun unloaded, with no CO2 cartridge installed, and separated from pellets. Keep it in a secure location inaccessible to children and unauthorized individuals.
Troubleshooting
| Problem | Possible Cause | Solution |
|---|---|---|
| Loss of power / Low velocity | Depleted CO2 cartridge; Leaking CO2; Incorrect pellet size. | Replace CO2 cartridge; Check for leaks and ensure cartridge is properly seated; Use correct 5.5mm (.22 caliber) pellets. |
| Pellet not firing / Misfire | Air gun not cocked; No pellet in breech/magazine; Obstructed barrel. | Ensure bolt is fully pulled back and locked; Load a pellet; Check barrel for obstructions (ensure air gun is unloaded before checking). |
| CO2 Leak | Improperly seated CO2 cartridge; Worn O-rings/seals. | Remove and re-insert CO2 cartridge firmly; If leak persists, contact customer support for seal replacement. |
| Inaccurate shots | Sights out of adjustment; Inconsistent pellets; Dirty barrel. | Adjust sights (windage/elevation); Use high-quality, consistent pellets; Clean the barrel. |
If you encounter issues not listed here or if the suggested solutions do not resolve the problem, please contact customer support.
Specifications
- Model: CP1-M
- Brand: Lancer Tactical x SnowPeak
- Caliber: 5.5mm (.22 Caliber)
- Power Source: 12g CO2 Cartridge
- Muzzle Velocity: Up to 500 fps (feet per second)
- Cocking Mechanism: Manual Bolt Action
- Trigger: Adjustable (1-6 Lbf pull)
- Barrel Length: 210mm
- Barrel Material: Alloy Steel
- Frame Material: Polymer
- Stock Material: Beech Wood
- Sights: Adjustable Rear Sight (windage and elevation)
- Accessory Rail: 12mm
- Capacity: 7 Rounds (multi-shot) / Single-shot capable
- Overall Length: 390mm
- Included Components: Air Gun, Fill Probe, Ring Set, Tooling Set, Manual
- UPC: 193939069351
Warranty Information
This product comes with a 60 Days Warranty. To obtain warranty coverage, the warranty holder must:
- Provide proof of original purchase.
- Ensure the defective device is safely and securely packaged and shipped before the expiration of the warranty period to the seller in accordance with instructions provided with the Return Merchandise Authorization (RMA).
The seller retains the sole authority to determine if a claim is covered by this limited warranty. The warranty covers defects in manufacturing, materials, or workmanship.
Exclusions: This warranty excludes batteries, chargers, and accessories. It does not cover damages caused by the user, including but not limited to: opening up the gearbox, normal wear and tear, disassembling or modifying the air gun, dropping or damage caused during play, or any attempted repairs made to the item. Removing the orange tip WILL VOID your warranty.
If your warranty is voided or if you are outside of the 60-day warranty period, repairs may still be available for a fee.
Customer Support
For technical assistance, warranty claims, or general inquiries, please contact the seller or Lancer Tactical customer support. Refer to your purchase documentation for specific contact details.
Online Resources: Visit the official Lancer Tactical website for additional product information, FAQs, and support resources.
Please have your model number (CP1-M) and proof of purchase ready when contacting support.