
Motorola XT2317
Motorola Moto G Stylus 4G (2023) XT2317 User Manual
Model: XT2317
Introduction
This manual provides essential instructions for setting up, operating, maintaining, and troubleshooting your Motorola Moto G Stylus 4G (2023) XT2317 smartphone. Please read this guide thoroughly to ensure proper use and to maximize your device's capabilities.
What's in the Box
Verify that all items are present in your product packaging:
- Motorola Moto G Stylus 4G (2023) XT2317 Phone
- USB-C Cable
- SIM Ejector Tool
- Nonstandard Battery (pre-installed)
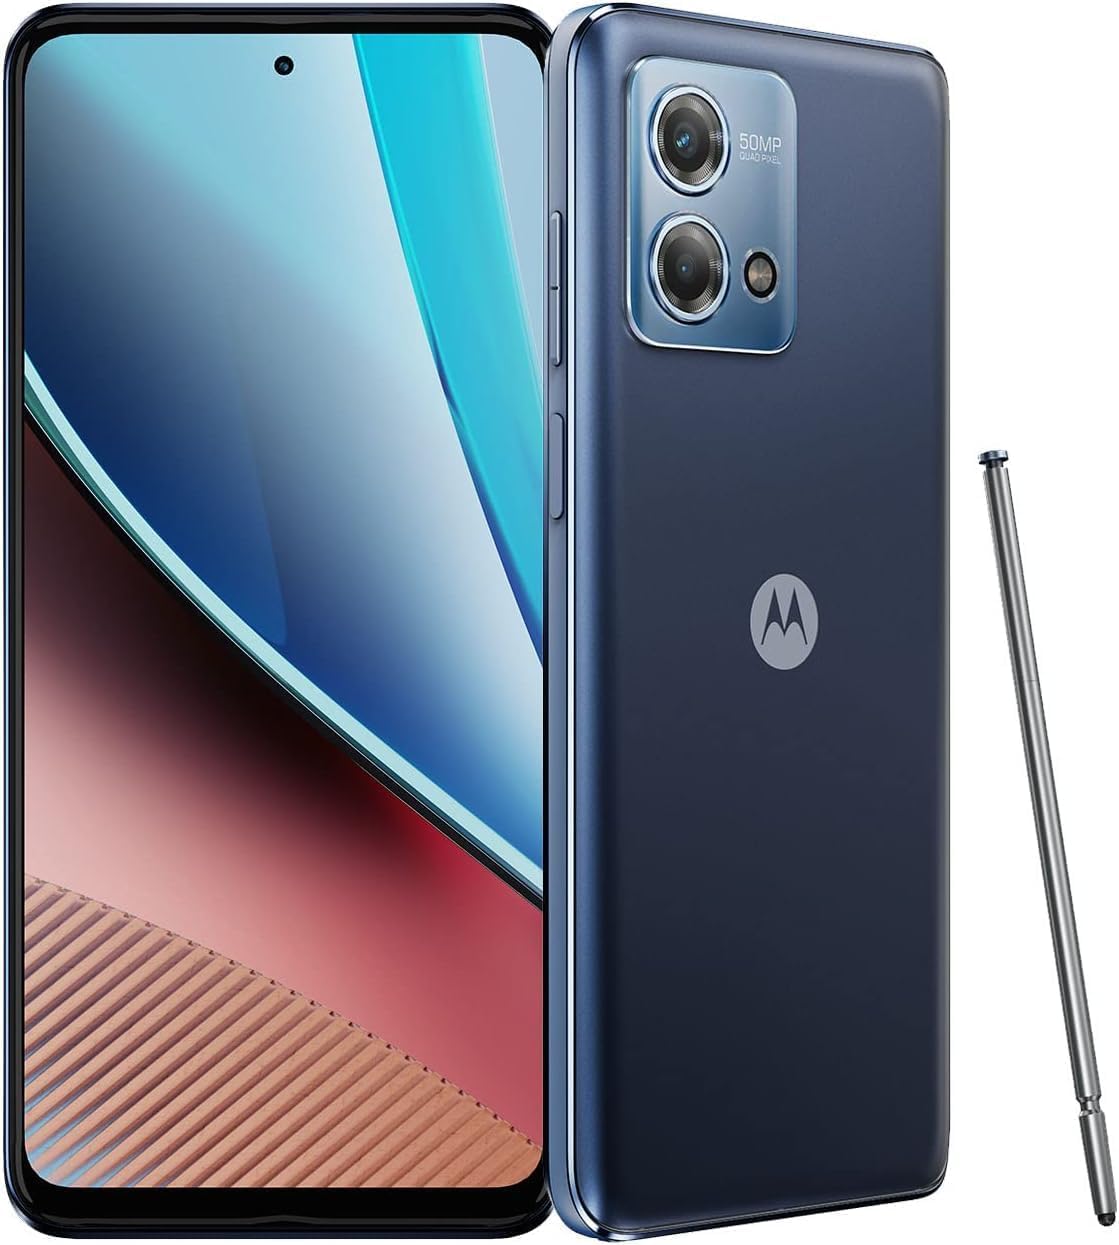
Image of the Motorola Moto G Stylus 4G (2023) XT2317 smartphone, showcasing its design and display.
Setup
1. Insert SIM Card and Stylus
- Locate the SIM card tray on the side of your phone.
- Insert the SIM ejector tool into the small hole next to the tray to open it.
- Place your Nano-SIM card into the tray with the gold contacts facing down.
- Carefully push the tray back into the phone until it clicks into place.
- Ensure the stylus is securely seated in its dedicated slot at the bottom of the phone.
2. Initial Power On and Setup
- Press and hold the Power button (usually on the right side) until the Motorola logo appears.
- Follow the on-screen prompts to select your language, connect to a Wi-Fi network, and set up your Google account.
- Review and accept the terms and conditions.
- You may be prompted to transfer data from an old device or set up as a new device.
Operating Your Device
Basic Navigation
- Touch: Tap icons to open apps, select items, or type using the on-screen keyboard.
- Swipe: Slide your finger across the screen to scroll through lists, switch between home screens, or access notification panels.
- Pinch: Use two fingers to zoom in or out on photos, maps, and web pages.
Stylus Usage
The built-in stylus allows for precise interaction with your device.
- Removing the Stylus: Gently pull the stylus from its slot. The Stylus menu may automatically appear.
- Note-taking: Use the stylus with pre-installed note applications or compatible third-party apps for writing and drawing.
- Navigation: The stylus can be used for general navigation, tapping, and selecting items on the screen.
Camera Operation
- Open the Camera app from your home screen or app drawer.
- Tap the shutter button to take a photo.
- Swipe left or right to switch between photo, video, and other camera modes.
- Tap the camera switch icon to toggle between the front and rear cameras.
Calls and Messages
- Making a Call: Open the Phone app, enter the number, and tap the call icon.
- Sending a Message: Open the Messages app, tap "Start chat," enter the recipient and your message, then tap send.
Connectivity
- Wi-Fi: Go to Settings > Network & internet > Wi-Fi to connect to available networks.
- Bluetooth: Go to Settings > Connected devices > Connection preferences > Bluetooth to pair with Bluetooth accessories.
Maintenance
Battery Care
- Use only the provided USB-C cable and a compatible charger.
- Avoid extreme temperatures, which can degrade battery life.
- For optimal battery longevity, avoid frequently discharging the battery completely or keeping it at 100% charge for extended periods.
Cleaning Your Device
- Gently wipe the screen and body with a soft, lint-free cloth.
- Avoid using harsh chemicals or abrasive materials.
- For stubborn smudges, slightly dampen the cloth with water.
Software Updates
Regularly check for and install software updates to ensure your device has the latest features, security patches, and performance improvements. Go to Settings > System > System updates.
Storage Management
To optimize performance, periodically review and manage your device's storage. Delete unnecessary files, uninstall unused apps, and clear app caches. Go to Settings > Storage.
Troubleshooting
Device Not Turning On
- Ensure the battery is charged. Connect the phone to a charger for at least 15 minutes, then try powering it on.
- Perform a force restart: Press and hold the Power button for about 10-15 seconds.
Apps Crashing or Freezing
- Close and reopen the app.
- Clear the app's cache: Go to Settings > Apps > [App Name] > Storage & cache > Clear cache.
- If the issue persists, try uninstalling and reinstalling the app.
Connectivity Issues (Wi-Fi/Bluetooth)
- Toggle Wi-Fi or Bluetooth off and on again.
- Restart your phone.
- For Wi-Fi, try forgetting the network and reconnecting.
- For Bluetooth, unpair and re-pair the device.
Factory Reset (Last Resort)
If other troubleshooting steps fail, a factory reset can resolve many software issues. Warning: This will erase all data on your phone. Back up important data before proceeding.
- Go to Settings > System > Reset options > Erase all data (factory reset).
- Follow the on-screen instructions.
Specifications
| Model Name | Moto G Stylus 4G (2023) |
| Model Number | XT2317 |
| Operating System | Android 13.0 |
| Display | 6.5" HD+ Display |
| RAM | 4 GB |
| Storage | 128 GB |
| Main Camera | 50 MP |
| Battery Capacity | 5000 mAh (Nonstandard Battery) |
| Cellular Technology | 4G |
| Connector Type | USB Type C |
Warranty and Support
Your Motorola Moto G Stylus 4G (2023) XT2317 is covered by a limited warranty. For detailed warranty information, please refer to the warranty card included with your purchase or visit the official Motorola support website.
For technical support, frequently asked questions, or to contact customer service, please visit the Motorola support portal. You can typically find support resources by searching for "Motorola support" online or by visiting the official Motorola website.
Online Support: www.motorola.com/us/support
Related documentsXT2317


Ask a question about this manual
Ask about setup, troubleshooting, compatibility, parts, safety, or missing instructions. Manuals+ will review the question and use this page’s manual context to help answer it.