1. Introduction
Thank you for choosing the Russell Hobbs 26481-56 Light & Easy Brights Apple Iron. This manual provides essential information for the safe and efficient use of your appliance. Please read these instructions carefully before first use and keep them for future reference.
Important Safety Instructions
- Always ensure the voltage on the rating label corresponds to your mains voltage.
- Do not immerse the iron, cord, or plug in water or any other liquid.
- Do not leave the iron unattended while it is switched on or connected to the mains supply.
- Keep the iron and its cord out of reach of children when it is switched on or cooling down.
- Always place the iron on a stable, heat-resistant surface when resting.
- Unplug the iron from the mains socket before filling or emptying the water tank, and before cleaning.
- If the supply cord is damaged, it must be replaced by the manufacturer, its service agent, or similarly qualified persons to avoid a hazard.
- This appliance is not intended for use by persons (including children) with reduced physical, sensory or mental capabilities, or lack of experience and knowledge, unless they have been given supervision or instruction concerning use of the appliance by a person responsible for their safety.
2. Product Components
Familiarize yourself with the parts of your Russell Hobbs Light & Easy Brights Apple Iron:
- Water spray nozzle
- Water filler opening
- Temperature control dial
- Steam control lever
- Spray button
- Steam shot button
- Handle
- Power cord
- Heel rest
- Fabric Softener Infused Ceramic Soleplate
- Water tank
- Indicator light
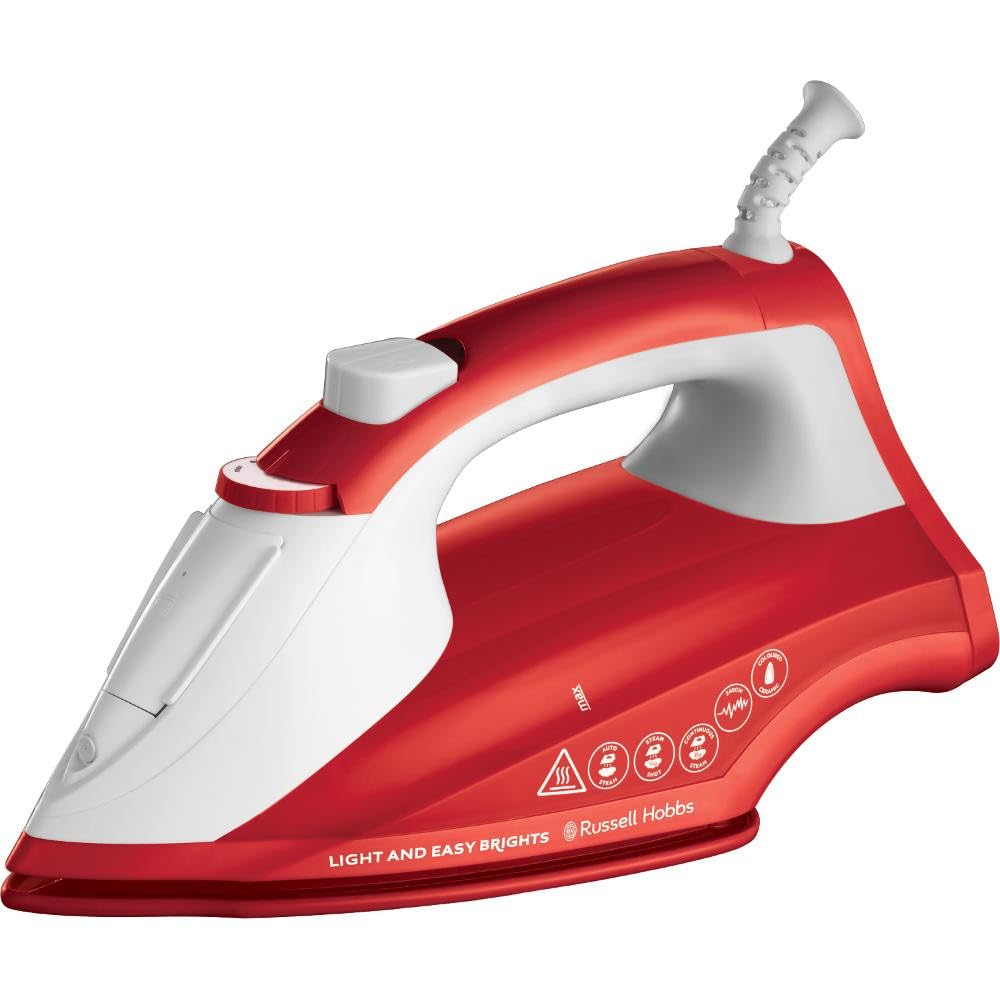
Figure 1: Overview of the Russell Hobbs 26481-56 Light & Easy Brights Apple Iron. This image shows the general design and key components of the iron, including the soleplate, handle, and control buttons.
3. Setup and First Use
Unpacking
- Remove all packaging materials, labels, and stickers from the iron.
- Retain the packaging for future storage or disposal.
Before First Use
- Fill the water tank (see "Filling the Water Tank" below).
- Heat the iron to its maximum temperature setting.
- Iron an old piece of damp cloth (e.g., a towel) for a few minutes to clean the soleplate and remove any manufacturing residues.
- Repeat the steaming process several times to clear any internal debris.
4. Operating Instructions
Filling the Water Tank
- Ensure the iron is unplugged from the mains socket.
- Set the steam control lever to the DRY IRON position (no steam).
- Open the water filler opening cover.
- Using a measuring jug, slowly pour water into the tank up to the MAX fill line. Do not overfill.
- Close the water filler opening cover securely.
Note: For optimal performance and to prolong the life of your iron, use tap water unless you live in a very hard water area. In such cases, use a mixture of 50% tap water and 50% distilled water. Do not use perfumed water, water from tumble dryers, or chemically descaled water.
Setting the Temperature
- Plug the iron into a suitable mains socket.
- Turn the temperature control dial to the desired setting based on the fabric type. Refer to the fabric care labels on your garments.
- The indicator light will illuminate, indicating the iron is heating up.
- Once the iron reaches the set temperature, the indicator light will turn off. It will cycle on and off during ironing to maintain the temperature.
| Dial Setting | Fabric Type |
|---|---|
| • (Low) | Synthetics, Nylon, Acrylics |
| •• (Medium) | Wool, Silk |
| ••• (High) | Cotton, Linen |
Always test on an inconspicuous area first. Iron fabrics requiring lower temperatures first.
Steam Ironing
- Ensure the water tank is filled.
- Set the temperature control dial to the ••• (Cotton/Linen) setting or higher. Steam is only generated at higher temperatures.
- Once the indicator light turns off, move the steam control lever to the desired steam position.
- The iron features Auto-steam technology, which automatically adjusts steam output based on the selected temperature.
Steam Shot Function (115g)
- For stubborn creases, press the steam shot button.
- Wait a few seconds between shots to allow the iron to reheat and produce maximum steam.
- This function can also be used for vertical steaming of hanging garments.
Spray Function
- Press the spray button to dampen fabric, assisting in smoothing out difficult creases.
Dry Ironing
- If dry ironing, ensure the water tank is empty or the steam control lever is set to the DRY IRON position.
- Set the temperature control dial to the desired setting.
5. Care and Maintenance
Cleaning the Soleplate
- Allow the iron to cool completely and unplug it.
- Wipe the Fabric Softener Infused Ceramic Soleplate with a damp cloth and a non-abrasive cleaner.
- Do not use harsh scourers or abrasive cleaners as they can damage the soleplate.
Anti-Calc Function
Your iron is equipped with an anti-calc system to reduce limescale build-up and prolong its life. This system is maintenance-free, but regular flushing of the steam chamber is recommended, especially in hard water areas.
Anti-Drip System
The anti-drip system prevents water from dripping onto your garments when the iron is not hot enough to produce steam. This is particularly useful when ironing at lower temperatures.
Storage
- Always unplug the iron and allow it to cool completely before storing.
- Empty the water tank after each use to prevent limescale build-up and leakage.
- Store the iron on its heel rest in a dry, safe place.
6. Troubleshooting
| Problem | Possible Cause | Solution |
|---|---|---|
| Iron not heating up. | Not plugged in; power outlet faulty; temperature dial set to minimum. | Check plug and power outlet; turn temperature dial to a higher setting. |
| No steam or insufficient steam. | Water tank empty; temperature too low; steam control set to dry iron. | Fill water tank; set temperature to ••• or higher; move steam control lever to steam position. |
| Water dripping from soleplate. | Temperature too low for steam; iron overfilled. | Increase temperature; ensure water level is not above MAX line. The anti-drip system prevents this at lower temperatures, but extreme overfilling can still cause issues. |
| White flakes coming from soleplate. | Limescale build-up. | Perform a self-clean cycle (if available, or flush steam chamber as per maintenance). Use distilled water in hard water areas. |
7. Specifications
| Feature | Detail |
|---|---|
| Model Number | 26481-56 |
| Brand | Russell Hobbs |
| Power | 2400 Watts |
| Voltage | 240 Volts |
| Steam Shot | 115g |
| Continuous Steam | 35g |
| Soleplate | Fabric Softener Infused Ceramic |
| Cord Length | 2 meters |
| Special Features | Lightweight, Anti-Drip, Anti-Calc, Auto-Steam |
| Dimensions (Package) | 28.7 x 15.8 x 12 cm |
| Weight (Package) | 1.25 kg |
8. Warranty and Support
Warranty Information
Your Russell Hobbs 26481-56 Light & Easy Brights Apple Iron comes with a standard manufacturer's warranty. Please refer to the warranty card included with your purchase for specific terms, conditions, and duration. Keep your proof of purchase for any warranty claims.
Customer Support
For technical assistance, spare parts, or service, please contact Russell Hobbs customer support. Contact details can typically be found on the Russell Hobbs official website or on the warranty card provided with your product.
- Online Support: Visit the official Russell Hobbs website for FAQs, product registration, and support contact forms.
- Telephone Support: Refer to your product documentation or the Russell Hobbs website for regional contact numbers.