1. Introduction
This manual provides essential information for the proper installation, operation, and maintenance of your DSVFBB Inverter Board Compressor. This component is designed for compatibility with specific Daikin multi-line air conditioner models, including PC1130-1, RUXYQ22AB, and RUXYQ20. Please read this manual thoroughly before attempting any installation or service to ensure safe and efficient operation.
2. Safety Information
WARNING: Electrical Shock Hazard
- Always disconnect power to the air conditioning unit before installing, servicing, or removing the inverter board. Failure to do so can result in serious injury or death.
- Installation and service should only be performed by qualified and certified HVAC technicians. Improper installation can lead to equipment damage, electrical shock, or fire.
- Do not touch live electrical components.
- Ensure all wiring connections are secure and correctly matched according to the air conditioner's wiring diagram.
This inverter board contains sensitive electronic components. Handle with care to prevent damage from electrostatic discharge.
3. Product Features
- Designed for stable operation, minimizing interference from other electrical appliances.
- Constructed from sturdy materials for long-term durability.
- Features automatic fault detection for faster maintenance.
- Contributes to electricity savings and reduced energy costs.
- Maintains functionality even in humid conditions.
4. Setup and Installation
The installation of an inverter board is a complex procedure that requires specialized knowledge and tools. It is strongly recommended that a professional HVAC technician perform this task.
- Power Disconnection: Ensure the main power supply to the air conditioning unit is completely disconnected at the circuit breaker before beginning any work. Verify with a voltage tester.
- Access the Unit: Open the outdoor unit casing to access the existing inverter board.
- Documentation: Take clear photographs of the existing wiring connections before disconnecting them. This will serve as a reference during reinstallation.
- Remove Old Board: Carefully disconnect all wiring harnesses and mounting screws securing the old inverter board. Remove the board.
- Install New Board: Position the new DSVFBB Inverter Board Compressor in the same location as the old one. Secure it with the appropriate mounting screws.
- Connect Wiring: Reconnect all wiring harnesses to the new board, ensuring each connection matches the original configuration and is securely seated. Refer to your photographs and the air conditioner's wiring diagram.
- Close Unit: Once all connections are verified, close and secure the outdoor unit casing.
- Power Restoration: Restore power to the air conditioning unit at the circuit breaker.
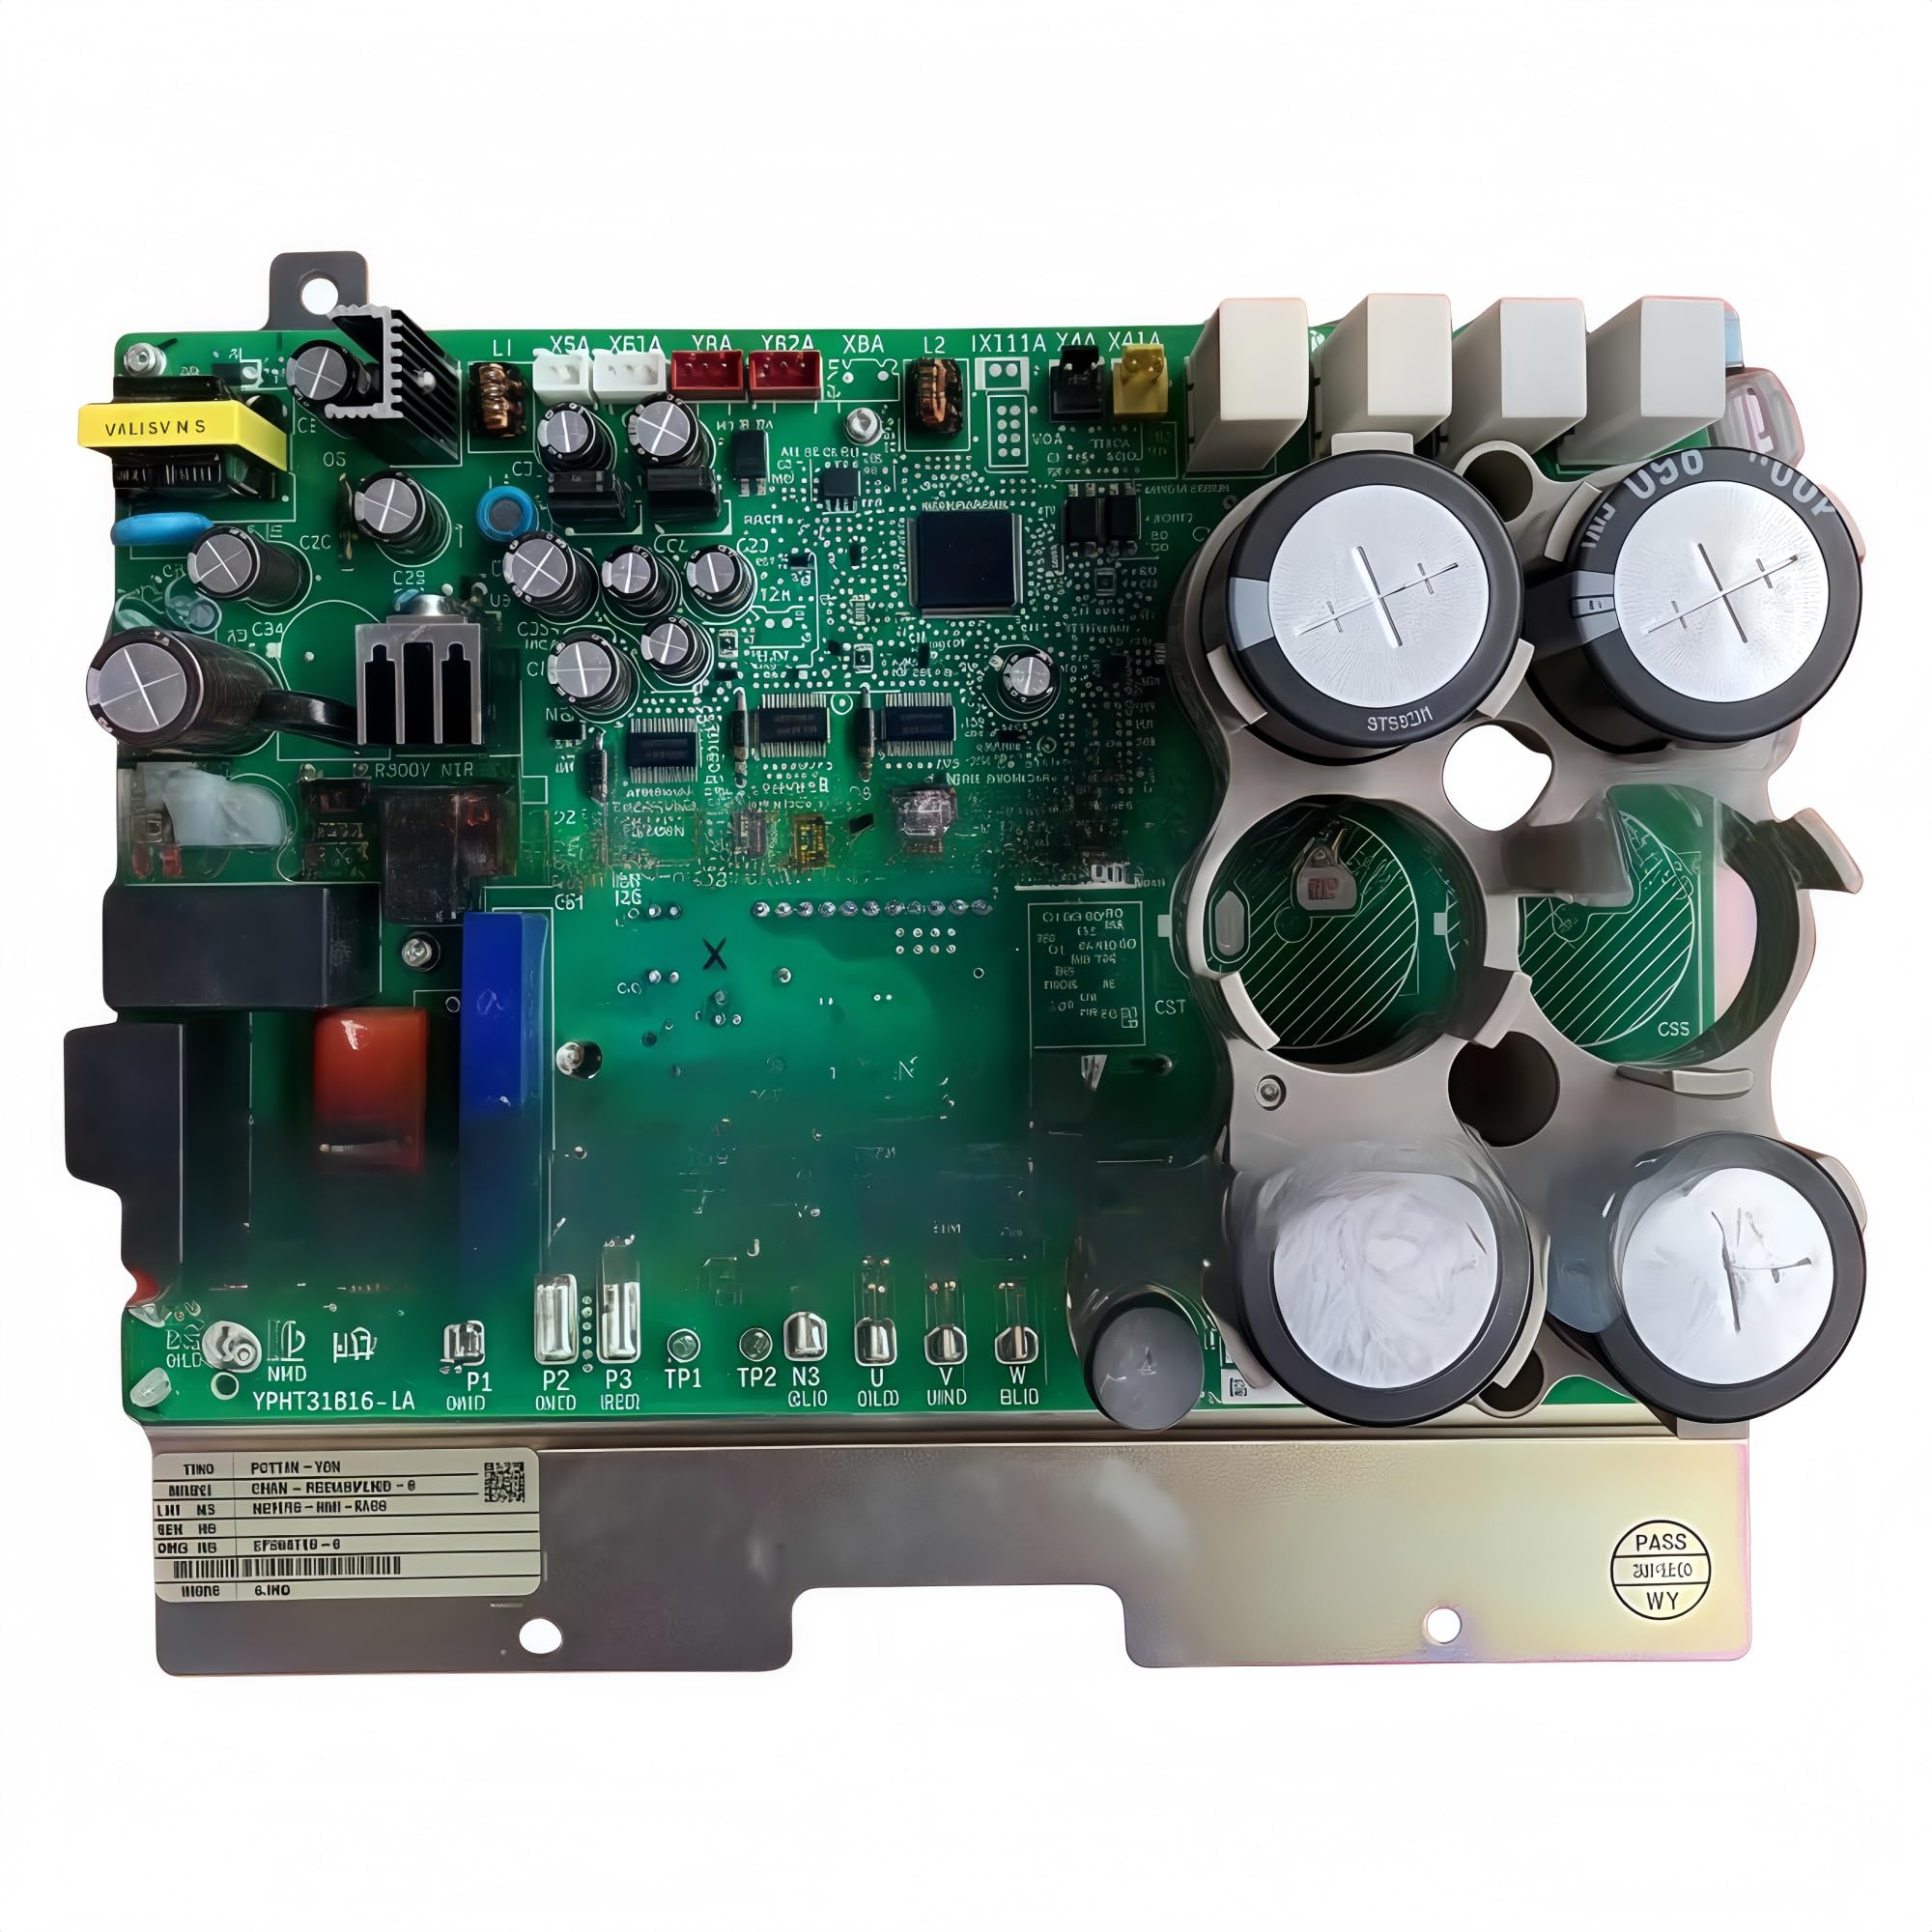
Image 1: The DSVFBB Inverter Board Compressor. This image shows the general appearance of the replacement part, highlighting its compact design and various connection points for integration into the air conditioning system.
5. Operating Instructions
As a core component of the air conditioning system, the inverter board does not have direct user-operable controls. Its function is integrated into the overall operation of the air conditioner. After successful installation by a qualified technician, the air conditioner should resume normal operation according to its original design and user controls.
Upon power restoration, the air conditioner's control system will initiate a self-check. Monitor the unit for any error codes or unusual behavior. If the unit does not function correctly, refer to the troubleshooting section or contact a professional technician.
6. Maintenance
The DSVFBB Inverter Board Compressor is designed for minimal maintenance. To ensure its longevity and optimal performance:
- Keep Dry: Ensure the air conditioning unit's outdoor enclosure remains sealed to protect the inverter board from moisture and environmental elements.
- Cleanliness: Periodically, during routine air conditioner maintenance, a qualified technician may gently clean any dust accumulation on the board using compressed air or a soft brush. Ensure power is disconnected before any cleaning.
- Professional Inspection: Include the inverter board in regular professional HVAC system inspections to check for any signs of wear or damage.
7. Troubleshooting
If the air conditioning unit exhibits issues after the inverter board replacement, consider the following:
- No Power: Check the circuit breaker for the air conditioning unit. Ensure all power connections to the inverter board are secure.
- Error Codes: Consult the air conditioner's original service manual for specific error codes displayed on the unit. These codes can help diagnose the problem.
- Unusual Noises/Smells: Immediately disconnect power if you notice any burning smells, smoke, or unusual loud noises.
- Unit Not Cooling/Heating: This could indicate a fault with the inverter board, compressor, or other system components.
IMPORTANT: For any persistent issues or complex diagnostics, it is crucial to contact a qualified HVAC technician. Attempting repairs without proper training can be dangerous and may void warranties.
8. Specifications
| Specification | Detail |
|---|---|
| Item Weight | 50 Grams |
| Assembly Required | No (Professional installation recommended) |
| Number of Pieces | 1 |
| Batteries Required | No |
| Manufacturer | yuanjiye |
9. Warranty and Support
For information regarding warranty coverage, technical support, or replacement parts, please contact the retailer or manufacturer directly. Keep your purchase receipt as proof of purchase.


