
Introduction
Thank you for choosing the Kwumsy N2 16-inch FHD 1200P Portable Monitor. This manual provides essential information for setting up, operating, maintaining, and troubleshooting your new portable display. Please read this manual thoroughly before use to ensure optimal performance and longevity of your device.
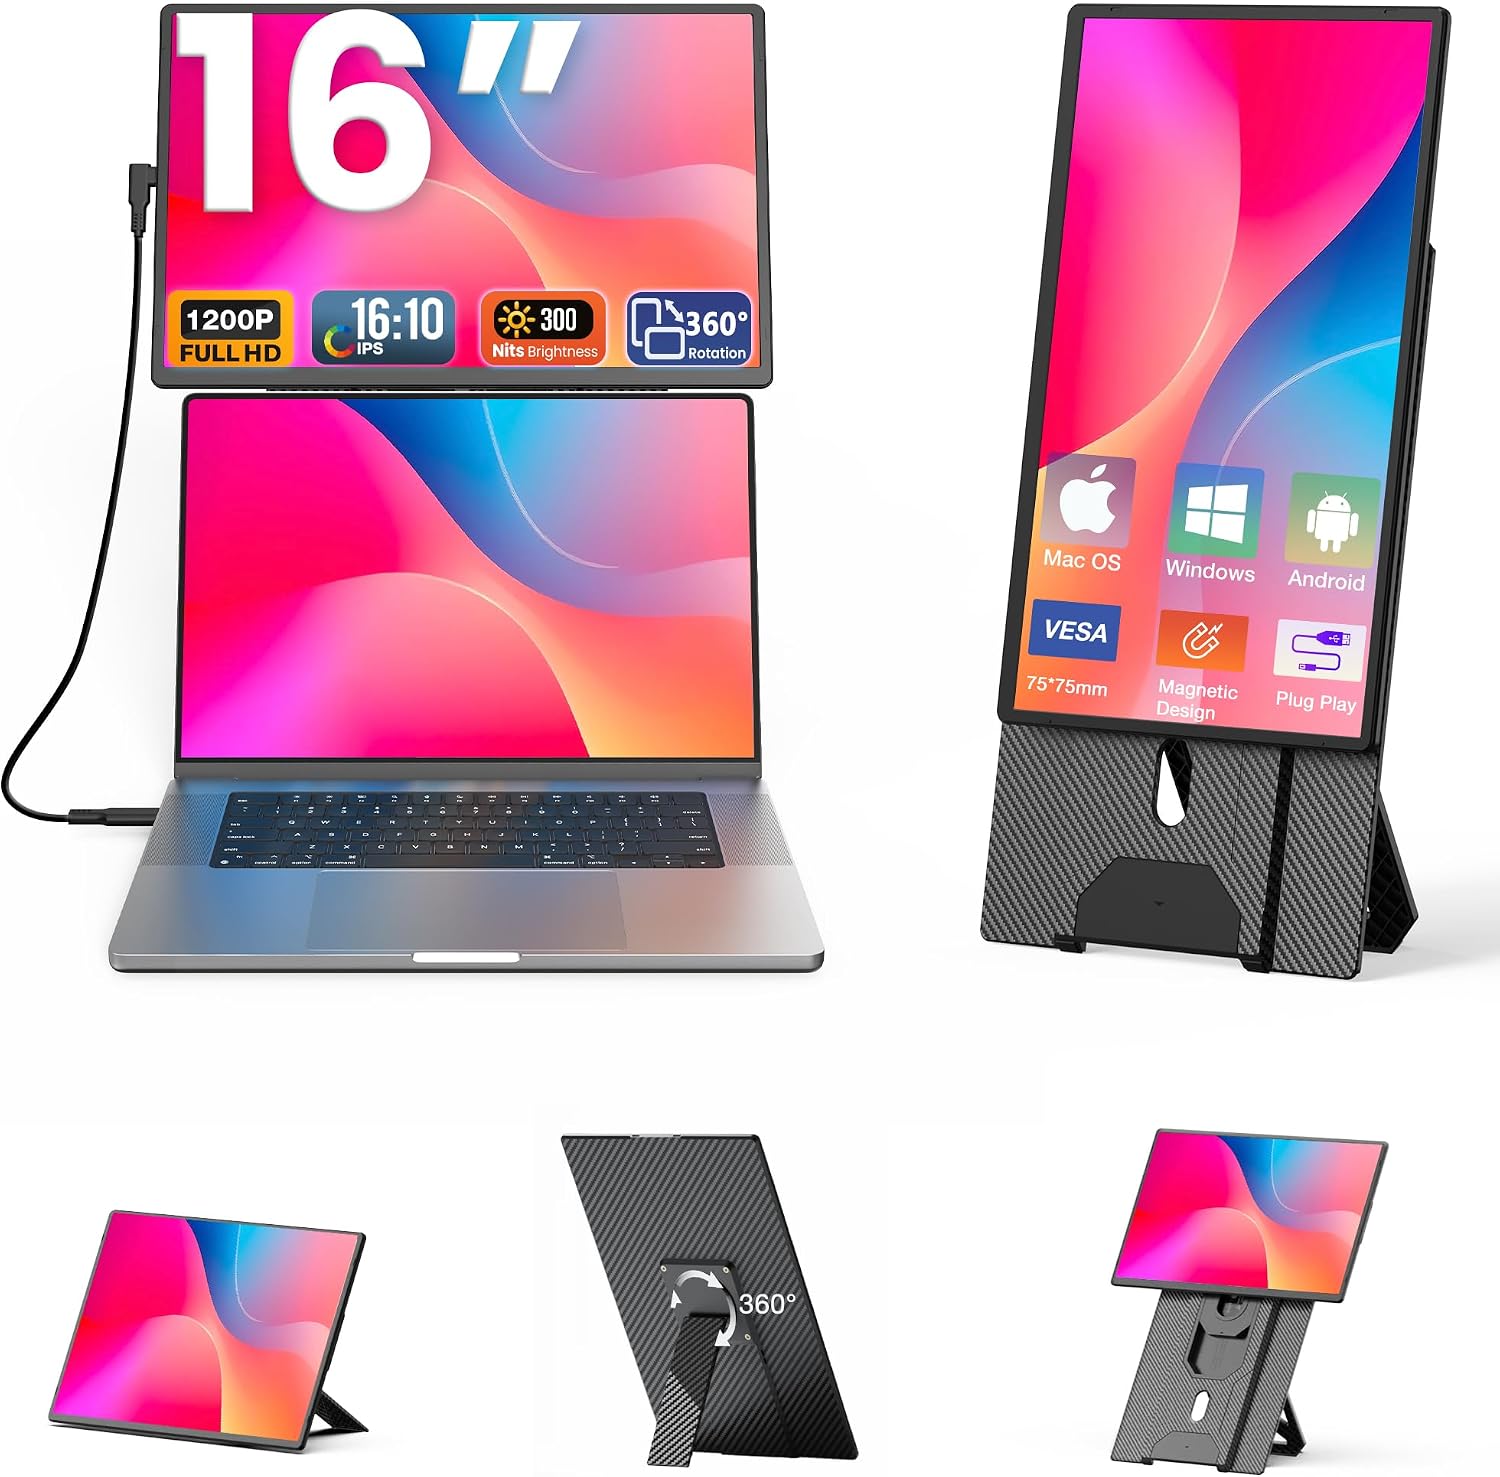
Image: The Kwumsy N2 portable monitor in various configurations, including attached to a laptop and on its magnetic stand.
Product Features
- 16-Inch FHD 1200P Display: Offers an immersive viewing experience with a resolution of 1920x1200 pixels.
- Versatile Display Modes: Supports Expansion, Mirror, and Portrait modes for various tasks.
- Wide Compatibility: Connects to laptops, smartphones, and game consoles via Type-C or HDMI/USB-A.
- 360° Rotatable and Detachable Stand: Allows for flexible screen orientation and easy portability.
- Ultra-thin Design: Lightweight and slim, ideal for travel and limited desk space.
- VESA Mountable: Compatible with 75mm x 75mm VESA mounts (M4 screw size, VESA stand not included).

Image: Detailed feature overview of the Kwumsy N2 monitor, highlighting its 1200P resolution, IPS wide view angle, 300 nits brightness, 60Hz refresh rate, and 360° rotation capability.
Setup Guide
1. Confirm Laptop Port Compatibility
Before connecting, ensure your laptop's Type-C port supports full functionality (Thunderbolt 3.0/4.0, with DisplayPort and video output support). If your laptop only has Type-C for data transfer or charging, you will need to use the HDMI + USB-A connection method.

Image: Visual guide to identify compatible Type-C ports on your laptop, distinguishing between full-function, data+video, data+DisplayPort, data-only, and charging-only ports.
2. Connection Methods
The Kwumsy N2 monitor offers two primary connection methods:
- Single Type-C Connection:
- If your laptop has a full-featured Type-C port, connect the monitor using a single USB-C to USB-C cable.
- Plug the cable into the correct port (Type-C1 & Type-C2 marked) on the monitor.
- HDMI + USB-A Connection:
- For devices without a full-featured Type-C port, connect the monitor using an HDMI cable for video transmission and a USB-A to USB-C cable for power.
- Ensure both cables are securely connected to their respective ports on the monitor and your device.

Image: Step-by-step visual instructions for connecting the monitor via a single Type-C cable or using an HDMI cable for video and a USB-A cable for power.
3. Magnetic Mounting Stand Assembly
- Align the holes on the monitor with the magnetic stand. The screen will magnetically combine with the stand.
- Adjust the stand to a suitable position. The hover design allows for easy movement and adaptation to various laptop sizes.
- The screen supports 360° rotation for multi-angle display needs.

Image: Visual guide demonstrating how to attach the monitor to its magnetic stand, adjust its height, and utilize the 360° rotation feature.
4. VESA Mounting (Optional)
The monitor is VESA mountable (75mm x 75mm, M4 screw size). If you wish to use a VESA arm, ensure the arm is compatible with these specifications. The VESA stand is not included with the product.

Image: Illustration of the monitor's VESA compatibility, showing the 75x75mm mounting pattern and M4 screw size for attachment to a VESA-compatible arm.
Operating Instructions
1. Display Modes
The Kwumsy N2 monitor supports several display modes to enhance your productivity:
- Expansion Mode: Extends your desktop, providing a larger workspace for multitasking.
- Mirror Mode: Duplicates your primary screen, ideal for presentations or collaborative viewing.
- Portrait Mode: Allows the screen to be used vertically, beneficial for coding, document viewing, or web browsing.
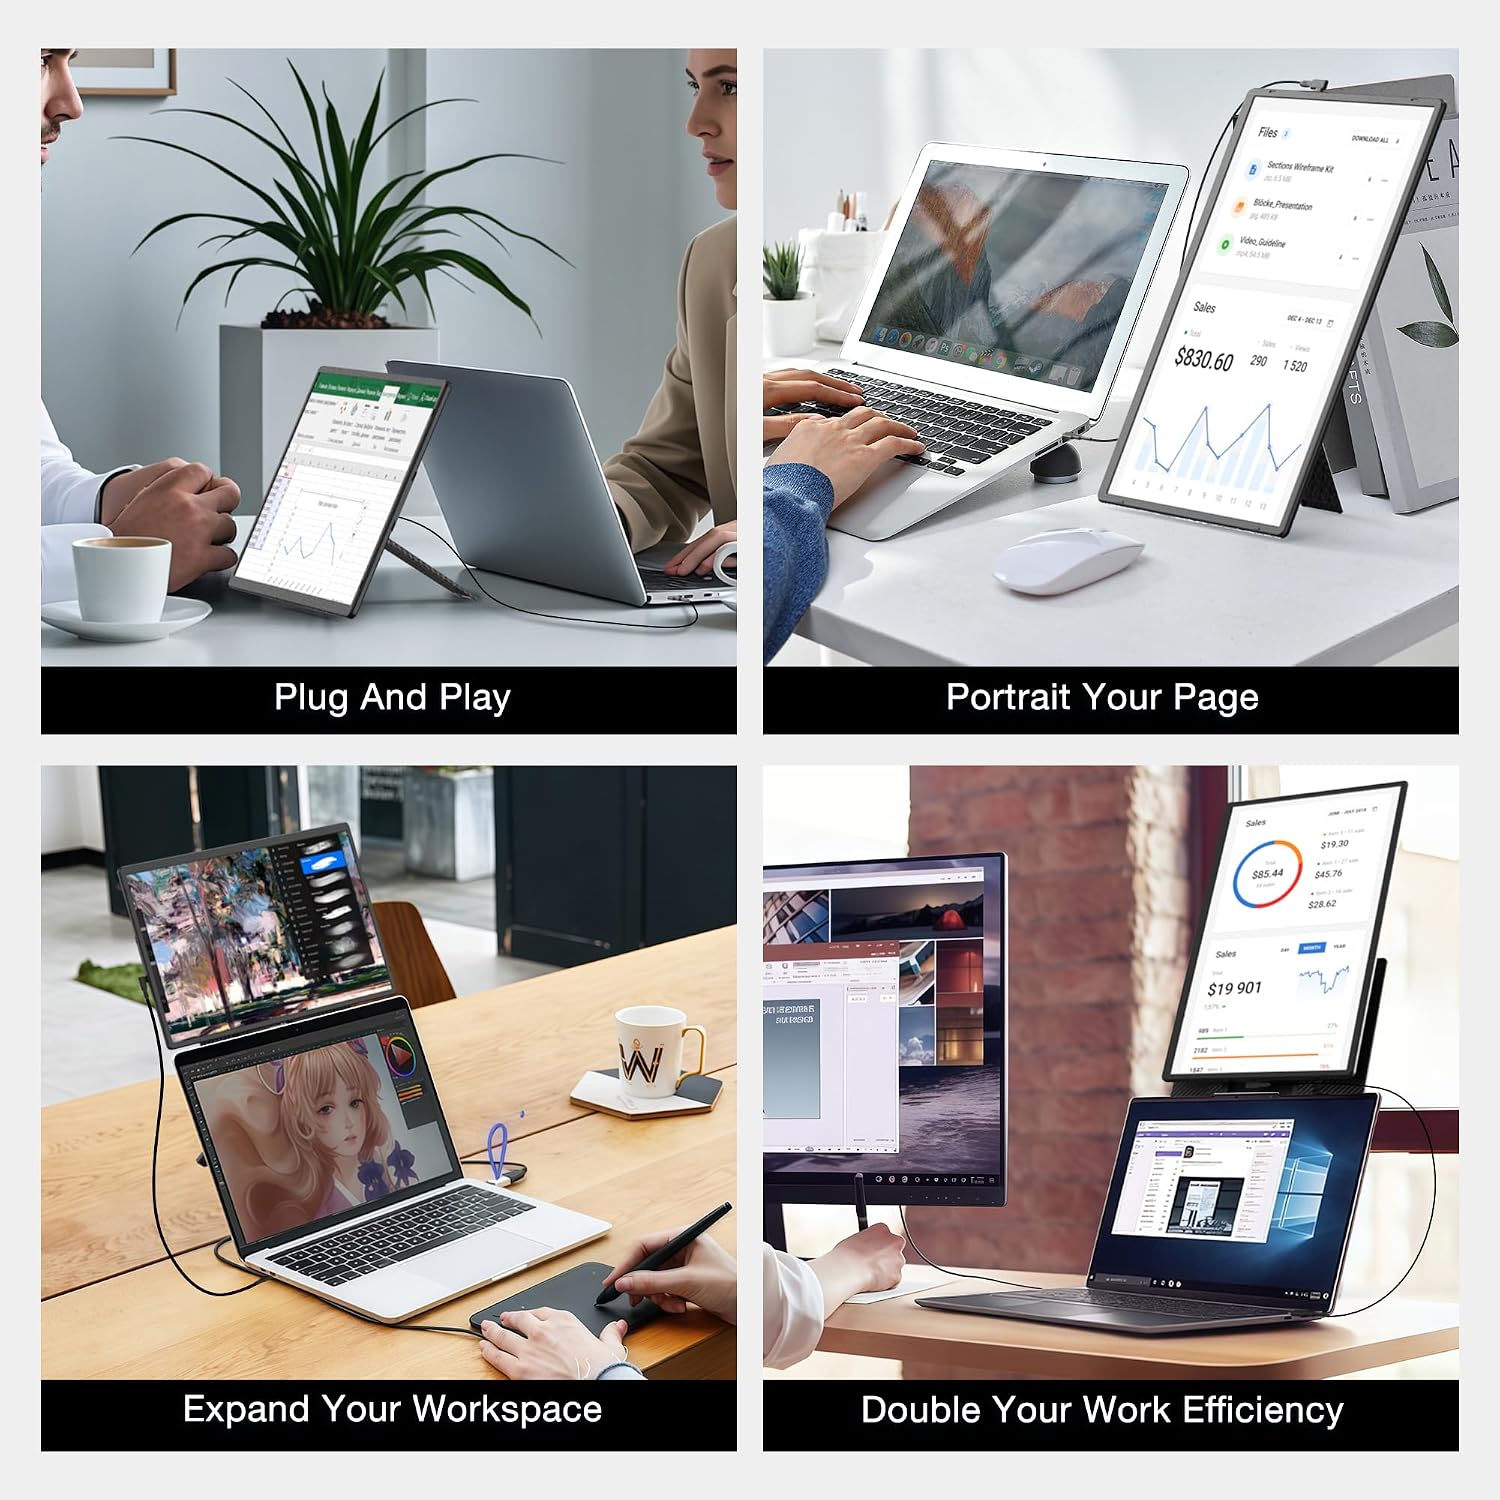
Image: Examples of the monitor in use, showcasing its plug-and-play functionality, portrait orientation, and how it expands or doubles a laptop's workspace.
2. Screen Rotation
The monitor features a 360° rotatable screen, allowing seamless switching between horizontal (landscape) and vertical (portrait) orientations. This flexibility caters to diverse viewing needs and applications.

Image: Illustration of the monitor's flexible installation, demonstrating its ability to rotate 360 degrees for both horizontal and vertical display modes, including expand, portrait, and duplicate modes.
3. Adjusting Settings
The monitor includes controls for adjusting brightness and other display settings. Refer to the on-screen display (OSD) menu for detailed options. Typically, these controls are located on the side or back of the monitor.
Maintenance
- Cleaning: Use a soft, lint-free cloth to gently wipe the screen. For stubborn marks, slightly dampen the cloth with water or a screen-safe cleaning solution. Avoid harsh chemicals or abrasive materials.
- Handling: Always handle the monitor with care. Avoid dropping it or subjecting it to strong impacts.
- Storage: When not in use, store the monitor in a cool, dry place, preferably in its protective casing or bag, to prevent dust accumulation and damage.
- Cable Management: Ensure cables are not bent sharply or tangled to prevent damage to the connectors and wires.
Troubleshooting
- Black Screen, Flickering, or No Signal: If you experience these issues, especially due to limitations of some laptops, connect an external power supply to the monitor. This often resolves power delivery issues.
- Compatibility Issues: Ensure your laptop's Type-C port supports video output. If unsure, refer to your laptop's manual or contact your laptop manufacturer. For non-compatible Type-C ports, use the HDMI + USB-A connection.
- No Image/Power: Check all cable connections to ensure they are secure. Try a different cable if available. Ensure the power source is functioning correctly.
- Image Distortion/Incorrect Resolution: Verify your laptop's display settings are configured for the monitor's native resolution (1920x1200) and refresh rate (60Hz).
If problems persist after following these steps, please contact customer support.
Specifications
| Feature | Specification |
|---|---|
| Brand | Bunosdias (Kwumsy) |
| Model Number | N2 |
| Screen Size | 16 Inches |
| Display Resolution | 1920 x 1200 Pixels (FHD 1200P) |
| Aspect Ratio | 16:10 |
| Refresh Rate | 60 Hz |
| Response Time | 2 Milliseconds |
| Image Contrast Ratio | 1000:1 |
| Screen Surface Description | Glossy |
| Special Features | Flicker-Free, Lightweight, Portable, Ultrawide Screen |
| Connectivity | 2x USB 3.0 Ports, 1x HDMI Port |
| Product Dimensions | 36.8 x 23.7 x 2.95 cm |
| Item Weight | 1.27 kg (2.79 lbs) |
| VESA Mount | 75mm x 75mm (M4 screw size) |
Warranty and Support
For any questions regarding product compatibility, missing accessories, or technical support, please contact the manufacturer or seller directly. The seller for this product is JCCD EU. It is recommended to consult them beforehand to avoid unnecessary issues.
Please retain your proof of purchase for warranty claims. Specific warranty terms and conditions may vary and are typically provided at the time of purchase or can be obtained from the seller.


