1. Introduction
Thank you for choosing the NutriChef Electric Kitchen Composter. This appliance is designed to simplify your food waste management by transforming kitchen scraps into pre-compost material. It features advanced drying, crushing, and cooling functions to efficiently process various organic waste, reducing volume and odors. This manual provides essential information for safe operation, setup, maintenance, and troubleshooting to ensure optimal performance and longevity of your composter.
2. Safety Information
Please read all safety instructions carefully before using the appliance. Failure to follow these instructions may result in electric shock, fire, or serious injury.
- Electrical Safety: Ensure the appliance is connected to a grounded outlet. Do not operate with a damaged power cord or plug.
- Placement: Place the composter on a stable, level, heat-resistant surface. Ensure proper ventilation around the unit.
- Water and Liquids: Do not immerse the appliance in water or other liquids. Avoid spilling liquids onto the control panel.
- Foreign Objects: Avoid placing sharp objects, large bones, fruit pits, or non-food items into the composter.
- Overfilling: Do not overfill the compost bucket beyond the maximum fill line indicated inside.
- Children and Pets: Keep the appliance out of reach of children and pets.
- Maintenance: Always unplug the composter before cleaning or performing any maintenance.
- Ventilation: Ensure the ventilation openings are not blocked during operation.
3. Package Contents
Verify that all items are included in your package:
- NutriChef Electric Kitchen Composter Unit
- Removable Compost Bucket
- Lid with Integrated Filter System
- Power Cord
- User Manual
4. Product Overview
The NutriChef Electric Kitchen Composter is designed for ease of use and efficient food waste processing. Familiarize yourself with its main components and control panel.
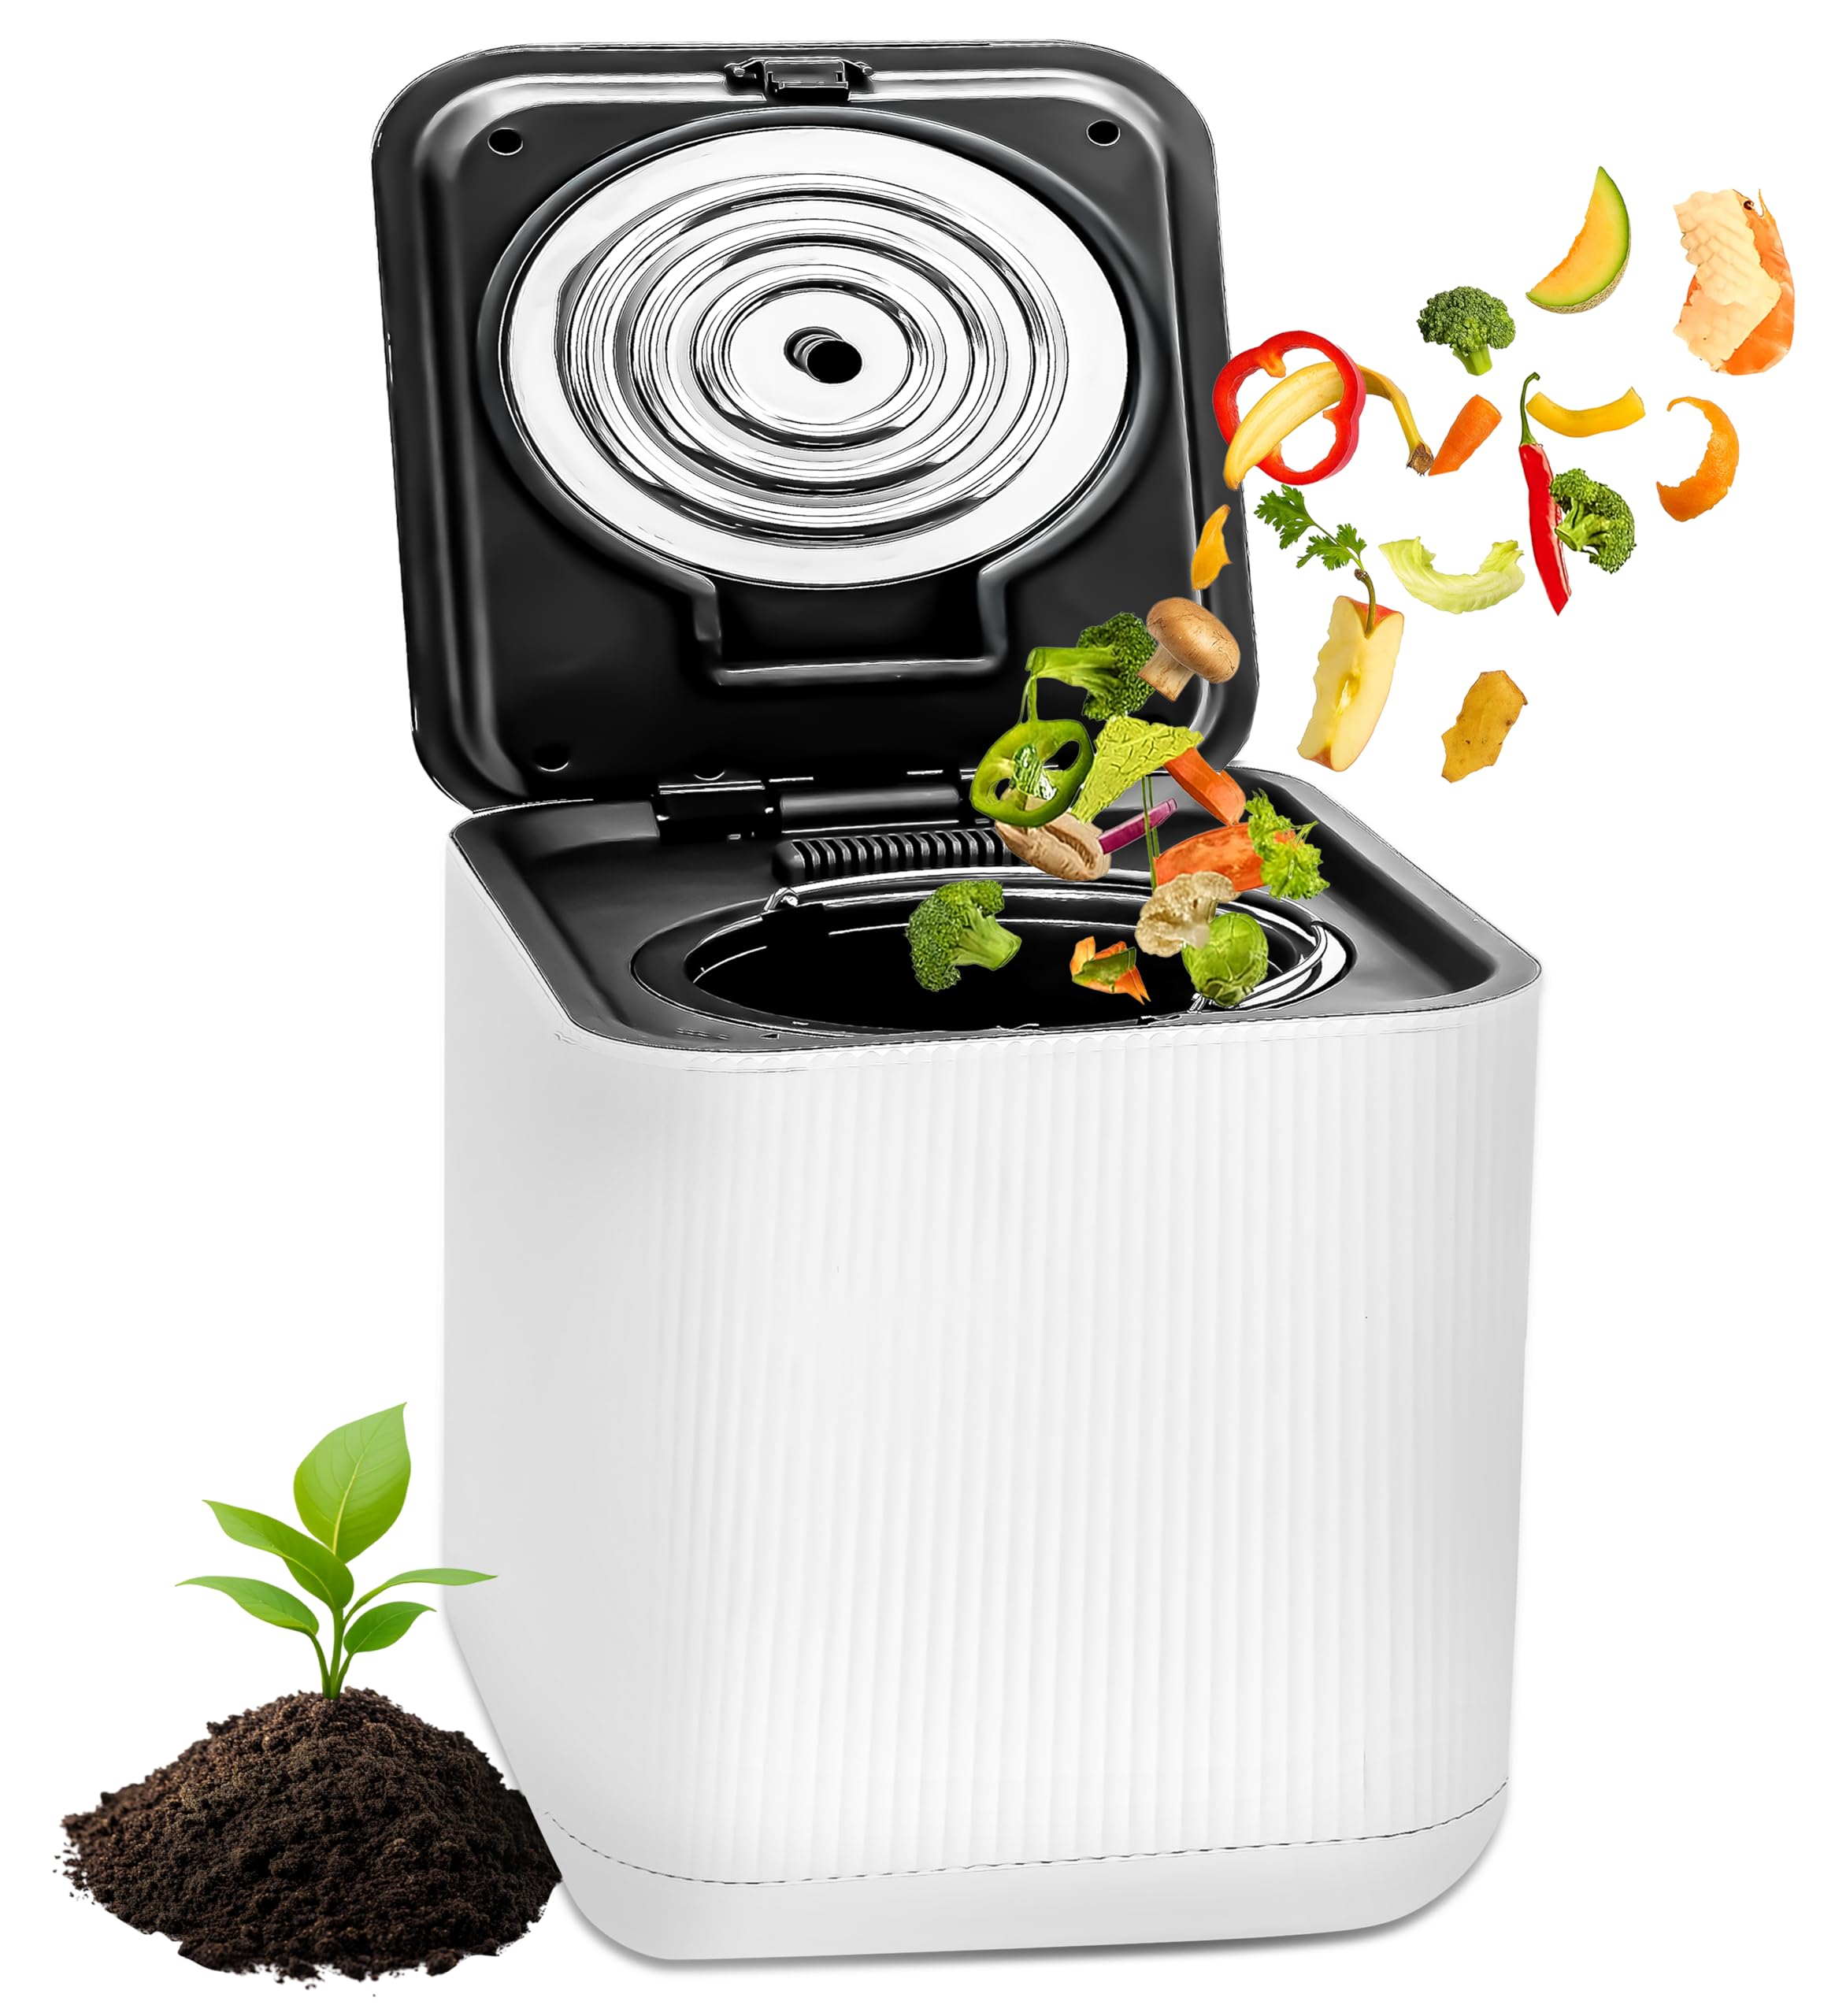
Figure 1: Main view of the NutriChef Electric Kitchen Composter.

Figure 2: Close-up of the control panel showing Start, Dry, Crush, Cooling, Countdown, Clean, and Filter indicators. Also visible are the internal grinding mechanism and the replaceable filter compartment.
Control Panel Functions:
- Start Button: Initiates the composting cycle.
- Dry Indicator: Illuminates during the drying phase.
- Crush Indicator: Illuminates during the crushing phase.
- Cooling Indicator: Illuminates during the cooling phase.
- Countdown Display: Shows remaining cycle time.
- Clean Indicator: Illuminates when a cleaning cycle is recommended.
- Filter Indicator: Illuminates when the filter needs replacement.
5. Setup
Follow these steps for initial setup of your composter:
- Unpack: Carefully remove all components from the packaging.
- Remove Stickers: For first-time use, ensure all protective stickers, especially those on the filter, are removed.
- Placement: Place the composter on a flat, stable countertop or surface, ensuring adequate space for ventilation.
- Insert Bucket: Ensure the removable compost bucket is properly seated inside the main unit.
- Connect Power: Plug the power cord into the composter and then into a standard electrical outlet.
6. Operating Instructions
Using your NutriChef Electric Kitchen Composter is simple:

Figure 3: Visual guide for the composting process: filling the bucket, starting the cycle, and collecting the finished material.
- Fill the Bucket: Open the lid and place your food scraps into the removable compost bucket. Do not exceed the 'Max Line' indicated inside the bucket.
- Close the Lid: Ensure the lid is securely closed.
- Start Cycle: Press the 'Start' button on the control panel. The composter will automatically begin the drying, crushing, and cooling process. The countdown display will show the estimated remaining time (typically 6-10 hours).
- Cycle Completion: Once the cycle is complete, the unit will signal with an audible alert and/or indicator light.
- Collect Compost: Open the lid, remove the bucket, and empty the processed material. This pre-compost material can be added to garden soil, potted plants, or outdoor compost piles.
Acceptable Food Scraps:
- Fruit and vegetable scraps
- Coffee grounds and tea bags
- Eggshells
- Small amounts of cooked leftovers (without excessive liquids or oils)
Unacceptable Items:
- Large bones, fruit pits, nuts, hard shells
- Dairy products, oils, fats, greasy foods
- Liquids, sauces, soups
- Plastic, glass, metal, paper, cardboard
- Pet waste
7. Maintenance
Regular cleaning and maintenance ensure efficient operation and prolong the life of your composter.
Cleaning the Compost Bucket:
- The removable compost bucket is dishwasher-safe for easy cleaning.
- Alternatively, wash with warm, soapy water and a non-abrasive sponge. Rinse thoroughly and dry completely before reinserting.
Self-Cleaning Mode:

Figure 4: The composter's self-cleaning mode, designed to maintain internal hygiene.
- The composter features a self-cleaning mode. Refer to the control panel for the 'Clean' indicator.
- To activate, ensure the bucket is empty and clean, then follow the instructions in the full manual for initiating the self-clean cycle.
Filter Replacement:
Figure 5: The filter compartment, located on the lid, which houses the replaceable odor filter.
- The 'Filter' indicator light on the control panel will illuminate when it's time to replace the activated carbon filter.
- To replace, open the filter compartment on the lid, remove the old filter, and insert a new one. Ensure the new filter is correctly oriented.
- Replacement filters can be purchased from authorized NutriChef retailers or the official website.
Exterior Cleaning:
- Wipe the exterior of the unit with a damp cloth. Do not use abrasive cleaners or solvents.
8. Troubleshooting
If you encounter issues with your composter, refer to the following common problems and solutions:
| Problem | Possible Cause | Solution |
|---|---|---|
| Unit does not start | Not plugged in; Lid not closed properly; Power outage | Check power connection; Ensure lid is securely latched; Check household power supply |
| Unpleasant odors during operation | Filter needs replacement; Unsuitable food items; Overfilled bucket | Replace carbon filter; Refer to 'Unacceptable Items' list; Do not overfill |
| Food scraps not fully processed (wet/sludgy) | Too much liquid content; Overfilled bucket; Cycle interrupted | Drain excess liquid from scraps; Do not overfill; Ensure lid remains closed during cycle |
| Unit is noisy | Hard items in bucket; Unit not on a stable surface | Remove hard items; Place on a stable, level surface |
| Clean/Filter indicator light stays on after action | Indicator reset not performed | Refer to the full manual for specific instructions on how to reset the indicator lights after cleaning or filter replacement. |
9. Specifications
| Feature | Detail |
|---|---|
| Brand | NutriChef |
| Model Number | B0F79Y7BB4 |
| Material | Polypropylene (PP) and ABS Plastic |
| Color | White |
| Capacity | 3 Liters |
| Product Dimensions (L x W x H) | 11.02" x 13.5" x 12.5" |
| Item Weight | 20.1 Pounds |
| Cycle Time | 6-10 hours (approximate) |
| Features | One-button operation, Odorless filtration, Low noise, Auto-clean function, Dishwasher-safe parts |
10. Warranty and Support
NutriChef products are manufactured with quality and performance in mind. For detailed warranty information, including coverage period and terms, please refer to the warranty card included with your product or visit the official NutriChef website.
If you require technical assistance, have questions about product operation, or need to report a defect, please contact NutriChef Customer Support. Contact information can typically be found on the product packaging, the official website, or your purchase receipt.
When contacting support, please have your product model number (B0F79Y7BB4) and proof of purchase readily available.


