Product Overview
The LoraTap Wireless Remote Control Outlet provides a convenient and efficient way to control your indoor lamps, fans, and various appliances without the need for complex wiring or Wi-Fi. This system is designed for ease of use, offering a 100-foot wireless range that allows control through walls and floors. Its compact and renter-friendly design makes it an ideal solution for hard-to-reach outlets and for creating a more accessible home environment.

Image: The LoraTap wireless remote control outlet and its accompanying remote, showcasing their compact design.
Setup Instructions
Setting up your LoraTap Wireless Remote Control Outlet is a straightforward process, requiring no tools or electrical wiring. Follow these steps for quick installation:
- Plug In the Receiver: Insert the LoraTap wireless outlet receiver into any standard 120V AC wall socket. Ensure it is securely seated. The compact design allows the adjacent socket to remain accessible.
- Connect Your Appliance: Plug the appliance or lamp you wish to control into the LoraTap wireless outlet receiver.
- Mount the Remote (Optional): The wireless remote control can be mounted on walls or metal surfaces using the included adhesive or magnetic backing. No drilling or tools are required. Simply peel the adhesive backing and press firmly onto a clean, dry surface, or attach it to a magnetic surface.
- Initial Pairing: The remote and receiver are pre-paired from the factory. If re-pairing is needed, refer to the troubleshooting section or the quick start guide included in the product packaging.

Image: Two LoraTap wireless outlets plugged into a single wall outlet, illustrating how the space-saving design allows both sockets to be used.
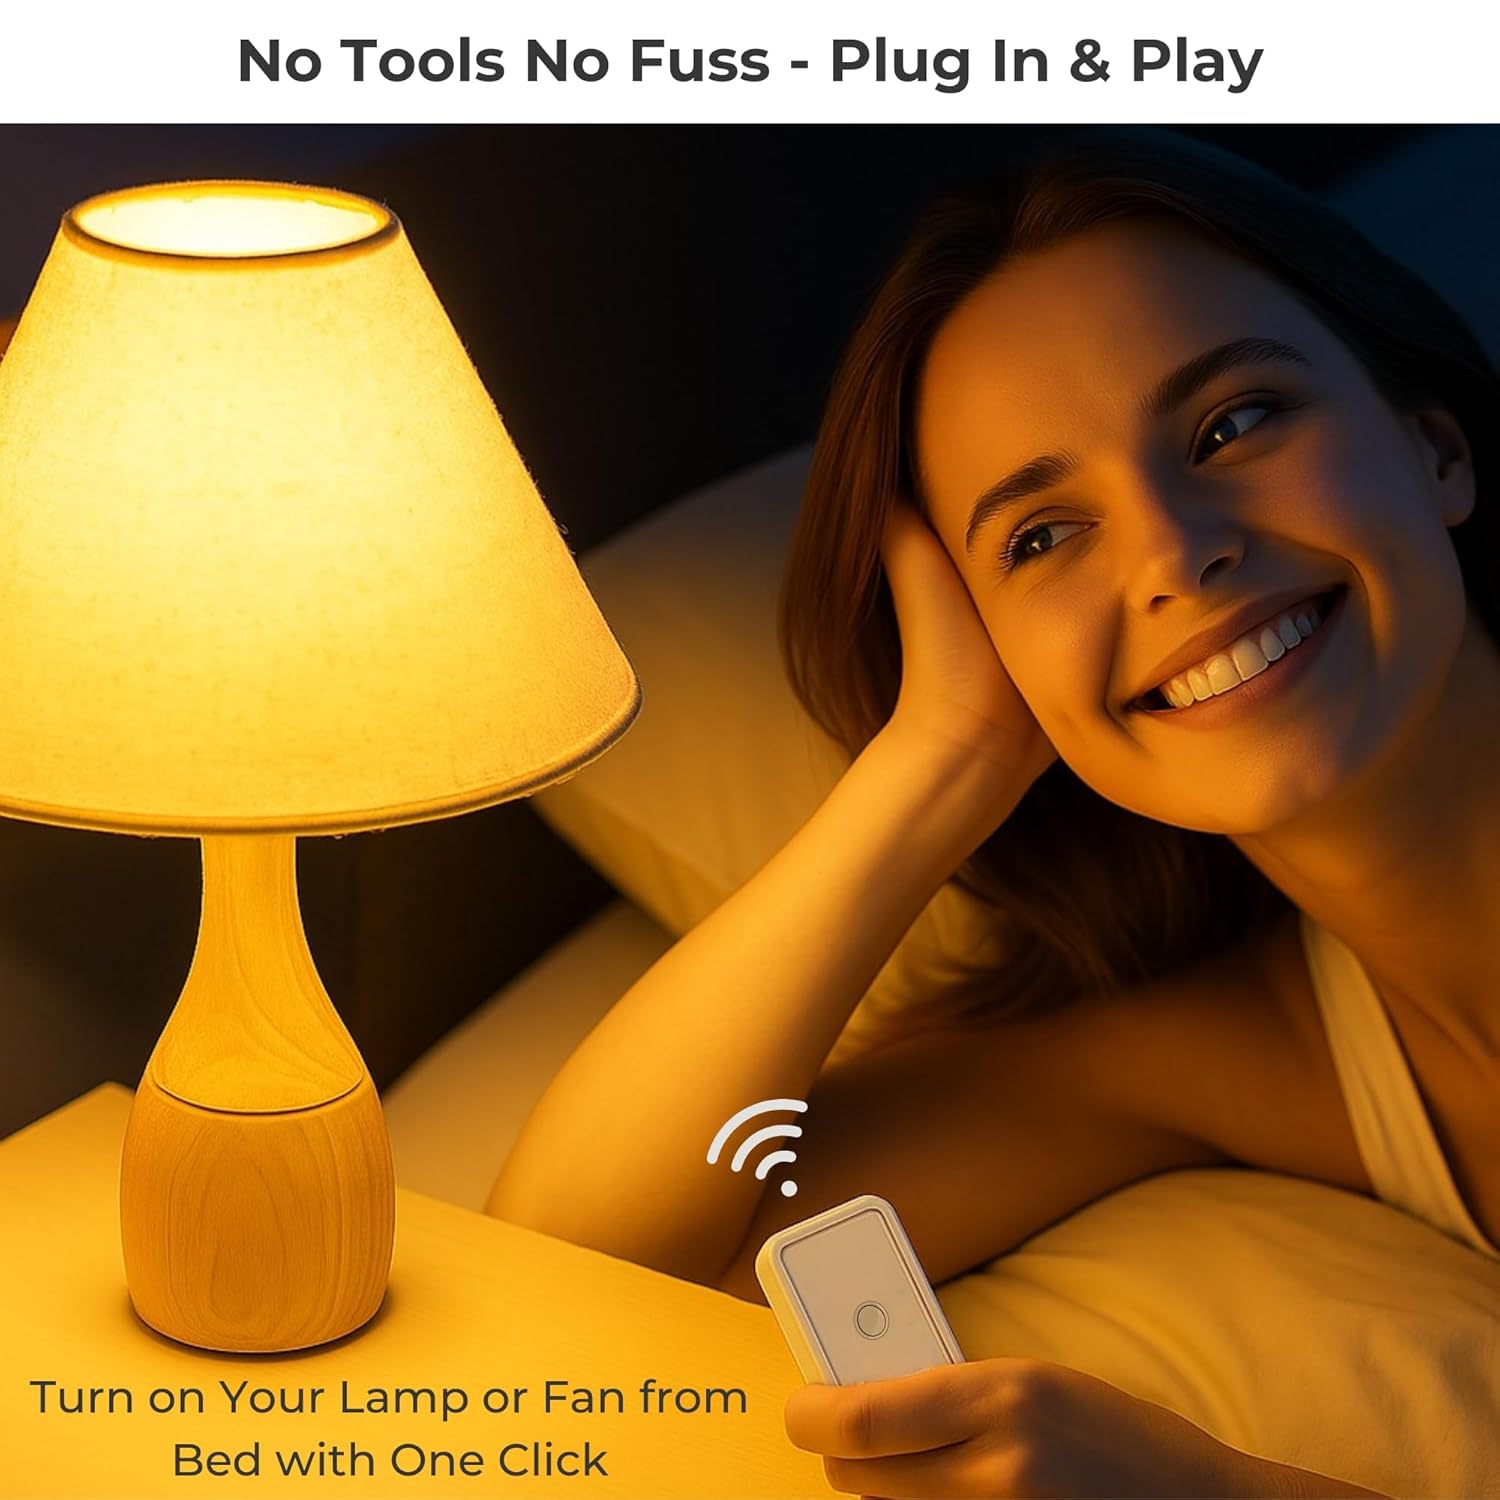
Image: A woman sitting in bed, effortlessly turning on a lamp with the LoraTap wireless remote, highlighting the plug-and-play convenience.
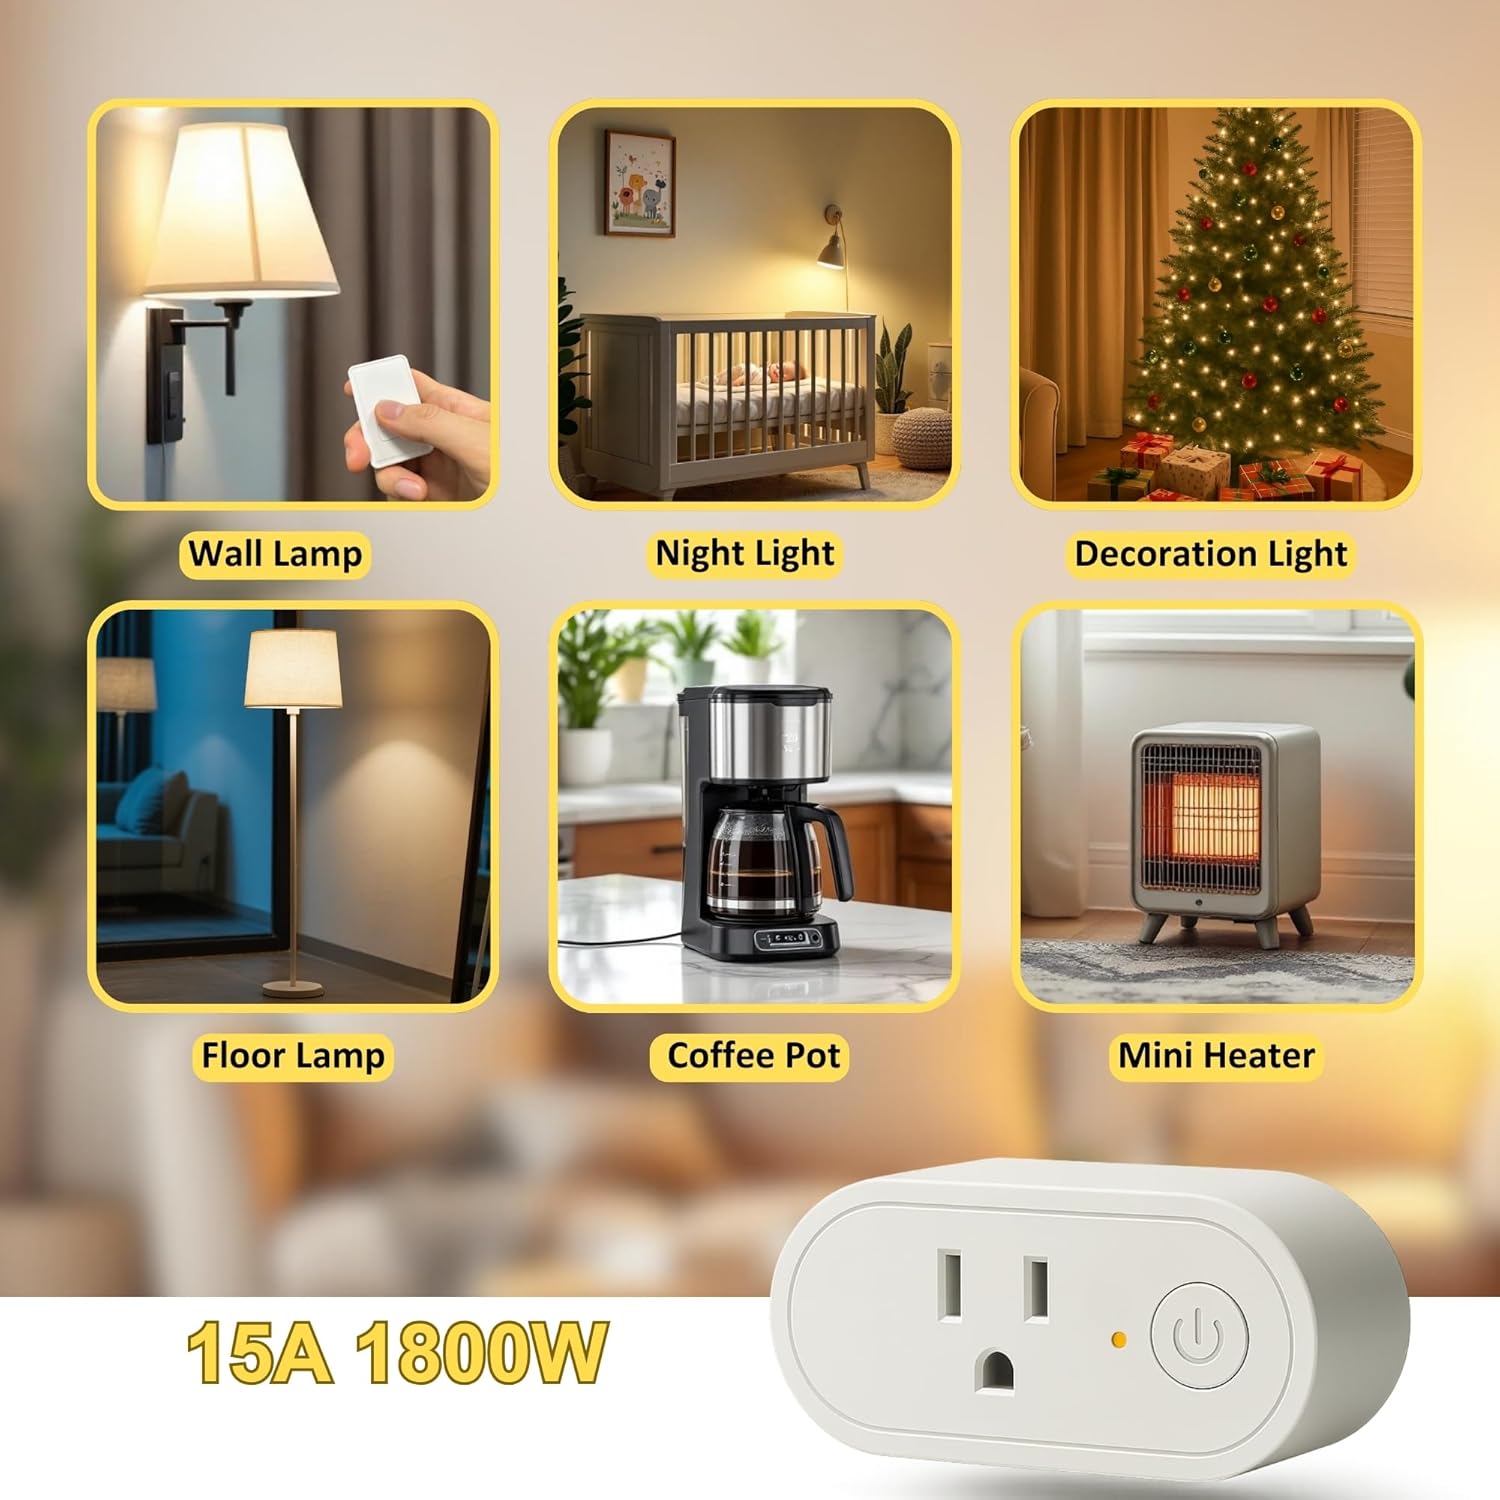
Image: A woman demonstrating the easy, no-drilling, no-wiring mounting of the LoraTap wireless remote to a wall.
Operating Instructions
Once set up, operating your LoraTap Wireless Remote Control Outlet is simple:
- Turning On/Off: Press the single button on the wireless remote control to toggle the connected appliance or lamp on or off. The remote features a clear tactile button for easy operation.
- Range: The strong RF signal allows control from up to 100 feet away, even through walls and floors, providing flexibility in placement and use.
- Memory Function: The outlet features a memory function that recalls the last on/off state after a power outage, ensuring your devices return to their previous setting without manual intervention.
- Versatile Applications: Use the LoraTap outlet to control a wide variety of indoor devices, including floor lamps, wall lamps, night lights, coffee makers, mini heaters, and holiday decorations.
- Convenience: Eliminate the need to constantly plug and unplug devices, or reach for inconveniently located switches.

Image: The LoraTap remote and outlet with text highlighting its strong RF signal and 100-foot range, enabling control through walls and floors.
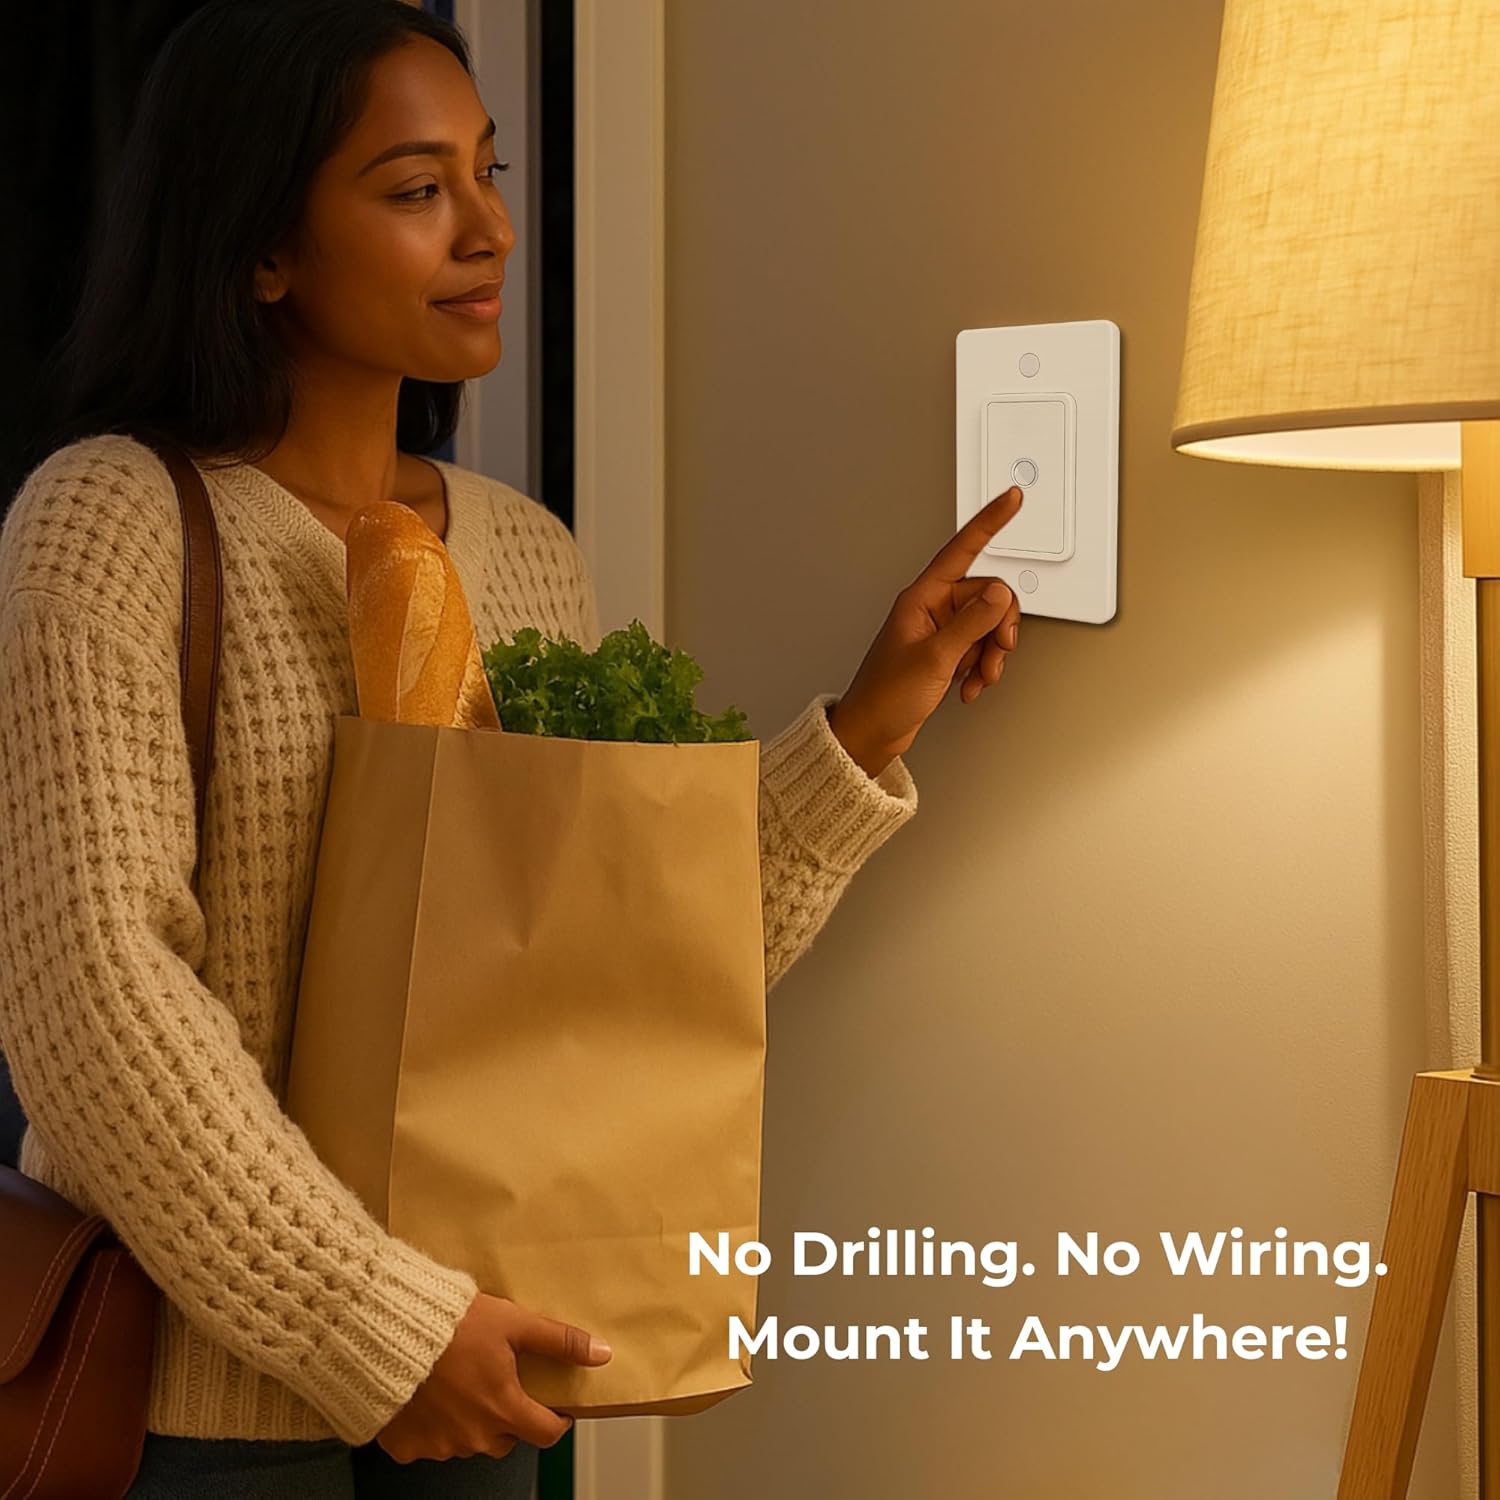
Image: A visual representation of the LoraTap outlet's versatility, showing its use with various household items like lamps, coffee pots, and mini heaters.

Image: A comparison showing the effort of manually unplugging a lamp versus the ease of using the LoraTap remote to control it.
Maintenance
The LoraTap Wireless Remote Control Outlet requires minimal maintenance to ensure optimal performance:
- Cleaning: Wipe the surfaces of the outlet and remote with a soft, dry cloth. Do not use abrasive cleaners or immerse in water.
- Battery Replacement: The remote control is powered by one CR2032 battery, which is included. If the remote's indicator light does not illuminate or its range decreases significantly, it may be time to replace the battery. To replace, carefully open the battery compartment on the back of the remote, remove the old battery, and insert a new CR2032 battery with the correct polarity.
- Storage: When not in use for extended periods, store the device in a cool, dry place away from direct sunlight and extreme temperatures.
Troubleshooting
If you encounter issues with your LoraTap Wireless Remote Control Outlet, consider the following common solutions:
- Device Not Responding:
- Ensure the outlet receiver is securely plugged into a live power socket.
- Verify that the appliance connected to the outlet is properly plugged in and functioning correctly when directly connected to a power source.
- Check the battery in the remote control. Replace if necessary (refer to Maintenance section).
- Ensure the remote is within the 100-foot operating range. While the signal can pass through walls, excessive obstacles or interference sources may reduce range.
- Interference: The LoraTap system uses rolling codes to minimize interference. If you experience unexpected behavior, try moving the remote or receiver slightly, or ensure no other strong RF devices are operating in very close proximity.
- Re-pairing Remote and Outlet: If the remote and outlet lose connection, they may need to be re-paired. Typically, this involves pressing and holding a button on the receiver until an indicator light flashes, then pressing a button on the remote. Refer to the specific pairing instructions in your product's quick start guide for detailed steps.
- Power Outage Memory: If the device does not return to its previous state after a power outage, ensure the memory function is active (it is typically automatic). If issues persist, contact customer support.
Specifications
| Feature | Detail |
|---|---|
| Model Number | SP511Q1-US-1Gang |
| Product Dimensions | 3.27 x 1.5 x 1.26 inches; 5.93 ounces |
| Operation Mode | ON-OFF |
| Current Rating | 15 Amps |
| Operating Voltage | 120 Volts (AC) |
| Contact Type | Normally Open |
| Connector Type | Plug In |
| Material | Plastic |
| Circuit Type | 2-way |
| Actuator Type | Push Button |
| Remote Battery | 1 CR2032 (included) |
Warranty and Support
LoraTap stands behind the quality of its products. The Wireless Remote Control Outlet (Model SP511Q1-US-1Gang) is backed by a 2-year warranty from the date of purchase.
For warranty claims, technical assistance, or any questions regarding your product, please contact LoraTap customer support through the following channels:
- Email: support@loratap.com
- Website: Visit the official LoraTap website for FAQs and additional resources.
Please have your model number and purchase date ready when contacting support to ensure efficient service.


