Introduction
This manual provides instructions for the Karlsson KA6039GY LED Retro Flat Alarm Clock. Please read this manual carefully before use and retain it for future reference. This alarm clock combines a slim design with warm wooden details and an LED display, suitable for various environments.
Product Overview
The Karlsson KA6039GY LED Retro Flat Alarm Clock is constructed from durable MDF material and features an integrated wireless charging pad.
Front View
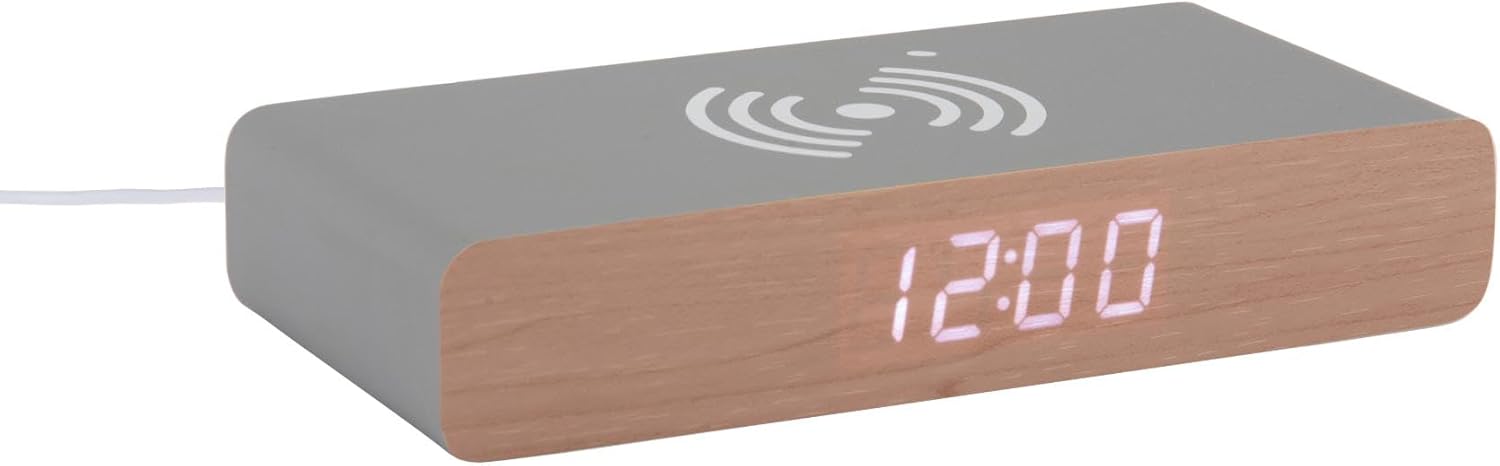
This image displays the front of the Karlsson KA6039GY alarm clock, highlighting its LED time display and the integrated wireless charging pad symbol on the top surface.
Angled View

This image provides an angled perspective of the alarm clock, showcasing the LED display, the wireless charging icon, and the "KARLSSON" brand name printed on the side.
Rear View and Controls

This image shows the back panel of the alarm clock, detailing the control buttons for settings and the power input port.
Setup
Power Connection
- Connect the provided power cable to the power input port on the rear of the alarm clock.
- Plug the other end of the power cable into a suitable power outlet.
- The LED display will illuminate, indicating the device is powered on.
Operating Instructions
Setting the Time
- Locate the time setting button on the rear panel.
- Press and hold the time setting button until the hour digits begin to flash.
- Use the adjustment buttons (e.g., Up/Down or +/-) to set the correct hour.
- Press the time setting button again to switch to minute adjustment.
- Use the adjustment buttons to set the correct minutes.
- Press the time setting button one more time to confirm and exit time setting mode.
Setting the Alarm
- Locate the alarm setting button on the rear panel.
- Press and hold the alarm setting button until the alarm hour digits begin to flash.
- Use the adjustment buttons to set the desired alarm hour.
- Press the alarm setting button again to switch to alarm minute adjustment.
- Use the adjustment buttons to set the desired alarm minutes.
- Press the alarm setting button one more time to confirm and exit alarm setting mode.
- To activate or deactivate the alarm, press the alarm setting button briefly. An indicator (e.g., a small icon) on the display will show if the alarm is active.
Using the Wireless Charging Function
The top surface of the alarm clock features an integrated wireless charging pad.
- Ensure the alarm clock is powered on.
- Place your Qi-compatible device (e.g., smartphone) directly onto the wireless charging symbol on the top surface.
- The device should indicate that it is charging. If not, adjust its position on the pad.
Maintenance
Care and Cleaning
To ensure the longevity and proper function of your alarm clock, follow these maintenance guidelines:
- Disconnect the power before cleaning.
- Wipe the surface with a soft, dry, or slightly damp cloth. Do not use abrasive cleaners, solvents, or chemical sprays.
- Avoid exposing the device to excessive moisture or direct sunlight.
- Do not attempt to disassemble the unit.
Troubleshooting
Common Issues and Solutions
| Problem | Possible Cause | Solution |
|---|---|---|
| Display is off | No power connection | Ensure the power cable is securely connected to the clock and the power outlet. |
| Time/Alarm cannot be set | Buttons not pressed correctly | Refer to the "Setting the Time" or "Setting the Alarm" sections and ensure buttons are pressed and held as instructed. |
| Wireless charging not working | Device not Qi-compatible or misaligned | Ensure your device supports Qi wireless charging. Reposition the device on the charging pad. Check if the clock is powered on. |
| Alarm does not sound | Alarm not activated | Ensure the alarm is activated (check for alarm indicator on display). |
Specifications
Product Specifications
- Model: KA6039GY
- Brand: Karlsson
- Material: MDF
- Color: Mouse Grey
- Dimensions (W x H): 7.6 cm x 3 cm
- Weight: 486 g
- Power Source: Mains powered
- Features: LED display, Wireless charging pad
Warranty and Support
Warranty Information
This product comes with a standard manufacturer's warranty. For specific warranty terms and conditions, please refer to the documentation included with your purchase or contact Karlsson customer support.
Customer Support
For technical assistance, troubleshooting, or warranty claims, please contact your retailer or visit the official Karlsson website:


