
SIMUSI H04
SIMUSI Easy Load & Auto Feed Trimmer Head User Manual
Model: H04
Introduction
This manual provides comprehensive instructions for the installation, operation, maintenance, and troubleshooting of your SIMUSI Easy Load & Auto Feed Trimmer Head. Please read this manual carefully before use to ensure safe and efficient operation. This trimmer head is designed for universal compatibility with most left-hand (counterclockwise) rotating string trimmers, offering an easy line loading and auto-feed mechanism for continuous cutting.
Safety Information
Always prioritize safety when operating power tools. Failure to follow these instructions may result in serious injury or property damage.
- Read Trimmer Manual: Always refer to your string trimmer's original instruction manual for specific safety guidelines and operating procedures.
- Personal Protective Equipment (PPE): Wear appropriate PPE, including safety glasses or goggles, hearing protection, long pants, sturdy footwear, and gloves.
- Inspect Before Use: Before each use, inspect the trimmer head for any damage, loose parts, or excessive wear. Ensure the trimmer line is properly installed and secured.
- Clear Work Area: Ensure the work area is clear of debris, rocks, and other objects that could be thrown by the trimmer line. Keep bystanders and pets at a safe distance.
- Proper Installation: Ensure the trimmer head is securely attached to your trimmer shaft according to the instructions provided in this manual. Incorrect installation can lead to detachment during operation.
- Power Off: Always turn off the trimmer engine/motor and disconnect the spark plug wire (for gas trimmers) or remove the battery (for cordless trimmers) before performing any maintenance, installation, or line replacement.
- Compatibility: This trimmer head is designed for left-hand (counterclockwise) rotating trimmers only. Do not attempt to install it on right-hand (clockwise) rotating trimmers.
Package Contents
Please verify that all items listed below are included in your package:
- 1 x SIMUSI Easy Load & Auto Feed Trimmer Head (approx. 3.9" x 2.6")
- 1 x 12 FT (0.095") Dual-Color Twisted Trimmer Line
- 1 x Gasket (30mm outer ring diameter; 10.5mm inner ring diameter)
- Hardware Kit (for left-hand rotating trimmers):
- Nut A: M8X1.25LH-6H
- Bolt A: M8X1.25-6g LH
- Nut B: M10X1.25LH-6H
- Bolt B: M10X1.25-6g LH
- Nut C: M10X1.0LH-6H
- Bolt C: M7X1.0-6g LH
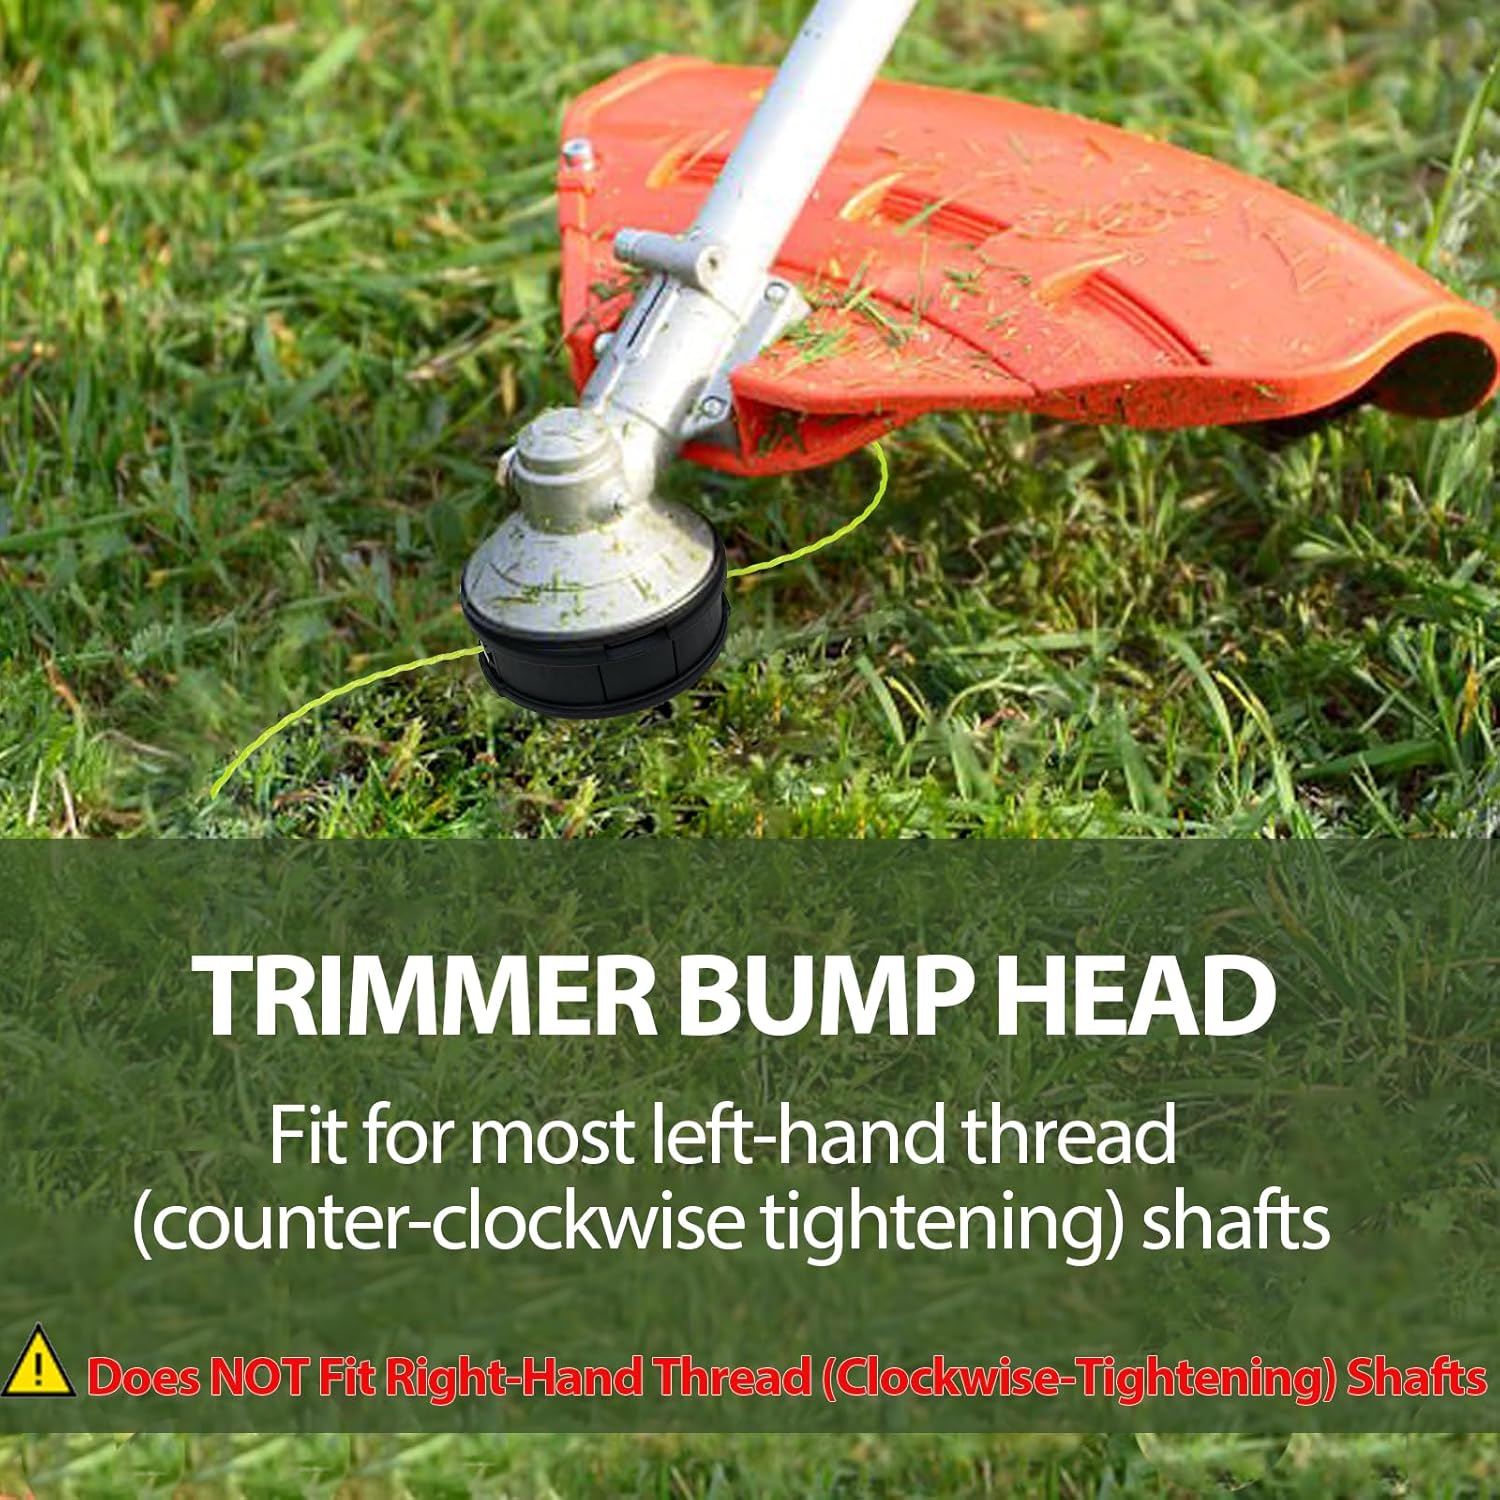
Image: Contents of the SIMUSI Easy Load & Auto Feed Trimmer Head package, including the head, trimmer line, gasket, and various nuts and bolts for compatibility.

Image: A closer look at the individual components: trimmer head, 0.095"/14ft trimmer line, gasket, and the specific nuts (A, B, C) and bolts (A, B, C) with their thread specifications.
Setup and Installation
Follow these steps to properly install the trimmer head on your compatible string trimmer.
- Prepare Trimmer: Ensure your string trimmer is turned off, the engine is cool, and the spark plug wire is disconnected (for gas models) or the battery is removed (for cordless models).
- Remove Old Head: Carefully remove your existing trimmer head. This usually involves unscrewing it in the direction opposite to the shaft's rotation. Consult your trimmer's manual if unsure.
- Check Compatibility: This trimmer head is designed for left-hand (counterclockwise) rotating trimmers only. It is not suitable for right-hand (clockwise) trimmers or snap-on trimmers. Verify your trimmer's shaft thread direction and size.
- Select Correct Hardware: Identify the correct nut and bolt from the provided hardware kit that matches your trimmer's shaft thread. The kit includes various sizes (M8X1.25LH, M10X1.25LH, M10X1.0LH for nuts; M8X1.25-6g LH, M10X1.25-6g LH, M7X1.0-6g LH for bolts).
- Install Gasket: Place the provided gasket onto the trimmer shaft, ensuring it sits flush.
- Attach Trimmer Head: Screw the selected nut/bolt combination onto your trimmer's shaft. Then, align the trimmer head and securely attach it. Ensure it is tightened firmly but do not overtighten.

Image: Illustration showing the trimmer bump head installed on a string trimmer, emphasizing its compatibility with left-hand (counter-clockwise tightening) shafts and explicitly stating it does not fit right-hand (clockwise-tightening) shafts.
Operating Instructions
The SIMUSI Easy Load & Auto Feed Trimmer Head simplifies line management, allowing for quick reloading and continuous feeding.
Loading Trimmer Line (No Disassembly Needed)
This trimmer head features an easy-load design, eliminating the need to disassemble the head for line replacement.
- Prepare Line: Use the provided 0.095" trimmer line or a compatible line up to 0.105" in diameter. The head can hold up to 14 feet of 0.095" line.
- Align and Insert: Locate the arrows on the trimmer head. Press the side tabs to open the line entry points. Align the orange mark on the line with the corresponding mark on the head. Insert one end of the trimmer line through one eyelet and push it straight through the head until it exits the opposite eyelet. Pull the line through until both ends are roughly equal in length.
- Wind Line: Once the line is inserted, twist the knob on top of the trimmer head in the direction indicated by the arrows (usually clockwise). The line will automatically wind onto the spool inside the head. Continue winding until only about 6-8 inches of line extend from each side.

Image: Visual guide demonstrating the toolless line loading process: 1. Press to open and install hardware. 2. Match arrows and feed the line in. 3. Center the orange line and spin to load.
Auto-Feed (Bump Feed) Mechanism
The bump feed design allows you to extend the trimmer line without stopping the trimmer.
- Start Trimmer: Start your string trimmer and bring it to operating speed.
- Tap Head: While the trimmer is running at full speed, gently tap the bottom of the trimmer head on a firm surface (e.g., the ground). This action will release a small amount of additional trimmer line.
- Repeat as Needed: Repeat the tapping action as necessary to maintain the desired cutting length of the trimmer line.

Image: Depiction of the bump-to-feed line mechanism, showing the trimmer head being tapped on the ground to extend the trimmer line, eliminating the need for disassembly.
Maintenance
Regular maintenance ensures the longevity and optimal performance of your SIMUSI Trimmer Head.
- Cleaning: After each use, clean the trimmer head to remove grass clippings, dirt, and debris. A stiff brush or compressed air can be used. Ensure no debris is lodged in the line eyelets or around the bump knob.
- Inspect for Wear: Periodically inspect the trimmer head for signs of wear, cracks, or damage. Pay close attention to the eyelets where the line exits, as these can wear down over time.
- Line Replacement: Replace the trimmer line when it becomes too short or shows signs of significant wear. The dual-color line included with the product has an orange center section that indicates when the line is running low, signaling it's time for a refill.
- Storage: Store the trimmer head in a clean, dry place away from direct sunlight and extreme temperatures when not in use.
Troubleshooting
If you encounter issues with your trimmer head, refer to the following common problems and solutions:
| Problem | Possible Cause | Solution |
|---|---|---|
| Trimmer line does not feed out when bumped. |
|
|
| Trimmer head does not attach securely. |
|
|
| Excessive vibration during operation. |
|
|
If you continue to experience issues, please contact SIMUSI customer support for assistance.
Specifications
- Model: H04
- Dimensions: Approximately 3.9 inches (diameter) x 2.6 inches (height)
- Weight: 1.04 pounds
- Material: Reinforced Nylon, Fiberglass, 304 Stainless Steel
- Trimmer Line Capacity: Up to 14 FT (0.095" line) or 16 FT (0.085" line)
- Compatible Line Diameter: Under 0.105 inches
- Compatibility: Designed for left-hand (counterclockwise) rotating gas, brush cutters, weed eaters, and cordless trimmers.

Image: Close-up view of the trimmer head, highlighting its construction from German Nylon and Fiberglass for durability, wear-resistance, impact-proof, and anti-aging properties.

Image: Details on the dual-color, 3-stage design of the trimmer line, showing how the orange mark aids quick alignment and loading, and indicating the universal fit and refill at a glance feature.
Compatibility
The SIMUSI Easy Load & Auto Feed Trimmer Head is universally compatible with most counterclockwise gas trimmers, brush cutters, weed eaters, and cordless trimmers. Below is a reference list of some major brands and series it fits. Note: Always confirm your trimmer's shaft thread direction and size before purchasing and installing.
| Brand | Model Reference (Examples) |
|---|---|
| Echo | GT-200 / GT-225 / GT-1100 (old model) series, SRM-210 / SRM-211 / SRM-230 / SRM-2620 / SRM-2660 series |
| EGO | ST1500 / ST1620 / ST1623T series |
| Stihl | FS55 / FS56 / FS70 / FS90 / FS111 / FS131 |
| Husqvarna | 128R / 128LD / 124L / 535R / 535LK / 536LiRX series |
| Ryobi | RBC230 / RBC240 / RBC330 / RBC430 Series / RY30250 / RBC270 series |
| Other Brands | Redmax, Makita, Kawasaki, Greenworks, Green Machine, Tanaka, MC, Maruyama, Astron, WORX, and more. |
Important Note: Only suitable for left-hand tightening shafts. All above models are for reference only. Please be sure to match your trimmer's shaft size and thread direction before purchasing.

Image: A comprehensive list of major weed eater brands and their compatible model series, emphasizing that the trimmer head fits most left-hand rotating trimmers.
Warranty and Support
SIMUSI is committed to providing high-quality products and professional customer support. If you have any questions, concerns, or require assistance with your Easy Load & Auto Feed Trimmer Head, please do not hesitate to contact our after-sales team. We are ready to assist you quickly and professionally.
For support, please refer to the contact information provided on your product packaging or the SIMUSI official website.
Ask a question about this manual
Ask about setup, troubleshooting, compatibility, parts, safety, or missing instructions. Manuals+ will review the question and use this page’s manual context to help answer it.