
1. Product Overview
The JEXUGK Portable 110V Handheld ARC Welding Machine, Model JPEWM-01G, is designed for various welding tasks, from home DIY projects to professional repairs. It features IGBT inverter technology for stable current output and a compact, lightweight design for portability.
Key features include:
- Output Range: 20-180 Amp welding output with 6-step rotary knob adjustment.
- Technology: IGBT Inverter for stable and efficient welding.
- Portability: Weighs approximately 3.3 lbs (1.5 kg) and measures 9.8 x 9.45 inches, facilitating single-hand operation and easy transport.
- Electrode Compatibility: Supports electrodes from 3/32 to 1/8 inches (2.5 to 3.2 millimeters).
- Safety Features: 360° cooling system, overheat protection, and anti-stick functions.
- Applications: Suitable for welding iron and carbon steel in various settings including home, automotive, and light manufacturing.
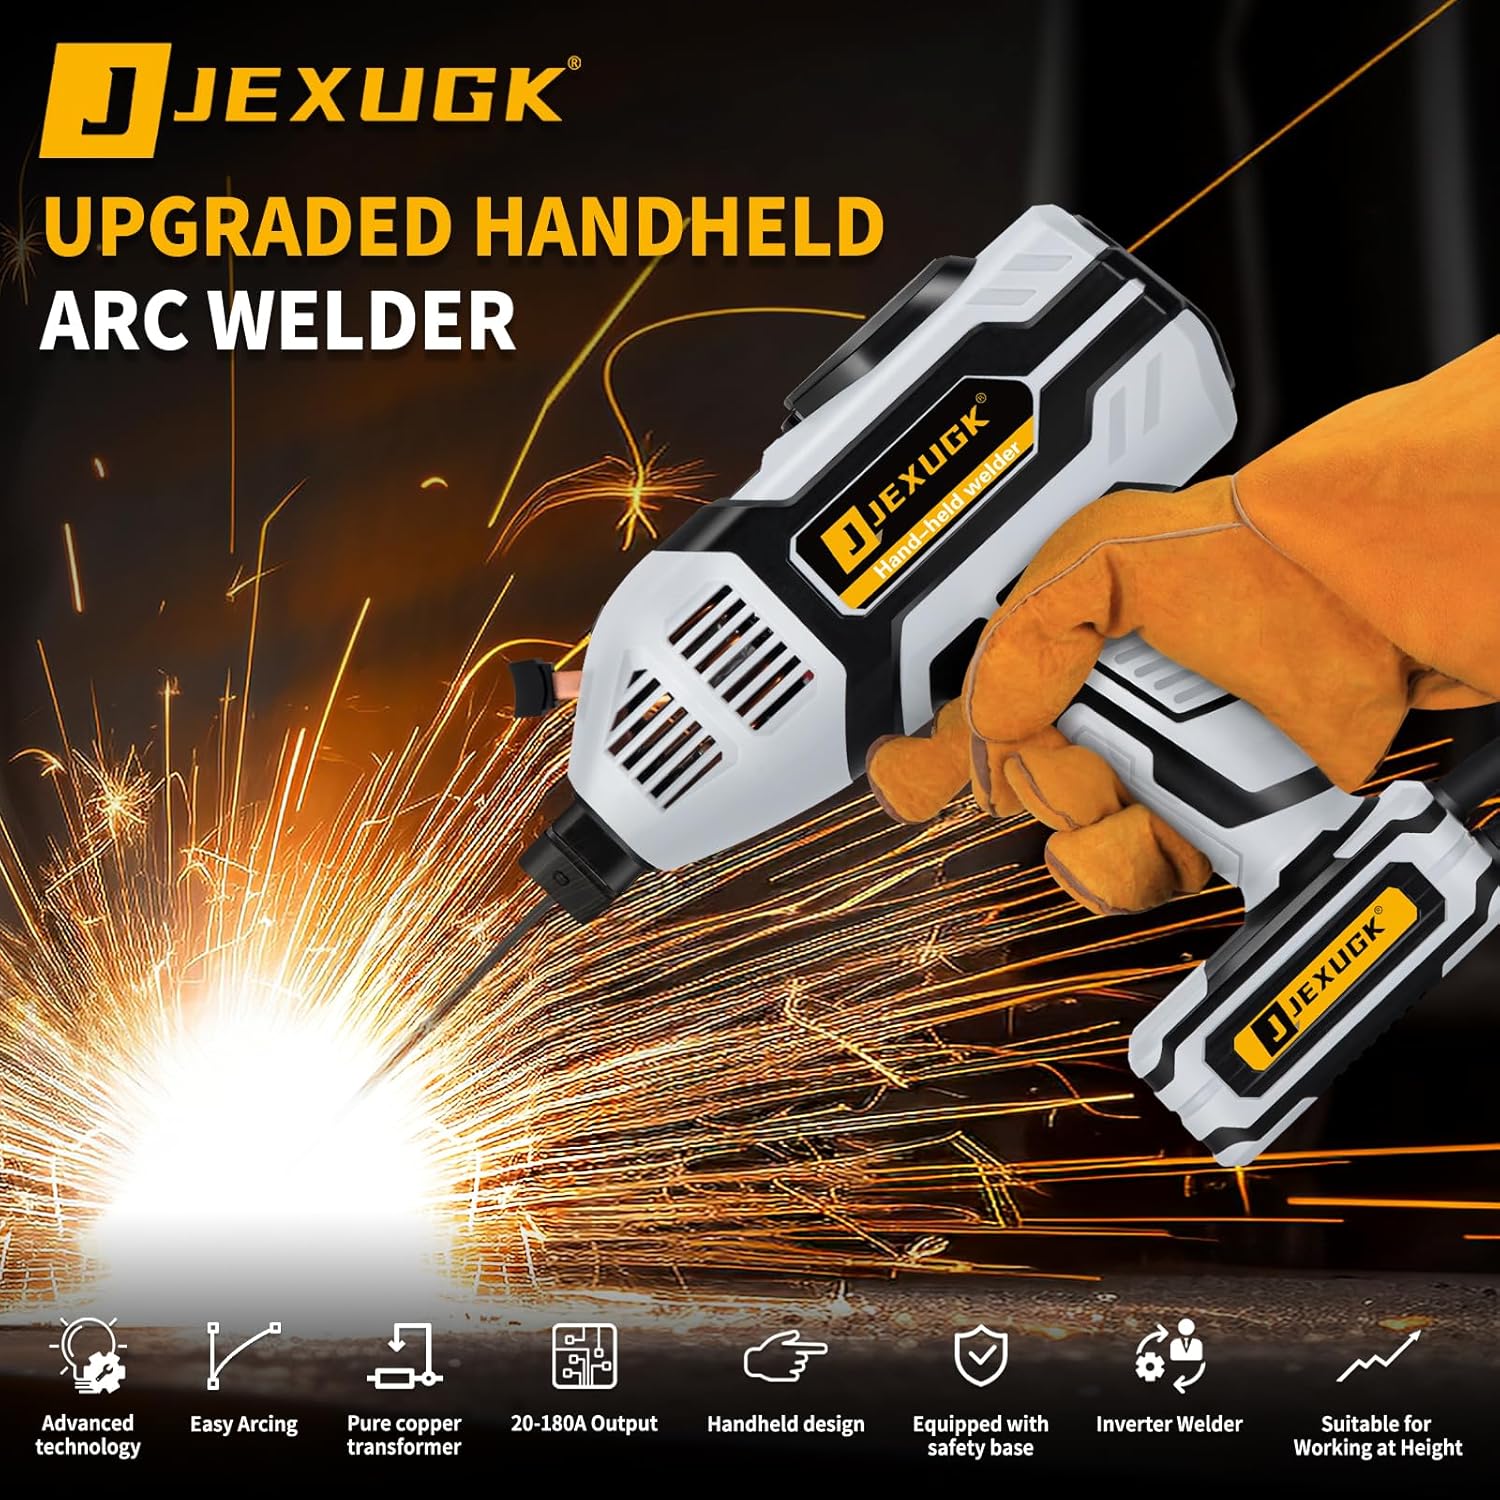
Image 1.1: The JEXUGK Handheld ARC Welder in operation, demonstrating its compact design and welding capabilities.
2. Package Contents
Verify that all items listed below are included in your package:
- 1x JEXUGK 110V Handheld ARC Welder
- 20x Welding Rods (3/32" - 1/8")
- 1x Leather Protective Gloves
- 1x Foldable Welding Helmet
- 1x Welding Brush
- 1x Tool Storage Box
- 1x User Manual (this document)

Image 2.1: Contents of the JEXUGK Portable Welding Machine kit.
3. Safety Information
WARNING: Welding can be dangerous and cause serious injury or death. Always follow safety precautions to prevent electric shock, fire, and explosions. Read and understand all safety instructions before operating this equipment.
3.1 Personal Protective Equipment (PPE)
- Always wear a welding helmet with appropriate shade filter to protect eyes and face from arc rays and sparks.
- Wear flame-resistant clothing, leather gloves, and safety shoes to protect against burns and electric shock.
- Ensure adequate ventilation to avoid inhaling welding fumes.
3.2 Electrical Safety
- Ensure the welding machine is connected to a properly grounded 110V AC power outlet.
- Inspect power cords and welding cables for damage before each use. Do not use damaged cables.
- Avoid welding in damp or wet conditions.
3.3 Fire and Explosion Prevention
- Keep flammable materials away from the welding area.
- Have a fire extinguisher readily available.
- Do not weld on containers that have held flammable substances.
3.4 Machine Specific Safety
- The machine features a 360° intelligent cooling system and overheat protection. If the machine overheats, it will automatically shut down to prevent damage. Allow it to cool before resuming operation.
- Do not block ventilation openings.
4. Setup
4.1 Component Identification

Image 4.1: Labeled components of the JEXUGK Handheld ARC Welder.
- Power Switch: Turns the unit on/off.
- Current Power Adjustment Button: Rotary knob to select welding current (30A-180A).
- Welding Rod Clamp Button: Releases the welding rod holder.
- Welding Rod Interface: Where the welding rod is inserted.
- Front Cooling Vent: Part of the cooling system.
- Start Button: Activates the welding arc.
- Pure Brass Clips (Ground Clamp): Connects to the workpiece for grounding.
4.2 Initial Setup Steps
- Unpack: Carefully remove all components from the storage box.
- Connect Ground Clamp: Attach the pure brass clips (ground clamp) securely to the workpiece. Ensure good electrical contact by cleaning any paint, rust, or debris from the contact point.
- Insert Welding Rod: Press the welding rod clamp button, insert a suitable welding rod (3/32" to 1/8") into the welding rod interface, and release the button to secure the rod.
- Power Connection: Plug the welding machine into a standard 110V AC grounded power outlet.
5. Operating Instructions
5.1 Powering On and Current Adjustment
- Turn On: Locate the power switch on the upper part of the welder and turn it to the 'ON' position.
- Adjust Current: Use the current power adjustment button (rotary knob) to select the desired welding current. The machine offers 6 variable current settings from 30A to 180A. Refer to the diagram below for typical settings. For most applications, Level 4 (120A) is a common starting point.

Image 5.1: Current adjustment knob and power switch details.
5.2 Welding Process
- Prepare Workpiece: Ensure the workpiece is clean and free of contaminants.
- Wear PPE: Always wear your welding helmet, gloves, and appropriate protective clothing.
- Initiate Arc: Position the welding rod close to the workpiece. Press the start button (trigger switch) to activate the welding function and initiate the arc. The 'Hot Start' function assists in easy arc initiation.
- Maintain Arc: Maintain a consistent arc length and travel speed. The machine is designed for stable welding with minimal spatter.
- Complete Weld: Release the start button to stop welding. Allow the weld to cool before handling.

Image 5.2: Examples of weld quality and compatible electrode sizes.
6. Maintenance
6.1 Cleaning
- Disconnect the machine from the power supply before cleaning.
- Regularly clean the exterior of the machine with a dry, soft cloth.
- Ensure cooling vents are free from dust and debris to maintain efficient heat dissipation. Use compressed air if necessary.
- Inspect welding cables and connections for wear or damage. Replace if necessary.
6.2 Storage
- Store the welding machine and accessories in the provided tool storage box.
- Keep the machine in a dry, dust-free environment, away from direct sunlight and extreme temperatures.
7. Troubleshooting
This section addresses common issues you might encounter during operation.
| Problem | Possible Cause | Solution |
|---|---|---|
| Machine does not power on. | No power supply; Power switch off; Faulty cable. | Check power outlet; Ensure power switch is ON; Inspect power cable for damage. |
| Arc does not start or is unstable. | Poor ground connection; Incorrect current setting; Damp or old welding rod; Improper technique. | Clean ground connection point; Adjust current setting; Use dry, new welding rods; Practice arc initiation technique. |
| Machine overheats and shuts down. | Prolonged use; Blocked cooling vents; High ambient temperature. | Allow machine to cool down; Clear any obstructions from vents; Operate in a well-ventilated area. |
| Poor weld quality (e.g., excessive spatter, weak penetration). | Incorrect current setting; Improper arc length or travel speed; Contaminated workpiece. | Adjust current; Maintain optimal arc length and speed; Clean workpiece thoroughly. |
8. Specifications
| Feature | Specification |
|---|---|
| Model Number | JPEWM-01G |
| Manufacturer | JEXUGK |
| Input Voltage | 110 Volts (AC) |
| Wattage | 4400 watts |
| Output Current Range | 20-180 Amps |
| Electrode Diameter | 3/32" - 1/8" (2.5 - 3.2 mm) |
| Item Weight | 3.3 lbs (1.5 kg) - Machine only; 7.96 lbs (3.6 kg) - Package weight |
| Product Dimensions | 9.45 x 4.33 x 9.8 inches (24 x 11 x 24.9 cm) |
| Material | Metal, Nylon, Plastic, Rubber |
9. Warranty and Support
The JEXUGK Portable 110V Handheld ARC Welding Machine comes with a 3-year warranty against manufacturing defects. Additionally, lifetime technical support is provided.
For technical assistance, warranty claims, or any questions regarding your product, please contact JEXUGK customer support. A professional team is available to respond within 12 hours.
Please retain your purchase receipt as proof of purchase for warranty purposes.