
1. Introduction
This manual provides essential information for setting up, operating, and maintaining your Acer Nitro PG161Q Pbmiuux Portable Gaming Monitor. Designed for portability and high-performance, this 15.6-inch Full HD (1920x1080) IPS display features a 165Hz refresh rate and AMD FreeSync technology for a smooth visual experience. Its ultra-slim design and versatile connectivity options make it suitable for various applications, from gaming to professional use.

Image: The Acer Nitro PG161Q Pbmiuux monitor highlighting its Full HD resolution and 165Hz refresh rate capabilities.
2. Safety Information
Please read the following safety precautions carefully to ensure safe operation and prevent damage to your monitor:
- Do not expose the monitor to rain, moisture, or extreme temperatures.
- Avoid placing the monitor on unstable surfaces.
- Use only the power adapter and cables provided by Acer.
- Do not attempt to disassemble or repair the monitor yourself. Refer all servicing to qualified personnel.
- Keep ventilation openings clear to prevent overheating.
3. Package Contents
Verify that all items are present in your package:
- Acer Nitro PG161Q Pbmiuux Portable Gaming Monitor
- Power Cord
- Mini HDMI Cable
- USB Type-C Cable
- Protective Case/Stand
4. Product Overview
4.1 Monitor Features
- 15.6" Full HD (1920 x 1080) IPS Display
- 165Hz Refresh Rate
- AMD FreeSync Technology
- Ultra-slim and lightweight design
- Dual USB Type-C ports (data, power, DisplayPort Alt Mode)
- Mini HDMI port
- Audio Out port
- Integrated speakers
- VESA mounting compliant (75 x 75mm)
4.2 Ports and Controls
Familiarize yourself with the monitor's ports and control buttons:

Image: Left side ports and control buttons.
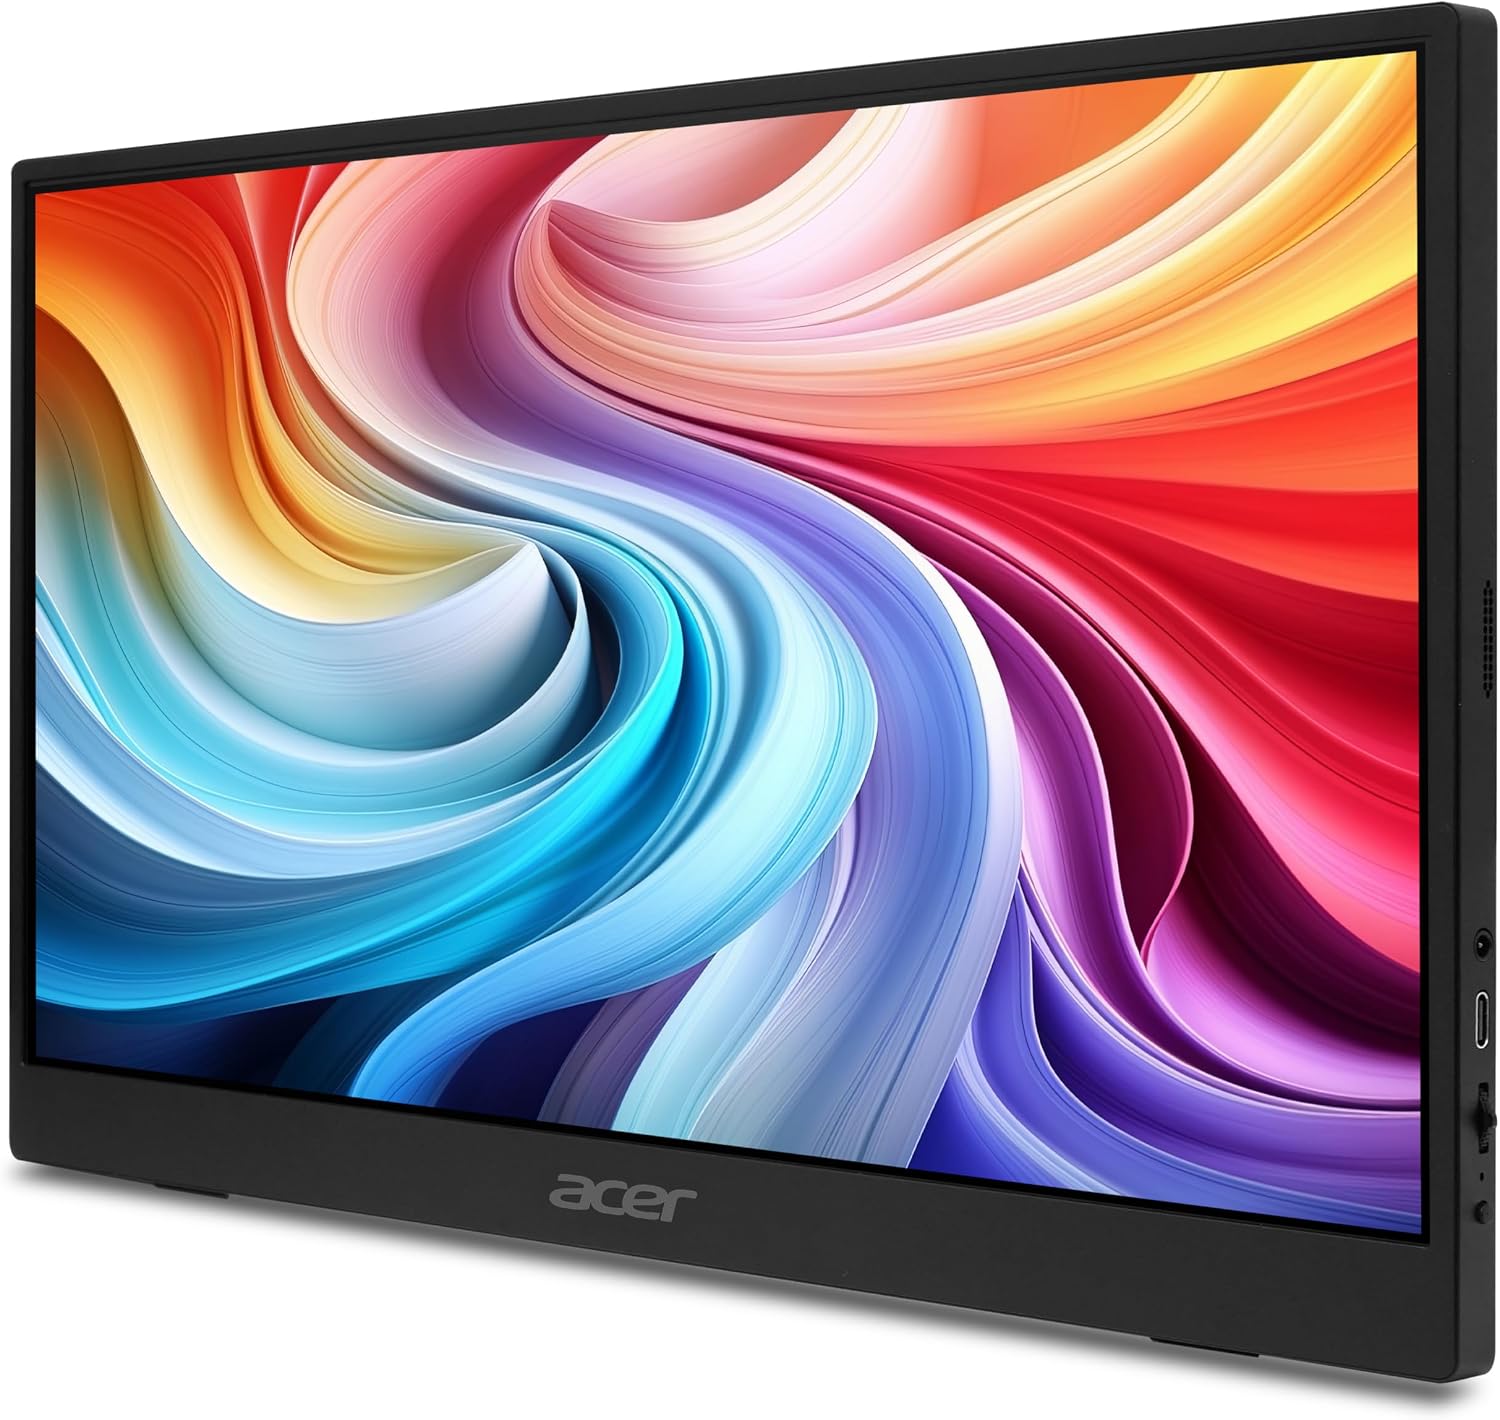
Image: Right side ports.
- USB Type-C Ports (x2): For power, video signal (DisplayPort Alt Mode), and data transfer.
- Mini HDMI Port: For video input from compatible devices.
- Audio Out Port: For connecting external headphones or speakers.
- Power Button: To turn the monitor on or off.
- OSD Menu Buttons: For navigating and adjusting On-Screen Display settings.

Image: Rear view with VESA mount and left controls.

Image: Rear view with VESA mount and right ports.
5. Setup
5.1 Using the Protective Case/Stand
The included protective case doubles as a stand. Fold the case to create a stable base for the monitor. The magnetic design allows for easy attachment and adjustment.

Image: Monitor set up with its protective case acting as a stand.

Image: Angled view of the monitor on its stand.
5.2 Connecting to Devices
The monitor offers flexible connectivity options:
- USB Type-C Connection: Use the provided USB Type-C cable to connect the monitor to a compatible laptop, smartphone, or tablet. This single cable can provide power, video, and data. Ensure your device's USB-C port supports DisplayPort Alternate Mode and power delivery.
- Mini HDMI Connection: Use the provided Mini HDMI to HDMI cable to connect the monitor to devices with an HDMI output (e.g., gaming consoles, desktop PCs). You will also need to connect the monitor to a power source via one of the USB Type-C ports using the power adapter.
- Powering the Monitor: For optimal brightness and performance, especially when using Mini HDMI or with devices that do not provide sufficient power via USB-C, connect the monitor to the included power adapter via one of the USB Type-C ports.
5.3 VESA Mounting
The monitor is VESA mounting compliant (75 x 75mm). To mount the monitor, remove the protective case and attach a compatible VESA mount (sold separately) to the four screw holes on the back of the monitor.

Image: Rear view of the monitor showing VESA mount points.
6. Operating
6.1 Power On/Off
Press the Power button located on the side of the monitor to turn it on or off.
6.2 On-Screen Display (OSD) Menu
Use the OSD menu buttons to access and adjust various monitor settings. The OSD menu allows you to control aspects such as brightness, contrast, color temperature, input source, and gaming features.
- Brightness/Contrast: Adjust these settings to suit your viewing environment.
- Color Settings: Modify color temperature, gamma, and saturation.
- Input Source: Manually select between USB Type-C and Mini HDMI inputs.
- Refresh Rate: The monitor supports up to 165Hz. Ensure your connected device and cable support this refresh rate for optimal performance.
- AMD FreeSync: Enable this feature for tear-free and stutter-free gaming when connected to a compatible AMD graphics card.

Image: Visual comparison of FHD (1080p) versus 720p resolution.

Image: Demonstrating the smoothness of a 165Hz refresh rate.

Image: Illustrating the benefit of AMD FreeSync for tear-free visuals.
6.3 Audio Settings
The monitor has built-in speakers. You can adjust the volume through the OSD menu or connect external headphones/speakers to the Audio Out port for private listening or enhanced sound.
7. Maintenance
7.1 Cleaning the Monitor
To clean the monitor screen, gently wipe it with a soft, lint-free cloth. For stubborn marks, dampen the cloth slightly with water or a mild, non-abrasive screen cleaner. Avoid using alcohol-based cleaners or harsh chemicals.
7.2 Storage
When not in use, store the monitor in its protective case to prevent scratches and damage. Keep it in a cool, dry place away from direct sunlight and extreme temperatures.
8. Troubleshooting
If you encounter issues with your monitor, refer to the following common problems and solutions:
- No Power: Ensure the power cable is securely connected to both the monitor and a working power outlet. If using USB-C for power, confirm the connected device provides sufficient power.
- No Signal: Verify that the video cable (USB-C or Mini HDMI) is correctly connected to both the monitor and the source device. Check the OSD menu to ensure the correct input source is selected.
- Flickering Screen: Check the video cable connection. Ensure the refresh rate setting in your device's display settings matches the monitor's capabilities (up to 165Hz). If AMD FreeSync is enabled, ensure your graphics card drivers are up to date.
- Dim Display: Adjust the brightness setting in the OSD menu. If powered by USB-C, ensure the source device is providing adequate power; connecting the external power adapter may resolve this.
- No Sound: Check the volume settings in the OSD menu and on your connected device. Ensure external speakers/headphones are properly connected to the Audio Out port if used.
9. Specifications
| Feature | Specification |
|---|---|
| Screen Size | 15.6 Inches |
| Panel Type | IPS |
| Resolution | Full HD (1920 x 1080) |
| Aspect Ratio | 16:9 |
| Refresh Rate | 165Hz |
| Response Time | 6ms (G to G) |
| Brightness | 250 nits |
| Connectivity | 2 x USB 3.1 Type-C, 1 x Mini HDMI, 1 x Audio Out |
| Speakers | 2 x 1 Watt |
| VESA Mount | 75 x 75mm |
| Dimensions (LxWxH) | 0.42 x 13.98 x 8.74 inches |
| Weight | 2.73 lbs (monitor only) |
10. Warranty and Support
Your Acer Nitro PG161Q Pbmiuux Portable Gaming Monitor comes with a standard manufacturer's warranty. For detailed warranty terms and conditions, please refer to the warranty card included in your product packaging or visit the official Acer support website.
For technical assistance, driver downloads, or further support, please visit the Acer Support Website or contact Acer customer service.