
Introduction
This manual provides comprehensive instructions for the setup, operation, and maintenance of your Erdsnt 1080P WiFi Secret Scope Camera Espia (Model Q40-B). This compact and discreet camera is designed for indoor security and monitoring, offering real-time surveillance, motion detection, and night vision capabilities. Please read this manual thoroughly before using the device to ensure proper functionality and safety.
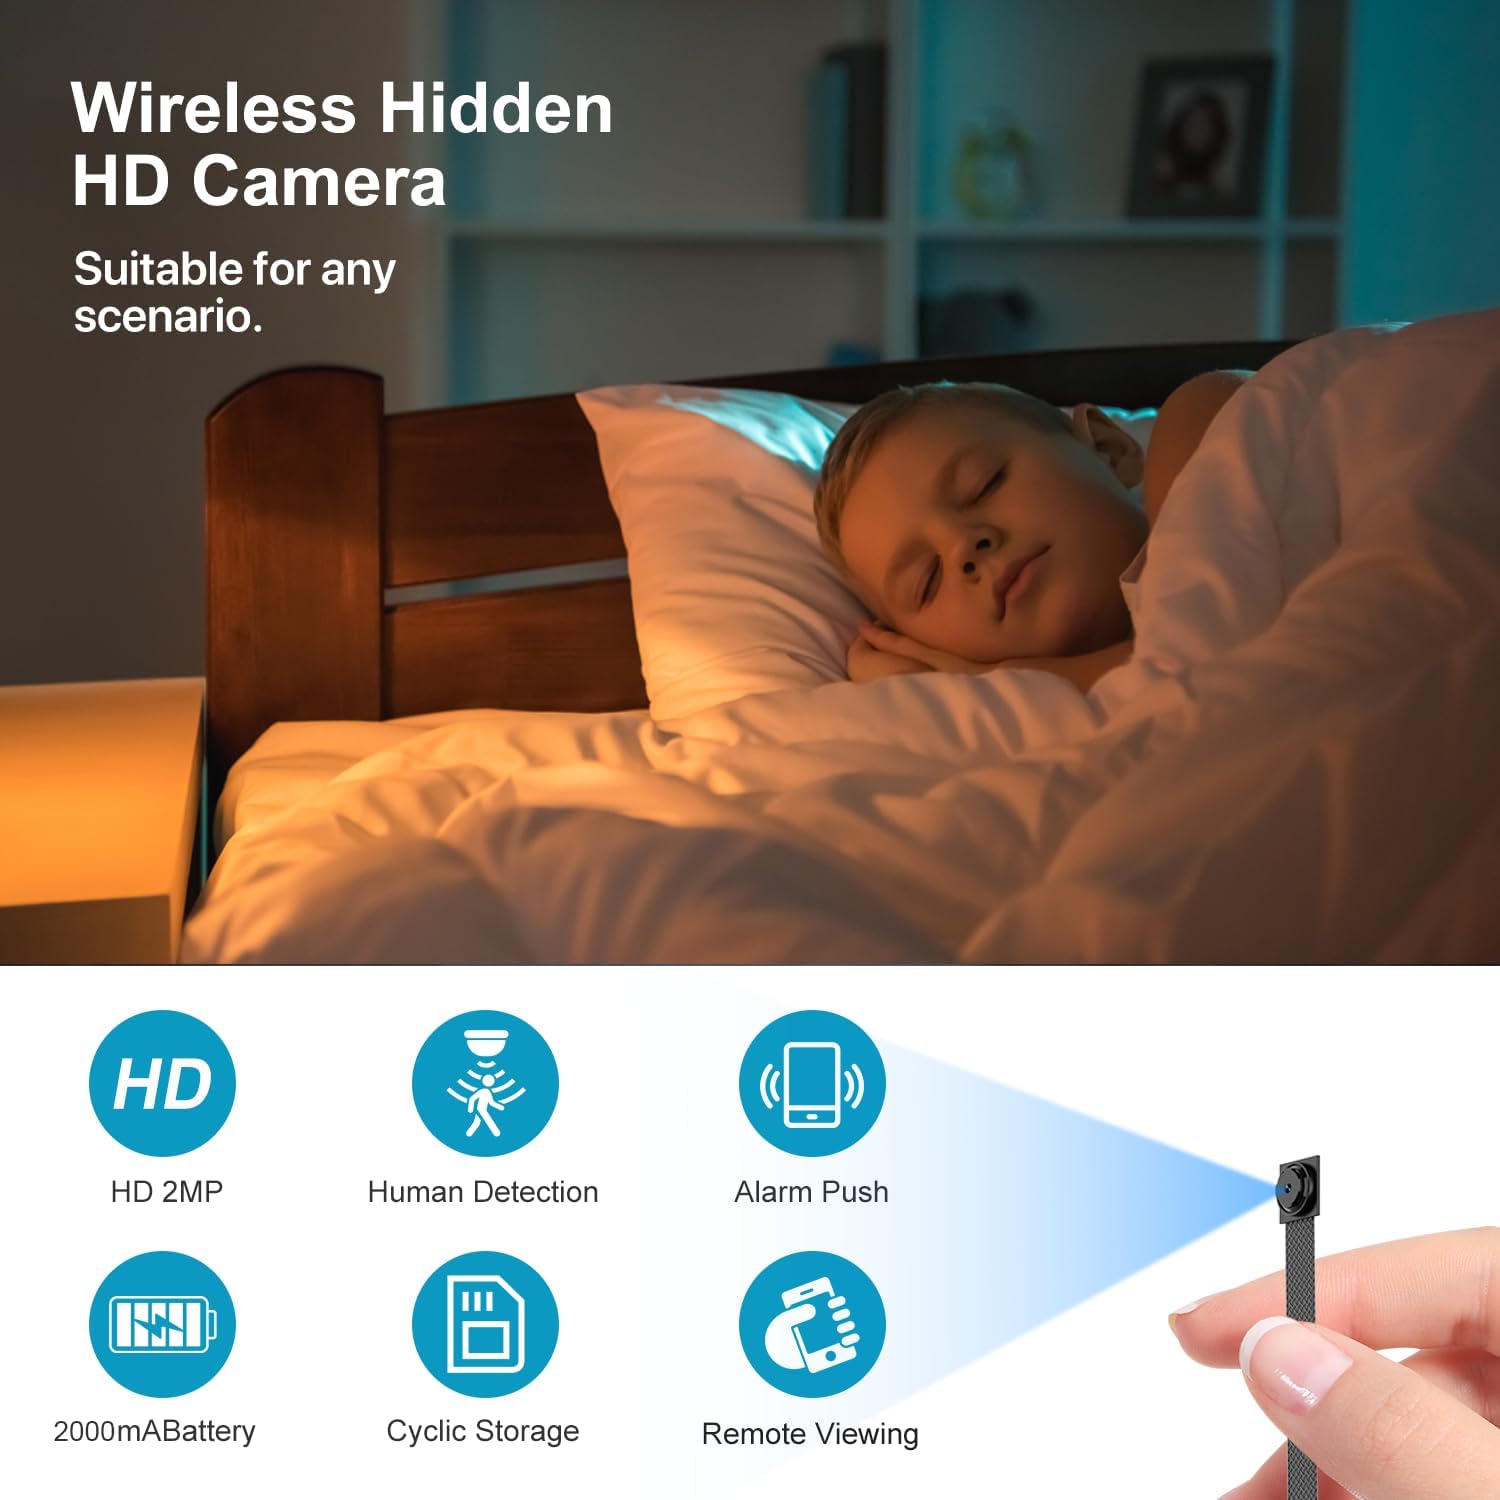
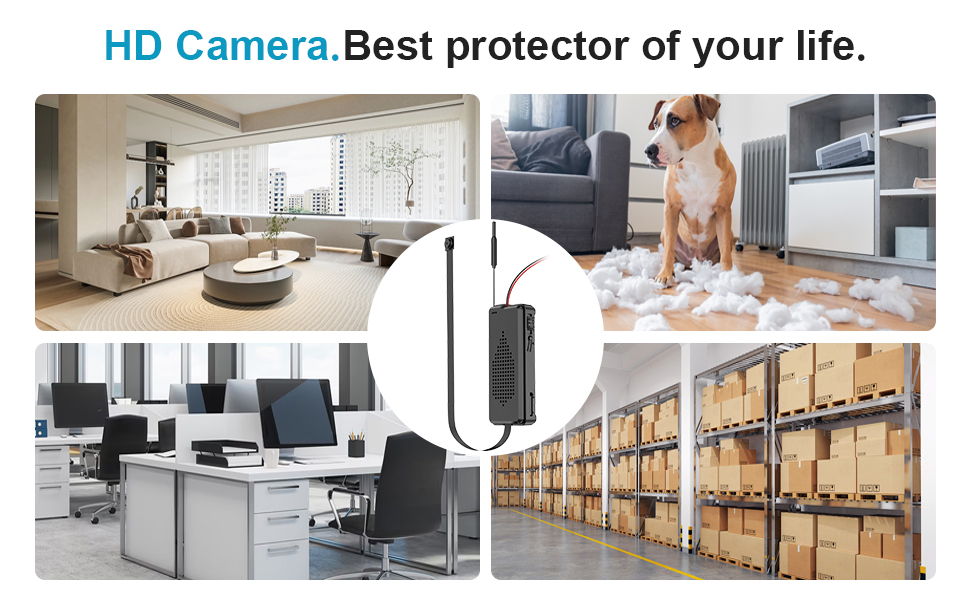
The Erdsnt Q40-B camera is a versatile hidden camera suitable for various indoor monitoring needs, including home security, pet monitoring, and office surveillance.
What's in the Box
Upon unboxing, please verify that all components are present and in good condition:
- 1 x Erdsnt Q40-B Secret Scope Camera (Main Unit with Extended Lens)
- 1 x USB Charging Cable
- 1 x User Manual (this document)
- Note: An SD card is not included and must be purchased separately for local storage.
Product Overview
The Erdsnt Q40-B features a compact main unit connected to a discreet extended lens, designed for easy concealment and flexible placement.

This image displays the main camera unit, which houses the electronics and battery, along with the small, extended lens connected by a flexible cable. The lens is designed to be easily hidden.

The extended line lens design allows for better concealment. The mini lens is approximately 0.3 inches, and the cable length is about 6.3 inches, enabling flexible placement in various environments.
Specifications
| Feature | Detail |
|---|---|
| Model Name | Q40-B |
| Video Capture Resolution | 1080p (1920x1080) |
| Effective Video Resolution | 1080 |
| Frame Rate | 30fps |
| Viewing Angle | 140 Degrees |
| Night Vision Range | Up to 30 Feet (No Glow Infrared) |
| Connectivity Technology | Wi-Fi (2.4G), Camera Hotspot, Bluetooth |
| Power Source | USB Powered, Built-in 2000mAh Battery |
| Battery Life | 8-10 hours (continuous recording) |
| Storage | Supports SD Card (not included), Loop Recording |
| Motion Detection | Yes, with App Push Notifications |
| Indoor/Outdoor Usage | Indoor |
| Dimensions (L x W x H) | 2 x 0.7 x 2 inches (Main Unit) |
| Item Weight | 3.84 ounces |
| Material | Plastic |
| Included Components | Clock Camera (Main Unit), USB Cable |
Setup Guide
1. Charging the Camera
Before initial use, fully charge the camera. Connect the provided USB cable to the camera's charging port and plug the other end into a standard USB power adapter (not included) or a computer USB port. The charging indicator light will typically show charging status and turn off when fully charged.

The camera is equipped with a 2000mAh battery, providing approximately 8-10 hours of continuous recording on a full charge. For extended use, connect it to a power source.
2. Inserting an SD Card (Optional)
For local video storage and loop recording, insert a compatible micro SD card (up to 128GB, Class 10 or higher recommended) into the camera's SD card slot. Ensure the camera is powered off before inserting or removing the card.
3. App Installation
Download the designated mobile application (refer to the packaging or included quick start guide for the app name, typically found by scanning a QR code) from your smartphone's app store (iOS App Store or Google Play Store). Install the app and create an account if prompted.
4. Connecting the Camera to Your Smartphone
The camera supports multiple connection methods:
- 2.4G Wi-Fi Connection: This is the recommended method for remote viewing. Follow the in-app instructions to connect the camera to your home or office 2.4GHz Wi-Fi network. This typically involves selecting your Wi-Fi network and entering the password.
- Camera Hotspot Connection: For direct, local connection without an internet router. The camera generates its own Wi-Fi hotspot. Connect your phone directly to this hotspot via your phone's Wi-Fi settings. This allows local viewing within the camera's range.
- Bluetooth Connection: Some initial setup steps or specific features might utilize Bluetooth for pairing. Follow app prompts for Bluetooth pairing if required.
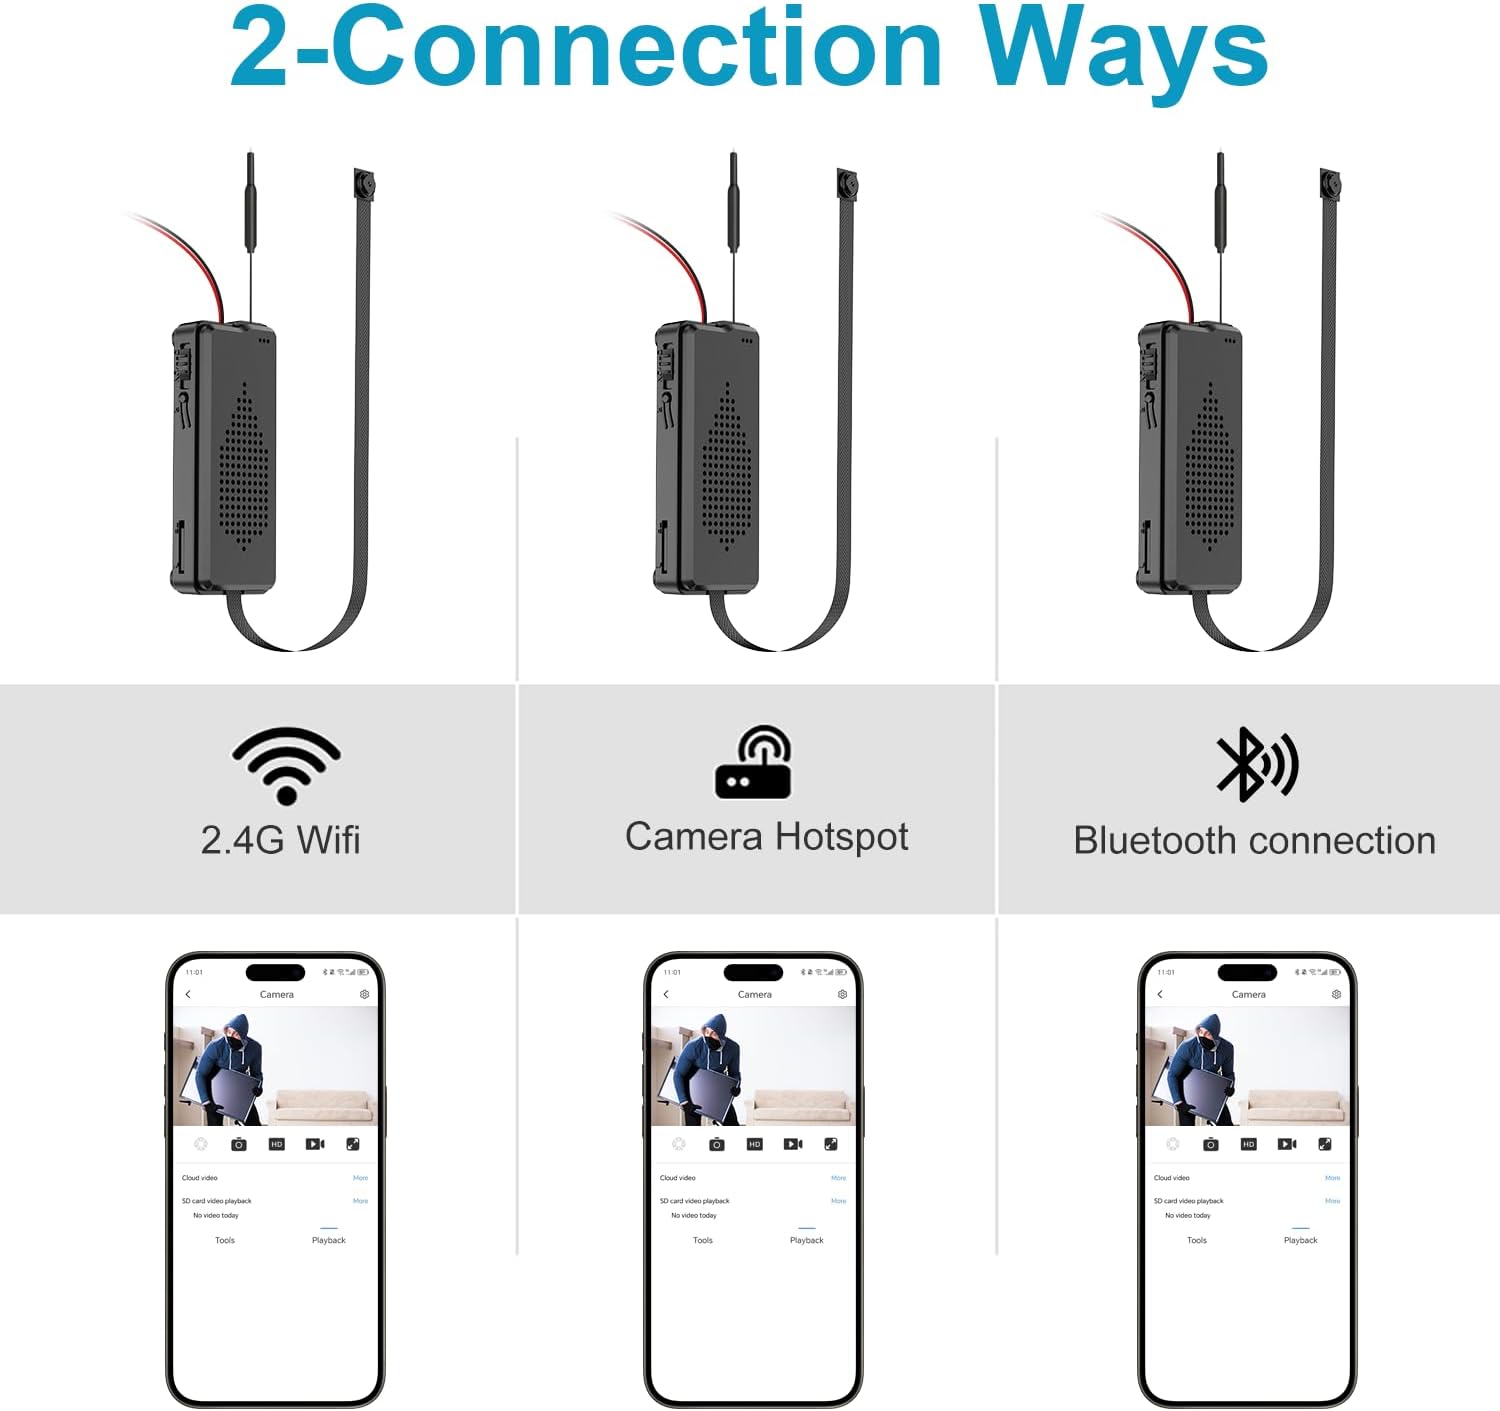
The Erdsnt Q40-B offers flexible connectivity options, including standard 2.4G Wi-Fi for remote access, a direct camera hotspot for local viewing, and Bluetooth for initial pairing or specific functions.
Detailed step-by-step instructions for each connection method are available within the mobile application.
Operating Instructions
1. Powering On/Off
Locate the power button on the main unit. Press and hold for a few seconds to power on or off. Refer to the quick start guide for exact button location and indicator light behavior.
2. Recording Modes
- Continuous Recording: When an SD card is inserted and the camera is powered on, it will typically begin continuous recording. This can be managed and viewed through the mobile app.
- Motion Detection Recording: The camera is equipped with a sensitive motion detection sensor. When motion is detected within its field of view, the camera will automatically begin recording and send a push notification to your smartphone via the app.

The camera's motion detection feature triggers recording and sends instant alerts to your phone, notifying you of any detected activity in the monitored area.
3. Night Vision
The camera features automatic infrared night vision, allowing clear video recording in low-light or complete darkness up to 15 feet. The night vision LEDs are designed to be non-glowing for discreet operation.

Experience clear imaging day and night with the camera's 1080P resolution and non-glowing infrared night vision, ensuring details are captured even in complete darkness.
4. Remote Viewing and Playback
Once connected to Wi-Fi, you can view live video feeds and access recorded footage remotely through the mobile application from anywhere with an internet connection. The app allows for easy playback of stored videos on the SD card.
The mobile application provides a remote view of the camera's feed, allowing you to monitor your space in real-time and access recordings stored on the TF (micro SD) card.
5. Loop Recording
The loop recording function ensures continuous video capture. When the SD card is full, the camera automatically overwrites the oldest footage, ensuring that you always have the most recent recordings without manual deletion.
Power Operation Modes
The Erdsnt Q40-B offers flexible power options to suit various monitoring needs:
- Built-in Battery: The 2000mAh built-in battery provides 6-8 hours of power, ideal for portable use or short-term monitoring without external power.
- Power Bank: Connect the camera to a portable power bank for extended use, offering up to 3 days of operation, suitable for temporary placements.
- Direct Charger Link: For continuous, 24/7 monitoring, connect the camera directly to a USB wall charger. This ensures uninterrupted operation.

This image illustrates the three versatile power options for the camera: using its internal battery for portability, connecting to a power bank for extended temporary use, or linking to a wall charger for continuous daily monitoring.
Placement and Concealment
The camera's mini size and extended lens design allow for discreet placement in various indoor environments. The lens can be manually adjusted to achieve your preferred recording angle.

Due to its very mini size and extended lens, the camera can be easily hidden in common household items such as refrigerators, flowerpots, shelves, or near air conditioners, allowing for flexible and discreet surveillance.
Maintenance
- Cleaning: Use a soft, dry cloth to clean the camera lens and main unit. Avoid using liquid cleaners or abrasive materials.
- Storage: When not in use for extended periods, store the camera in a cool, dry place away from direct sunlight and extreme temperatures.
- Battery Care: To prolong battery life, avoid fully discharging the battery frequently. Charge the camera regularly, even if not in active use.
Troubleshooting
| Problem | Possible Cause / Solution |
|---|---|
| Camera not powering on. | Battery may be depleted. Connect to power source and charge for at least 2 hours. Ensure power button is pressed and held correctly. |
| Unable to connect to Wi-Fi. | Ensure you are connecting to a 2.4GHz Wi-Fi network (5GHz is not supported). Check Wi-Fi password. Move camera closer to router. Restart camera and router. |
| No recording to SD card. | Ensure SD card is inserted correctly. Format the SD card via the app. Check if the SD card is full (loop recording should prevent this, but verify). Use a Class 10 or higher SD card. |
| Motion detection alerts not received. | Ensure motion detection is enabled in the app settings. Check app notification permissions on your smartphone. Verify stable internet connection for both camera and phone. |
| Poor video quality. | Ensure the lens is clean. Check network stability if viewing remotely. Ensure sufficient lighting for non-night vision mode. |
Warranty and Support
This product is typically covered by a manufacturer's warranty. Please refer to the product packaging or the seller's information for specific warranty terms and duration. For technical support, troubleshooting assistance beyond this manual, or warranty claims, please contact the seller or manufacturer directly through the platform where the product was purchased.
Keep your purchase receipt or order number handy as it may be required for warranty service.