1. Introduction
This manual provides essential information for the safe and effective operation of your DELIXI DLX-COA8318 Digital Clamp Meter. This True-RMS clamp meter is designed for measuring AC current, AC/DC voltage, resistance, continuity, and diode, and features Non-Contact Voltage (NCV) detection. It is suitable for industrial, automotive, and home electrical systems.
Please read this manual thoroughly before use and retain it for future reference.
2. Safety Information
To ensure safe operation, observe the following safety precautions:
- Always adhere to local and national safety codes.
- Do not use the meter if it appears damaged or if the insulation on the test leads is compromised.
- Ensure the meter's function switch is in the correct position before making measurements.
- Do not exceed the maximum input values for any function. The meter is rated CAT III 600V.
- Exercise extreme caution when working with live circuits.
- Use the NCV function to verify the presence of voltage before touching conductors.
- Replace batteries promptly when the low battery indicator appears.
3. Product Overview
The DELIXI DLX-COA8318 is a versatile digital clamp meter offering a range of electrical measurement capabilities. Its robust design and intelligent features enhance safety and ease of use.

Figure 3.1: Overview of DELIXI DLX-COA8318 Multifunction Clamp Meter features.
Key Features:
- True-RMS Measurement: Provides accurate readings for non-sinusoidal waveforms.
- Non-Contact Voltage (NCV) Detection: For safe voltage presence checks.
- Auto-Ranging: Simplifies operation by automatically selecting the correct measurement range.
- Backlight and Flashlight: Enhances visibility in dimly lit environments.
- Data Hold: Freezes the displayed measurement for easy recording.
- Auto Power-Off: Conserves battery life.
4. Setup
Before using the clamp meter, perform the following setup steps:
4.1 Unpacking
Carefully remove the clamp meter and all accessories from the packaging. Verify that all items listed in the kit contents are present:
- DELIXI DLX-COA8318 Digital Clamp Meter
- Test Leads (Red and Black)
- AAA Batteries (2 included)
- Storage Bag
- Instruction Manual (this document)

Figure 4.1: Contents of the DELIXI DLX-COA8318 kit.
4.2 Battery Installation
- Locate the battery compartment cover on the back of the meter.
- Use a screwdriver to open the battery compartment.
- Insert two AAA batteries, observing the correct polarity (+ and -).
- Replace the battery compartment cover and secure it with the screw.
4.3 Test Lead Connection
For voltage, resistance, continuity, and diode measurements, connect the test leads:
- Insert the black test lead into the 'COM' (common) input jack.
- Insert the red test lead into the 'VΩHz' input jack.
5. Operating Instructions
This section details how to use the various functions of your clamp meter.
5.1 Power On/Off
Rotate the function switch from 'OFF' to any desired measurement function to power on the meter. To power off, rotate the switch back to 'OFF'. The meter features an automatic shutdown function to conserve battery life after a period of inactivity.
5.2 AC Current Measurement (Clamp Function)
This function allows non-contact measurement of AC current.
- Rotate the function switch to the '600A' or '40A' AC current range.
- Press the clamp trigger to open the jaws.
- Enclose only one conductor within the jaws. Ensure the jaws are fully closed.
- Read the AC current value on the display.

Figure 5.1: Measuring AC current with the clamp function.
5.3 AC/DC Voltage Measurement
To measure AC or DC voltage:
- Connect the test leads as described in Section 4.3.
- Rotate the function switch to the 'V~' (AC Voltage) or 'V-' (DC Voltage) position. The meter will auto-range.
- Touch the red test lead to the positive side of the circuit and the black test lead to the negative side (or neutral/ground for AC).
- Read the voltage value on the display.
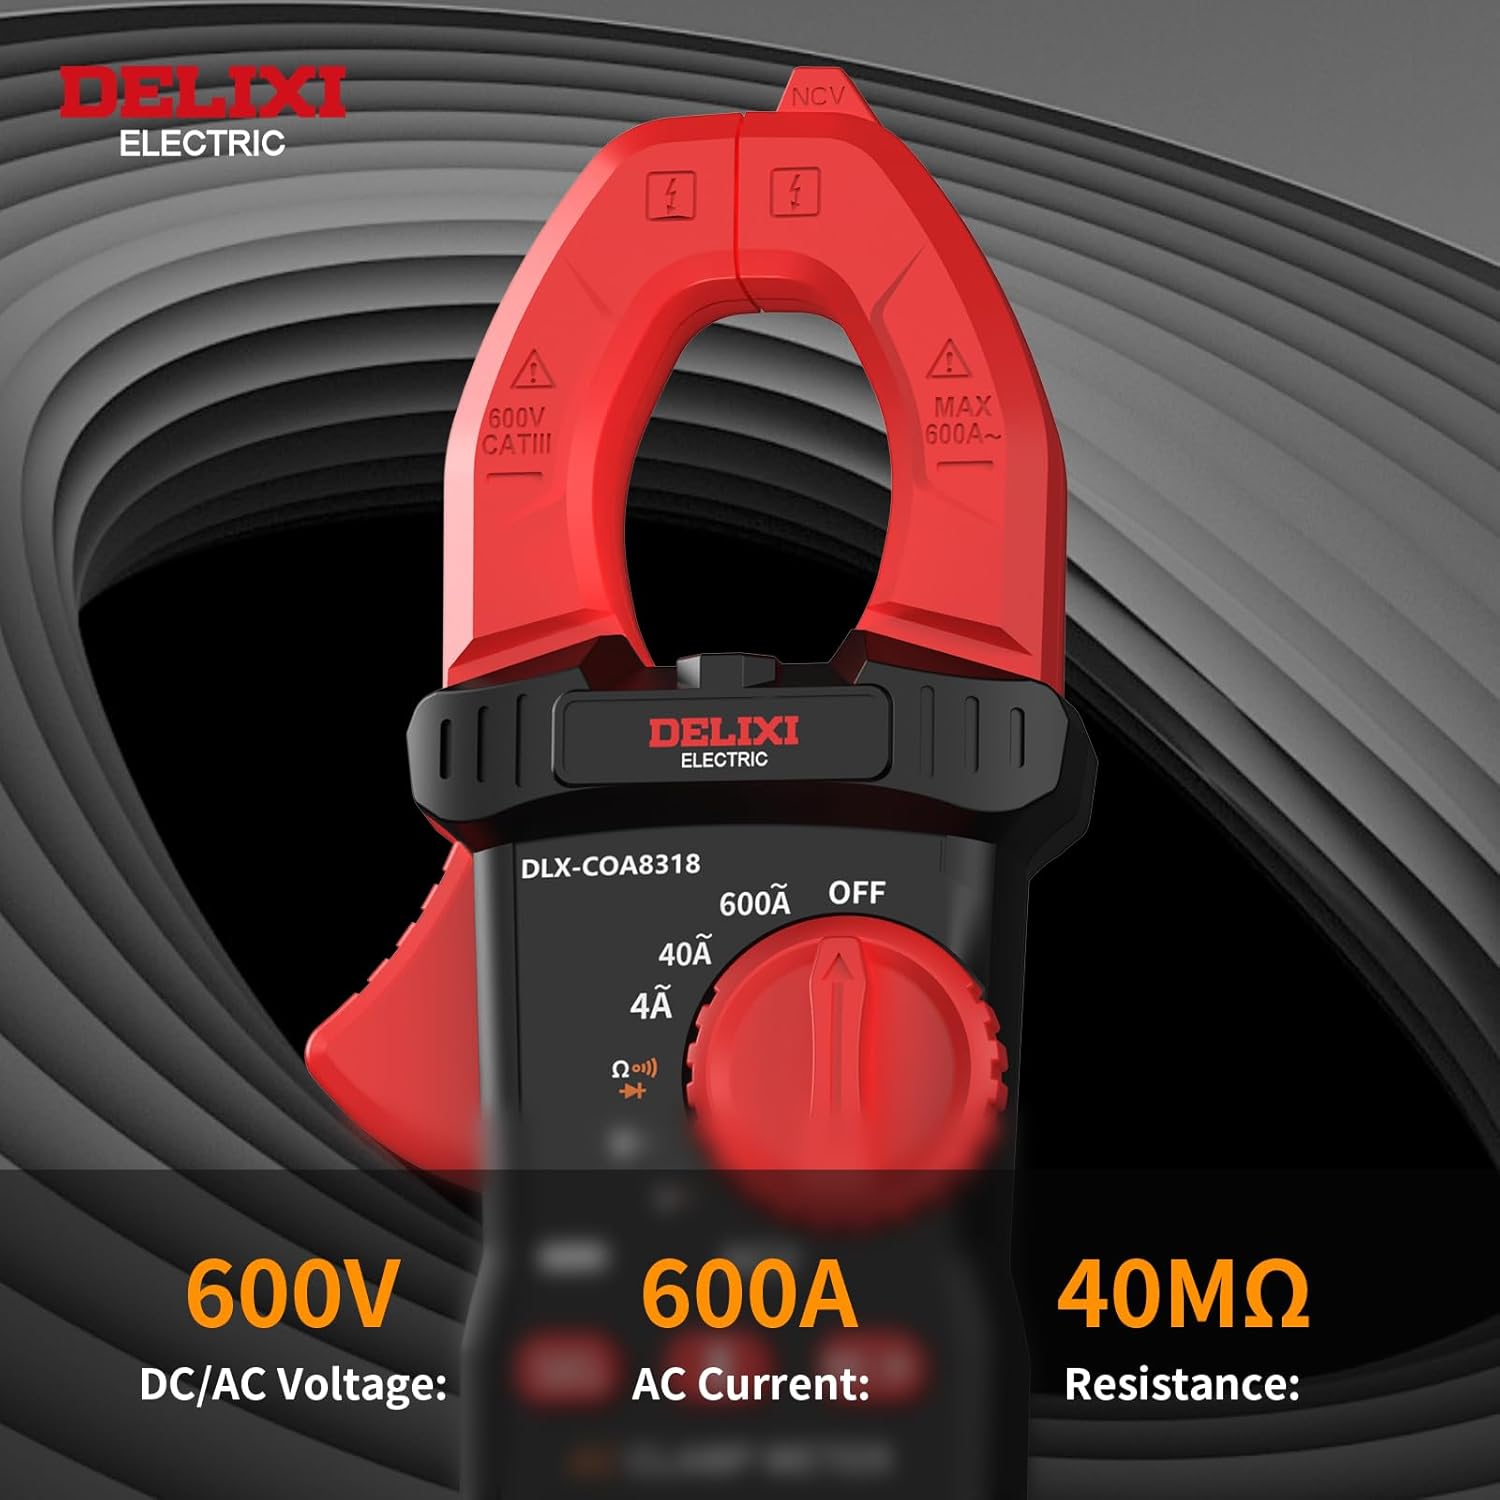
Figure 5.2: Voltage, Current, and Resistance measurement ranges.
5.4 Resistance Measurement
To measure resistance:
- Connect the test leads as described in Section 4.3.
- Rotate the function switch to the 'Ω' (Resistance) position.
- Ensure the circuit or component under test is de-energized.
- Touch the test leads across the component.
- Read the resistance value on the display.
5.5 Continuity Test
To check for circuit continuity:
- Connect the test leads as described in Section 4.3.
- Rotate the function switch to the 'Ω' (Resistance) position and press the 'SEL' button until the continuity symbol (a speaker icon) appears.
- Ensure the circuit or component under test is de-energized.
- Touch the test leads across the component.
- If continuity exists (resistance below approximately 50Ω), the buzzer will sound.
5.6 Diode Test
To test a diode:
- Connect the test leads as described in Section 4.3.
- Rotate the function switch to the 'Ω' (Resistance) position and press the 'SEL' button until the diode symbol appears.
- Ensure the diode is de-energized.
- Touch the red test lead to the anode and the black test lead to the cathode. The display will show the forward voltage drop.
- Reverse the test leads. The display should show 'OL' (Open Loop) for a good diode.
5.7 Non-Contact Voltage (NCV) Detection
The NCV function detects the presence of AC voltage without physical contact.
- Rotate the function switch to the 'NCV' position.
- Move the top end of the meter near a conductor or outlet.
- If AC voltage is detected, the buzzer will sound, and the red indicator light will flash.

Figure 5.3: NCV detection in action, indicating voltage presence.
5.8 Data Hold
Press the 'HOLD' button to freeze the current reading on the display. Press it again to release the hold function.
5.9 Backlight and Flashlight
Press the backlight/flashlight button (often marked with a light bulb icon) to turn on the display backlight or the integrated flashlight. Press again to cycle through modes or turn off.

Figure 5.4: The LED backlight and flashlight enhance visibility in low-light conditions.
5.10 True-RMS Measurement
The DLX-COA8318 is a True-RMS meter, meaning it accurately measures the effective value of AC voltage and current, even for distorted or non-sinusoidal waveforms. This provides more precise readings compared to average-responding meters, especially in modern electrical systems with non-linear loads.

Figure 5.5: True-RMS provides accurate measurements for complex waveforms.
6. Maintenance
Proper maintenance ensures the longevity and accuracy of your clamp meter.
6.1 Cleaning
Wipe the meter's casing with a damp cloth and mild detergent. Do not use abrasives or solvents. Ensure the meter is dry before storage or use.
6.2 Battery Replacement
When the low battery indicator appears on the display, replace the batteries as described in Section 4.2. Remove batteries if the meter will not be used for an extended period to prevent leakage.
6.3 Storage
Store the meter in its protective storage bag in a cool, dry place, away from direct sunlight and extreme temperatures.
7. Troubleshooting
If you encounter issues with your DELIXI DLX-COA8318, refer to the following common problems and solutions:
- Meter does not power on: Check battery installation and ensure batteries are not depleted.
- No reading or 'OL' (Overload) displayed: Ensure the function switch is set to the correct measurement type and range. For current measurements, ensure only one conductor is within the clamp jaws. For resistance/diode, ensure the circuit is de-energized.
- Inaccurate readings: Verify test lead connections. Ensure the meter is not exposed to strong electromagnetic fields.
- NCV not detecting voltage: Ensure the NCV function is selected and the meter is brought close enough to the live conductor.
If problems persist, contact customer support.
8. Specifications
Technical specifications for the DELIXI DLX-COA8318 Digital Clamp Meter:
| Feature | Specification |
|---|---|
| Display | 4000 Counts |
| AC Voltage | 600V |
| DC Voltage | 600V |
| AC Current | 600A |
| Resistance | 40MΩ |
| Continuity Test | Yes |
| Diode Test | Yes |
| NCV Detection | Yes |
| Data Hold | Yes |
| Auto Power-Off | Yes |
| Safety Rating | CAT III 600V |
| Power Source | 2 x AAA Batteries (included) |
| Dimensions | 8.66 x 5.11 x 1.69 inches |
| Weight | 11.84 ounces |

Figure 8.1: Detailed product specifications for DLX-COA8318 and other models.
9. Warranty and Support
DELIXI products are manufactured to high-quality standards. For warranty information or technical support, please refer to the contact details provided with your purchase or visit the official DELIXI website.
Please retain your proof of purchase for warranty claims.


