1. Introduction
This manual provides detailed instructions for the safe and efficient operation, maintenance, and troubleshooting of your Crenova 13-inch Laminator Machine. Please read this manual thoroughly before using the device to ensure optimal performance and longevity.
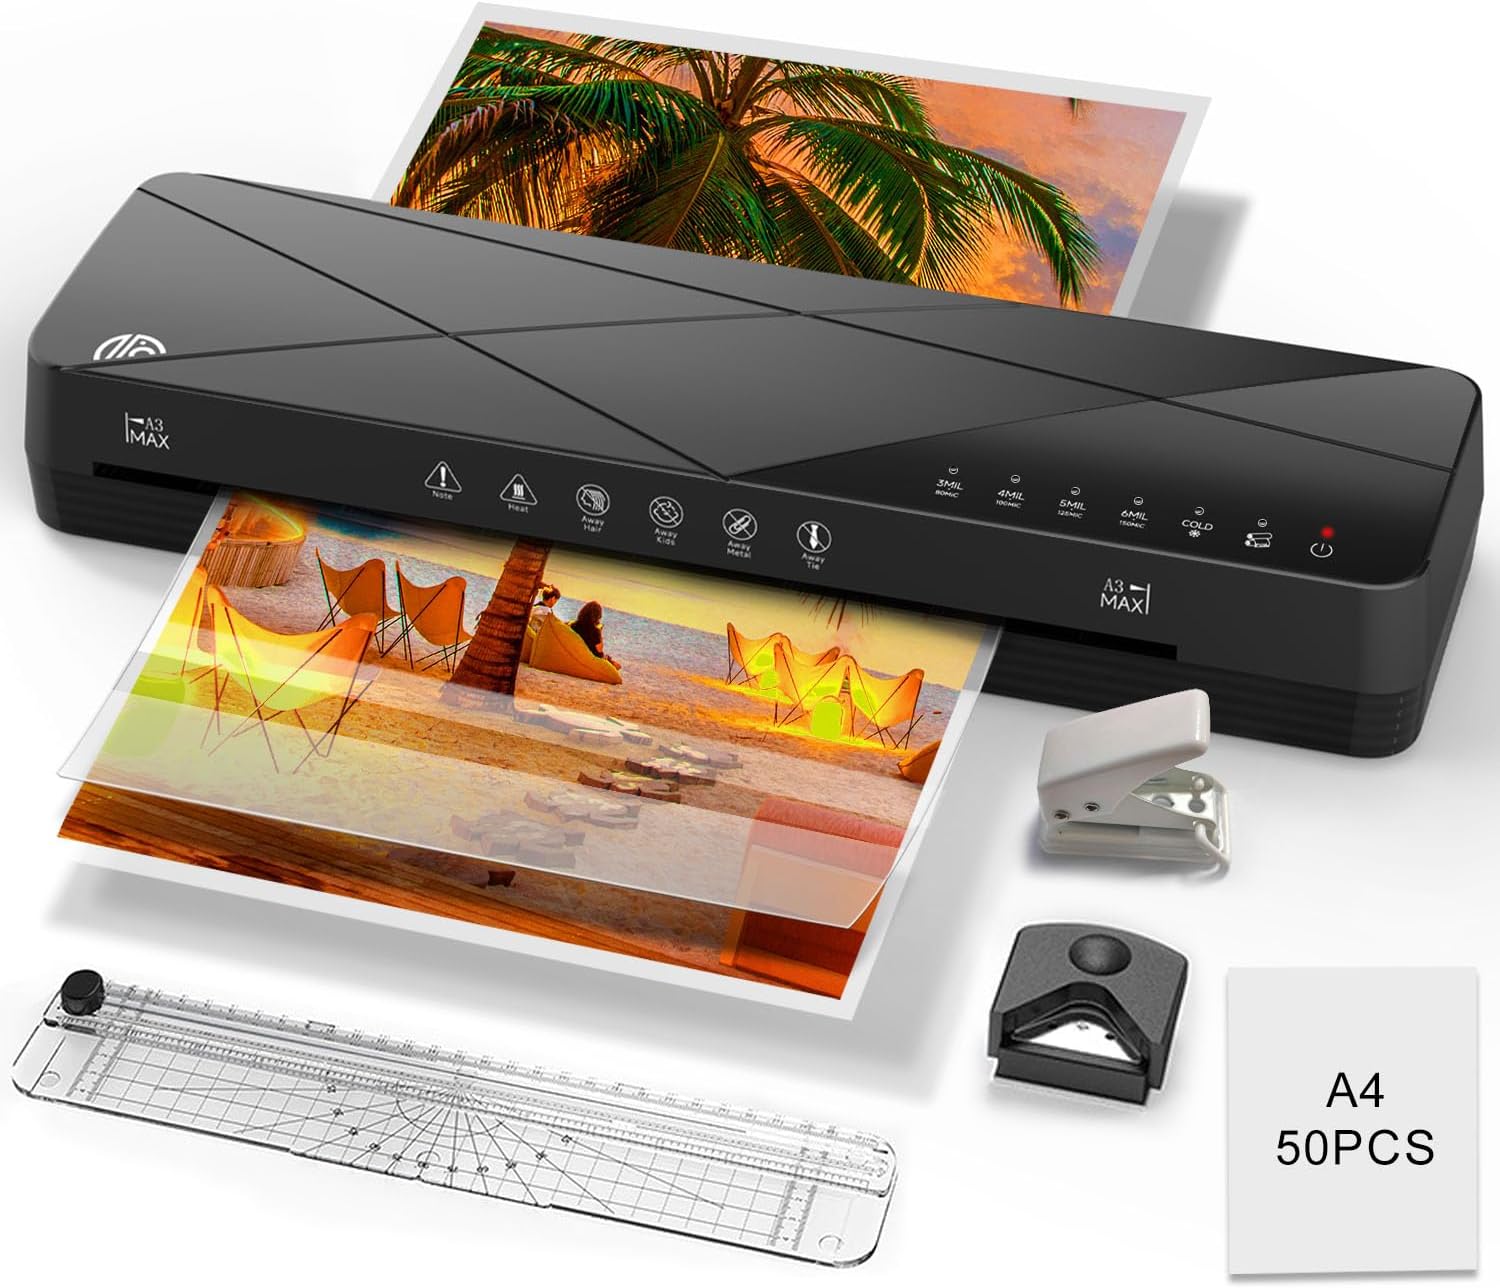
Image: The Crenova 13-inch Laminator Machine, shown with various accessories like a paper cutter, corner rounder, hole puncher, and laminating sheets, processing documents.
2. Product Overview & What's Included
The Crenova Laminator Machine is a versatile 6-in-1 thermal and cold laminator designed for home, office, and school use. It features a rapid warm-up time and an ABS jam-free function.
Package Contents:
- 1 x Crenova A3 Laminator Machine
- 1 x Paper Cutter
- 1 x Corner Rounder
- 1 x Hole Puncher
- 1 x User Manual (this document)
- 50 x A4 3mil Laminating Sheets

Image: An illustration of the Crenova laminator and its accompanying accessories, including the paper cutter, corner rounder, hole puncher, and laminating sheets, as they would appear in the product packaging.

Image: Detailed views of the included accessories: a paper cutter, a corner rounder, a hole puncher, and a stack of 50 A4 laminating sheets.
3. Specifications
| Feature | Specification |
|---|---|
| Brand | Crenova |
| Model Number | FNL002 |
| Item Weight | 4.8 pounds |
| Package Dimensions | 17.32 x 6.1 x 4.88 inches |
| Color | Black |
| Sheet Size Compatibility | Up to A3 (13 inch inlet) |
| Number of Rollers | 2 |
| Warm-up Time | 1-3 minutes (approx. 60 seconds) |
| Lamination Speed | Up to 355mm/min |
| Pouch Thickness (Thermal) | 80-150 Mic / 3-6 Mil |
| Lamination Modes | Thermal, Cold, Foil |
| Auto-Off Feature | 30 minutes of inactivity |
| Jam Release Function | ABS lever |

Image: A diagram illustrating the physical dimensions of the laminator (length 16.85 inches, width 4.8 inches, height 2.56 inches) and showing various compatible paper sizes from A6 to A3.

Image: The laminator highlighting its 13-inch inlet, capable of accommodating various document sizes, including certificates, photos, and business papers.
4. Setup
4.1 Unpacking
Carefully remove the laminator and all accessories from the packaging. Retain the packaging for future storage or transport.
4.2 Placement
Place the laminator on a stable, flat, and heat-resistant surface. Ensure there is enough clear space around the machine for proper ventilation and for documents to exit smoothly. Avoid placing it near heat sources or in direct sunlight.
4.3 Power Connection
Plug the power cord into a standard electrical outlet. The machine is now ready for operation.
5. Operating Instructions
5.1 Power On and Warm-Up
- Press the ON/OFF button. The display lights will illuminate, indicating the machine is powered on.
- Select your desired lamination mode (e.g., 3MIL, 4MIL, 5MIL, 6MIL for thermal, or COLD). The corresponding green light will blink.
- Wait approximately 60 seconds for the machine to warm up. The selected mode's light will stop flashing and the machine will beep, indicating it is ready for use.

Image: A visual guide demonstrating the steps to operate the laminator: pressing the ON/OFF button, selecting a mode, waiting for warm-up, and inserting the laminating pouch.

Image: A comparison graphic showing the Crenova laminator's fast 60-second warm-up and 355mm/min lamination speed versus slower alternatives.
5.2 Lamination Modes
The Crenova laminator offers three primary modes:
- Thermal Lamination: Ideal for general documents, photos, business cards, and menus. It uses heat to seal the pouch. Adjustable thickness settings (3-6 Mil) are available.
- Cold Lamination: Suitable for heat-sensitive materials such as thermal paper documents, stamps, or transparent PVC backing. This mode does not use heat.
- Foil Lamination: Allows you to apply foil to your items, adding a sophisticated finish to invitations or custom projects.

Image: A visual representation of the Hot Mode, showing heat rollers sealing documents, and the Cold Mode, showing rollers without heat for sensitive materials.

Image: The laminator's control panel highlighting the three main functions: Hot mode, Cold mode, and DIY Print Function mode, indicating its versatility.
5.3 Inserting the Pouch
Once the machine is ready:
- Place your document or photo inside a laminating pouch, ensuring it is centered and there is an even border around the edges.
- Insert the sealed end of the pouch into the laminator's inlet. The machine will automatically feed the pouch through.
- Allow the laminated document to exit completely before handling. It may be warm; handle with care.

Image: The Crenova laminator actively laminating a menu on a kitchen countertop, demonstrating its ease of use in a typical setting.
5.4 Automatic Shut-off
The laminator is equipped with a smart system that includes a 30-minute automatic shutdown feature. This conserves energy and extends the machine's lifespan by turning it off after a period of inactivity.
5.5 Power Off
To turn off the machine, press and hold the ON/OFF button until the lights extinguish.
6. Maintenance
6.1 Cleaning
- Ensure the laminator is unplugged and completely cool before cleaning.
- Wipe the exterior with a soft, dry cloth. Do not use abrasive cleaners or solvents.
- To clean the rollers, run a folded piece of paper through the machine to pick up any adhesive residue.
6.2 Storage
When not in use, store the laminator in a cool, dry place, away from direct sunlight and extreme temperatures. Keep it in its original packaging if possible to protect it from dust and damage.
7. Troubleshooting
7.1 Paper Jams (ABS Function)
The Crenova laminator features an ABS (Anti-Blocking System) function to quickly clear misfed or jammed documents.
- Switch off the laminator.
- Press and hold the ABS lever with one hand.
- Gently pull the jammed pouch out with the other hand.

Image: A close-up showing the ABS lever being pressed and a hand gently pulling a laminating pouch out of the machine, illustrating the jam-clearing process.

Image: A diagram illustrating common mistakes that lead to paper jams (e.g., rolled-up paper, non-flat pouches) and correct methods for laminating irregular shapes by placing them on the sealing side of the pouch and trimming afterward.
7.2 Poor Lamination Quality
- Bubbles/Wrinkles: Ensure the pouch is flat and free of wrinkles before inserting. Make sure the machine has fully warmed up.
- Cloudy/Unsealed: Verify you are using the correct temperature setting for your pouch thickness. For thermal lamination, ensure the machine is in a hot mode.
- Uneven Lamination: Ensure the document is centered within the pouch and inserted straight into the machine.
7.3 Machine Not Powering On
- Check if the power cord is securely plugged into both the laminator and the electrical outlet.
- Test the outlet with another device to ensure it is functional.
- If the machine has been idle, it might be in auto-off mode. Press the power button to reactivate.
8. Warranty & Support
For warranty information and customer support, please refer to the documentation included with your purchase or visit the official Crenova website. You can also visit the Crenova Store on Amazon for more product details and support resources:


