
1. Introduction
Thank you for choosing the Canoly Cold Press Juicer. This slow masticating juicer is designed to efficiently extract juice from a wide variety of fruits and vegetables, preserving nutrients and flavor. Its robust 350W motor, wide feed chute, and easy-to-clean design make it a convenient addition to any kitchen. Please read this manual thoroughly before operation to ensure safe and optimal performance.
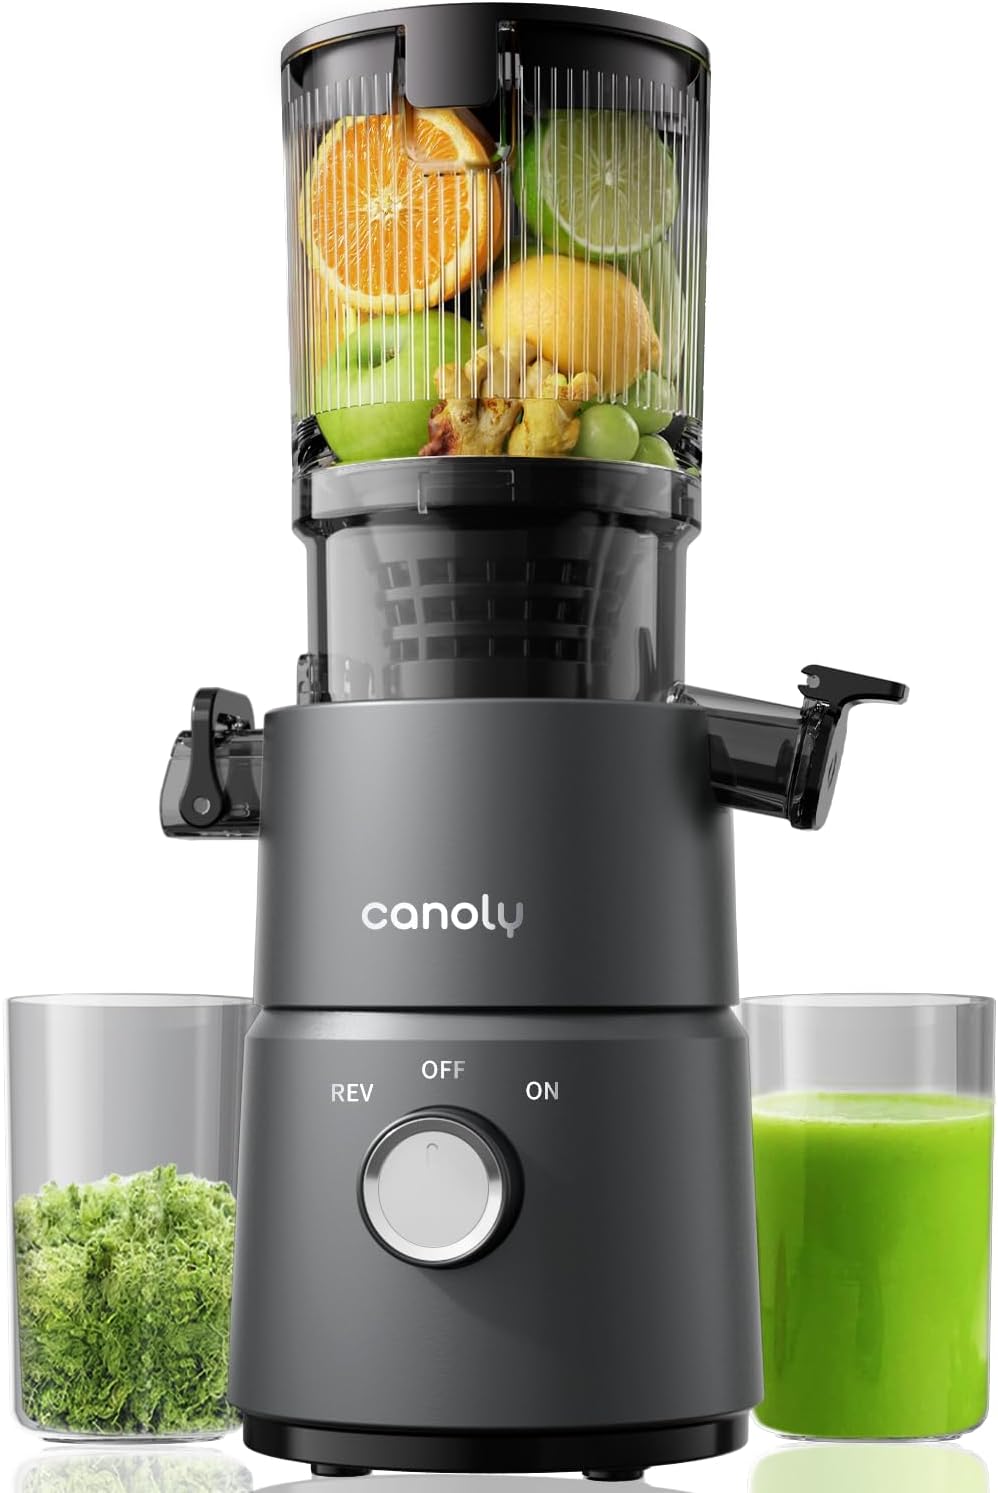
Image: The Canoly Cold Press Juicer, showcasing its sleek design, wide feed chute filled with whole fruits and vegetables, and two accompanying containers for pulp and fresh juice.
2. Important Safety Instructions
When using electrical appliances, basic safety precautions should always be followed to reduce the risk of fire, electric shock, and/or injury to persons, including the following:
- Read all instructions before operating the juicer.
- Do not immerse the motor base in water or other liquids.
- Unplug from outlet when not in use, before putting on or taking off parts, and before cleaning.
- Avoid contact with moving parts.
- Do not operate any appliance with a damaged cord or plug, or after the appliance malfunctions or has been dropped or damaged in any manner.
- The use of attachments not recommended or sold by the manufacturer may cause fire, electric shock, or injury.
- Do not use outdoors.
- Do not let cord hang over edge of table or counter, or touch hot surfaces.
- Always ensure the juicer is properly assembled and all safety locks are engaged before operation.
- Do not put fingers or other objects into the feed chute while the appliance is operating. If food becomes lodged, use the pusher provided.
- This appliance is for household use only.
3. Package Contents
Carefully unpack all components and check for any damage. Please ensure all parts listed below are present:

Image: An exploded diagram of the Canoly Cold Press Juicer, labeling its eleven distinct components for easy identification and assembly.
- Hopper
- Bowl Cover
- Filter (Fine and Coarse)
- Squeezing Screw (Auger)
- Bowl
- Base (Motor Unit)
- Strainer
- Pulp Container
- Juice Cup
- Cleaning Brush
- Pusher
4. Assembly
Follow these steps to assemble your Canoly Cold Press Juicer before first use:

Image: A visual step-by-step guide demonstrating the assembly process of the Canoly Cold Press Juicer, from placing the bowl onto the base to securing the hopper.
- Place the Bowl (5) onto the Base (6), aligning the arrows and rotating until it locks into place.
- Insert the Squeezing Screw (Auger) (4) into the center of the Bowl.
- Place the Filter (3) over the Squeezing Screw, ensuring it sits securely in the Bowl.
- Attach the Hopper (1) and Bowl Cover (2) assembly onto the top, aligning the arrows and twisting until it clicks into the locked position.
- Ensure the pulp chute cover is closed and the top lid is securely in place before operating.
5. Operation
The Canoly Cold Press Juicer is designed for simple and efficient juicing. Follow these steps for optimal results:

Image: A close-up view of the juicer's 5.3-inch wide feed chute, demonstrating its capacity to accommodate whole fruits and vegetables like apples, oranges, and ginger.
- Place the Juice Cup (9) under the juice outlet and the Pulp Container (8) under the pulp outlet.
- Plug the power cord into a suitable electrical outlet.
- Prepare your ingredients. Thanks to the 5.3-inch wide feed chute, many whole fruits and vegetables can be inserted directly, reducing pre-cutting time. For harder or larger items, you may still need to cut them into smaller pieces.
- Turn the control knob to the "ON" position to start the juicer. The juicer will begin to process the ingredients.
- Slowly feed the fruits and vegetables into the feed chute. Use the Pusher (11) if necessary to guide ingredients down, but do not force them.
- If ingredients become jammed, turn the control knob to the "REV" (Reverse) position for a few seconds to clear the blockage, then switch back to "ON".
- Once juicing is complete, turn the control knob to the "OFF" position and unplug the appliance.

Image: A close-up of the Canoly juicer's base, highlighting the simple one-knob control with 'REV', 'OFF', and 'ON' settings for intuitive operation.
Tips for Best Results:
- For leafy greens, roll them into a tight ball before inserting.
- Alternate between soft and hard ingredients to maintain smooth operation.
- Do not overfill the feed chute.
- The juicer features an upgraded multi-layer grinding auger designed to maximize juice yield and minimize oxidation, resulting in more nutritious juice.
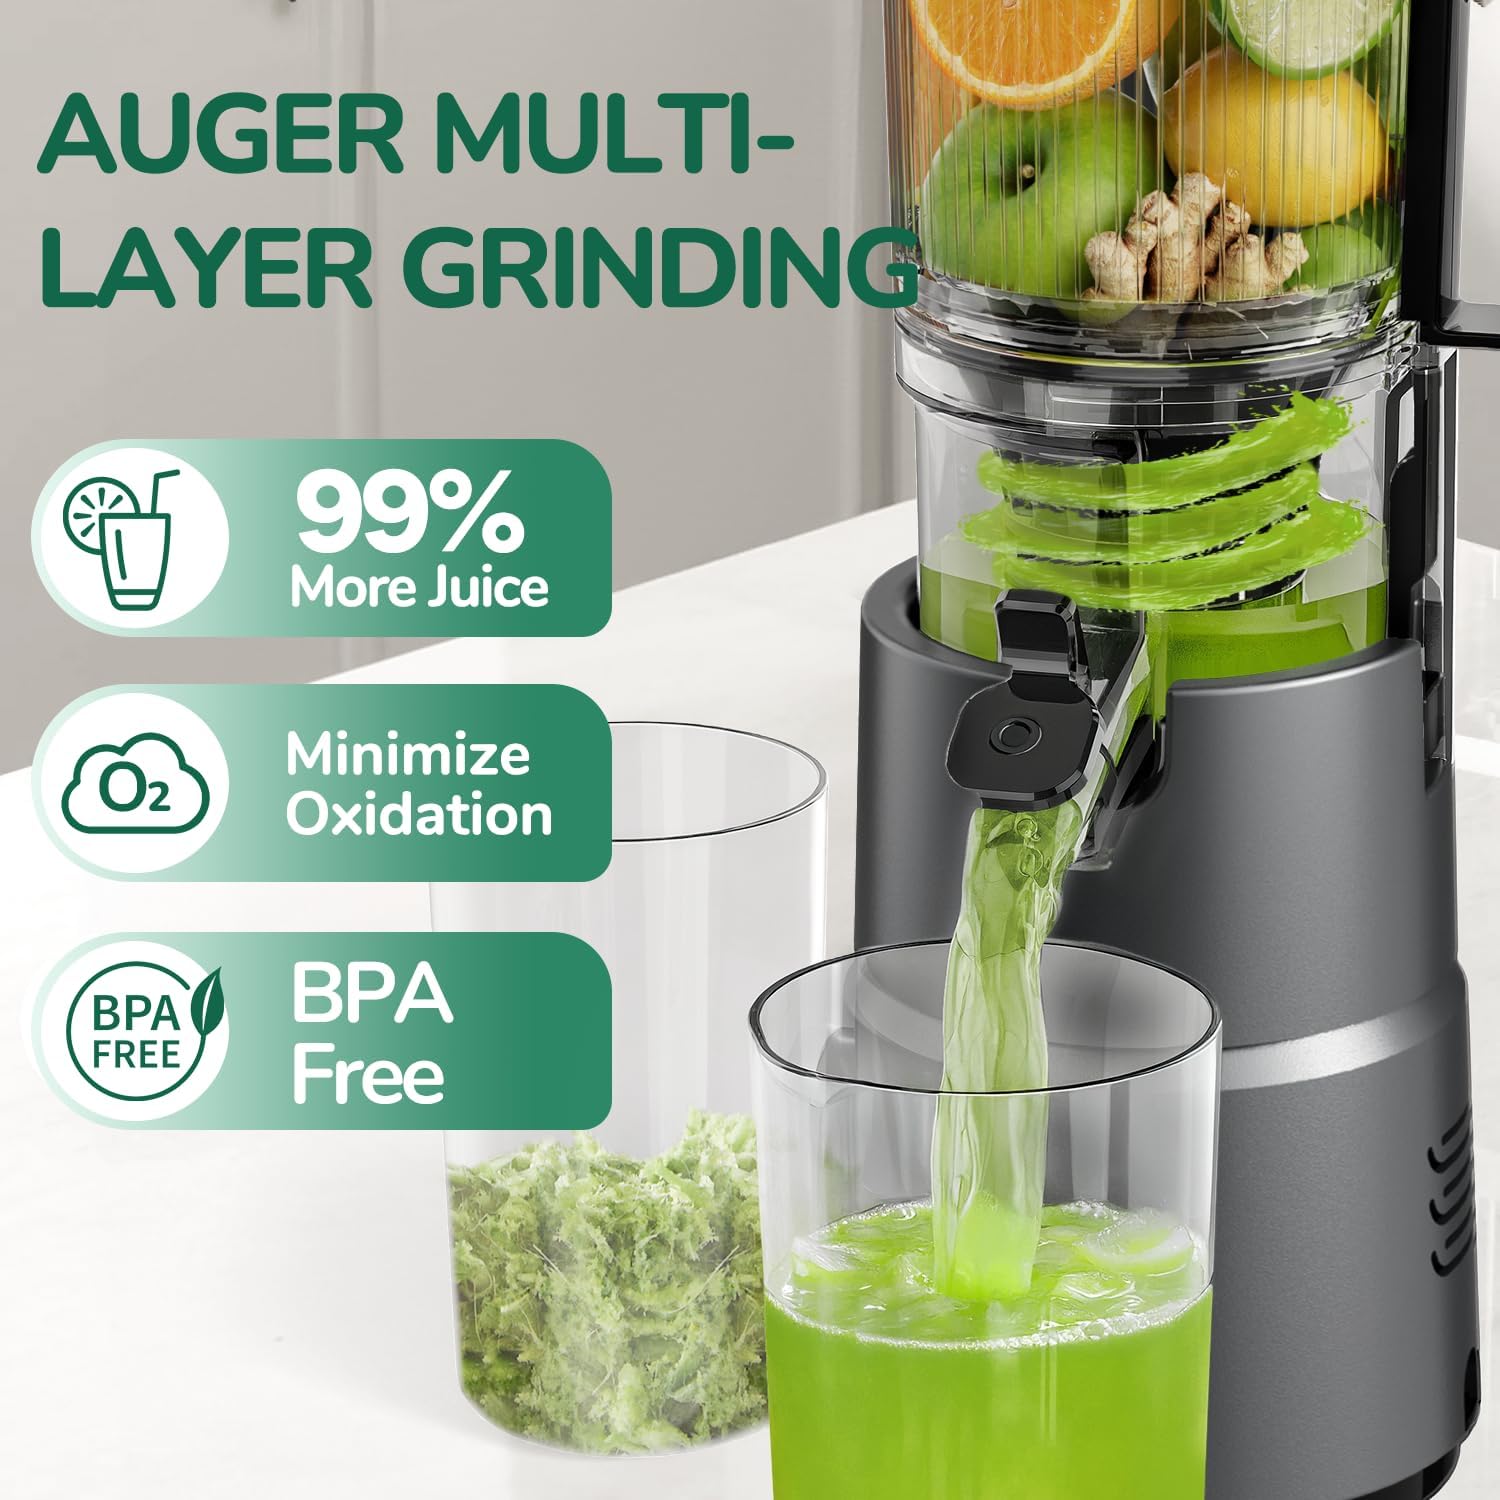
Image: An internal view of the juicer demonstrating the multi-layer grinding auger technology, emphasizing its efficiency in extracting juice, minimizing oxidation, and being BPA-free.
6. Cleaning & Maintenance
Regular cleaning ensures the longevity and hygiene of your juicer. The Canoly juicer is designed for easy disassembly and cleaning.
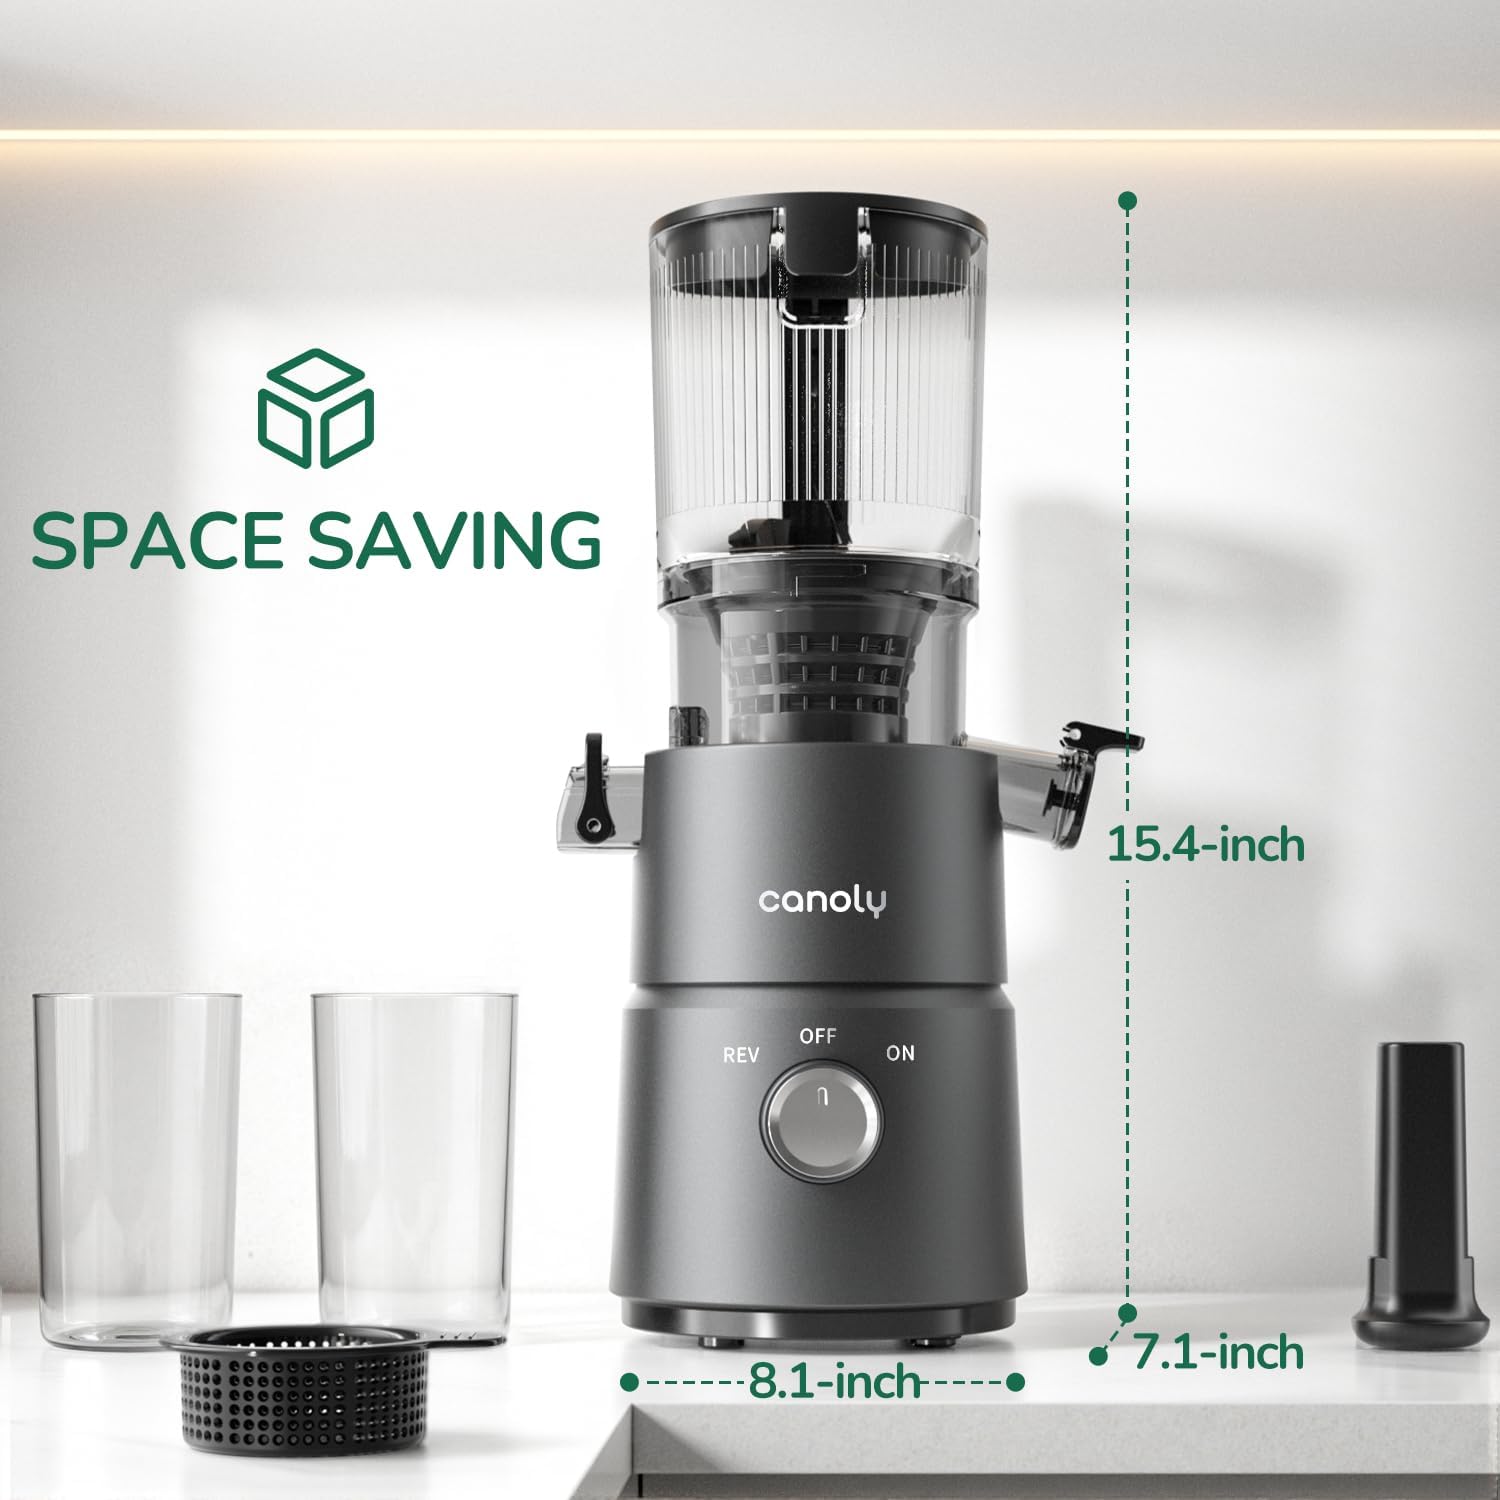
Image: A visual guide showing the four simple steps to disassemble the Canoly juicer for cleaning, including a close-up of the quick-release latch and parts placed in a dishwasher rack (note: parts are hand wash only).
- Unplug the juicer from the power outlet.
- Disassemble the juicer by reversing the assembly steps. The juicer features a one-piece construction with just 4 detachable parts for quick breakdown.
- Remove any remaining pulp from the pulp outlet. The innovative quick-release latch makes cleaning the pulp outlet easy.
- Rinse all detachable parts (Hopper, Bowl Cover, Filter, Squeezing Screw, Bowl, Pulp Container, Juice Cup) under running water. The self-cleaning mesh filter removes most residue under running water.
- Use the included Cleaning Brush (10) to remove stubborn pulp from the filter mesh and other components.
- Important: All detachable parts are Hand Wash Only. Do not place them in a dishwasher. The motor base should be wiped clean with a damp cloth; never immerse it in water.
- Allow all parts to air dry completely before reassembling or storing.

Image: A comparison showing the dual filter before and after rinsing, demonstrating its easy-clean design, alongside other juicer components being hand-washed in a sink.
7. Troubleshooting
If you encounter any issues with your Canoly Cold Press Juicer, please refer to the following common problems and solutions:
| Problem | Possible Cause | Solution |
|---|---|---|
| Juicer does not turn on. | Not plugged in; not assembled correctly; power outage. | Ensure power cord is securely plugged in. Check if all parts are correctly assembled and locked. Verify power supply. |
| Motor stops during operation or jams. | Too much food inserted at once; hard ingredients causing blockage. | Switch to "REV" (Reverse) for a few seconds to clear the blockage, then switch back to "ON". Reduce the amount of food inserted at one time. Cut harder ingredients into smaller pieces. |
| Excessive vibration or noise. | Parts not assembled correctly; juicer not on a flat surface. | Disassemble and reassemble all parts, ensuring they are securely locked. Place the juicer on a stable, flat surface. |
| Low juice yield or wet pulp. | Filter clogged; ingredients too soft or overripe. | Clean the filter thoroughly. For very soft fruits, consider chilling them before juicing. |
| Overheating. | Continuous operation for too long; motor overload. | The juicer has overheat protection and will automatically shut off. Allow the appliance to cool down for at least 30 minutes before resuming operation. Avoid continuous operation for extended periods. |
8. Specifications
Detailed technical specifications for your Canoly Cold Press Juicer:
- Brand: Canoly
- Model Name: C03
- Power: 350W
- Feed Chute Size: 5.3 inches
- Special Features: Overheat Protection
- Item Weight: 3.2 kg
- Product Dimensions: 20.5D x 18W x 39H Centimetres
- Product Care Instructions: Hand Wash Only
- Dishwasher Safe: No
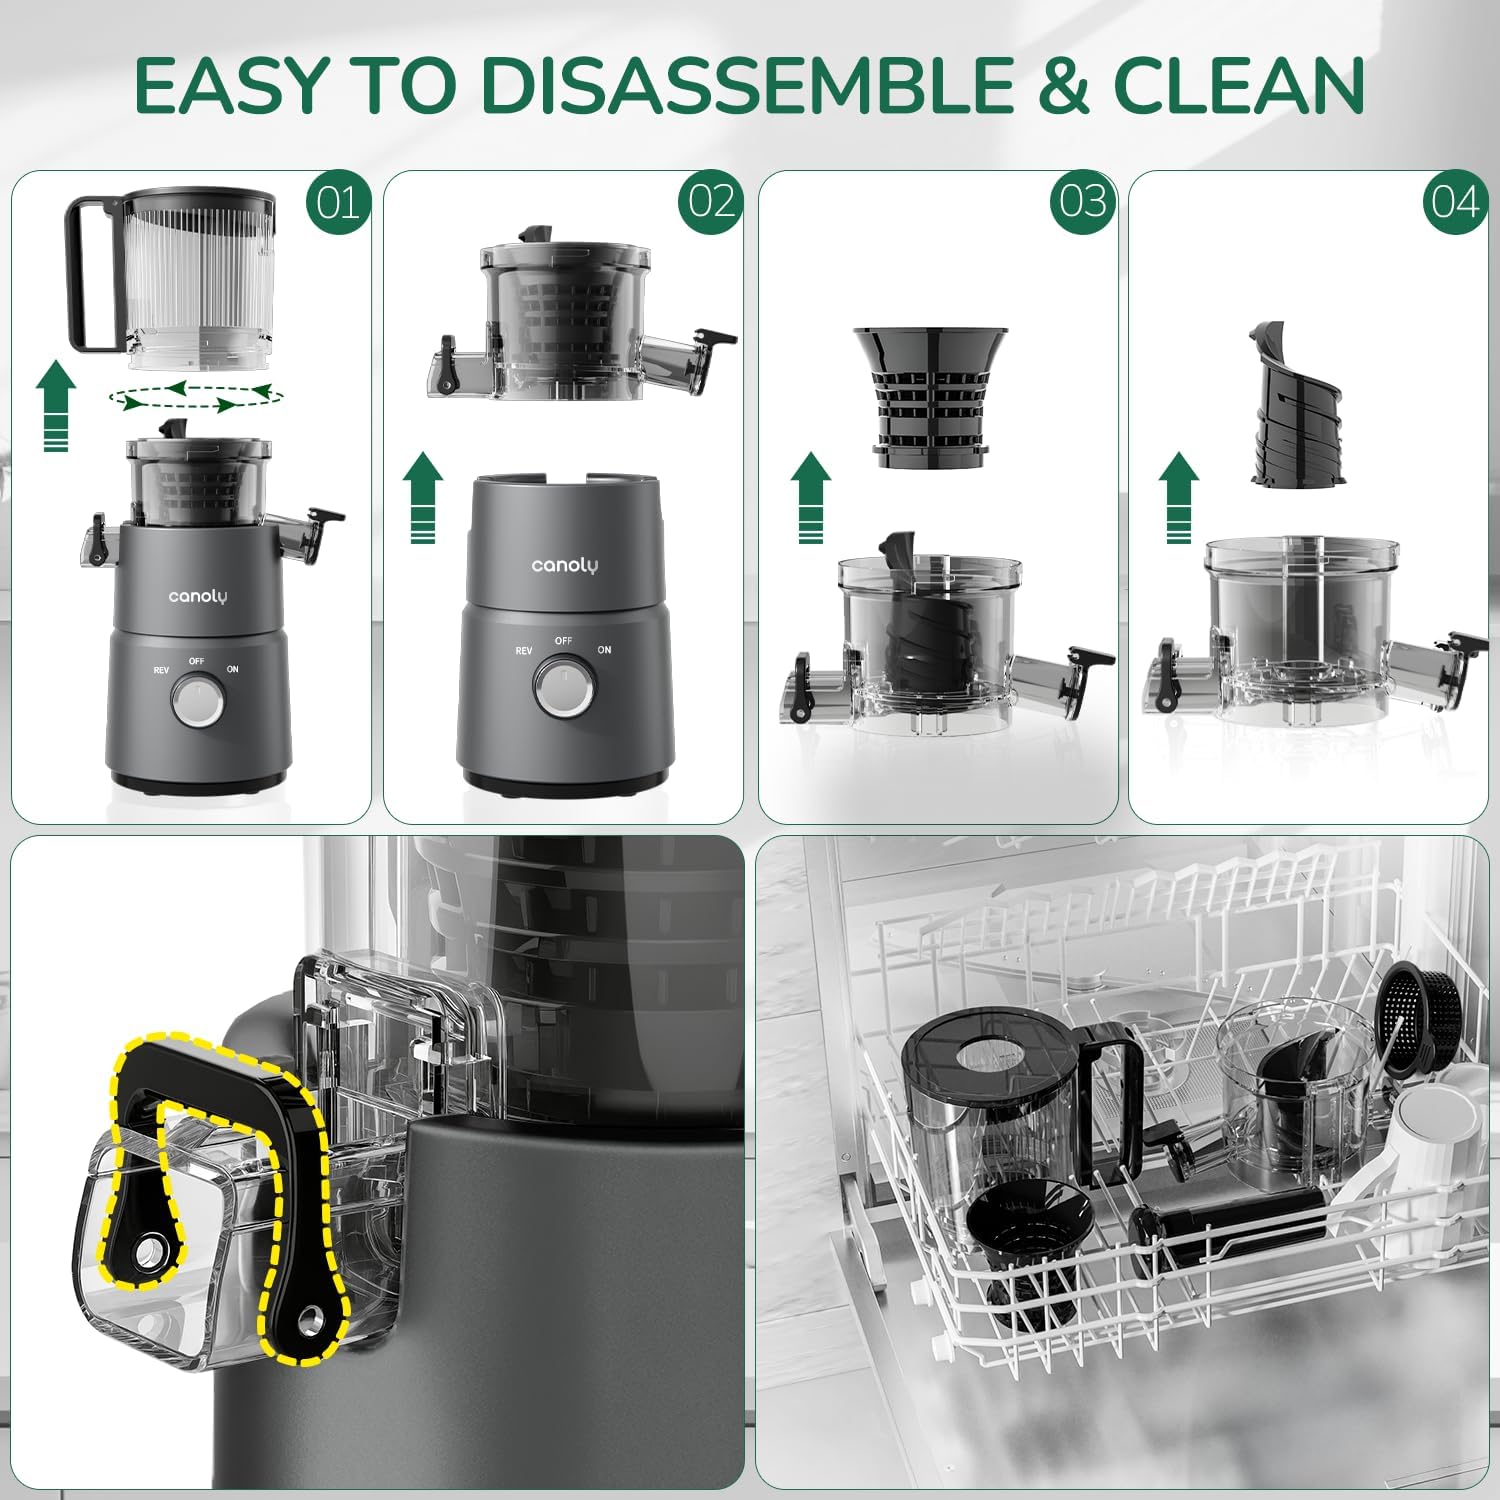
Image: The Canoly juicer displayed with its key dimensions (15.4-inch height, 8.1-inch depth, 7.1-inch width), highlighting its compact, space-saving design.
9. Warranty and Support
While specific warranty details are not provided in this manual, Canoly products are typically covered by a manufacturer's warranty. Please retain your proof of purchase for any warranty claims. For product support, troubleshooting assistance, or to inquire about warranty information, please contact Canoly customer service through the retailer where you purchased the product or visit the official Canoly website.
For further assistance, you may visit the Canoly Store on Amazon.