
OlarHike TIC7V106
OlarHike Portable Tire Inflator User Manual
Brand: OlarHike
Model: TIC7V106
Introduction
The OlarHike Portable Tire Inflator is a compact, cordless air compressor designed for quick and efficient inflation of various items, including car tires, bicycle tires, motorcycle tires, and sports balls. This device features a powerful 5200mAh battery, a digital pressure gauge with an automatic shut-off function, and an integrated LED light for convenience in low-light conditions.
It supports inflation up to 160 PSI and offers multiple pressure units (PSI, BAR, KPA, kg/cm²) for versatile use. Its portable design makes it an essential tool for drivers, cyclists, and adventurers, ensuring you can maintain optimal tire pressure wherever you go.
Safety Information
- Read all instructions carefully before use to ensure safe operation.
- Keep the device away from children and pets.
- Do not operate the inflator in wet conditions or near flammable liquids or gases.
- Avoid over-inflating tires or objects. Always refer to the recommended pressure for the item being inflated.
- Do not leave the inflator unattended while in operation.
- Ensure the air hose connection is secure before starting inflation to prevent air leakage or hose detachment.
- If the device becomes excessively hot during use, turn it off and allow it to cool down before continuing.
- Use only the provided charging cable and adapters.
Package Contents
Please verify that all items listed below are included in your package:
- 1 x OlarHike Portable Tire Inflator (Air Pump)
- 1 x Long Air Hose
- 1 x Type-C Charging Cable
- 1 x Long Nozzle
- 1 x Needle Adapter
- 1 x Presta Valve Adapter
- 1 x Storage Bag
- 1 x User Manual (this document)

Figure 1: Included Components
This image displays the OlarHike Portable Tire Inflator along with all its accessories: the main air pump, a long air hose, a Type-C charging cable, various inflation nozzles including a long nozzle, a needle adapter, and a Presta valve adapter, and a convenient storage bag.
Product Overview
Familiarize yourself with the main parts of your OlarHike Portable Tire Inflator.
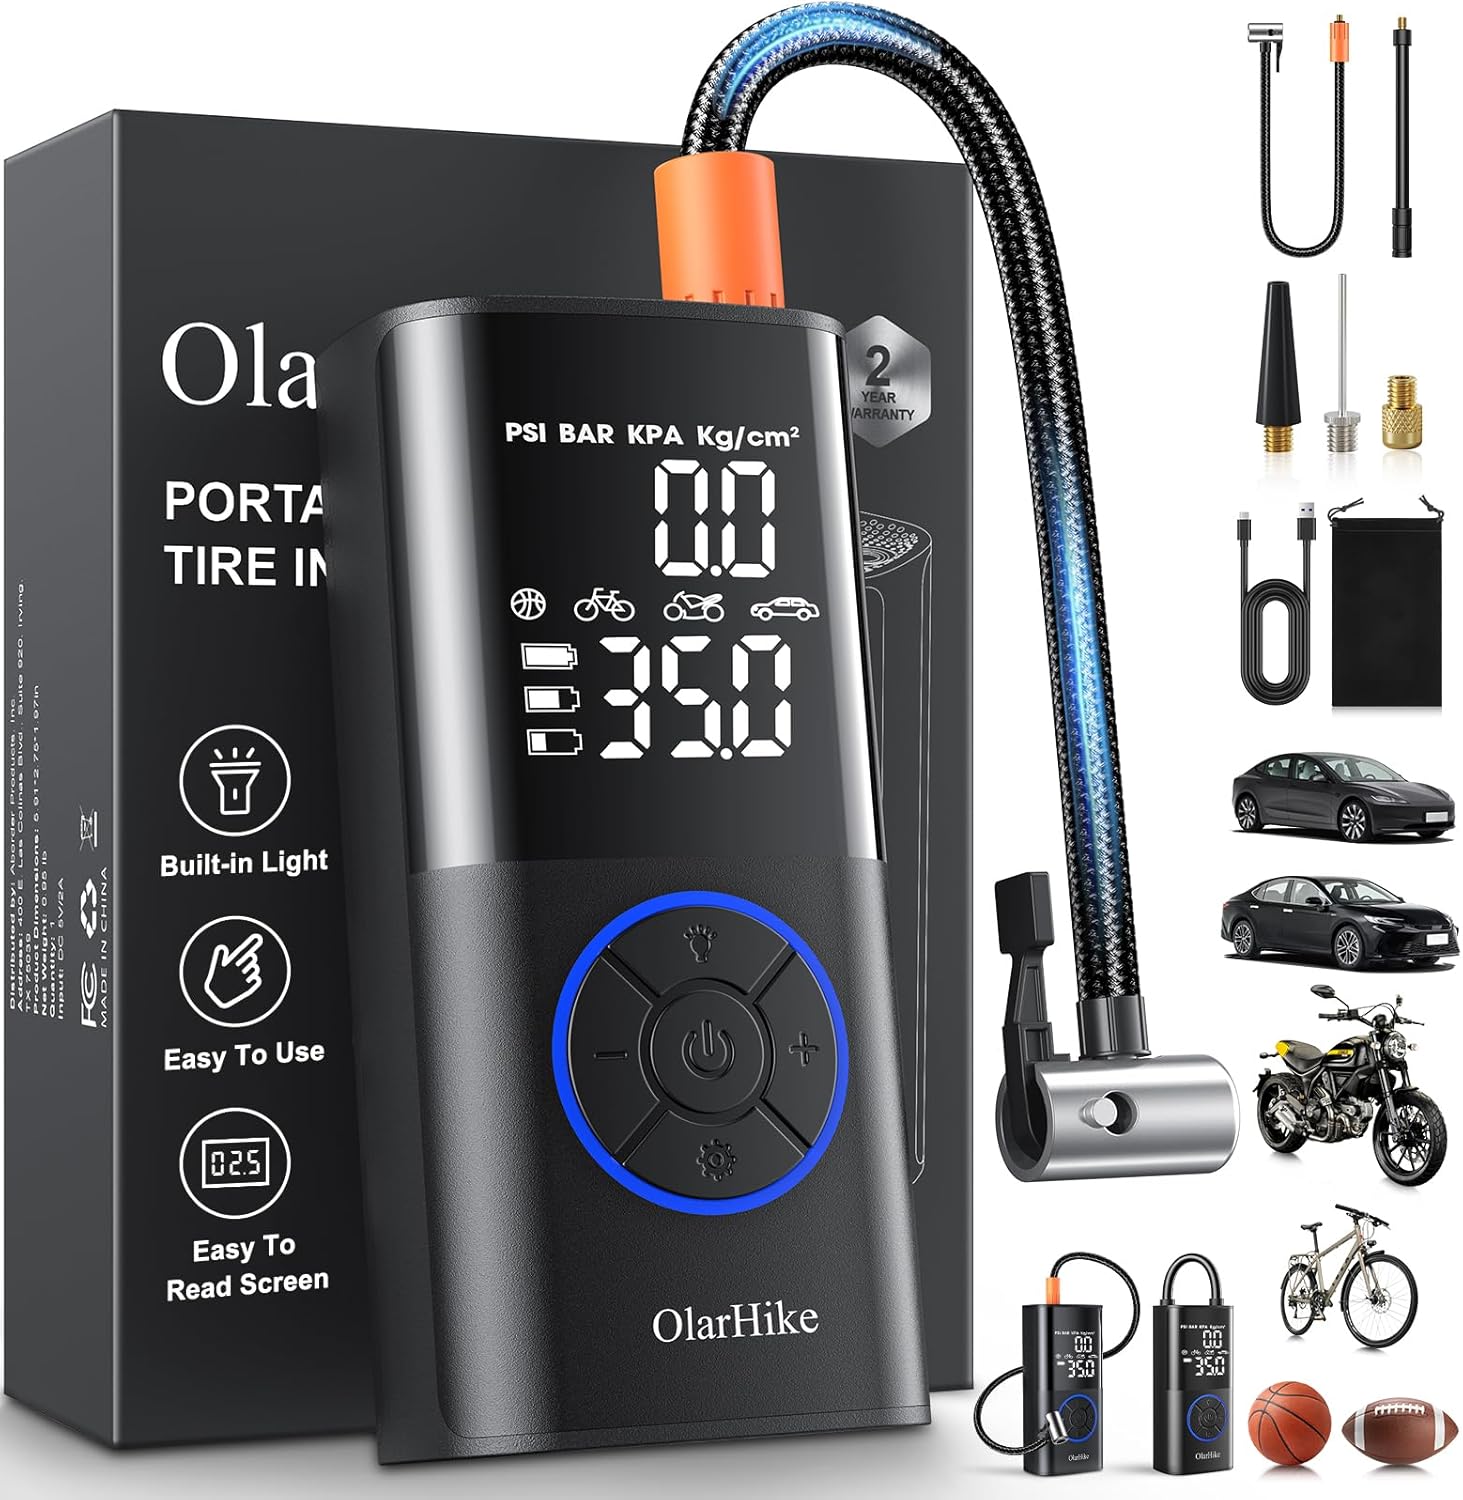
Figure 2: OlarHike Portable Tire Inflator
This image shows the OlarHike Portable Tire Inflator, highlighting its digital screen for pressure readings, the central control panel with power and adjustment buttons, and the flexible air hose connected to the top.
Key Features:
- Digital Display: Shows real-time pressure and preset target pressure.
- Control Buttons: Power, mode selection, and pressure adjustment.
- Air Hose Connection: Securely attaches to the inflator and the item to be inflated.
- LED Light: Provides illumination for use in dark environments.
- Type-C Charging Port: For recharging the internal battery.
Specifications
| Feature | Specification |
|---|---|
| Brand | OlarHike |
| Model Name | TIC7V106 |
| Voltage | 7.4 Volts |
| Maximum Operating Pressure | 160 PSI |
| Battery Capacity | 5200mAh |
| Air Flow Capacity | 22 LPM |
| Noise Level | 78 dB |
| Item Weight | 15.2 ounces |
| Dimensions (L x W x H) | 5.91" x 2.75" x 1.97" |
| Hose Length | 24 Inches |
| Charging Port | Type-C |
| Automatic Shut-Off | Yes |
| Built-in LED Light | Yes |
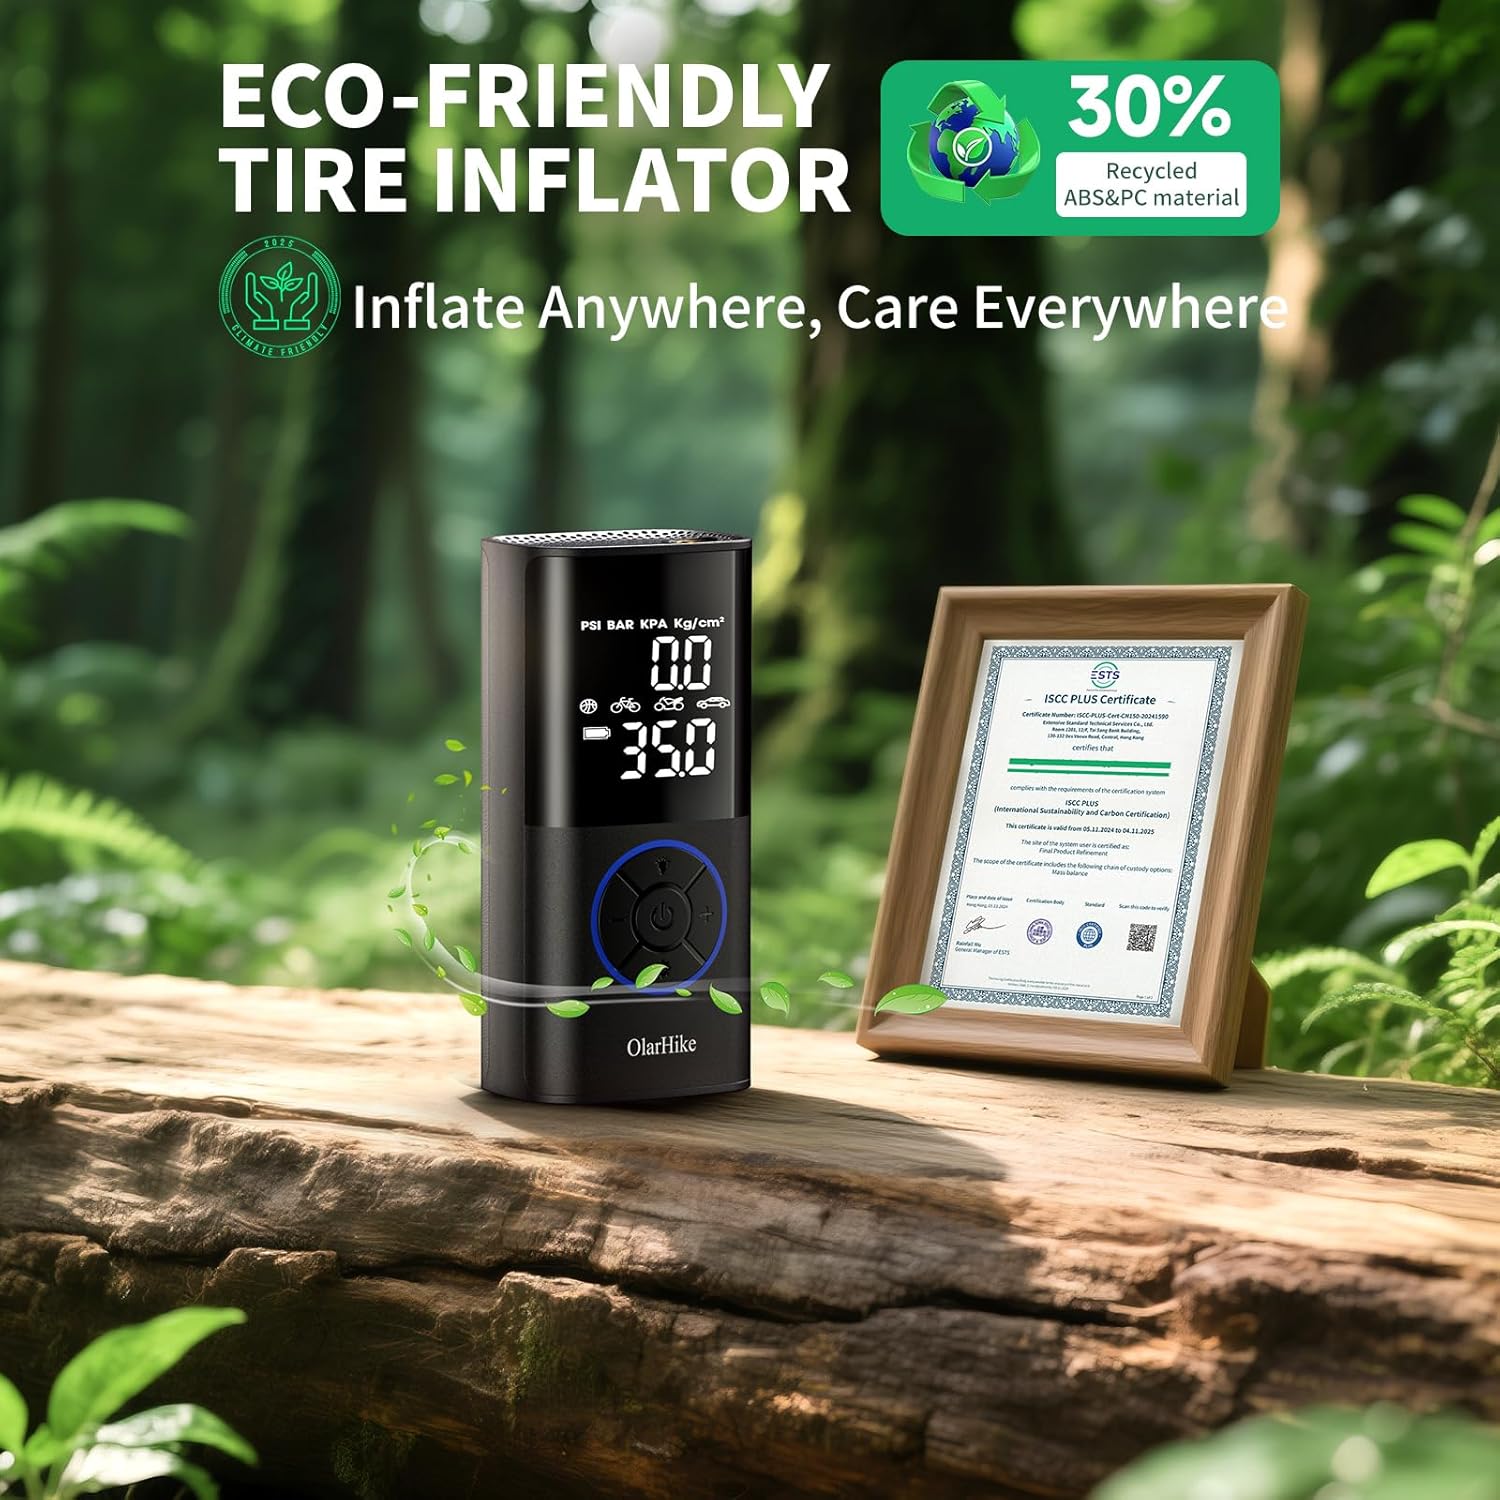
Figure 3: Use Case Compatibility Chart
This chart illustrates the recommended PSI ranges and compatibility of the OlarHike inflator for different items such as car tires, bicycle tires, motorcycle tires, and various types of balls.
Setup
1. Charging the Inflator
Before first use, or when the battery is low, fully charge the inflator. The device is equipped with a 5200mAh high-voltage battery.
- Connect the provided Type-C charging cable to the charging port on the inflator.
- Connect the other end of the cable to a suitable USB power adapter (not included) or a USB port.
- The display will indicate charging status. Charge until the battery indicator shows full.
2. Attaching the Air Hose
The inflator comes with a long air hose and a short air hose (built-in). For most uses, the long air hose is recommended.
- Pull out the air hose from the bottom of the inflator (if using the built-in short hose) or connect the long air hose to the designated port on the inflator.
- Ensure the hose is securely tightened to prevent air leaks during inflation.
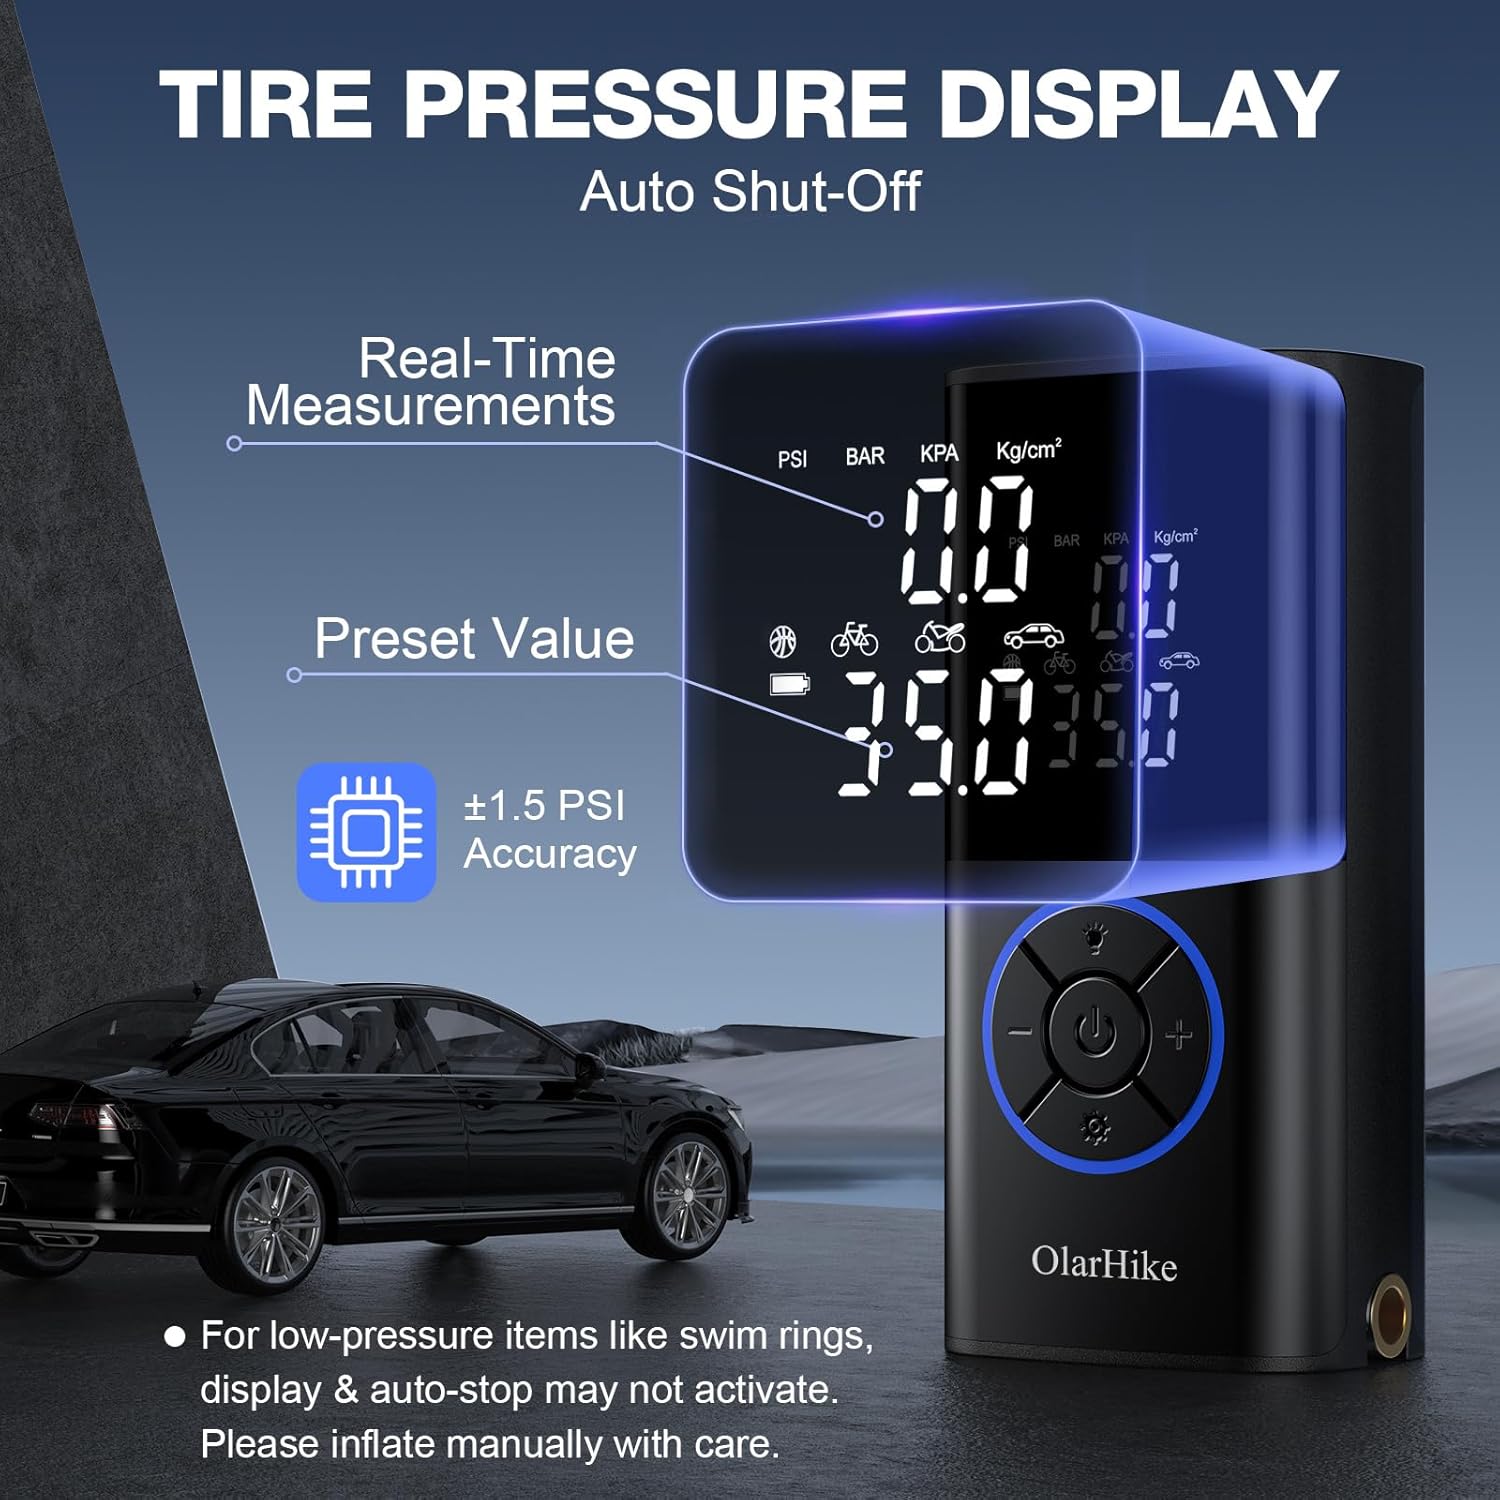
Figure 4: Air Hose Connection Steps
This image illustrates the process of preparing the inflator for use: Step 1 shows pulling out the air hose from the device's base, Step 2 demonstrates tightening the air hose securely, and Step 3 shows the inflator connected and ready to inflate a bicycle tire.
Operating Instructions
1. Power On/Off
- To power on, press and hold the power button (Ⓘ) for 2 seconds. The digital display will light up.
- To power off, press and hold the power button again for 2 seconds. The device will also automatically shut off after a period of inactivity.
2. Select Mode and Unit
- After powering on, press the mode button (⚙) to cycle through the preset inflation modes: Car, Motorcycle, Bicycle, and Ball.
- Press the unit button (often integrated with mode or a separate button) to switch between pressure units: PSI, BAR, KPA, and kg/cm².
3. Set Target Pressure
- Use the '+' and '-' buttons to adjust the target pressure value. The preset value will flash as you adjust it.
- Once the desired pressure is set, stop pressing the buttons. The value will stop flashing, indicating it's saved.
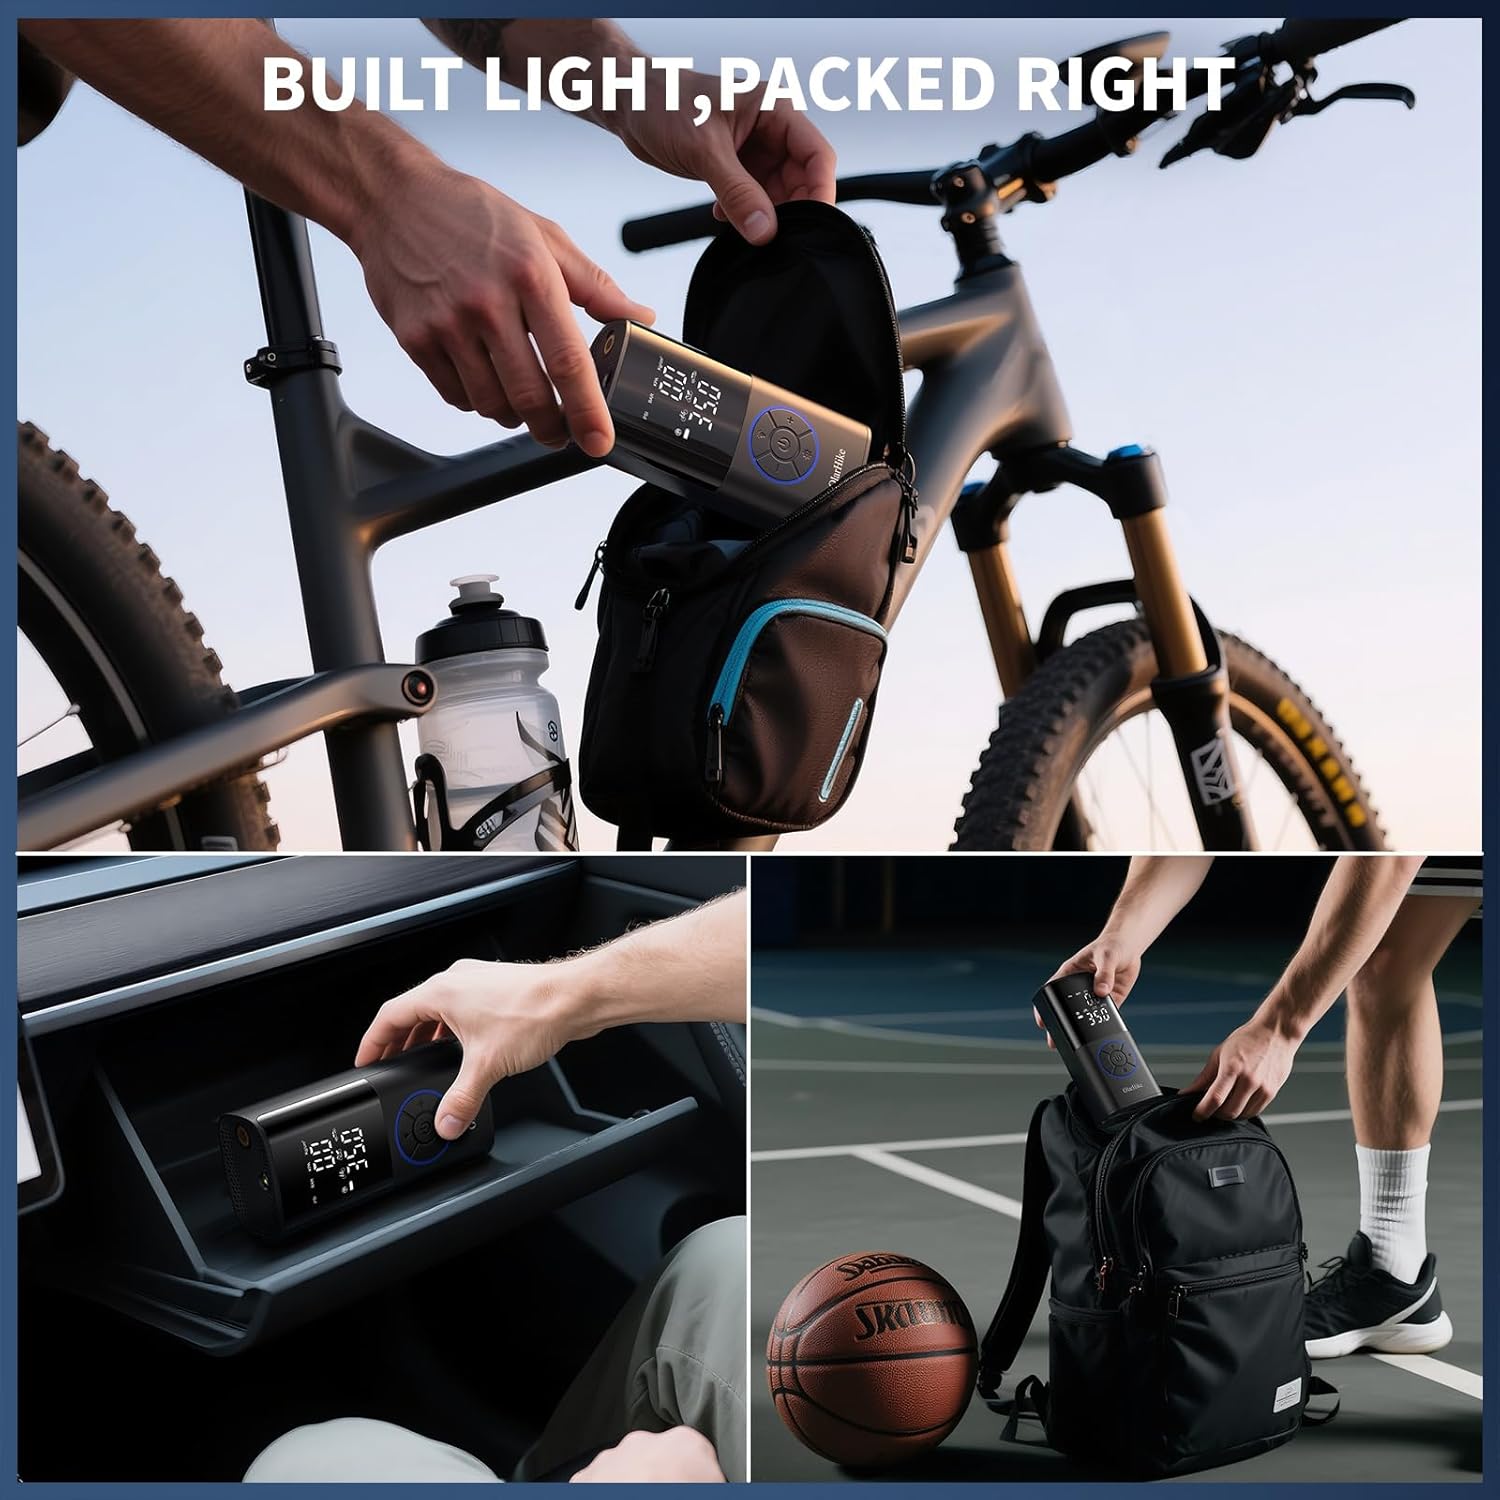
Figure 5: Digital Pressure Display
This image highlights the inflator's digital display, showing both the current real-time pressure and the user-set target pressure. It also indicates the device's accuracy of ±1.5 PSI and provides a note regarding manual inflation for very low-pressure items like swim rings.
4. Connect to Item and Start Inflation
- Connect the air hose nozzle securely to the valve stem of the tire or object you wish to inflate. Use the appropriate adapter (needle, Presta valve) if necessary.
- Once connected, the display will show the current pressure of the item.
- Press the power button (Ⓘ) to start inflation. The pump will begin to operate, and the real-time pressure will increase on the display.
- The inflator will automatically shut off once the preset target pressure is reached.
- Carefully disconnect the air hose from the valve stem.

Figure 6: Easy Inflation Steps
This image provides a simplified guide to using the inflator: Step 1 shows pressing and holding the power button to turn on the device, Step 2 illustrates setting the desired pressure using the mode and adjustment buttons, and Step 3 depicts connecting the air hose to the tire and pressing the power button to begin inflation.
5. Using the LED Light
- The built-in LED light can be activated by a dedicated light button (refer to device controls).
- Press the button repeatedly to cycle through different light modes: steady illumination, slow flash, and quick flash (SOS).
- This feature is useful for inflating in low-light conditions or as an emergency signal.

Figure 7: LED Light Functionality
This image demonstrates the utility of the built-in LED light, showing it illuminating the tire valve area during inflation. Icons indicate its various modes: steady illumination, slow flashing, and quick flashing for emergency signaling.
Maintenance
Cleaning
- Ensure the device is powered off and disconnected from any power source before cleaning.
- Wipe the exterior of the inflator with a soft, damp cloth. Do not use abrasive cleaners or solvents.
- Do not immerse the device in water or any other liquid.
Storage
- Store the inflator in a cool, dry place, away from direct sunlight and extreme temperatures.
- Use the provided storage bag to protect the device and its accessories from dust and damage.
- For long-term storage, it is recommended to charge the battery to about 50-70% every 3-6 months to maintain battery health.
Battery Care
- Avoid completely draining the battery frequently, as this can reduce its lifespan.
- Do not expose the battery to temperatures above 60°C (140°F) or below -10°C (14°F).
- If the battery shows signs of swelling, leakage, or damage, discontinue use immediately and dispose of it properly according to local regulations.
Troubleshooting
| Problem | Possible Cause & Solution |
|---|---|
| Device does not turn on. |
|
| Inflator is not inflating or inflating slowly. |
|
| Inaccurate pressure reading. |
|
| Device gets hot during use. |
|
| Automatic shut-off not working for low-pressure items. |
|
Warranty Information
The OlarHike Portable Tire Inflator is covered by a 2-year warranty from the date of purchase. This warranty covers manufacturing defects and malfunctions under normal use.
The warranty does not cover:
- Damage caused by misuse, abuse, neglect, or accident.
- Damage from unauthorized repairs or modifications.
- Normal wear and tear.
- Damage caused by external factors such as power surges or natural disasters.
Please retain your proof of purchase for warranty claims.
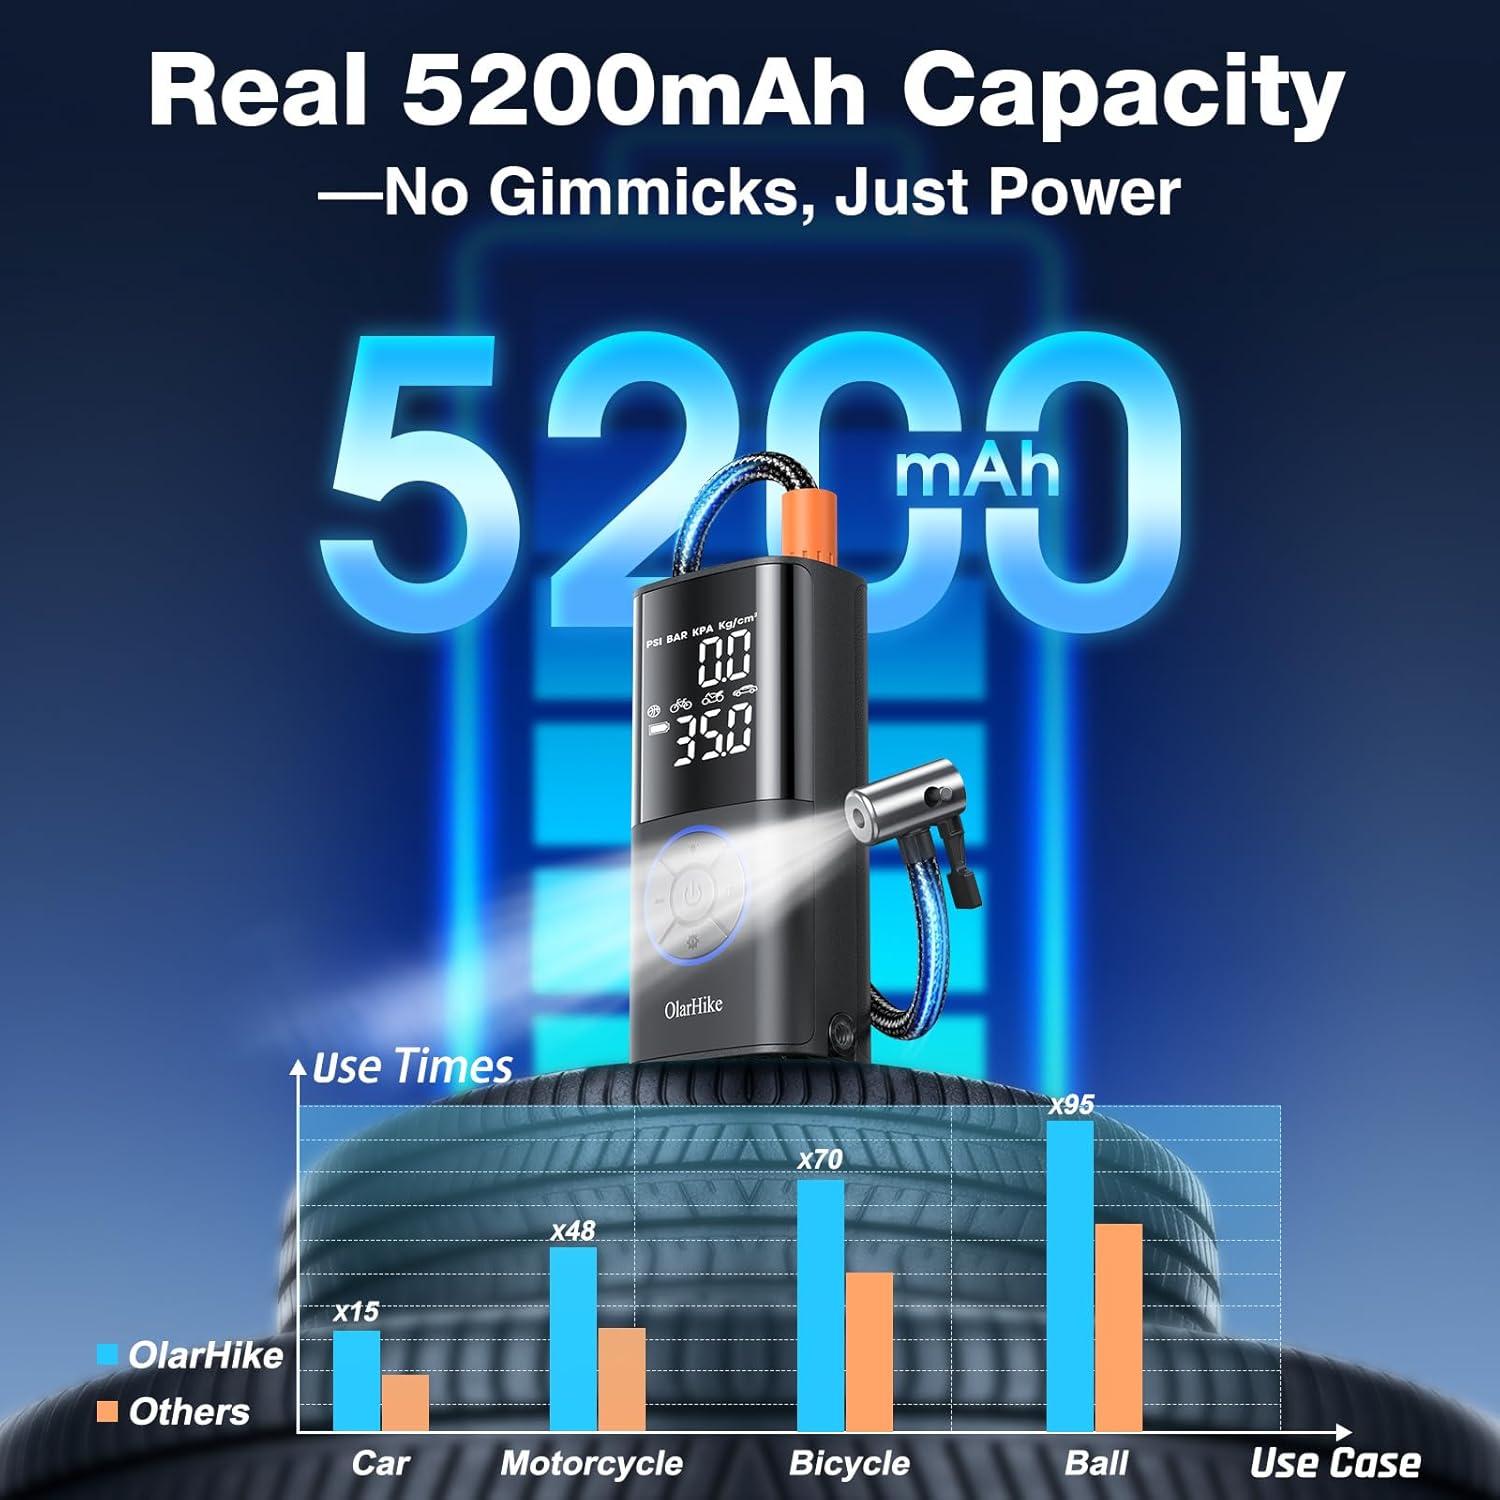
Figure 8: Warranty Indication on Packaging
This image displays the product packaging, clearly indicating a "2 YEAR WARRANTY" badge, confirming the warranty period for the OlarHike Portable Tire Inflator.
Customer Support
If you encounter any issues or have questions not covered in this manual, please contact OlarHike customer support for assistance.
For the most up-to-date contact information, please visit the official OlarHike website or refer to the product listing page where you purchased the item.
We are committed to providing excellent service and support for our products.
Related documentsTIC7V106


Ask a question about this manual
Ask about setup, troubleshooting, compatibility, parts, safety, or missing instructions. Manuals+ will review the question and use this page’s manual context to help answer it.