1. Introduction
The ANBERNIC RG34XXSP is a portable retro handheld game console designed for an immersive gaming experience. Featuring a flip design, a 3.4-inch IPS screen, and a powerful H700 quad-core processor, it supports a wide range of classic game formats. This manual provides essential information for setting up, operating, and maintaining your device.
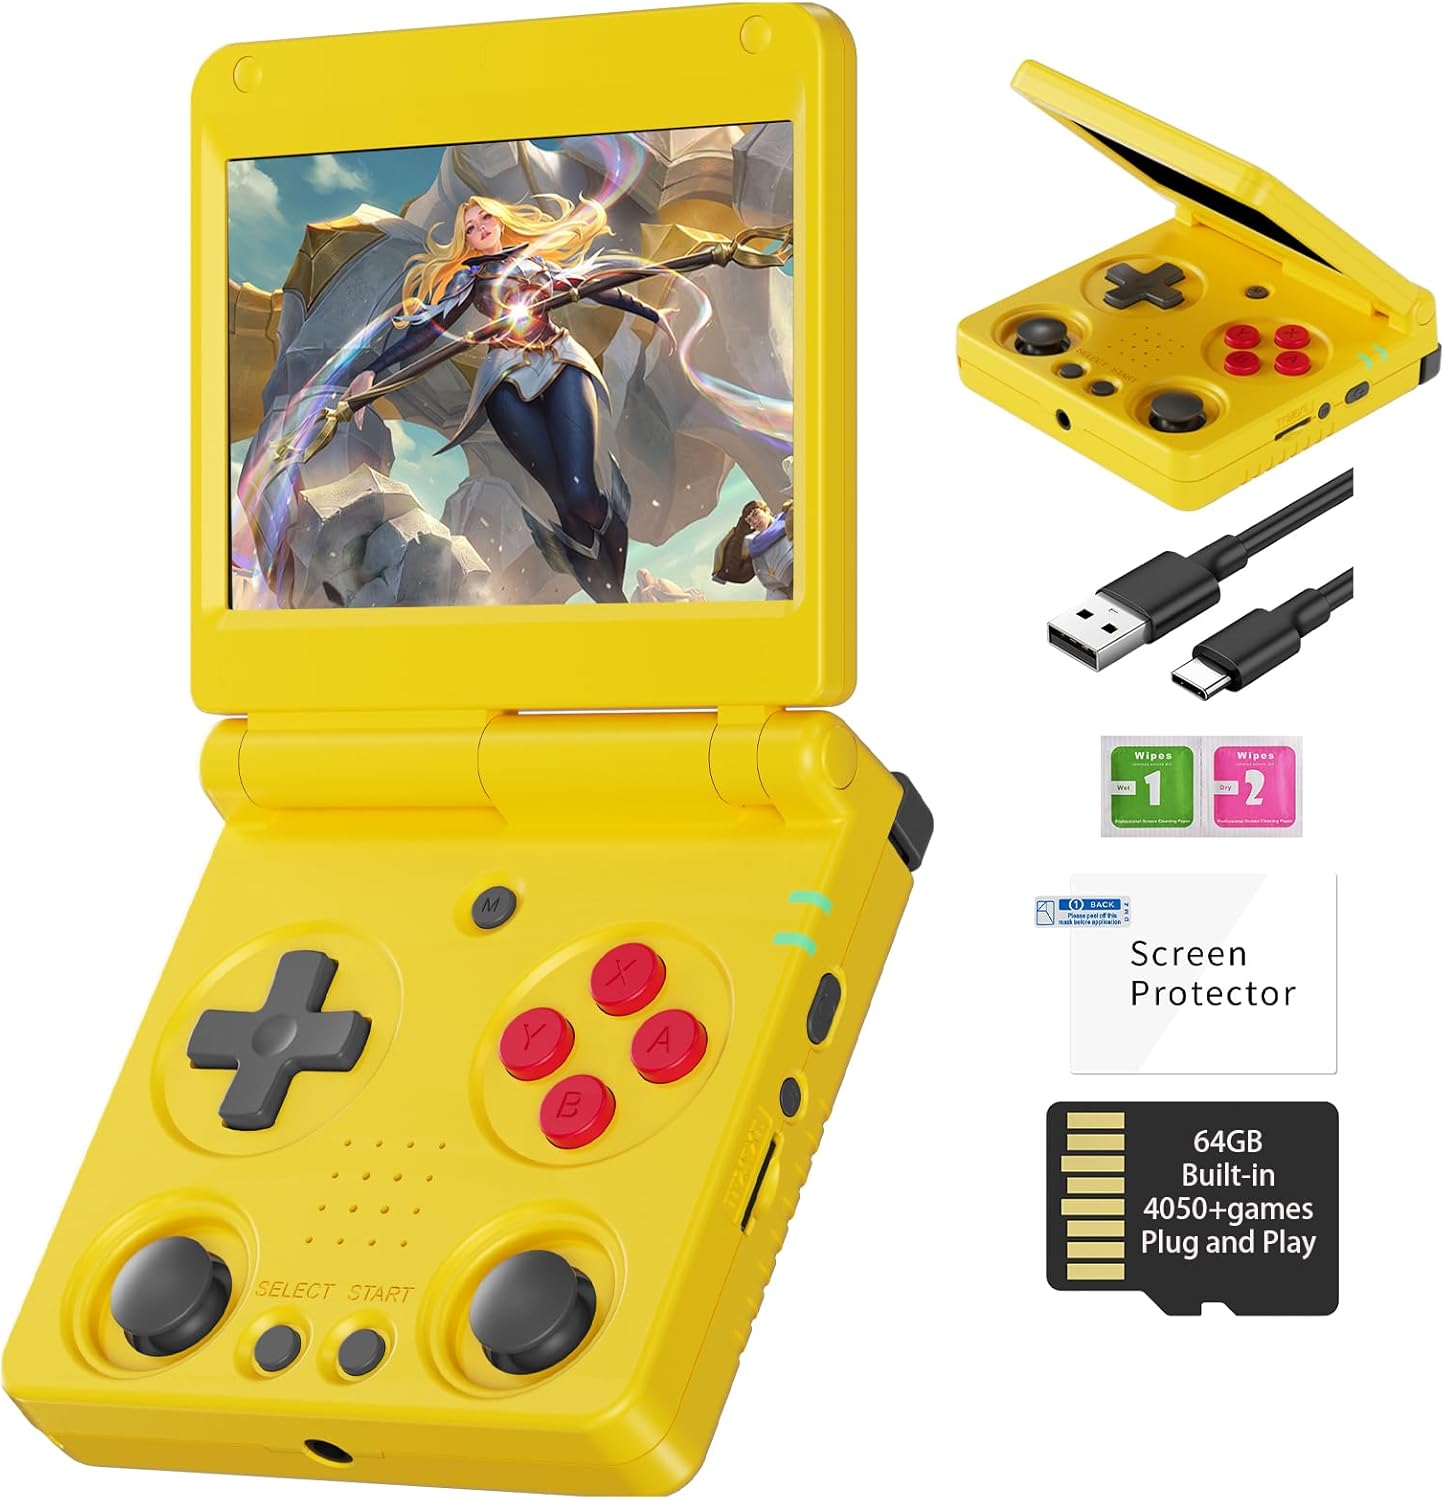
Image 1.1: The ANBERNIC RG34XXSP Retro Handheld Game Console in yellow.
2. Safety Information
- Keep the device away from water and moisture.
- Avoid extreme temperatures and direct sunlight.
- Do not attempt to disassemble or repair the device yourself. Contact customer support for assistance.
- Use only the provided charging cable or a certified USB Type-C charger.
- Keep out of reach of small children due to small parts.
- Prolonged use at high volume may cause hearing damage.
3. Package Contents
Verify that all items are present in the package:
- RG34XXSP Game Console
- USB Charging Cable
- Screen Protector
- User Manual
- Gift Box

Image 3.1: Included accessories with the RG34XXSP console.
4. Device Layout
Familiarize yourself with the buttons, ports, and features of your RG34XXSP console.
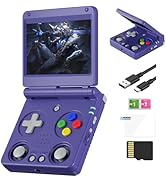
Image 4.1: Detailed diagram of the RG34XXSP console layout.
- D-Pad: Directional input for navigation and gameplay.
- Game Keys (A, B, X, Y): Primary action buttons.
- Left/Right Joysticks: Analog input for movement and camera control in supported games.
- SELECT/START Buttons: Game-specific functions, menu navigation.
- MENU Button: Accesses the console's main menu or in-game options.
- Power Key: Turns the console on/off.
- Indicator Light: Shows power and charging status.
- TF1/INT. Slot: Main TF card slot for system and games.
- TF2/EXT. Slot: Secondary TF card slot for additional storage.
- VOL+/- Buttons: Adjusts volume.
- OTG/USB Port: For connecting external devices or charging.
- HDMI Port: Connects to a TV or external display.
- L1/L2/R1/R2 Shoulder Buttons: Additional action buttons, typically used for triggers or modifiers.
5. Setup
- Unpack the Console: Carefully remove the RG34XXSP console and all accessories from its packaging.
- Charge the Console: Connect the provided USB Type-C cable to the console's charging port and a compatible USB power adapter (not included). Charge the console until the battery indicator shows full. The 3300mAh Li-Polymer battery provides approximately 7-8 hours of gameplay on a full charge.
- Insert TF Card: The console comes with a 64GB TF card pre-installed in the TF1/INT. slot. This card contains the operating system and pre-loaded games. If you wish to expand storage, insert an additional TF card (up to 512GB) into the TF2/EXT. slot.
- Power On: Open the console by flipping the upper cover. The magnetic suction function will hold it open. Press and hold the Power Key until the screen illuminates.
- Initial Navigation: Upon startup, use the D-Pad or joysticks to navigate the main menu. Press the 'A' button to select options and 'B' to go back.
6. Operating Instructions
6.1 Basic Operation
- Turning On/Off: Press and hold the Power Key to turn the console on or off.
- Sleep Mode: Closing the console's lid will activate sleep mode, thanks to the built-in Hall switch chip. Opening the lid will resume operation.
- Volume Adjustment: Use the VOL+/- buttons on the side of the console.
- Menu Navigation: Use the D-Pad or joysticks to move through menu options. Press 'A' to confirm, 'B' to cancel or go back.
6.2 Playing Games
- From the main menu, navigate to the desired emulator or game list.
- Select a game using the 'A' button.
- Once the game loads, use the D-Pad, joysticks, and game keys (A, B, X, Y, L1, L2, R1, R2) to play. Refer to the game's specific controls if available.
- To exit a game or access in-game options, press the MENU button.
6.3 In-Game Menu Shortcuts
The RG34XXSP supports various in-game shortcuts for enhanced control:
- Menu: Accesses the in-game menu.
- Menu + R2: Fast Forward.
- Menu + L2: Slow Motion.
- Menu + R1: Save State.
- Menu + L1: Load State.
- Menu + Y: Display Frame Rate.
- Menu + B: Screenshot.
- Menu + X: Pause.
- Menu + START: Quit Game.
- Menu + VOL+: Adjust Brightness.
- Menu + Left/Right Direction: Select Save State Slot.
7. Game Management
The RG34XXSP supports over 30 game formats. You can add more games by transferring compatible ROM files to the TF card. The console supports dual card slots and TF card expansion up to 512GB.
7.1 Adding Games
- Power off the console.
- Carefully remove the TF card (TF1/INT. or TF2/EXT.) from its slot.
- Insert the TF card into a computer's card reader.
- Locate the appropriate emulator folder (e.g., 'GBA', 'PS1', 'PSP') on the TF card.
- Copy your game ROM files into the respective folders. Ensure the ROMs are in compatible formats.
- Safely eject the TF card from your computer and reinsert it into the console.
- Power on the console. The new games should now appear in the corresponding emulator's game list.
The console is compatible with third-party software like RixeIHK, which allows for one-click game downloads and management.

Image 7.1: Supported game formats and console models.
8. Connectivity
The RG34XXSP offers multiple connectivity options for enhanced gaming and entertainment.
8.1 Wi-Fi and Bluetooth
- Wi-Fi (2.4G/5G 802.11a/b/g/n/ac): Connect to a wireless network for online multiplayer games, streaming, and system updates.
- Bluetooth (Bluetooth 4.2): Connect wireless controllers or other Bluetooth-enabled accessories.
8.2 TV Output (HDMI)
Connect your RG34XXSP to a TV or monitor using an HDMI cable (not included) for a larger screen gaming experience. This mode is ideal for family gatherings or parties.

Image 8.1: RG34XXSP connected to a TV for screen casting.
8.3 External Controllers
The console supports 2.4G wireless controllers and wired controllers, as well as Bluetooth controllers, for versatile gameplay options.
9. Maintenance
- Cleaning: Use a soft, dry cloth to clean the console's exterior. Do not use liquid cleaners or abrasive materials.
- Screen Care: Apply the included screen protector to prevent scratches. Clean the screen with a microfiber cloth.
- Storage: When not in use, close the console's lid to protect the screen. Store in a cool, dry place away from direct sunlight.
- Battery: To prolong battery life, avoid fully discharging the battery frequently. Charge regularly, even if not in active use.
10. Troubleshooting
- Console not turning on: Ensure the battery is charged. Connect the charger and try again. If the issue persists, perform a hard reset by pressing the reset button (if available) or holding the power button for an extended period.
- Games not loading: Verify that the TF card is properly inserted. Check if the game ROM file is in a supported format and placed in the correct emulator folder.
- Screen issues (flickering, no display): Ensure the console is fully open and the screen connection is stable. If connected to a TV, check the HDMI cable and TV input.
- Sound issues: Check the volume level using the VOL+/- buttons. Ensure headphones are properly connected if in use.
- Controls unresponsive: Restart the console. If using external controllers, ensure they are properly paired via Bluetooth or connected via USB.
11. Specifications
| Feature | Detail |
|---|---|
| Model Number | RG34XXSP |
| Dimensions | 3.45"L x 2.49"W x 0.71"H |
| Weight | 0.28 Kilograms (9.9 ounces) |
| Screen Size | 3.4 Inches IPS Full Viewing Angle, OCA Full Lamination |
| Screen Resolution | 720*480 |
| CPU | H700 Quad-core ARM Cortex-A53, 1.5GHz |
| GPU | Dual-core G31 MP2 |
| RAM | LPDDR4 2GB |
| Storage | 64GB TF/MicroSD (expandable up to 512GB) |
| Operating System | Linux 64-bit |
| Wi-Fi | 2.4G/5G 802.11a/b/g/n/ac |
| Bluetooth | Bluetooth 4.2 |
| Battery | 3300mAh Li-Polymer, up to 8 hours battery life |
| Charging | USB Type-C (5V/1.5A, supports C2C charger) |
| Connectivity | HDMI Output, USB OTG |
| Controller Type | Joystick, D-Pad, Buttons |
| Material | Plastic |
| Recommended Age | 15 years and up |
12. Official Product Video
Video 12.1: An official product video showcasing the ANBERNIC RG34XXSP handheld gaming console and its features.
13. Warranty and Support
For warranty information, technical support, or service inquiries, please refer to the warranty card included in your package or contact the retailer where you purchased the product. You may also visit the official ANBERNIC website for further assistance and updated support resources.
Please retain your proof of purchase for any warranty claims.