
1. Introduction
This manual provides detailed instructions for the installation, operation, and maintenance of the GELUOXI DBK9 Rear Disc Brake Conversion Kit. This kit is designed to replace drum brakes with disc brakes on Ford 8-inch and 9-inch small bearing rear axles, enhancing braking performance and reliability. Please read all instructions carefully before beginning installation.
2. Safety Information
Automotive brake system work requires specialized knowledge and tools. If you are not confident in your ability to perform this installation safely, seek assistance from a qualified mechanic. Always observe the following safety precautions:
- Wear appropriate personal protective equipment, including safety glasses and gloves.
- Ensure the vehicle is securely supported on jack stands on a level surface before working underneath it.
- Disconnect the vehicle's battery before starting any electrical work.
- Exercise caution when handling brake fluid, as it can damage paint and is harmful if ingested.
- Ensure all fasteners are torqued to the manufacturer's specifications.
- Properly bleed the brake system after installation to remove all air.
3. Package Contents
Verify that all components listed below are present and undamaged before beginning installation:
- 2 x 11-inch Drilled and Slotted Rotors (5 on 4.5-inch and 4.75-inch bolt patterns)
- 2 x Calipers with Semi-Metallic Pads and Integrated Emergency Brake
- 2 x Emergency Brake Cables
- 1 x Center Emergency Brake Cable
- 2 x Rubber Brake Hoses
- Caliper Brackets
- Complete Mounting Hardware (bolts, washers, shims, flanges, clips)

Image 3.1: Overview of all components included in the GELUOXI DBK9 Rear Disc Brake Conversion Kit.
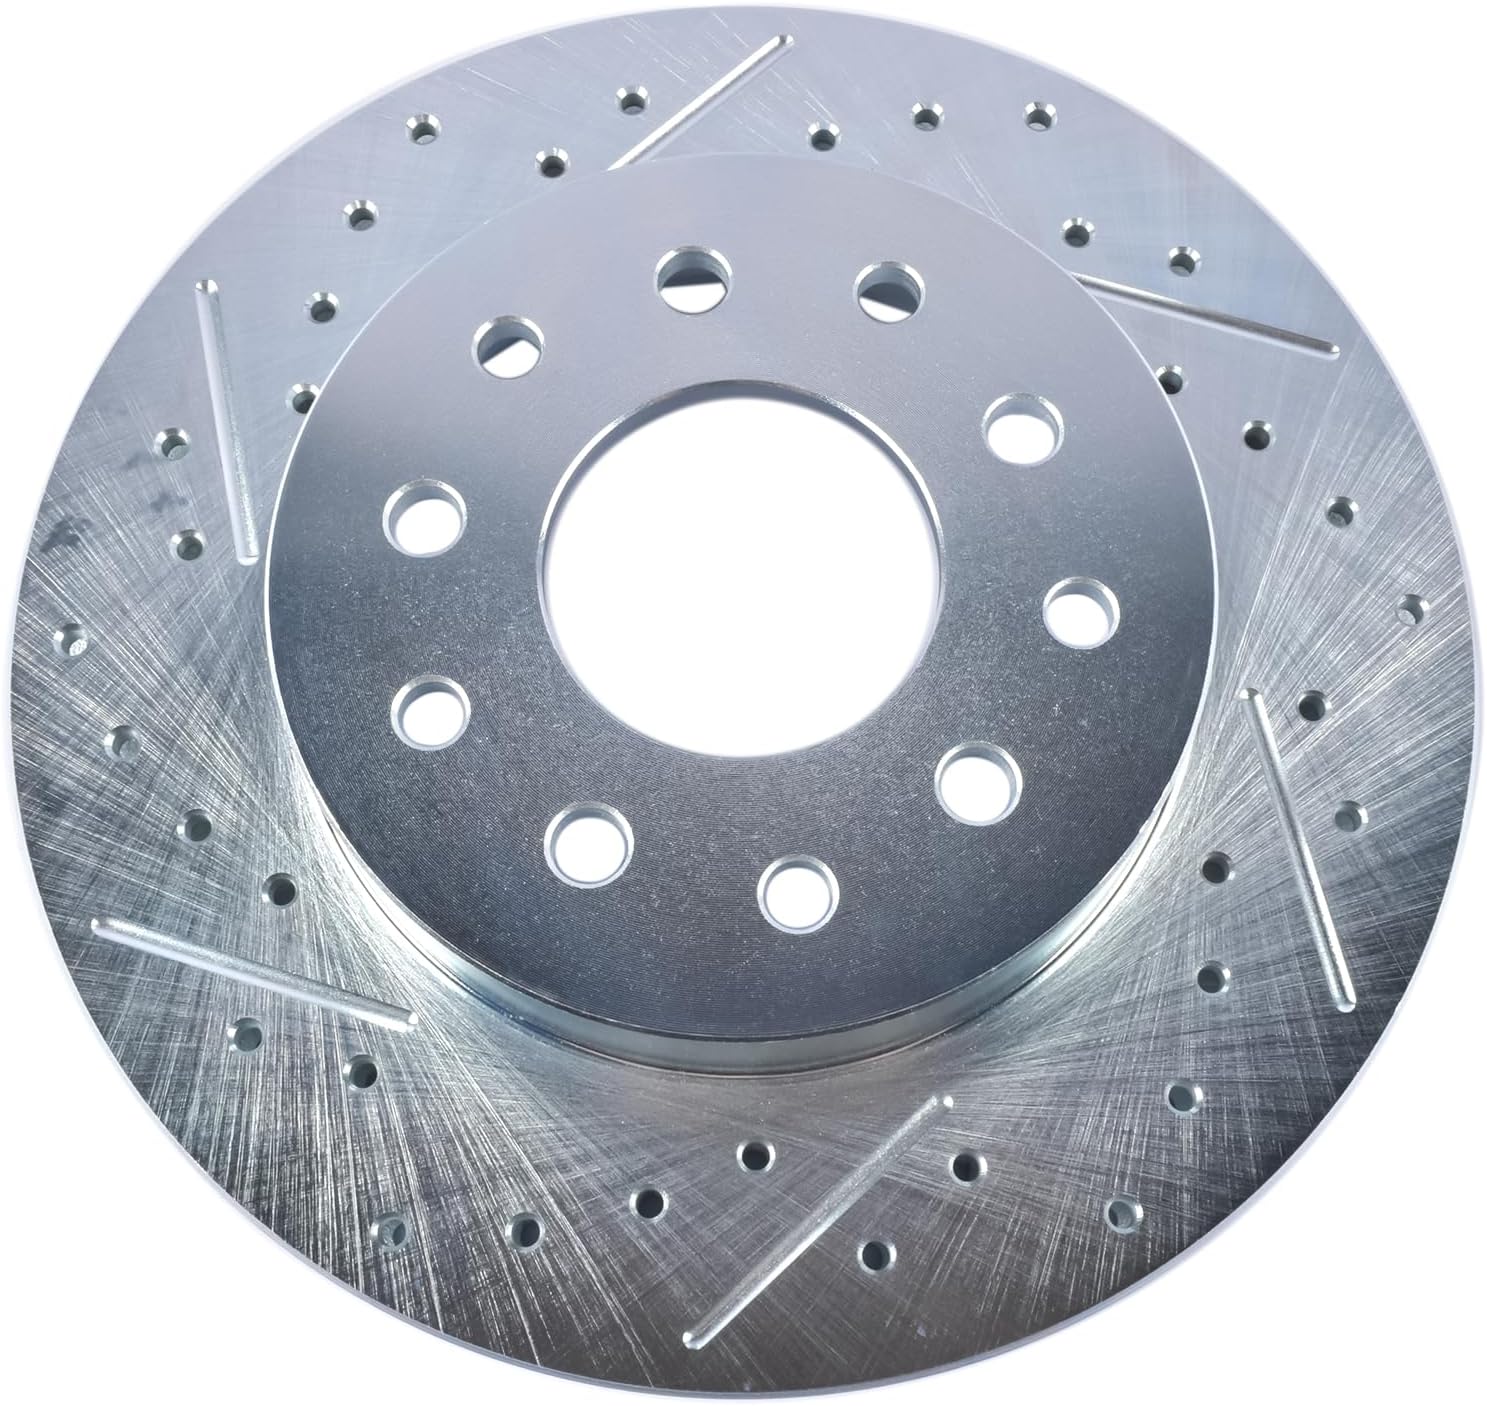
Image 3.2: Detailed view of a drilled and slotted brake rotor.
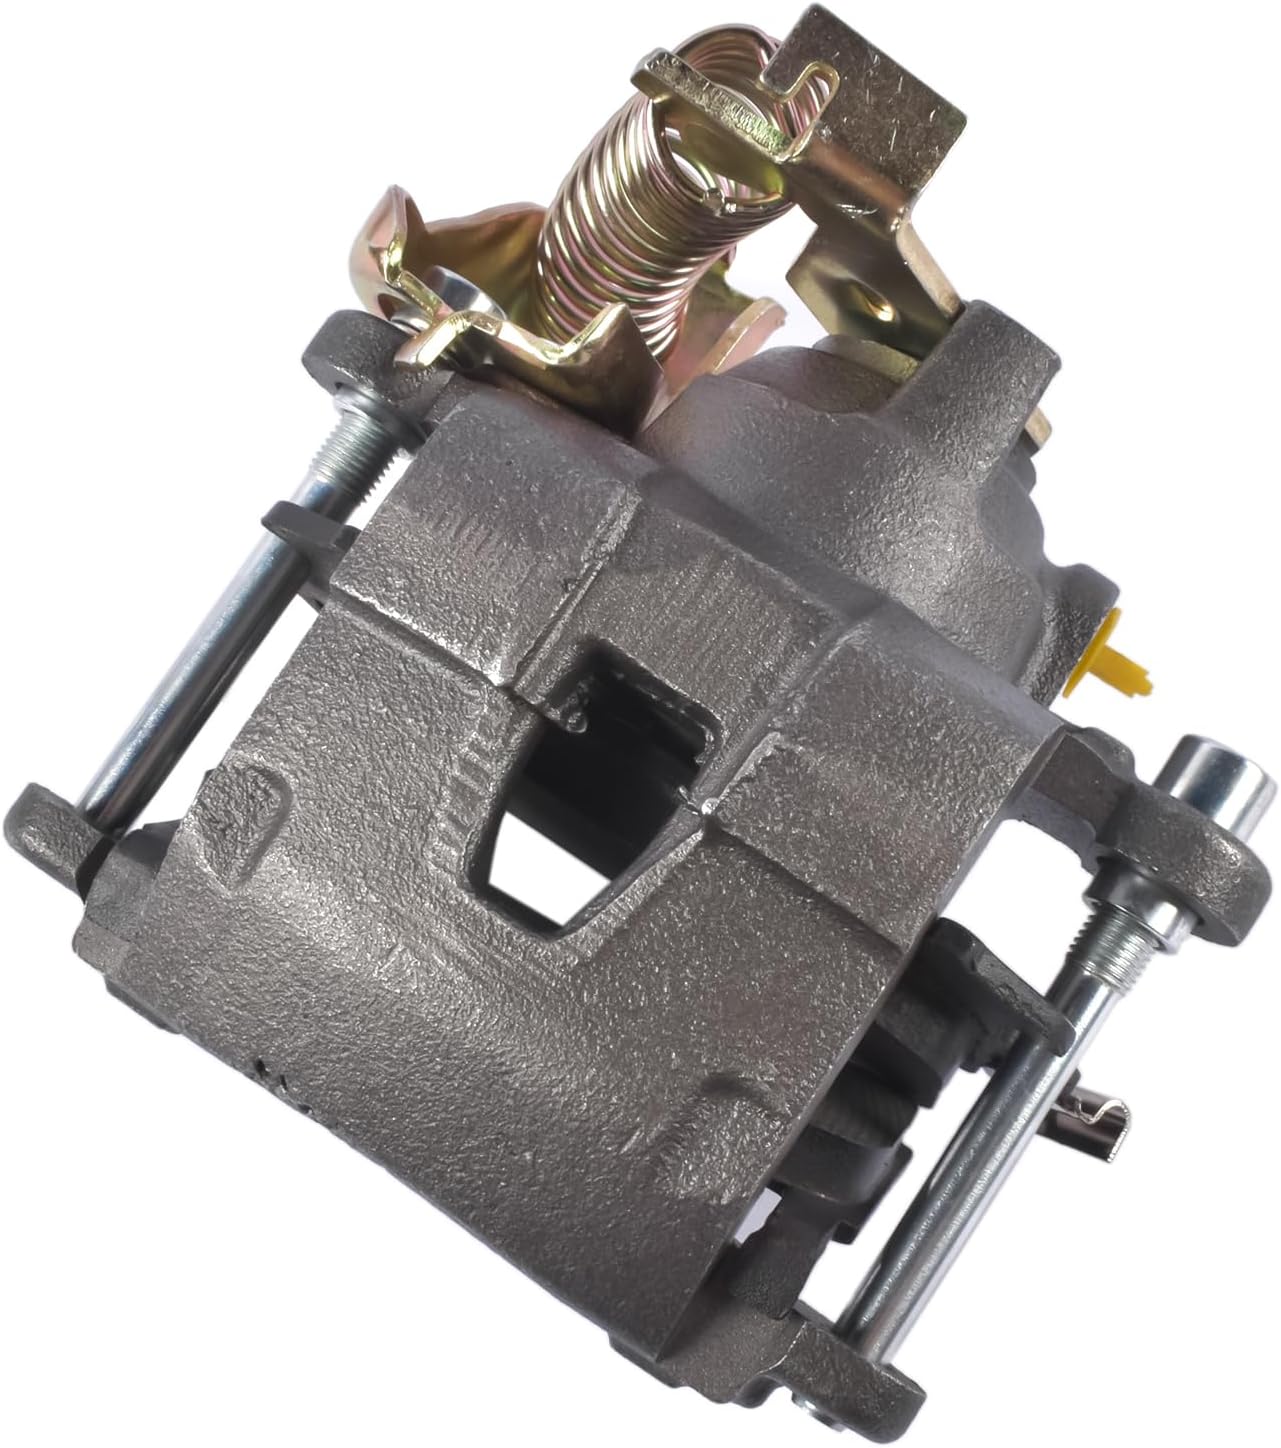
Image 3.3: Detailed view of a brake caliper with its integrated emergency brake.

Image 3.4: Example of an emergency brake cable.
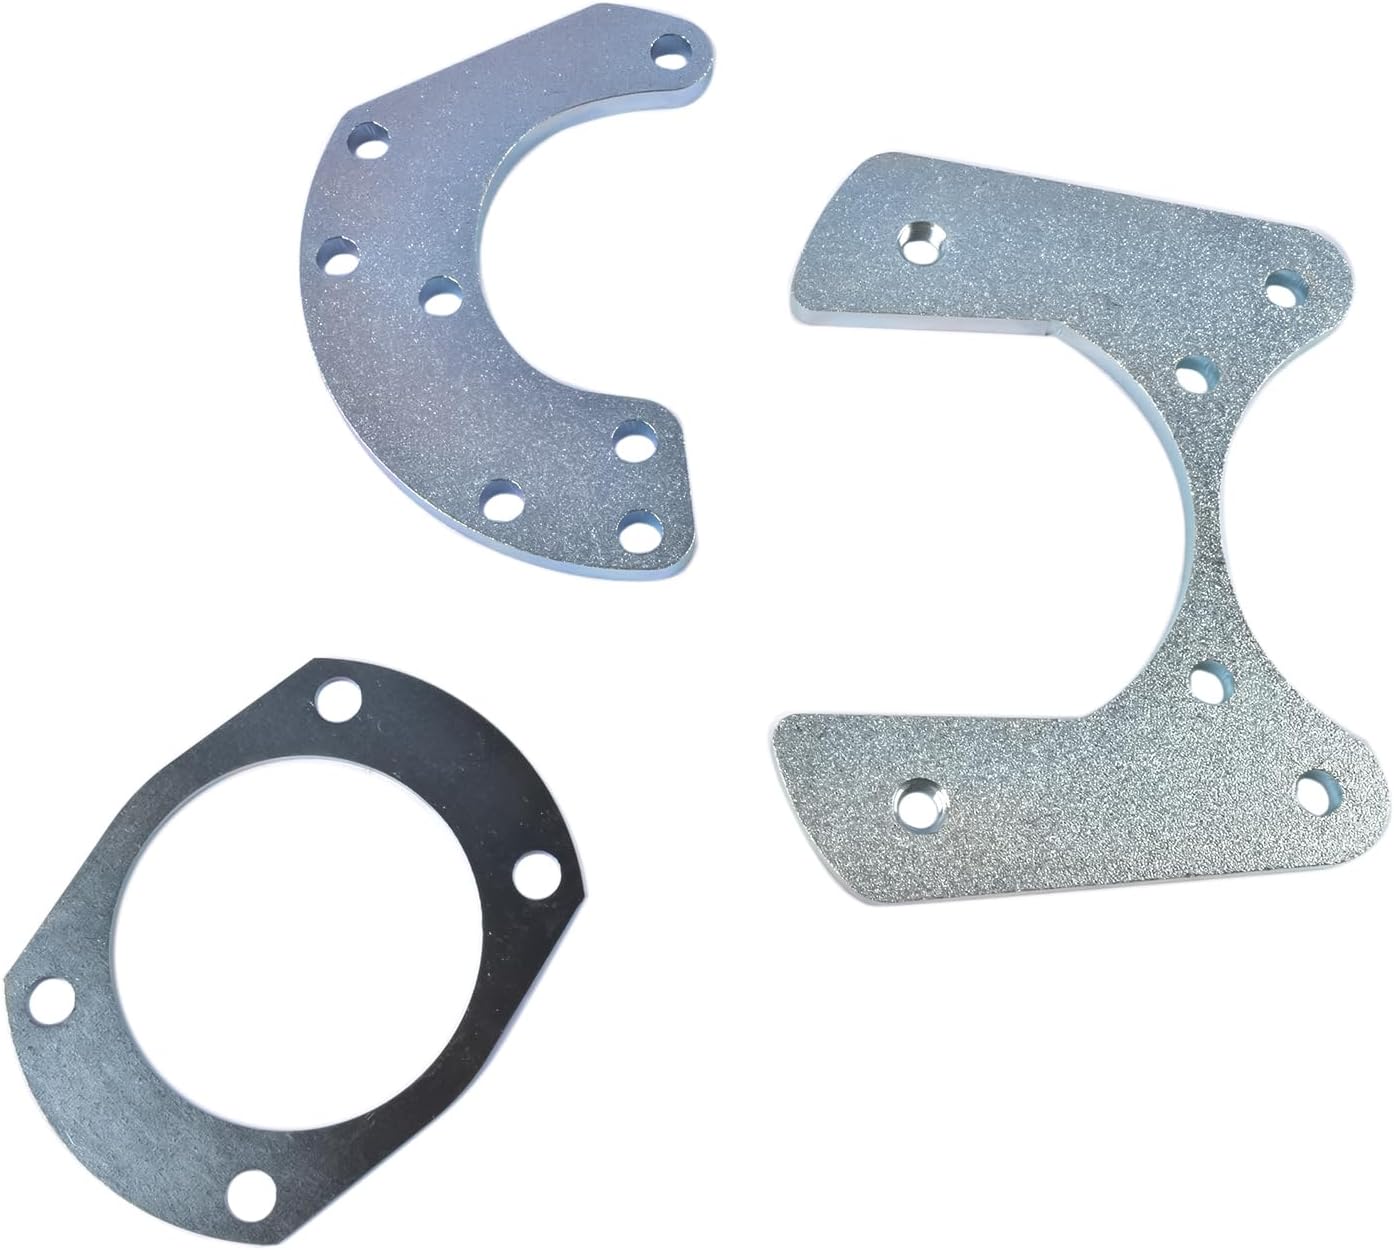
Image 3.5: Assortment of caliper brackets and mounting plates.
4. Setup and Installation
This kit is designed for Ford 8-inch and 9-inch small bearing rear axles. Please ensure compatibility with your vehicle before proceeding.
4.1 Pre-Installation Requirements
- Wheel Clearance: This kit requires a minimum of 14-inch disc brake specific wheels or 15-inch or larger rims for proper clearance. Verify your wheel size and type before installation.
- Axle Removal: The rear axles will need to be removed from the vehicle for installation of certain components.
- No Welding/Fabrication: This kit is designed for a direct bolt-on application; no welding or custom fabrication is required.
4.2 Component Selection and Adjustment
- Shims: The kit includes three types of shims. Select the appropriate shims to adjust the distance between the brake components and the rear axle, ensuring proper alignment and function.
- Flanges: Three different flanges are provided. Choose the flange that matches your specific rear axle flange dimensions for a secure fit.
- Brake Cables: The emergency brake cables may require length adjustment based on your vehicle model. They can be cut to size, and a spare connector is included for this purpose.

Image 4.1: Visual guide for selecting appropriate shims and flanges, and adjusting brake cables.
4.3 General Installation Steps (Summary)
- Safely lift and support the vehicle. Remove the rear wheels.
- Remove existing drum brake components and associated hardware.
- Remove the rear axles.
- Install the new caliper brackets and selected flanges onto the axle housing.
- Reinstall the axles.
- Mount the new rotors onto the axle studs.
- Install the calipers with pads over the rotors and secure them to the brackets.
- Connect the new rubber brake hoses to the calipers and the vehicle's hard lines.
- Install and route the emergency brake cables, adjusting length as necessary.
- Bleed the entire brake system thoroughly to remove all air.
- Reinstall the wheels and lower the vehicle.
5. Operating and Break-in
After installing new brake components, a proper break-in procedure is crucial for optimal performance and longevity. Follow these steps:
- Drive the vehicle at a moderate speed (e.g., 30-40 mph) and apply the brakes firmly but not to a complete stop. Repeat this 8-10 times.
- Allow the brakes to cool down for approximately 15-20 minutes by driving without heavy braking.
- Repeat the process of moderate-speed braking and cooling 2-3 more times.
- Avoid sudden, hard braking or prolonged braking (e.g., down a long hill) for the first 200 miles after installation.
- Test the emergency brake function in a safe, level area before relying on it.
6. Maintenance
Regular maintenance ensures the continued safe and effective operation of your disc brake system:
- Inspect brake pads, rotors, and calipers for wear or damage every 12,000 miles or annually.
- Check brake fluid level and condition regularly. Replace brake fluid according to your vehicle manufacturer's recommendations.
- Ensure emergency brake cables are free from corrosion and operate smoothly. Lubricate as needed.
- Listen for unusual noises (squealing, grinding) which may indicate worn pads or other issues.
- Address any signs of brake fluid leaks immediately.
7. Troubleshooting
If you encounter issues with your new brake system, consider the following common problems and solutions:
| Problem | Possible Cause | Solution |
|---|---|---|
| Soft or Spongy Brake Pedal | Air in the brake lines | Re-bleed the brake system thoroughly. |
| Brakes Squeal or Grind | New pads/rotors not broken in; Worn pads; Contamination | Perform break-in procedure; Inspect pads for wear; Clean rotors and pads. |
| Vehicle Pulls to One Side During Braking | Uneven pad wear; Sticking caliper; Air in one side of system | Inspect and replace pads; Check caliper movement; Re-bleed system. |
| Emergency Brake Not Holding | Cable adjustment needed; Improper installation | Adjust emergency brake cable tension; Verify proper cable routing and connection. |
| Wheel Studs Too Short (after installation) | Incorrect wheel type or spacer usage | Ensure wheels meet the 14-inch disc brake specific or 15-inch+ rim requirement. Avoid incompatible wheel spacers. |
8. Specifications
- Brand: GELUOXI
- Model Number: GELUOXI 433126A (DBK9)
- Vehicle Service Type: Car
- Automotive Fit Type: Vehicle Specific Fit (Ford 8-inch & 9-inch Small Bearing Rear Axles)
- Orientation: Rear
- Rotor Diameter: 11 inches
- Rotor Bolt Patterns: 5 on 4.5 inches and 4.75 inches
- Included Components: Rotors, Calipers with Pads, Emergency Brake Cables, Brake Hoses, Caliper Brackets, Mounting Hardware
9. Warranty
GELUOXI provides a warranty for this product. The warranty is valid for a maximum of 24 months with no mileage limit from the date of purchase. Please retain your proof of purchase for warranty claims. For specific terms and conditions, refer to the official GELUOXI warranty policy or contact customer support.
10. Support
For technical assistance, troubleshooting, or warranty inquiries, please contact GELUOXI customer support through the retailer where the product was purchased or visit the official GELUOXI website for contact information.
GELUOXI Store Link: Visit the GELUOXI Store on Amazon