1. Introduction
This manual provides essential information for the safe and effective operation, maintenance, and troubleshooting of your ENEACRO SDS-Max Rotary Hammer Drill, model ENRH4001. Please read this manual thoroughly before using the tool to ensure proper handling and to prevent injury or damage.
2. Safety Instructions
Always observe basic safety precautions to reduce the risk of fire, electric shock, and personal injury. Keep this manual for future reference.
General Power Tool Safety
- Work Area Safety: Keep the work area clean and well-lit. Cluttered or dark areas invite accidents. Do not operate power tools in explosive atmospheres, such as in the presence of flammable liquids, gases, or dust.
- Electrical Safety: Power tool plugs must match the outlet. Never modify the plug. Avoid body contact with earthed or grounded surfaces, such as pipes, radiators, ranges, and refrigerators.
- Personal Safety: Always wear eye protection. Use hearing protection when operating for extended periods. Dress properly; avoid loose clothing or jewelry. Secure long hair.
- Tool Use and Care: Do not force the power tool. Use the correct power tool for your application. Disconnect the plug from the power source before making any adjustments, changing accessories, or storing power tools.
Specific Rotary Hammer Safety
- Kickback Prevention: The tool is equipped with a safety clutch protection system to prevent kickback and reduce wrist strain if the bit jams. Always maintain a firm grip on the tool.
- Vibration Control: The dual-layer anti-vibration system helps reduce user fatigue. However, prolonged use can still cause vibration-related injuries. Take regular breaks.
- Dust Control: When drilling or chiseling concrete, significant dust will be generated. Always wear a dust mask and ensure adequate ventilation.
- Auxiliary Handle: Always use the auxiliary handle for better control and stability, especially during heavy-duty applications.
3. Product Overview
The ENEACRO ENRH4001 is a heavy-duty SDS-Max rotary hammer drill designed for demanding drilling and demolition tasks in concrete, masonry, and other hard materials.
Components Diagram
Refer to the diagram below for an identification of the main components of your rotary hammer drill.

Image 1: Labeled diagram of the ENEACRO SDS-Max Rotary Hammer Drill, highlighting key components such as the SDS-Max chuck, function switch, grease pot, and vibration control areas.
Key Features
- Powerful Motor: 13 Amp industrial motor delivering 9 ft-lbs (12J) of impact energy.
- 3-in-1 Versatility: Hammer-only mode, Hammer Drill mode, and Adjustable Chisel Function.
- Safety Clutch: Protects against kickback and reduces wrist strain.
- Vibration Control: Dual-layer anti-vibration system for reduced fatigue.
- SDS-Max Chuck: Enables quick, tool-free bit changes.
- Durable Construction: Heat-resistant copper wire motor and anti-dust bottom structure.
Included Accessories
The following items are included with your ENEACRO ENRH4001 rotary hammer drill:

Image 2: The ENEACRO SDS-Max Rotary Hammer Drill shown with all included accessories, such as the tool bag, lubricating grease, wrench, carbon brushes, dust cap, SDS-Max drill bit, and SDS-Max chisel.
- ENEACRO ENRH4001 Rotary Hammer Drill (x1)
- SDS-MAX Drill Bit (x1)
- SDS-MAX Chisel (x1)
- Auxiliary Handle (x1)
- Replaceable Carbon Brush Set (x1)
- Lubricating Grease (x1)
- Dust Proof Cap (x1)
- Tool Bag (x1)
4. Setup
Attaching the Auxiliary Handle
- Loosen the auxiliary handle by rotating it counter-clockwise.
- Slide the handle onto the front of the tool body.
- Adjust the handle to a comfortable and secure position.
- Tighten the handle by rotating it clockwise until it is firmly secured.
Inserting and Removing SDS-Max Bits
The SDS-Max chuck allows for quick and secure bit changes without additional tools.
- To Insert: Pull back the chuck collar, insert the SDS-Max bit into the chuck until it clicks into place. Release the collar. Pull on the bit to ensure it is securely locked. The bit should have a small amount of play, which is normal for SDS-Max systems.
- To Remove: Pull back the chuck collar completely and pull the bit out.
Initial Grease Application
Before first use, and periodically thereafter, ensure the hammer mechanism is adequately lubricated. A grease pot is included for this purpose.
- Locate the grease pot cover on the top of the tool (refer to Image 1).
- Use the provided wrench to unscrew the grease pot cover.
- Apply a small amount of the included lubricating grease into the opening. Do not overfill.
- Replace the grease pot cover and tighten it securely with the wrench.
5. Operating Instructions
Mode Selection
The ENEACRO ENRH4001 offers three operating modes, selected via the function switch (refer to Image 1).
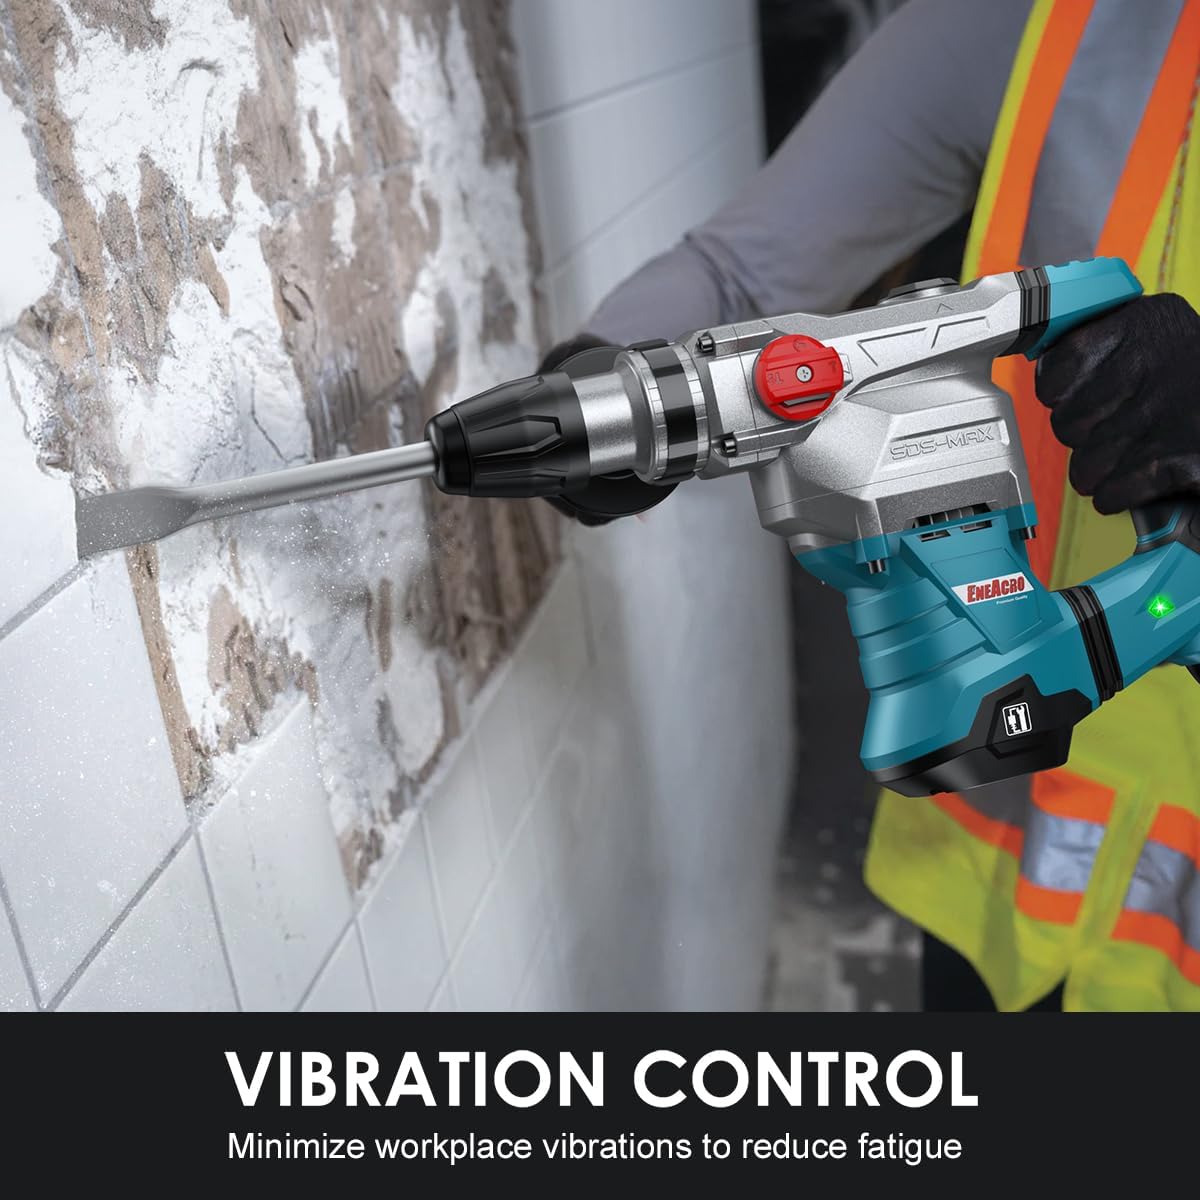
Image 3: Visual representation of the three function modes: Hammer Drilling for concrete, Hammer Only for demolition, and Chisel Adjust for precise chisel positioning.
- Hammer Drilling Mode: For drilling into concrete, rock, and other hard materials. This mode combines rotation and hammering action.
- Hammer Only Mode: For demolition and chiseling tasks, such as removing tiles or breaking concrete. This mode provides hammering action without rotation.
- Adjustable Chisel Function: Allows for adjusting the angle of the chisel for optimal working positions. To activate, rotate the function switch to the chisel adjust icon, rotate the chisel to the desired angle, then lock the switch back into the hammer-only position.
General Operation
- Ensure the correct bit is installed and the auxiliary handle is securely fastened.
- Select the appropriate operating mode for your task.
- Plug the tool into a suitable power outlet (120 Volts).
- Hold the tool firmly with both hands, maintaining a stable stance.
- Press the trigger switch to start the tool. Apply steady, moderate pressure. Do not force the tool; allow its hammering action to do the work.
- When finished, release the trigger switch and unplug the tool from the power source.
Vibration Control and Safety Clutch
The tool incorporates features to enhance user comfort and safety:
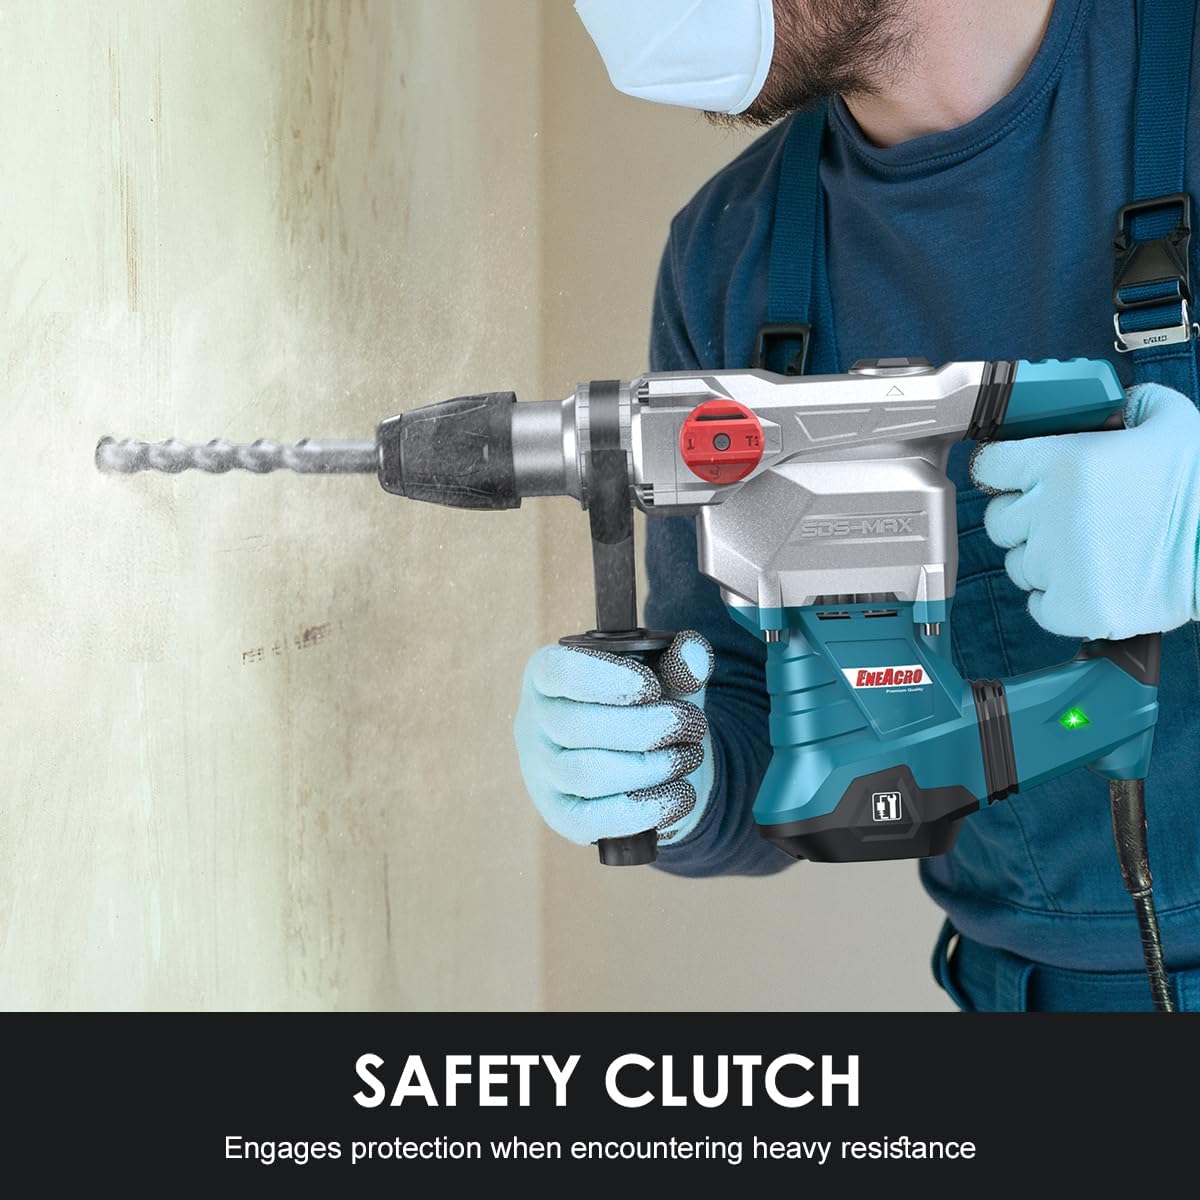
Image 4: The rotary hammer drill in use, demonstrating the effect of vibration control technology which helps reduce user fatigue during operation.
- Vibration Control: The integrated anti-vibration system minimizes the transfer of vibrations to the user's hands, reducing fatigue during extended use.

Image 5: The rotary hammer drill in operation, illustrating the safety clutch engaging to protect the user and tool when encountering heavy resistance or bit jamming.
- Safety Clutch: In the event of the drill bit jamming, the safety clutch will engage, disengaging the drive to the bit. This prevents sudden rotational forces from being transferred to the user, protecting against injury.
6. Maintenance
Regular maintenance ensures the longevity and optimal performance of your tool.
Cleaning
- After each use, clean the tool with a dry cloth to remove dust and debris.
- Keep ventilation openings clear to prevent overheating.
- Do not use water or chemical cleaning agents.
Lubrication
Check and replenish the lubricating grease periodically, especially after extended use. Follow the steps outlined in the "Initial Grease Application" section (Section 4).
Carbon Brush Replacement
The carbon brushes are wear items and will need replacement over time. A spare set is included with your tool.
- Unplug the tool from the power source.
- Locate the carbon brush caps on the sides of the motor housing.
- Unscrew the caps using a screwdriver or coin.
- Remove the old carbon brushes.
- Insert the new carbon brushes, ensuring they are oriented correctly.
- Replace and tighten the carbon brush caps.
7. Troubleshooting
If you encounter issues with your rotary hammer drill, refer to the following common problems and solutions:
| Problem | Possible Cause | Solution |
|---|---|---|
| Tool does not start | No power supply; Faulty power cord/plug; Worn carbon brushes | Check power outlet; Inspect cord/plug for damage; Replace carbon brushes. |
| Reduced hammering action | Insufficient lubrication; Worn hammer mechanism; Incorrect mode selection | Apply grease; Contact service center; Ensure correct mode is selected. |
| Excessive vibration | Loose auxiliary handle; Damaged bit; Internal issue | Tighten auxiliary handle; Replace damaged bit; Contact service center. |
| Bit jams frequently | Overheating; Incorrect bit for material; Excessive pressure | Allow tool to cool; Use appropriate bit; Apply moderate pressure. |
If the problem persists after attempting these solutions, please contact ENEACRO customer support.
8. Specifications
Technical specifications for the ENEACRO ENRH4001 Rotary Hammer Drill:
| Specification | Value |
|---|---|
| Model Number | ENRH4001 |
| Power Source | Corded Electric |
| Voltage | 120 Volts |
| Amperage | 13 Amps |
| Wattage | 1500 watts |
| Maximum Rotational Speed | 500 RPM |
| Impact Energy | 9 Ft.lbs (12 Joules) |
| Maximum Impact Frequency | 3950 bpm |
| Maximum Chuck Size | 1.57 Inches (40mm) |
| Drill Type | Hammer Drill |
| Chuck Type | SDS-Max |
| Item Weight | 12.6 Pounds (bare machine 15.2 Lbs) |
| Product Dimensions | 16"L x 11"W x 4.6"H |
| Material | Metal |
| Color | Blue |
9. Warranty and Support
ENEACRO provides a 24 Months Defect Free Service for this product. For any inquiries or support needs, please contact ENEACRO customer service. We aim to provide a response within 12 working hours.
For further assistance, please visit the official ENEACRO store or contact your retailer.