
Introduction
The Klever Kits Space Circuits kit offers an engaging way for children aged 5 and up to explore the fundamentals of electronics. This STEM kit includes over 46 components and supports more than 50 unique projects, allowing users to build circuits that activate lights, sounds, and various movements. The design emphasizes hands-on learning through a kid-safe screw-and-build experience, fostering fine motor skills, focus, and an understanding of basic electronic concepts without the need for heat or soldering.
What's in the Box
Your Klever Kits Space Circuits package includes the following components:
- Game Board (Baseboard)
- Mission Cards (Double-Sided)
- Electric Drill (Kid-safe power drill)
- Battery Pack
- Storage Box
- Circuit Modules (various types)
- Bolts
- Hatch Valve
- Detector
- Timer
- Barometer
- Scanner
- Radar
- Planet
- User Manual

Figure 1: All components included in the Space Circuits kit.
Setup
To begin, ensure all components are present as listed in the 'What's in the Box' section. The kit is designed for easy assembly using the provided kid-safe electric drill.
- Place the game board on a flat, stable surface.
- Identify the circuit modules and other accessories required for your chosen project from the mission cards.
- Use the electric drill to securely fasten the components onto the designated points on the game board using the bolts. The drill is designed to make connections firm and secure.

Figure 2: Using the kid-safe electric drill for assembly.
Operating Instructions
The Space Circuits kit guides users through various projects using illustrated mission cards. Each card provides step-by-step instructions to build a functional circuit.
- Select a mission card. The cards are categorized by difficulty, allowing for progressive learning.
- Follow the visual and textual instructions on the mission card to connect the specified circuit modules and accessories onto the game board. Ensure all connections are tight using the electric drill.
- Once the circuit is complete, activate it to observe the outcome, such as flashing lights, sounds, or moving parts.
- Experiment with different component arrangements as suggested by the mission cards to understand how changes affect the circuit's behavior.

Figure 3: Following mission cards to build circuits.
The kit allows for diverse interactions, including:
- Light and Sound: Activate modules that produce light and sound effects.
- Launch: Engage components that initiate movement or launch small parts.
- Spin: Create circuits that cause elements to spin.
- Scan: Utilize scanner components for interactive play.
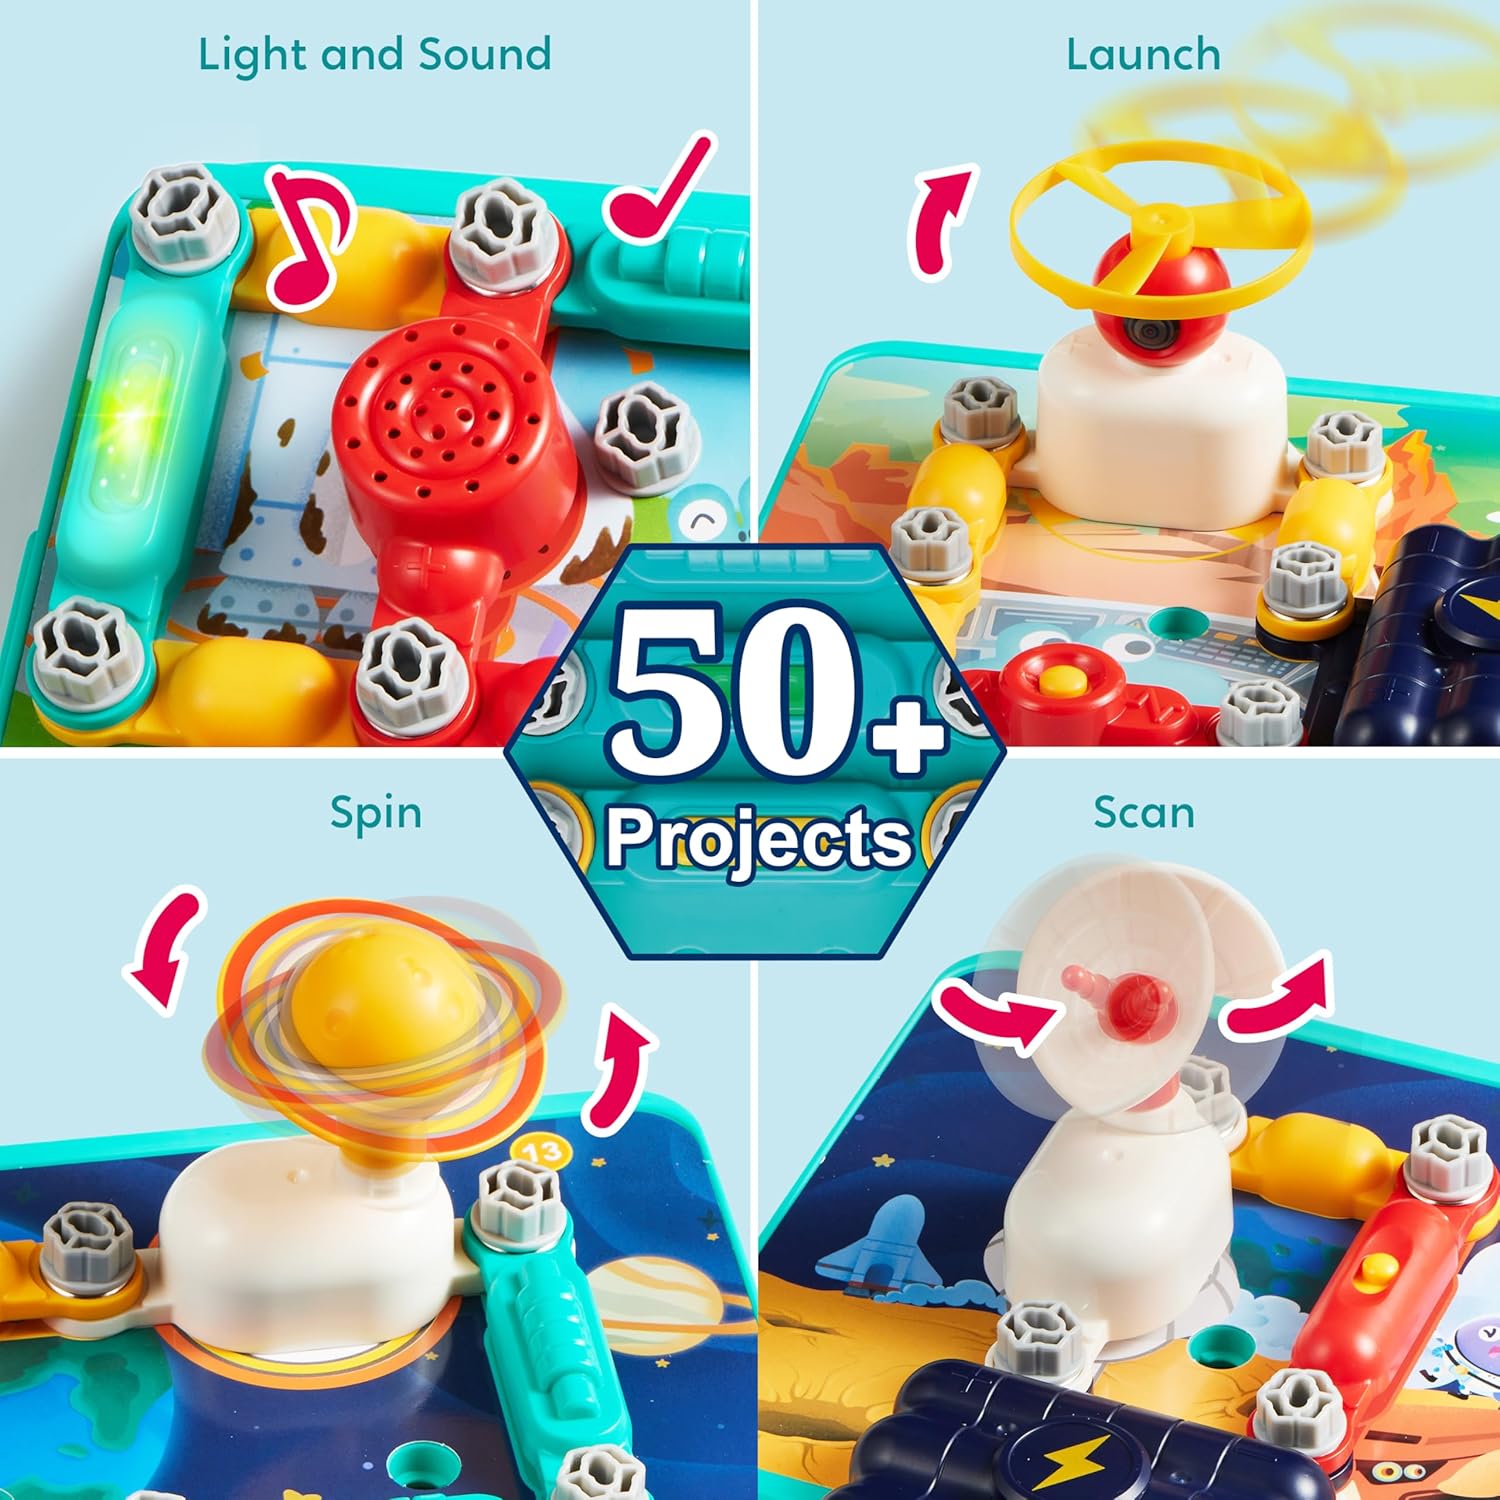
Figure 4: Examples of interactive projects.
Video Demonstration
Video 1: An overview of the Klever Kits Space Circuits kit in action, demonstrating assembly and various interactive projects like spinning propellers and activating lights and sounds. This video highlights the hands-on building process and the engaging outcomes of the circuits.
Maintenance
Proper care ensures the longevity of your Space Circuits kit.
- Cleaning: Wipe all components with a dry, soft cloth after use. Avoid using water or chemical cleaners, as these can damage electronic parts.
- Storage: Store all components in the provided storage box when not in use. This helps prevent loss and damage.
- Battery Replacement: The electric drill requires batteries (not included). Replace batteries when the drill's power diminishes to ensure optimal performance. Refer to the drill's compartment for battery type and orientation.

Figure 5: Storing components in the provided box.
Troubleshooting
If a circuit does not function as expected, consider the following troubleshooting steps:
- Check Connections: Ensure all circuit modules are securely fastened with the bolts. A loose connection is a common cause of circuit failure. Re-tighten any loose bolts using the electric drill.
- Verify Component Placement: Double-check that each component is placed in the correct position as indicated on the mission card. Incorrect placement will prevent the circuit from completing.
- Inspect for Damage: Examine all components for any visible damage or wear. If a component appears damaged, it may need replacement.
- Battery Check: Ensure the batteries in the electric drill (if applicable) and any battery-powered circuit modules are correctly inserted and have sufficient charge.
Specifications
| Feature | Detail |
|---|---|
| Product Dimensions | 10.43 x 7.48 x 3.54 inches |
| Item Weight | 2.22 pounds |
| Model Number | 60245 |
| Recommended Age | 5 years and up |
| Number of Components | 46+ |
| Number of Projects | 50+ |
| Manufacturer | JOVA US INC |
Warranty and Support
Specific warranty details for the Klever Kits Space Circuits kit are typically provided on the product packaging or can be found on the manufacturer's official website. For product support, inquiries, or to report any issues, please refer to the contact information provided with your purchase or visit the official Klever Kits brand store online.