
1. Introduction
This manual provides instructions for the installation, operation, and maintenance of the Putco YellowJacket Amber & Amber White Ultimate LED Warning Light Bar, Model 960112. This product is designed to provide high-visibility warning signals for various applications, featuring amber, white, and amber/white light patterns.
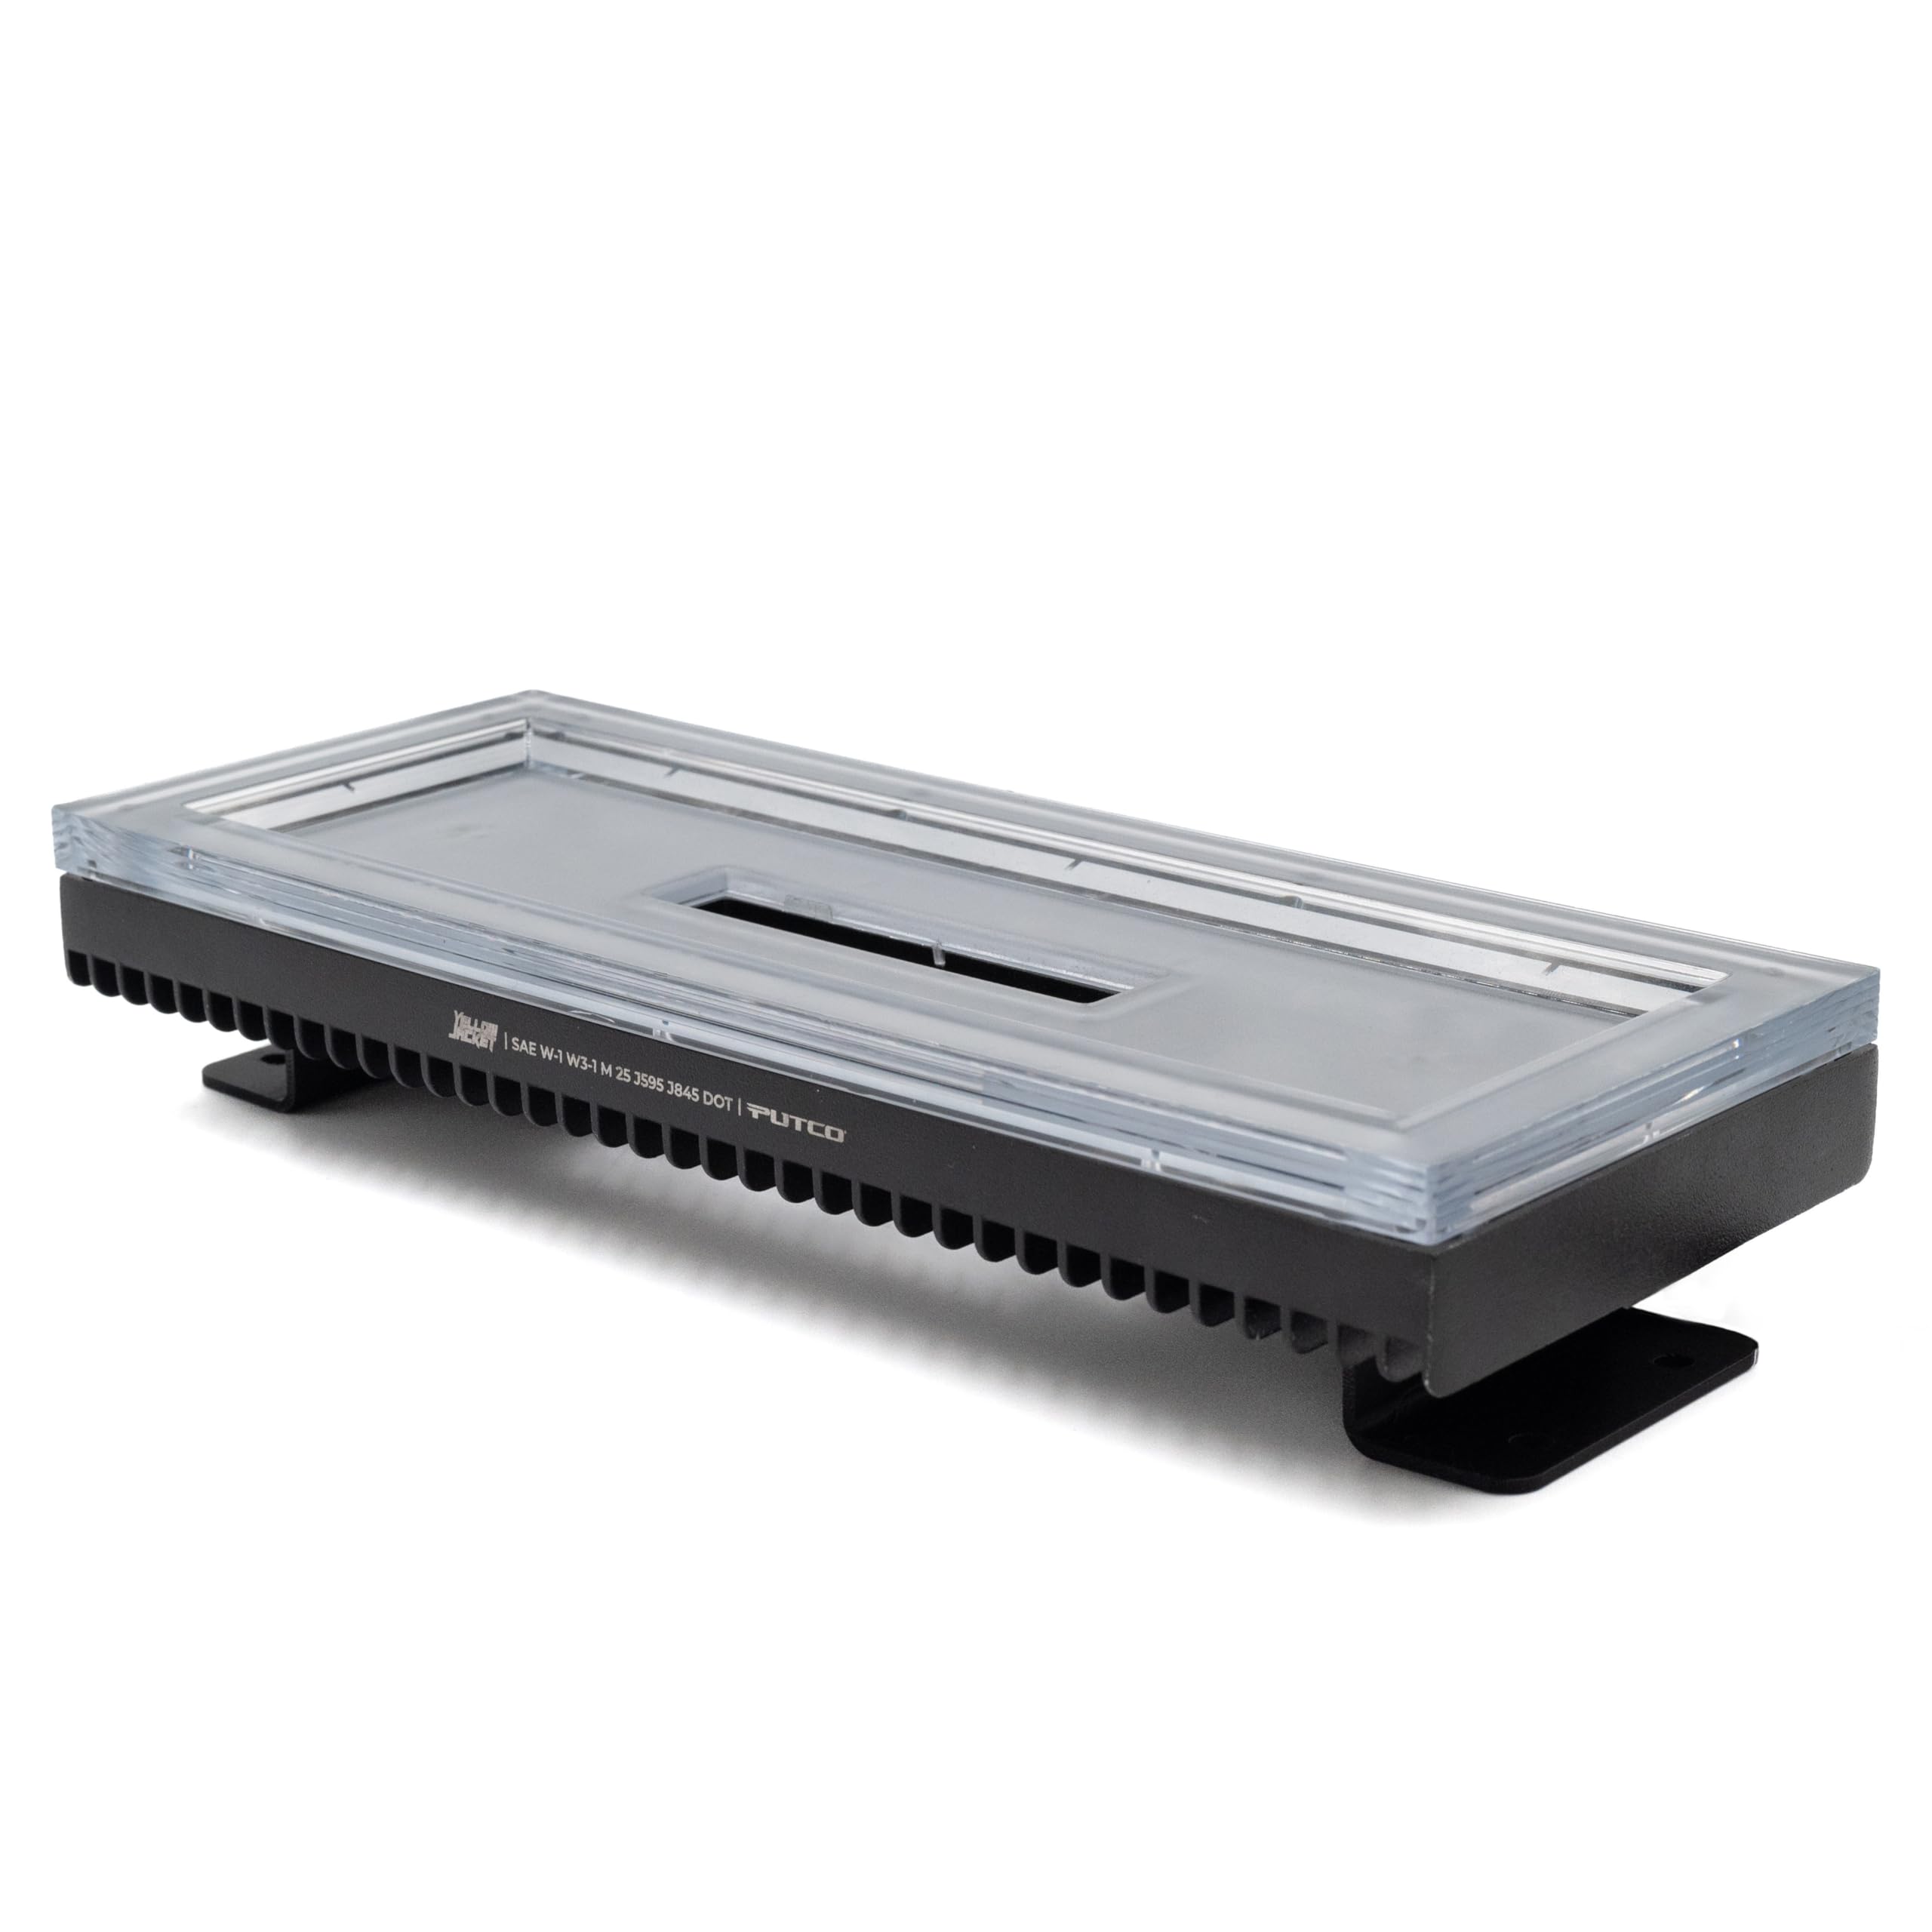
Image 1.1: The Putco YellowJacket LED Warning Light Bar, Model 960112.
2. Safety Information
Read all instructions carefully before installation and operation. Failure to follow these instructions may result in product damage, property damage, or personal injury.
- Ensure the vehicle's power is disconnected before beginning installation to prevent electrical shock.
- Verify the operating voltage of your vehicle (12-48V DC) is compatible with the light bar.
- Mount the light bar securely to prevent detachment during vehicle operation.
- Route all wiring away from hot surfaces, moving parts, and sharp edges to prevent damage.
- Consult local regulations regarding the use of warning lights on public roads.
3. What's in the Box
Verify that all components are present before proceeding with installation:
- Warning Light Bar (Putco YellowJacket 960112)
- Universal Bracket
4. Specifications
| Feature | Description |
|---|---|
| Model Number | 960112 |
| Light Source Type | LED |
| Color Output | Amber, White, Amber & White (interchangeable patterns) |
| Lumen Output | 9,000 Lumen White, 7,000 Lumen Amber |
| Operating Voltage | 12-48V DC |
| Weather Resistance | IP69K rated (full protection against dust, water, ice, extreme temperatures) |
| Optics | Precision-engineered Compound Projection Lens for 360-degree focused beam intensity |
| Light Patterns | 33 programmable patterns with dual-zone lenses |
| Thermal Management | Aluminum base with heat-dissipating fins |
| Lens Durability | Engineered to resist harsh weather, fogging, and yellowing |
| Certifications | Meets/exceeds SAE Class 1, W1/W3-1, J595 & J845 DOT/CDOT standards |

Image 4.1: Illustration of the Compound Projection Lens, designed for focused beam intensity.

Image 4.2: High-intensity LEDs providing 7000 Lumen Amber and 9000 Lumen White output.

Image 4.3: Aluminum base with heat-dissipating fins for optimal thermal management.
5. Installation
The Putco YellowJacket LED Warning Light Bar comes with a universal bracket. It is also compatible with Putco Vehicle-Specific Bolt-On Rooftop Mounting Brackets (sold separately) for a tailored fit.
5.1 Mounting the Light Bar
- Choose a Mounting Location: Select a secure, flat surface on your vehicle (e.g., headache rack, roof rail, trailer) that allows for clear visibility of the light bar.
- Position the Bracket: Place the universal bracket or vehicle-specific bracket in the desired location. Mark the drilling points if necessary.
- Drill Mounting Holes: Carefully drill holes as marked, ensuring not to damage any underlying vehicle components.
- Secure the Bracket: Attach the bracket to the vehicle using appropriate hardware (not included, unless specified with vehicle-specific brackets). Ensure it is firmly secured.
- Attach Light Bar to Bracket: Mount the YellowJacket light bar to the secured bracket using the provided hardware.

Image 5.1: Example of a YellowJacket light bar mounted with a bracket.
5.2 Wiring Instructions
- Identify Wires: The light bar will have power and ground wires, and potentially a control wire for pattern selection. Refer to the wiring diagram included with your product packaging for specific wire functions.
- Connect Power: Connect the positive wire to a fused 12-48V DC power source.
- Connect Ground: Connect the negative wire to a reliable chassis ground.
- Control Wire (if applicable): If a control wire is present, connect it to a switch or control module as per the wiring diagram to cycle through patterns or select colors.
- Secure Wiring: Ensure all connections are secure and insulated. Route wires safely, away from heat, moving parts, and sharp edges.
6. Operation
Once installed and wired, the YellowJacket light bar is ready for operation. The light bar features 33 programmable light patterns and allows selection between Amber, White, or Amber & White color outputs.
6.1 Powering On/Off
Activate the light bar using the switch connected to its power source. Deactivate by turning the switch off.
6.2 Selecting Light Patterns and Colors
The light bar is designed to retain the last selected pattern and color. To change patterns or colors:
- Cycle Patterns: Momentarily press the pattern control button or cycle the dedicated control wire (if applicable) to advance to the next pattern.
- Select Color Output: The light bar allows selection from Amber, White, or Amber & White. This selection is typically made via a dedicated control input or a specific sequence of pattern changes. Refer to the detailed wiring and control instructions provided with your product for exact steps. Once programmed, the setting is retained.

Image 6.1: Examples of various flash patterns available.

Image 6.2: Demonstrates amber, white, and combined amber/white light patterns.
7. Maintenance
The Putco YellowJacket LED Warning Light Bar is designed for durability and minimal maintenance. Regular care will ensure optimal performance and longevity.
- Cleaning: Clean the lens with a soft cloth and mild soap and water. Avoid abrasive cleaners or solvents that could damage the lens material.
- Inspection: Periodically inspect the mounting hardware and wiring for any signs of wear, corrosion, or looseness. Tighten fasteners as needed.
- Lens Clarity: The premium lens is engineered to resist fogging and yellowing over time, maintaining clarity without special treatments.
8. Troubleshooting
If you encounter issues with your YellowJacket LED Warning Light Bar, refer to the following common troubleshooting steps:
| Problem | Possible Cause | Solution |
|---|---|---|
| Light bar does not illuminate. | No power, faulty wiring, blown fuse. | Check power connections, verify fuse, ensure proper grounding. |
| Incorrect light pattern or color. | Control wire issue, incorrect programming. | Refer to operation section for pattern/color selection. Check control wire connection. |
| Light output is dim or inconsistent. | Low voltage, dirty lens, internal fault. | Verify vehicle voltage, clean lens, contact support if issue persists. |
| Moisture inside the lens. | Seal compromise. | Contact Putco customer support. The unit is IP69K rated and should be sealed. |
9. Warranty and Support
The Putco YellowJacket LED Warning Light Bar, Model 960112, is backed by a 10-year warranty against manufacturing defects. For warranty claims, technical assistance, or further support, please contact Putco customer service.
For the most up-to-date contact information, please visit the official Putco website or refer to the contact details provided with your product packaging.